3DPrinting

16532 readers
367 users here now

3DPrinting is a place where makers of all skill levels and walks of life can learn about and discuss 3D printing and development of 3D printed parts and devices.

The r/functionalprint community is now located at: or [email protected]

There are CAD communities available at: [email protected] or [email protected]

Rules

If you need an easy way to host pictures, https://catbox.moe may be an option. Be ethical about what you post and donate if you are able or use this a lot. It is just an individual hosting content, not a company. The image embedding syntax for Lemmy is ![](URL)

Moderation policy: Light, mostly invisible

founded 2 years ago
MODERATORS
776


I just assembled my new Anycubic Kobra 2, performed an auto level and tried to print the 30min benchy file they include on the micro SD card that it ships with. No other modifications of adjustments made. It printed in pretty much exactly the 30min the advertised.

It's think it did OK, but with obvious issues. Since I'm new to the hobby I don't know exactly what to expect and how to identify print quality issues.

My benchy looks like this:

image 1

image 2

image 3

777


I love seeing manufacturing and 3d printing in mfg settings. I work in mfg (not 3d printing, sadly).

778


I think this is super fun. I love weird stuff like this.

779
 
 
780
 
 
781
67
How? (lemmy.world)
submitted 1 year ago by Koopa_Khan to c/3dprinting


Does this hobby ever get easier or is it always like getting kicked in the nuts by Ronaldo?

Filament some how leaked up and burned on. I just don’t have it in me to keep tinkering. I just want to print

782


I am hoping someone may have the ability to scan the front and top of a utility gas meter that looks like the one above.

I would like the use this scan to model a front cover similar to the one shown in this link below, but suited for this type of meter.

https://www.thingiverse.com/thing:4845512

The purpose of this project is to hold a esp32 board to get consistent meter readings and feed them into home assistant. Here is the project below.

https://github.com/jomjol/AI-on-the-edge-device

Any help would be appreciated.

783


I apologize for the links below being vendor specific, but the linked products are the specific products I have used. I have no affiliation with the shop other than they offer to bill my job instead of having me pay upfront and then get the expenses redeemed. (I have tried making this both subscript and super script with respectively ^ and ~, but none works on lemmy)

I seek advice on proceeding with the setup and acquiring an acceptable printing quality.

Background

I have recently "upgraded" a creality cr6 se at work. I installed a spider steel/PEI plate (https://3deksperten.dk/products/spiderflexiplate-double-system-255x245-ex-cr-6-se), a bimetal heatbreak https://3deksperten.dk/products/3dsupreme-titanium-alloy-bi-metal-heatbreak-cr6-se) and a hardened steel nozzle (0.4mm from this kit https://3deksperten.dk/products/creality-3d-3d-printing-up-market-nozzle-kit-8-pcs)

Findings

Testing this new setup I used the PLA spool I had been printing with days before without issue. The new and old nozzles are all 0.4mm.

What I discovered was that I couldn't get any adhesion to the built plate, some spray glue (this exact make and model https://3deksperten.dk/products/printafix-100ml) fixed that. Then layer adhesion was an issue. So I upped the temp to the max for this PLA and increased the extrusion rate. First 10 layers or so were somewhat ok, but the rest delaminated instantly.

I then opened a brand new spool of PLA, thinking that the old spool had moisture issues. Cranked the temp to max, 210°C, added 5°C to the bed and applied a strong shot of spray glue. This time the print actually got done, but the parts where Cura's tree support was supposed to be supporting, the layers seem to come apart. The rest of the print was somewhat ok, though not great.

Current considerations

  • Maybe I attempted too much at the same time. I may try swapping the nozzle back and only deal with the plate and heatbreak.
  • The heat break may be install wrong. The nozzle was screwed in all the way, loosened a few turns, then the heat break was screwed in all the way. The nozzled was then tightened. No heating was done. I may try giving the heat break a few turns before installing the old nozzle again.
  • Should I have heated hotend before tightening the nozzle?
784
13
submitted 1 year ago* (last edited 1 year ago) by 4lan to c/3dprinting


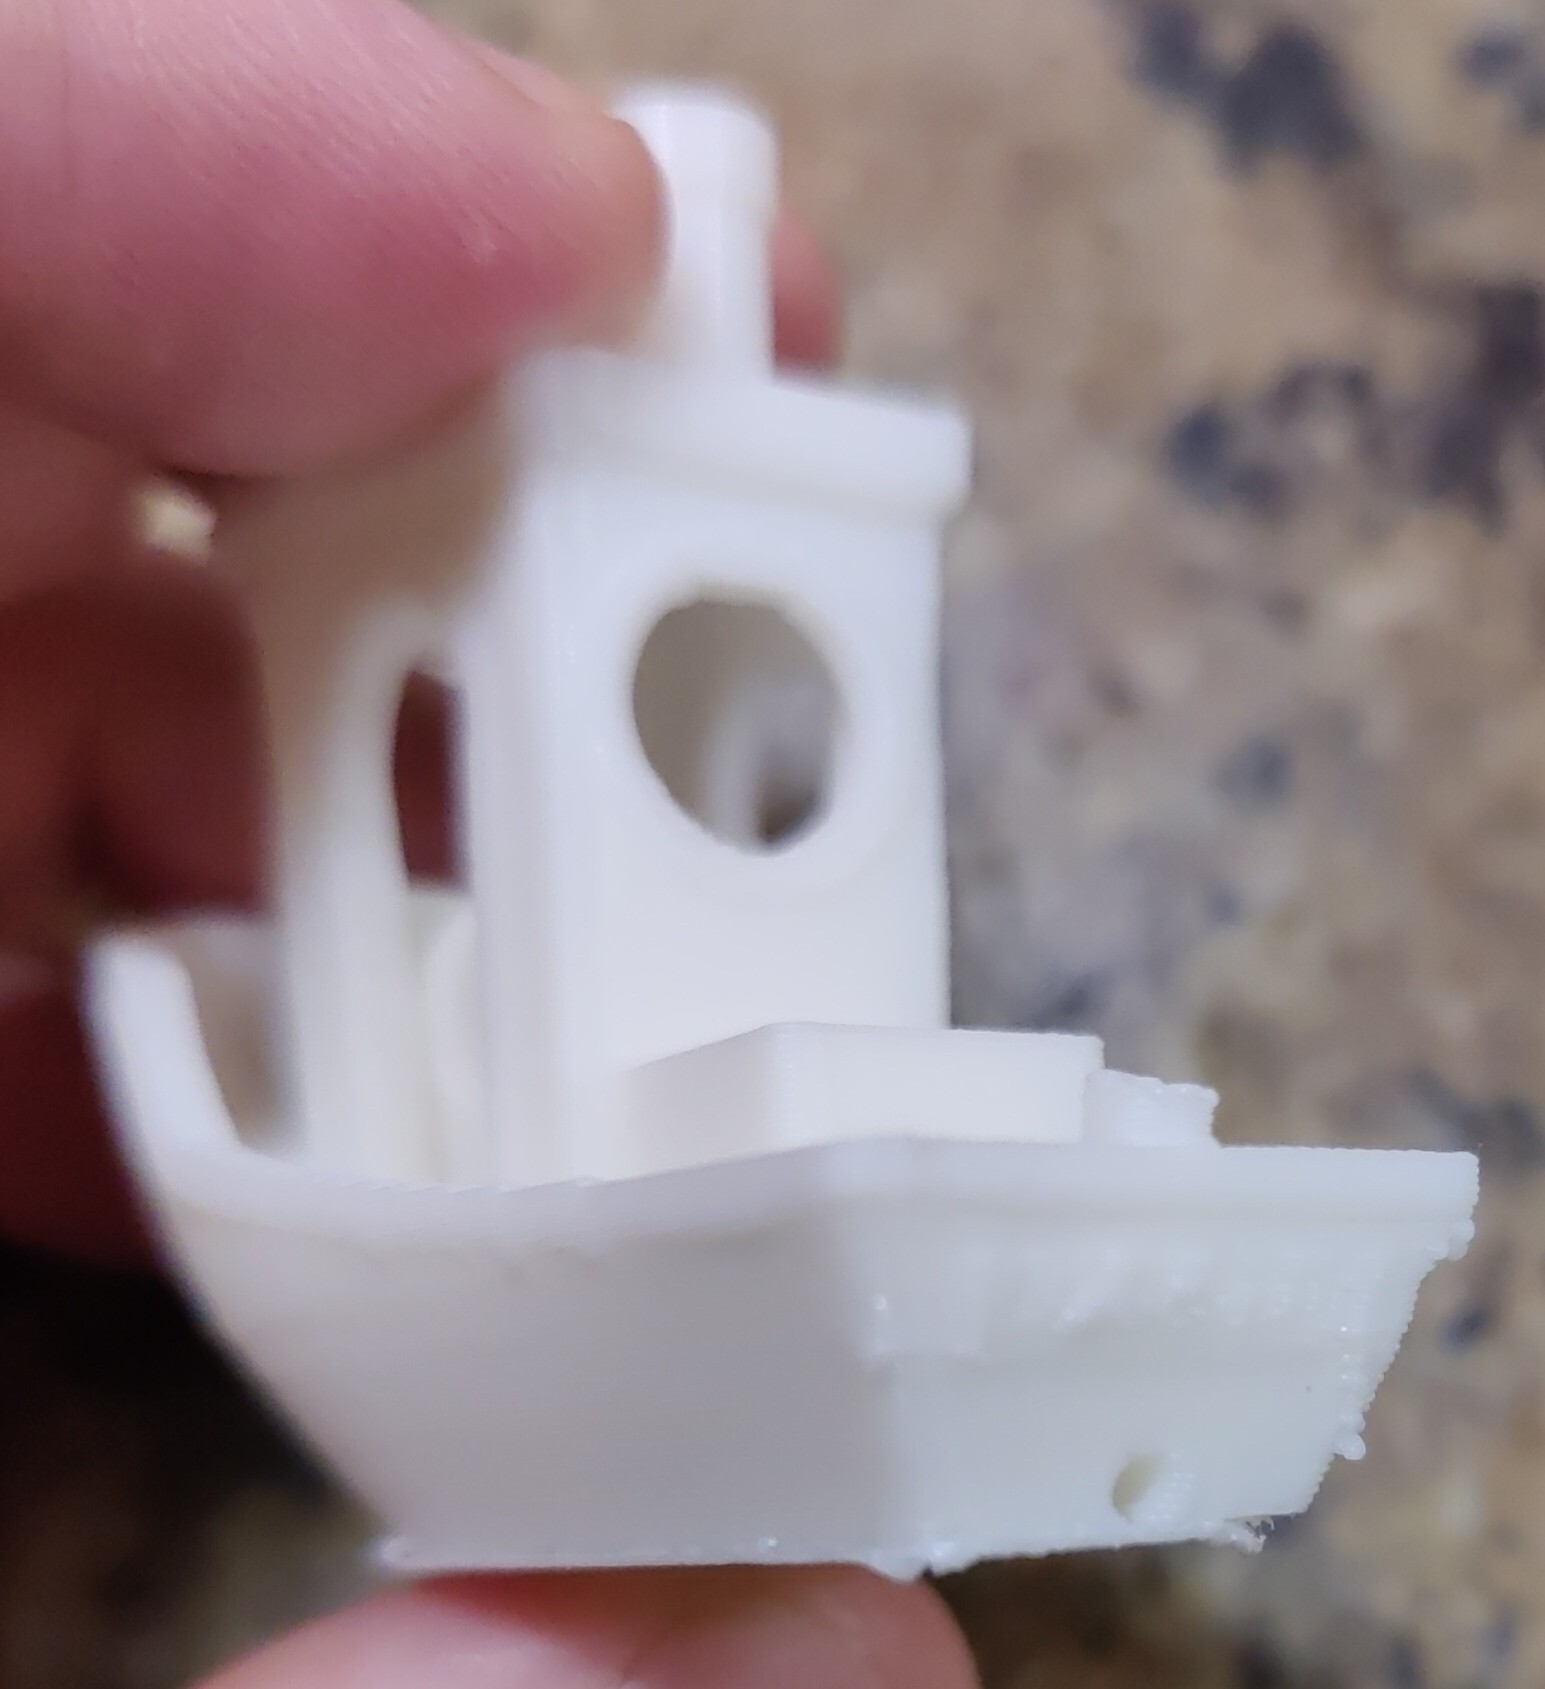
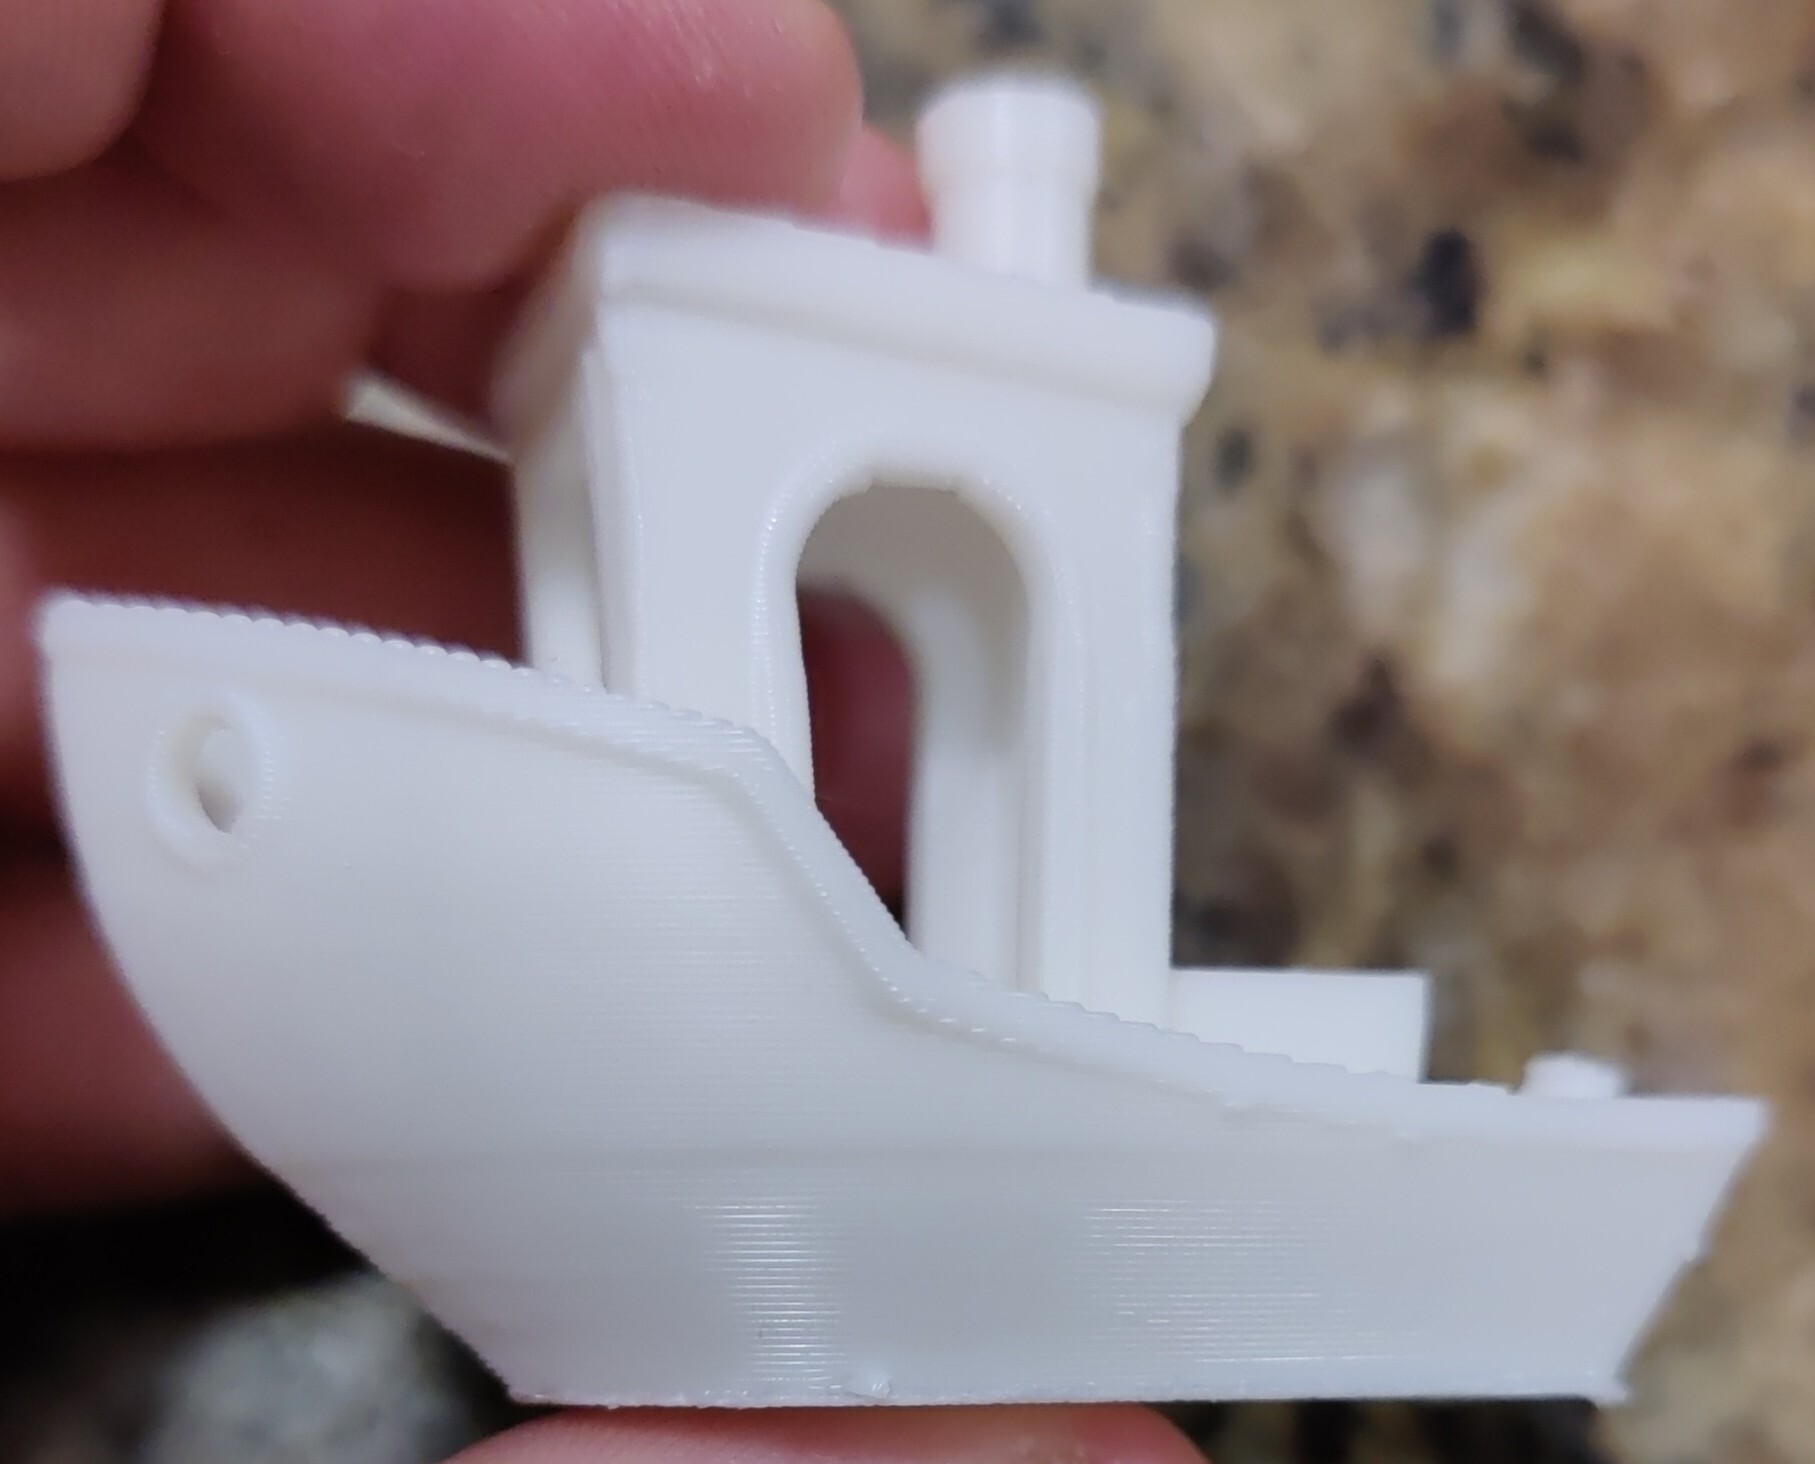
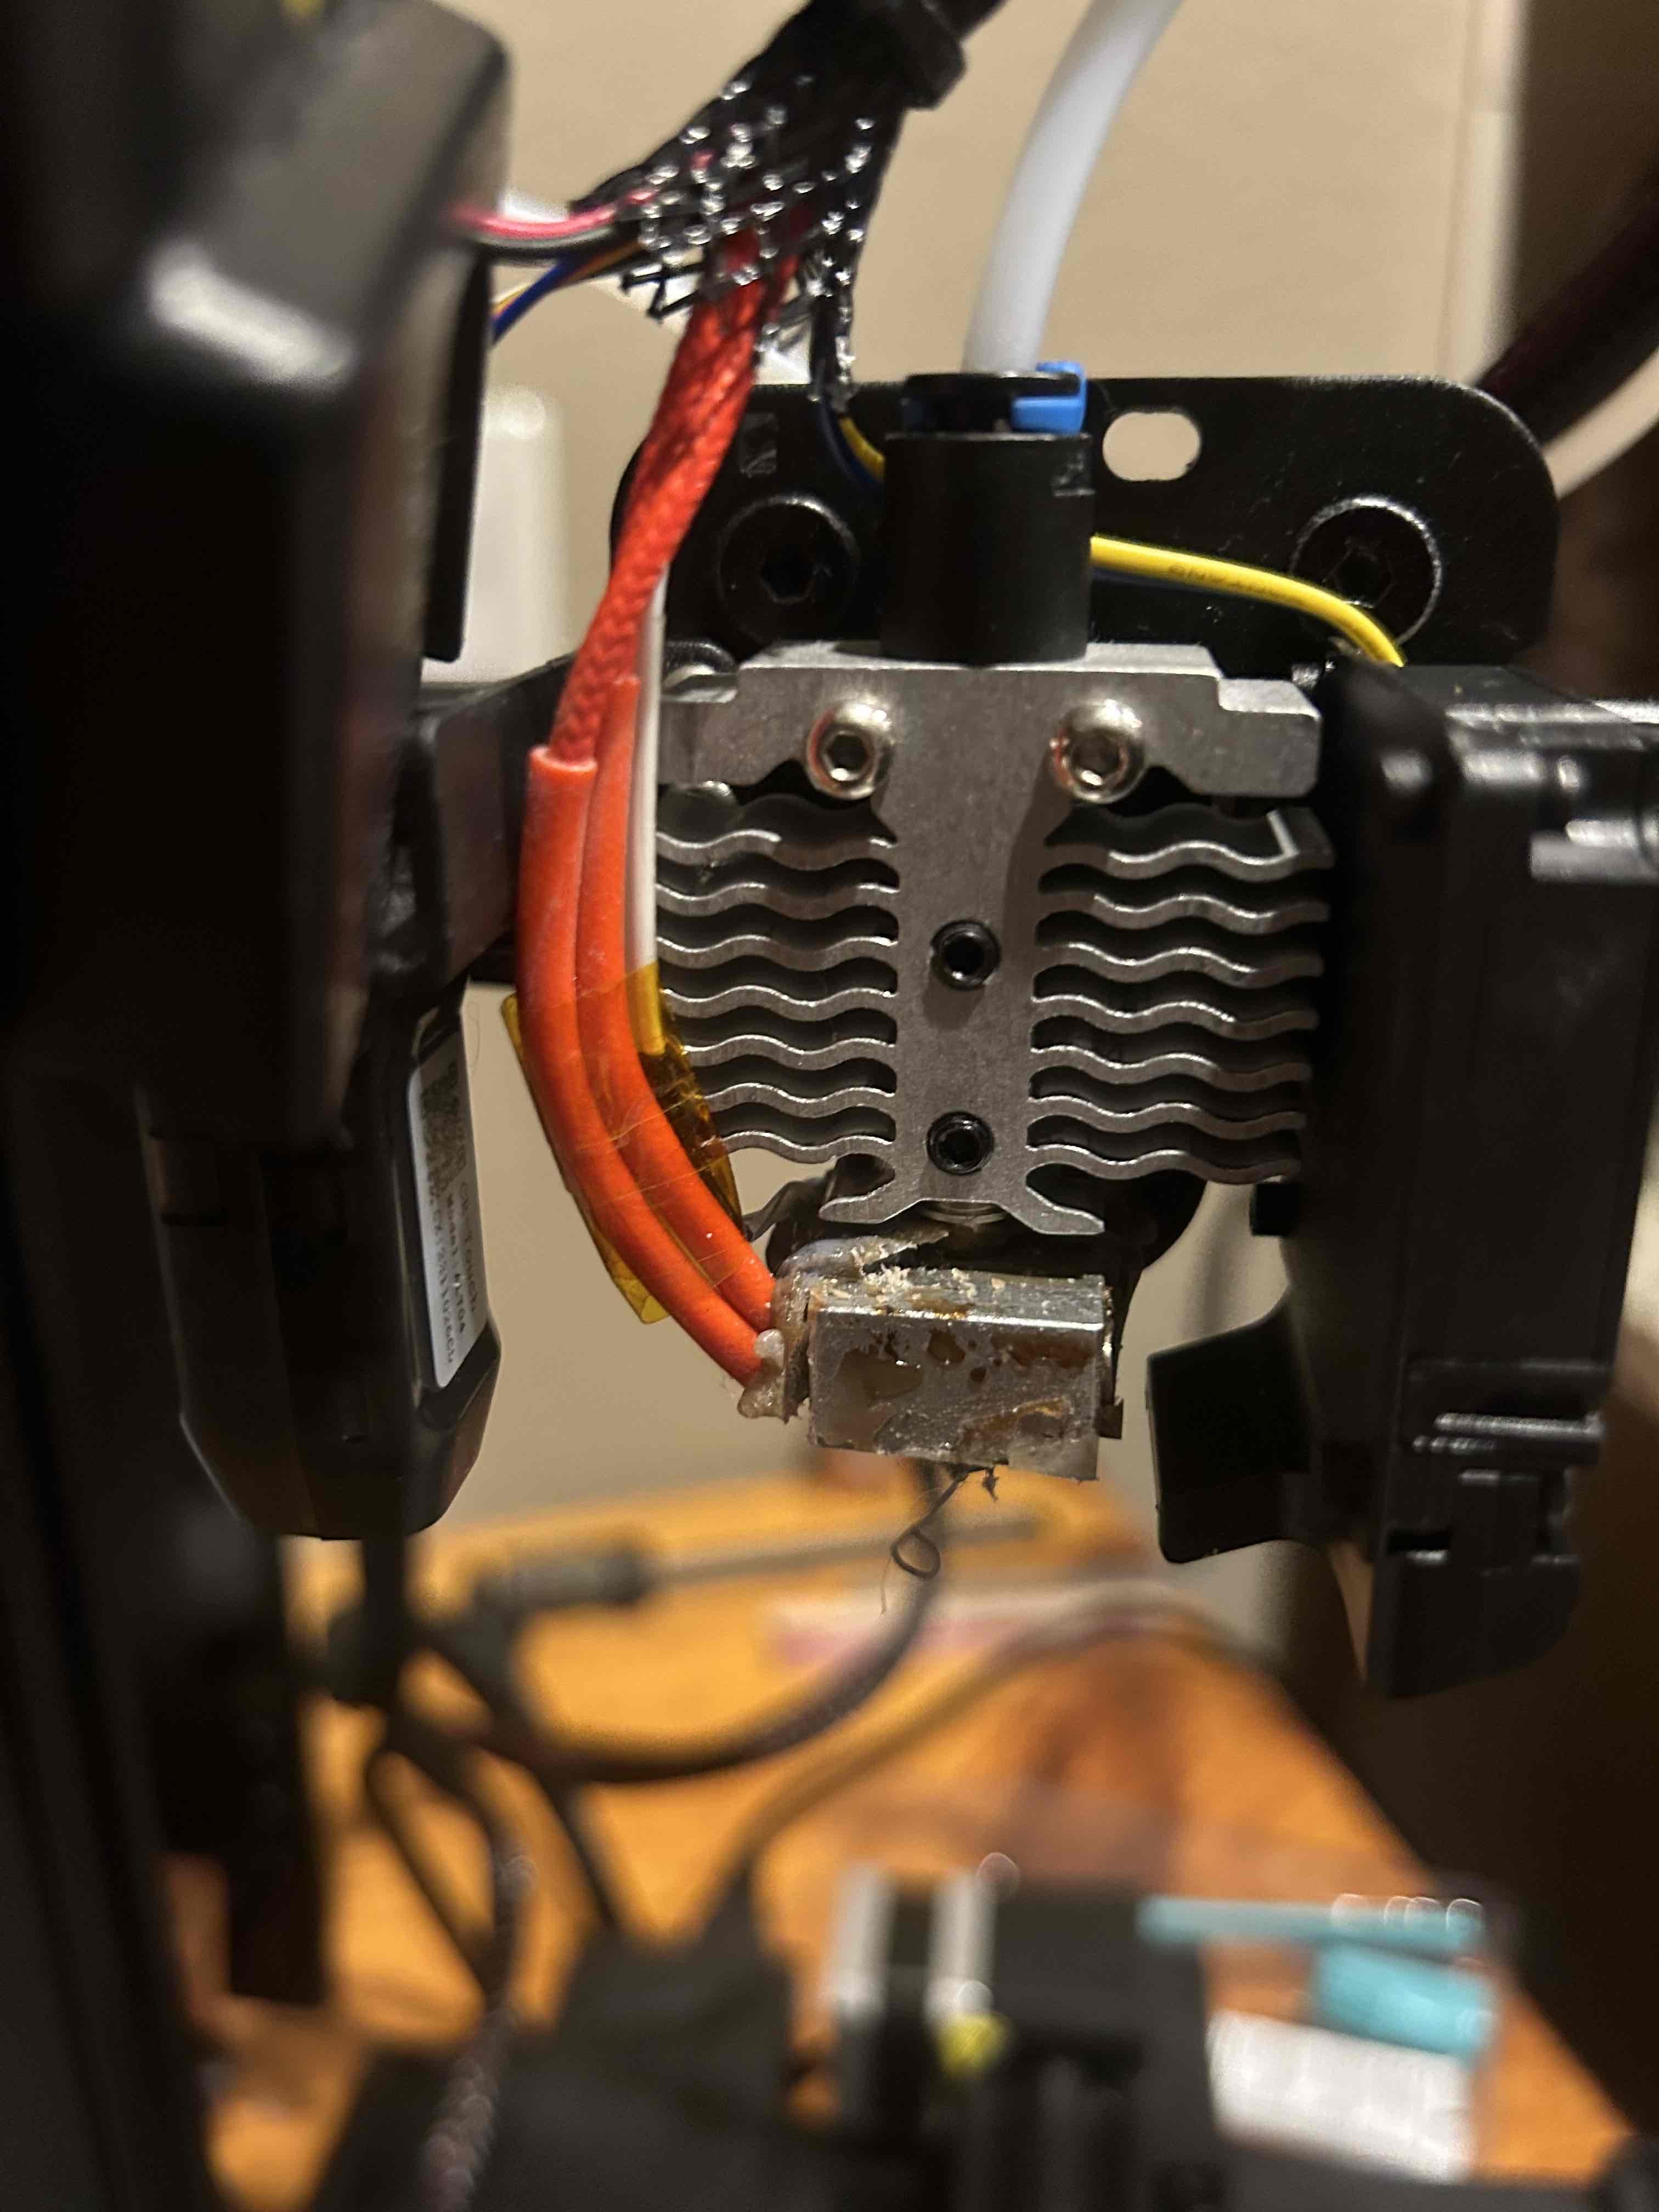
My K1 Max had a bed leveling error and printed for a while with the nozzle pressed into the bed so filament couldn't come out, causing a bad clog.

I painstakingly stripped the machine down just to get access to the hot end, and the heatsink and heat break are completely fused. (yes I removed grub screw)

The throat seems to be able to spin within the rest of the heat break, I don't think that's normal but I'm used to enders and cr10.

What I've tried:

  • mini-torch on heat sink, then tried to pull hard out
  • Oven for 1hr at 200F
  • Freezer for 1 hour, THEN torch on heat sink
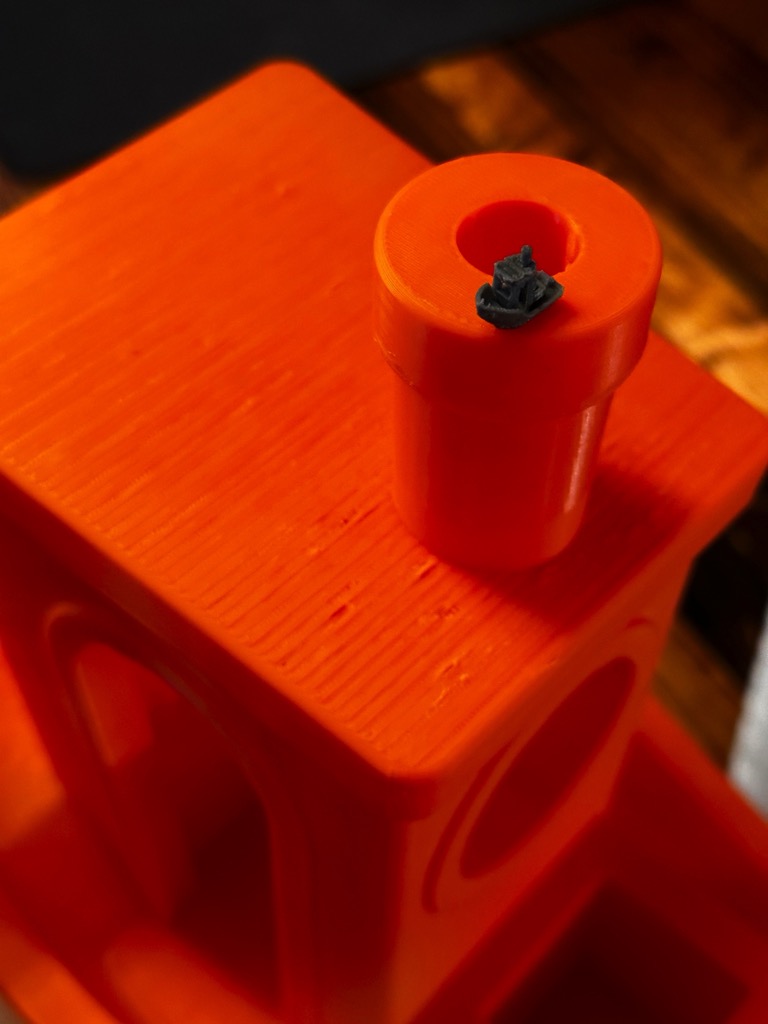
  • Heated the metal needle thing they provided, and stabbed that through the filament path
  • Tried to heat and remove the nozzle, but it is also completely stuck

I reached out to Creality a week ago and they have not replied.
The heat sink is not even available online, so I am dead in the water until they send me a new heatsink.

Does anyone have any other ideas???

UPDATE!!! (for those who have this in the future)

I finally got it! It took multiple cycles of putting it in my toaster oven at 450F for 20 minutes at a time.

I was able to get the nozzle removed after a couple cycles, which gave me hope.

I did two more cycles, trying to pull them apart each time. Finally it barely started to budge with lots of effort. I saw it was out about 0.5mm. I grabbed my torch and blasted that sucker right at the hole where the grub screw comes out from. Kept heating, pulling, heating pulling. Eventually it slid right out!

Here's the crazy part. There was 0 filament residue in there when I got it out. I have no idea what was locking it in place. If it simply burned away there would have been carbon residue at least. Both the heat break and heat sink were clean... It's almost like they JB welded it in place lol

I am so happy I wont be having to wait weeks for Creality to respond, then more weeks for them to ship a new heatsink. Going to use the spare hot-end that came with the printer and get this puppy printing again! Thanks again for the advice @dual_sport_dork

785


I'm glad that this is an active community, and the advice the other day was really helpful. Once I figured out how to make other shapes to delete/ subtract, merge, I was able to do this easier. I made this draft in Windows 3D builder, it seemed to be pretty easy to manipulate shapes. We'll see how this goes as far as printing and what not.

We'll see how printing goes and if this case actually works.

I have a few MakerBot-brand printers I can use, I'm not sure the models. One of them is slightly larger enclosed in glass, and I'm told it's temperature controlled, the others are smaller, and they are open. I know the only filament I'm allowed to use with these ones is PLA.

786
84
submitted 1 year ago* (last edited 1 year ago) by [email protected] to c/3dprinting


So every couple months I clean my resin contaminated alcohol using alum powder (link to a video about the process)

After cleaning it I let it sit in the settling containers until I need to clean my alcohol again. At which point I swap the alcohol that was cleaned into my main wash and cure station tub and then put the dirty alcohol into the other tub I use exclusively for cleaning the alcohol.

Edit: For those curious I can share an image of what the alcohol looks like after it's had 24 hours to settle in the settling containers.

787


We've been having a good old time with this over on the Pocket Knife community, but I figure there's probably a lot of crossover with this crowd as well.

I'm sure you've seen various clever little one piece utility knife blade holders on Thingiverse and so forth, and while they're quite functional I don't think they're nearly as overwrought or silly enough, nor require quite enough components.

Rather than repeat my entire post from there over here, I'll leave you with these:

Link to Project Annoucement

Link to .STL Files And Assembly Instructions

788
19
Christmas buying advice? (self.3dprinting)
submitted 1 year ago by periwinkle to c/3dprinting


Hey 3dprinting! I want to buy a 3d printer for my little sister for Christmas. She's big into cosplay and engineering. I expect her to make props/and little container for things. Nothing crazy. I was looking at the ender 3 models but was unsure if that was the right pick. Just wanted to know if you had any advice. Budget is 2-300.

789


There is a surprising amount of free space in this phone, I have other mods in the works. Especially if I can find a replacement battery. It's a surface Duo 2.

790
314
submitted 1 year ago* (last edited 1 year ago) by canthidium to c/3dprinting


Got this email from Autodesk that Fusion is increasing their annual price by a huge amount. I subbed for 1 year a couple years ago for I think $380. Then I was able to get an educational sub after that. Fusion is still the cheapest CAD software out there, not including the free stuff like FreeCAD, but still, this price increase is massive.

It should be noted that it's still free to use for personal use minus the extra features.

791


Hello, thanks in advance for any help. I have a little project I am trying to do-- I would like to merge a "Mag quadsafe universal adapter" with a Galaxy Fold 3 case. I have both STLs and i began playing with blender yesterday, and it's possibly a little above my head.

What it seems like the steps are from my (peprhaps simplistic) point of view:

  • trim the openings on mag quad adapter to fit the camera lens and side buttons when it is perfectly centered on the case.
  • delete a square the exact size of the magsafe quadlock adapter that is perfectly centered on the back of the phone case
  • put the current model from the mag quad stl in thus square

The only thing I've been able to accomplish thus far is centering the mag quad adapter on top of the case. I cannot, for the life of me, figure out how to trim in to fit the camera and side button openings....

Any help is greatly appreciated, even if it's just a starting point.

792


It was great fun, I improved my soldering skills and gained my first experience with ESPs. Ask me anything. :D

https://www.printables.com/de/model/667180-motion-detector-led-lamp

793


Anyone know where the tool holder that comes on the USB drive with the Elegoo Neptune 4 Max is supposed to mount on the printer?

794


Today E3D launched their latest extruder. What's your thought on the Revo roto?

only/first Reviews: Made with layers (formally Thomas Sanladerer): https://www.youtube.com/watch?v=X5UpN0QaxGY E3D launch video: https://www.youtube.com/watch?v=W6GxPZUM0k4 product page: https://e3d-online.com/products/roto-extruder

155 GBP (without tax) for the sensor version. Equipped with a normal brass nozzle and a low-power heater core.

The pushing force isn't great as it can't do more than 6mm/s (14mm^3/s, approx. 60g/hour) limiting it to 0.15, 0.25 and 0.4mm nozzles. That's significantly short of the E3D Hemera XS Revo performance they claimed this extruder matches.

Is 14mm^3/s enough for 200 USD+ extruder for 2024 and beyond if you could trade approx. 20g more weight for 4x the max. flowrate?

795


Oh, AutoDesk...you have such a way with words. Honestly, I would rather learn to design in OpenSCAD than send AutoDesk a single penny.

796
797
798
 
 
799


To be clear I know it's not well lol. I just wanted the community's thoughts on what I'm doing wrong. I'm using Overture Royal Gold on a modified CR-10v2 with a real V6. Model was sliced in cura with default low quality settings.

The filament I bought a few months ago but just broke it open yesterday. It's making some small popping noises every now and again but the seal didn't appear to be broken. It seems all right otherwise, if a little sticky on the roll. I had to move it out of my filament dryer to keep it from opening the lid because it was binding so much. That's what happened to the last tower, that failed mid print. Looks nice at least.

800


I hate tripods.

The design is based on a balanced arm lamp I have in my office. This prototype is at a point where I'm going to use it for a while before making adjustments to the model, but it's doing great for a proof of concept.

view more: ‹ prev next ›