3DPrinting

16529 readers
352 users here now

3DPrinting is a place where makers of all skill levels and walks of life can learn about and discuss 3D printing and development of 3D printed parts and devices.

The r/functionalprint community is now located at: or [email protected]

There are CAD communities available at: [email protected] or [email protected]

Rules

If you need an easy way to host pictures, https://catbox.moe may be an option. Be ethical about what you post and donate if you are able or use this a lot. It is just an individual hosting content, not a company. The image embedding syntax for Lemmy is ![](URL)

Moderation policy: Light, mostly invisible

founded 2 years ago
MODERATORS
726


Includes a little jig off the side to bend the leads regularly, and holds the LEDs in consistent orientation using the cathode cutaway on the rim.

Designed by my lovely wife.

btw It is food safe to drink coffee next to 3d printed parts nerds ;)

P.S. this filament is awful, filamentium pla. The worst thing I've used since early reprap days when variability was high.

Any ideas what's causing that "shadowing" between the holes? those parts printed last I think but at the same speed/ironing pattern etc as the more matte parts between.

727
 
 
728
54
Newbie questions (lemmy.kde.social)
submitted 1 year ago by [email protected] to c/3dprinting


Hello there! My friends gifted me an Ender 3 printer, and I achieved my first successful print today! I have a few (probably stupid) questions:

  1. I will store it in my garage, in a shelve among other things. It is quite dusty, so I'm thinking of building a plexiglass hermetic box to keep it while powered off. Would it be a problem to keep it closed also while printing? This would change the type of box I'll build, because there is not much space and I'm trying to save the most of it
  2. How do I store the filament? I (currently) have only one filament (black PLA), so I see no need to remove it from the printer each time, but leaving it "connected" (I don't know how to say it) will not allow me to store it in a different way the printer is stored. Do I need to store it in special ways or can I leave it connected? (And bonus question, what is the correct word to say it?)
  3. If I don't move the printer, how often should I calibrate it?

Sorry if these are basic questions, I'm taking my first steps into this magic world... Thanks in advance!

729


Hi all,

I’m quite new to resin printing and I was wondering if one was able to post-cure their prints with he printer’s built in “cleaning” function. I mean, it’s a pretty powerful UV light, right there. Does this damage the LCD more than usual? I was thinking of just “roasting” prints to cure them. If anyone tried it before, do share.

730


Same as last time, I'm just going to link to my main post over on the Pocket Knife community:

https://lemmy.world/post/9936120

That's because I think the way Lemmy handles cross-posting is still a little hinky. Plus I wrote all of friggin' War, Peace, And Utility Knives over there, so I'd rather only have to maintain future edits on one grimoire rather than two.

.STL package here. Not for sale, rent, or Ebay.

Enjoy.

731
732


It'a detained by magnets so it doesn't get in the basket and interfere with spreading out the grounds. Needs a clean up with a lick of sandpaper, pretty stupid but these things cost like 50 bucks /shrug

EDIT: appreciate all the concern for my health, it touches dry coffee grounds. I agree that if it got wet there'd be health problems but unless it gets real humid there's just no opportunity for decay. As for random leaching same diff, without heat and wet it's not really a concern.

That said I probably will seal an improved design, this is just a test piece.

733


I'm trying to calibrate linear advance on my anycubic kobra 2, using the guide in this video. I have calibrated my E-steps and flow rate for the extruder, and get the expected 100mm extrusion and expected wall thickness...so far, so good.

When i attempt the LA calibration to find my K value, i get the result shown in the image, with a serious deterioration of line quality when LA is enabled (K>0), and it seemingly gets worse as the K value increases.

I have used the tool from marlinfw.org to generate the g-code for testing K values.

734
735
 
 
736


737


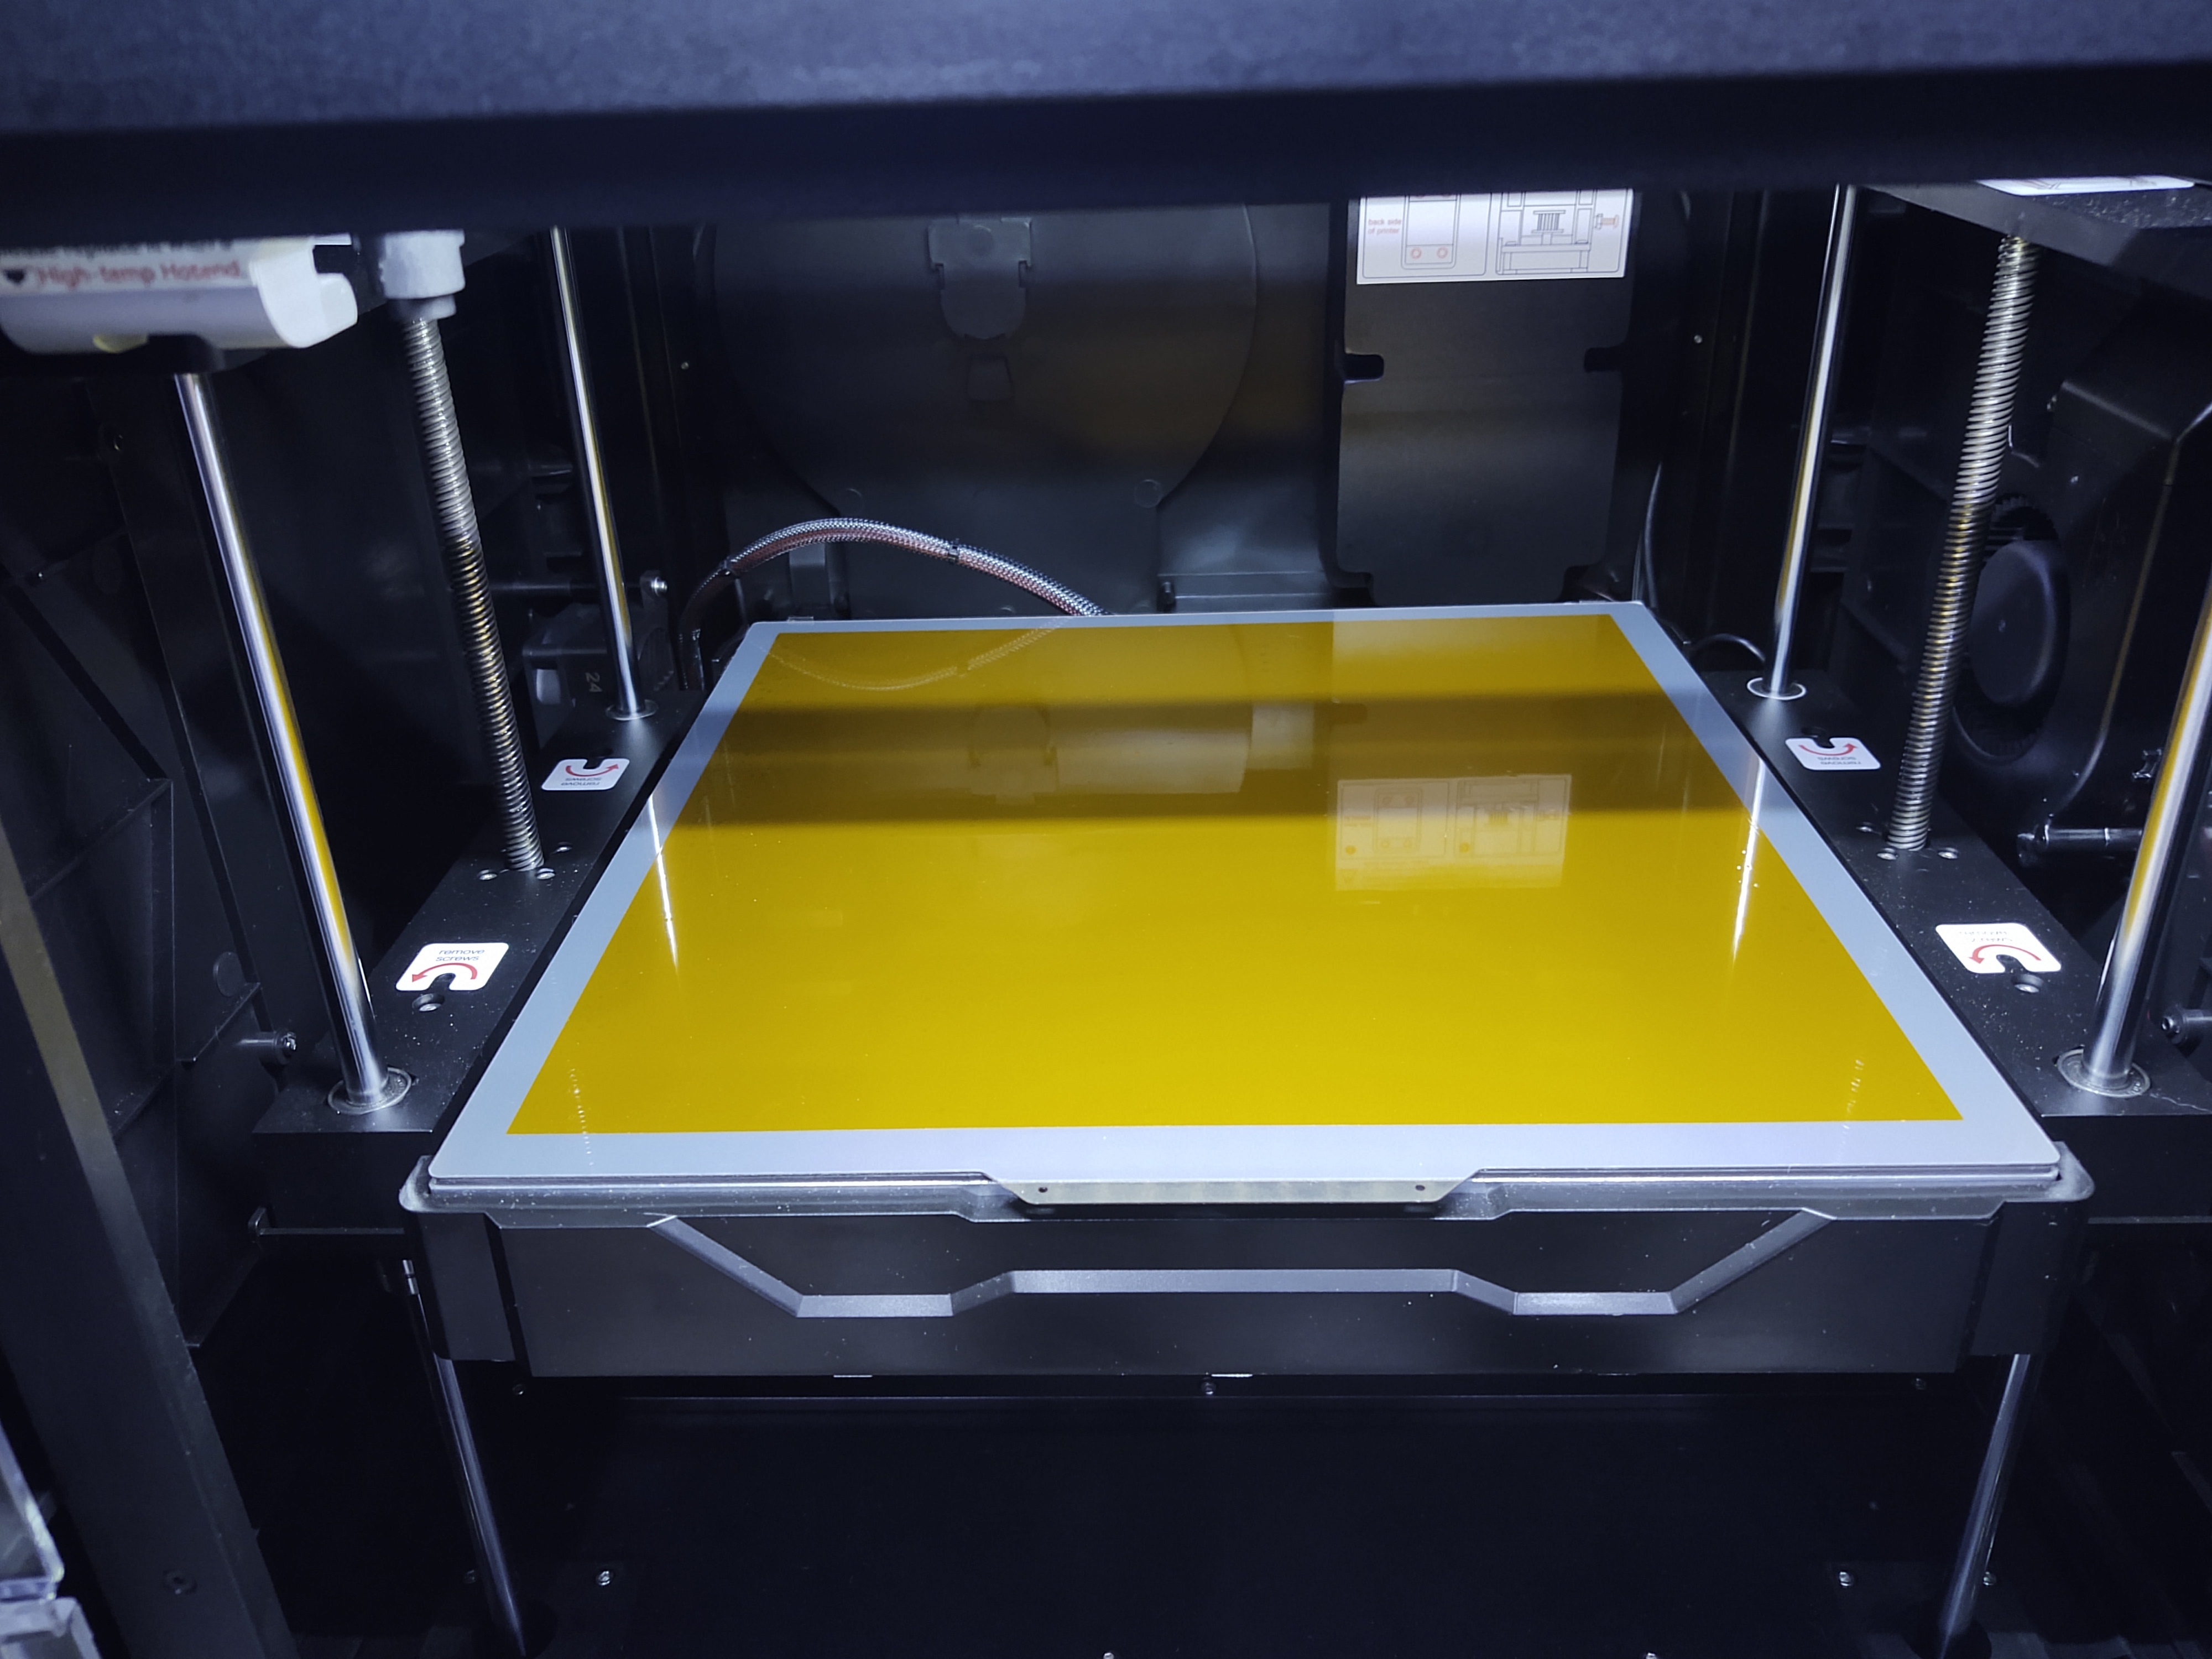
...Which it should have friggin' come with from the start. I still have no idea what Qidi was smoking providing a plate textured the same on both sides, especially when their previous printers already came with a dual-sided plate. At least now I can make parts that are actually flat on the bottom.

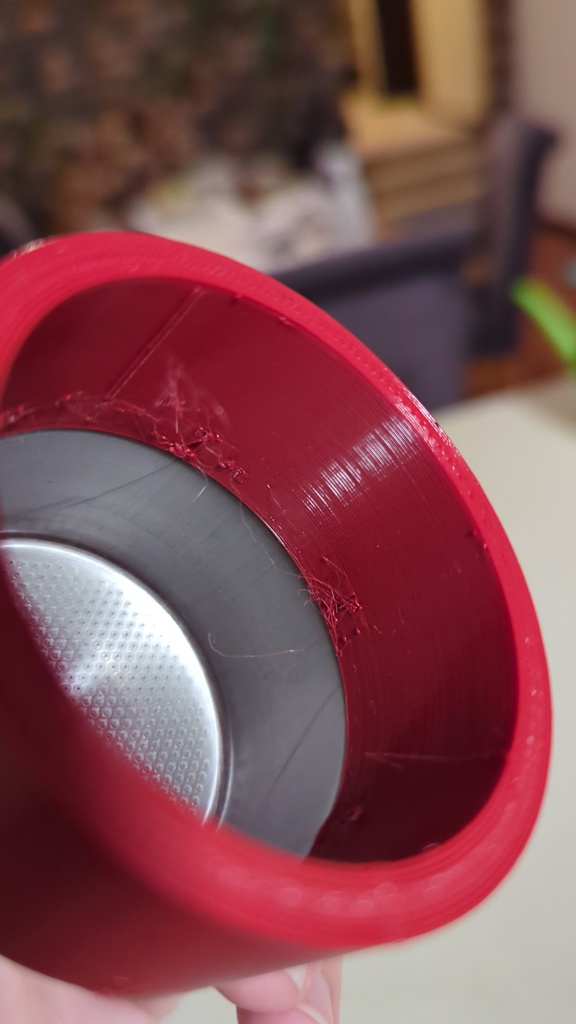
The textured plate was kind of cool for doing large parts with visible flat surfaces, like box lids. But it kind of sucks for doing small mechanical parts.

Kapton sheet optional, but I'd rather replace a 30 cent piece of tape rather than a $48 build plate due to the surface wearing out over time. The massive sheets I used for my old printer (and trimmed down) are almost big enough for the X-Max 3's plate. I think you'd have to try quite hard to print in the last 10mm around the edges anyhow.

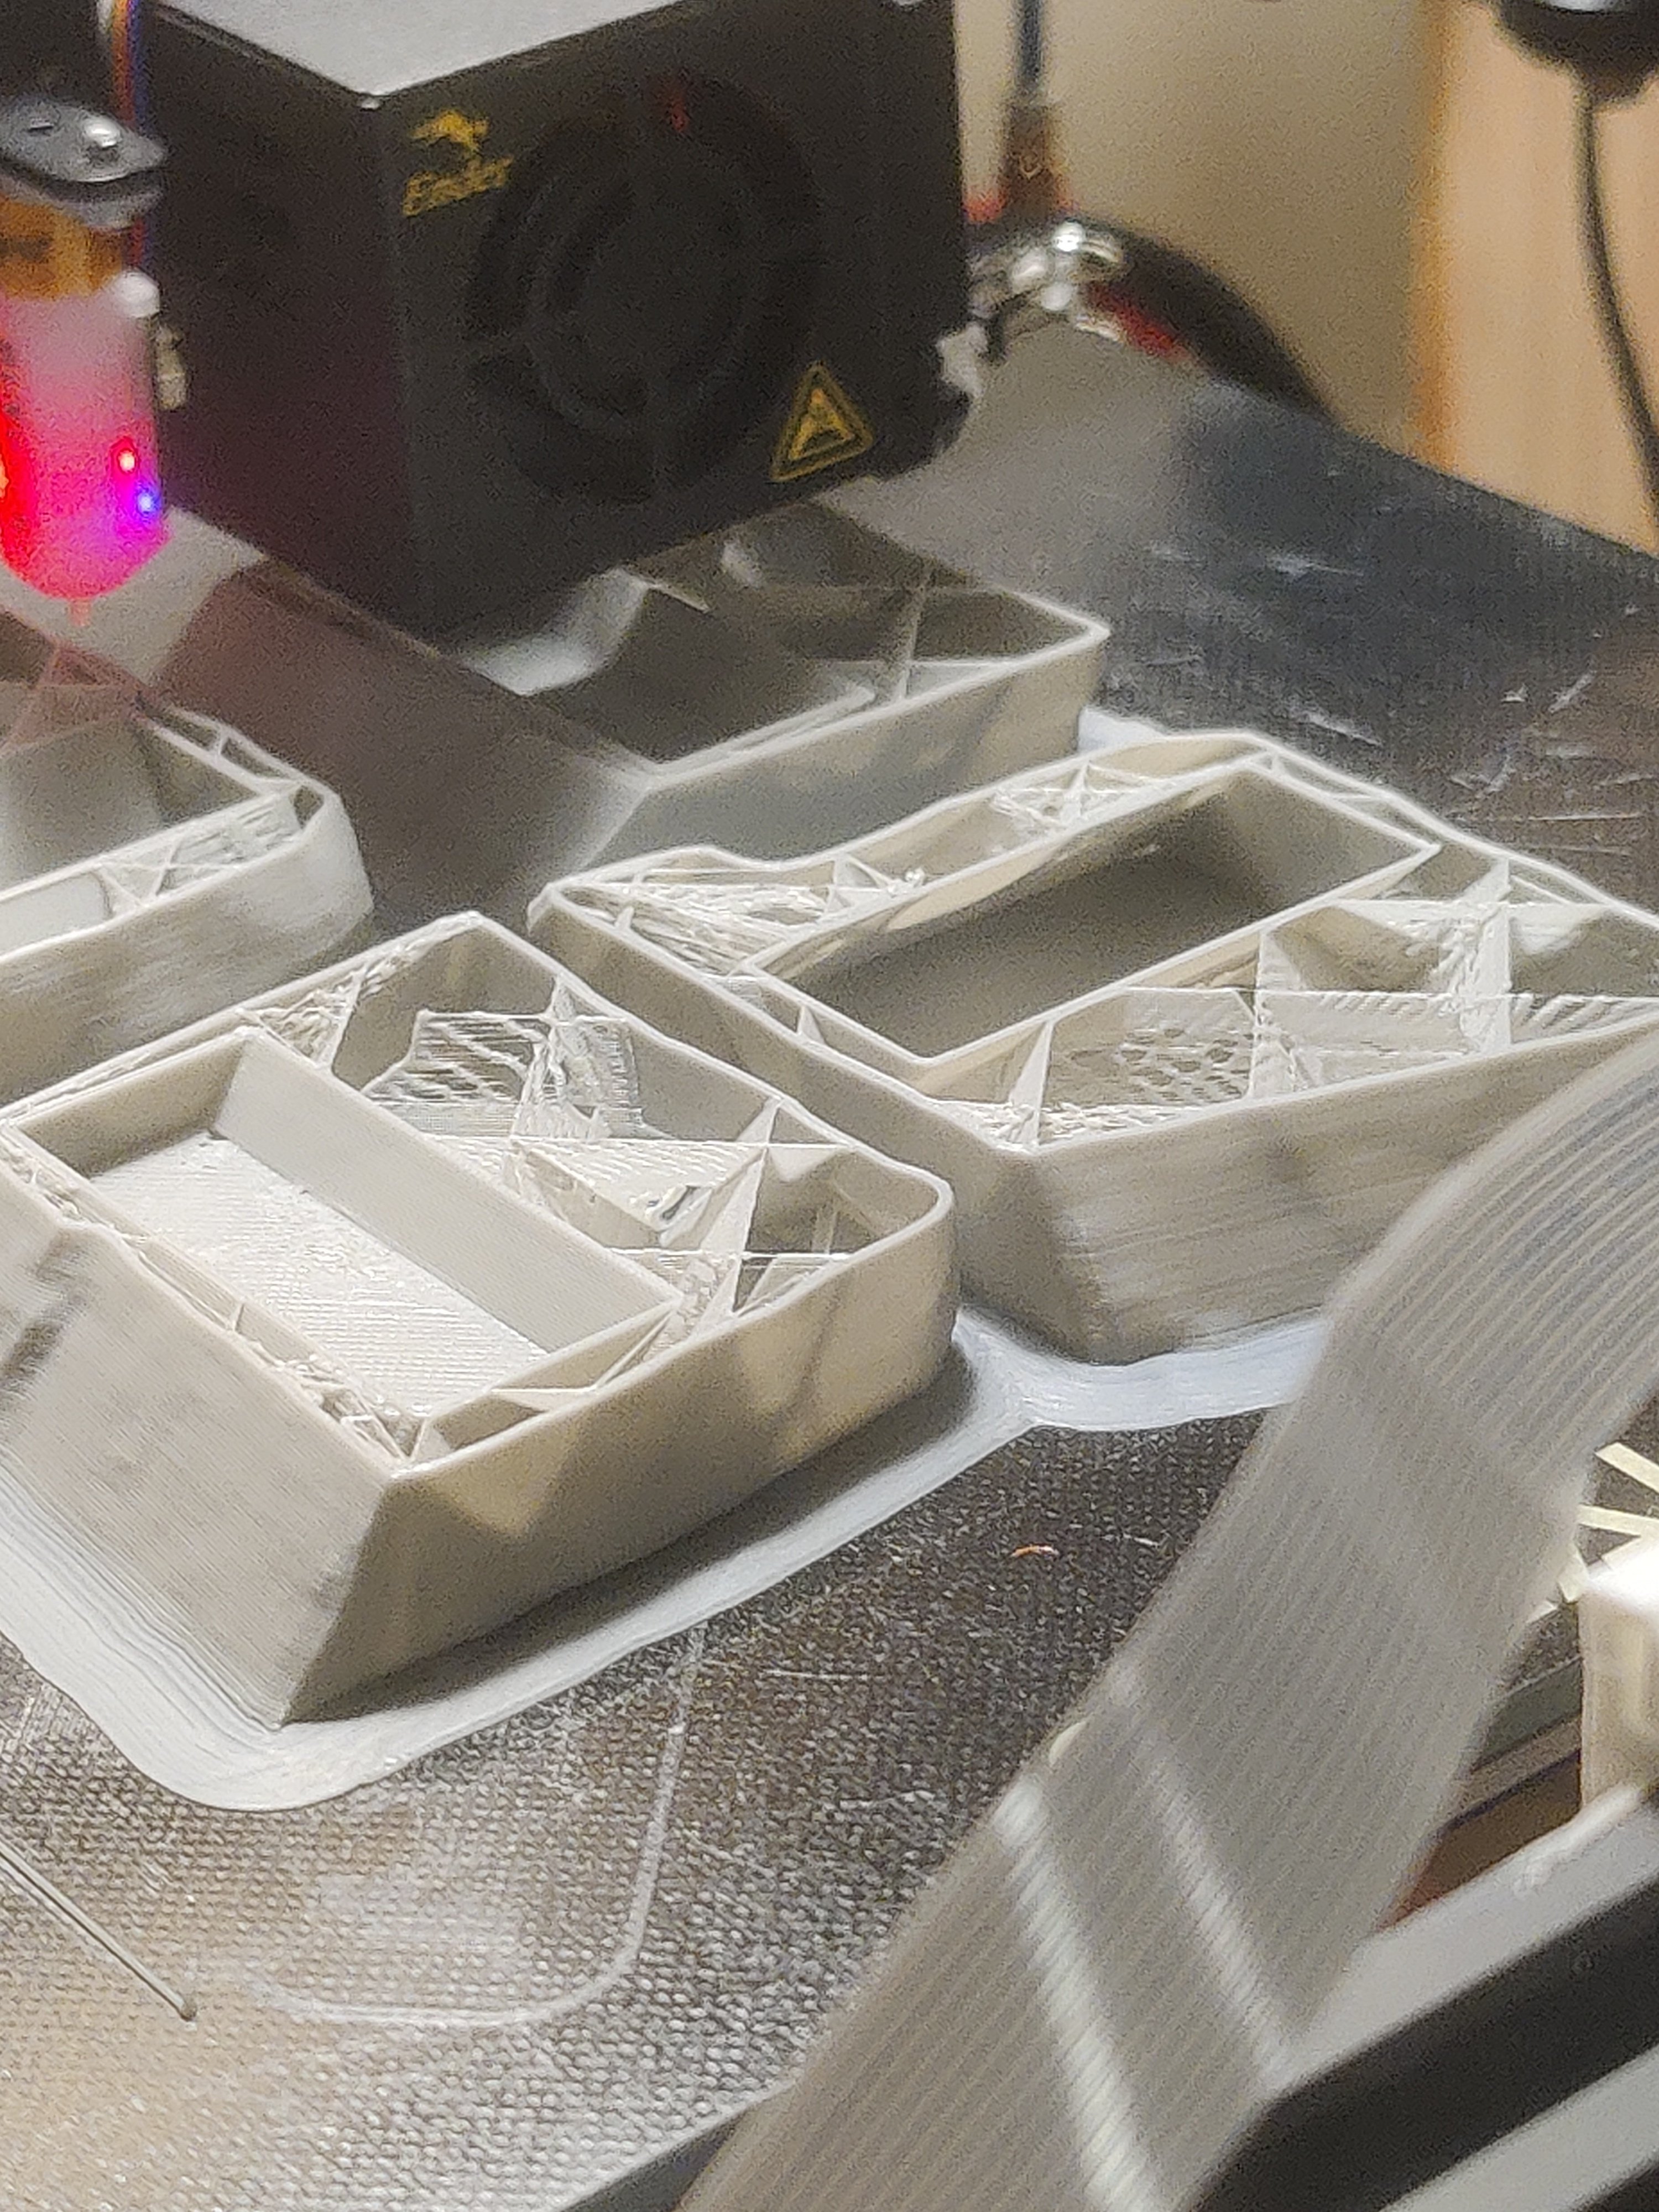
I will say this about the whizz-bang side firing build plate fan in these new 3rd gen Qidi printers... It's completely unnecessary, at least with regular PLA. Less than useless. It cools the plate too much, to the point that it can't maintain its surface temperature and your parts will curl and lift off the plate on the side where the fan is. I just disabled it in the slicer. Even printing at pretty high speed -- IIRC the default for regular PLA is 250 mm/sec -- I haven't found any need for the extra cooling, not even with bridges and stuff. Maybe it's more useful when you're printing with Qidi's "Rapido" PLA, which I'm sure as hell not paying for.

Also.

Heh heh heh.

738
14
submitted 1 year ago* (last edited 1 year ago) by [email protected] to c/3dprinting


Hi all Lately, my printer has been throwing tantrums. It happens that when it starts up, it refuses to connect to Klipper on my RasberryPi. I don't know if it's because I'm using a smart plug to turn off my printer or if it's an update that has a broken roof. The only solution I found was to flash the original firmware and flash klipper again.

No one would have a clue please?

Edit : looks like my usb C cable is tired. Just try another one and it work! Tanks all for your help.

739
740


I'm a beginner 3D printing novice. I have done about 5-6 successful prints so far, and my last two have technically come out fine, but they seem very brittle. By brittle, i mean that both prints have snapped cleanly into several pieces, not by design. My extremely novice research has led me to think it's a layer adhesion issue - it is very cold here where I am right now, and I print in a non-climate controlled shed because of reasons. I do have an enclosure though, so i tried printing my PLA at 205 instead of 200, but same result. Is there a better way to correct prints snapping apart like that? I don't feel like i used any excessive force.

Ender 3 Pro Polymaker dual matte white/black PLA 1.75mm

741


Apparently some group has broken Bambus encryption.

Apparently, as he claims, the logs reveal not only (further) licensing issues with Bambu, they also apparently send the complete Model you want to print to Bambu, which would be a huge issue for any companies using them.

What do you think?
Anyone ever checked on the size of the logs? Does it make sense that they actually send the whole Model?

/e: clarification, apparently the logs do not get sent to bambu by default on every print (even while in LAN-Mode) as it can be understood here, but all of this info is in the logs you can manually choose to send to Bambu (i.e. in the case of an issue with a print(/er) bambu is reasonably likely to ask for this).

742


Just finished installing it this evening. Going to update the firmware, run thermal model, and PID tune tomorrow. Also installed the silicone bed mod and need to level everything out. Got a busy day tomorrow, wish me luck.

743
53
submitted 1 year ago by callcc to c/3dprinting


Has anyone thought about printing narrower lines in order to get sharper corners? Once Linear advance or Pressure advance is activated, you don't get bulging corners anymore... but can we do better?

Has this been implemented anywhere yet? Does it have a name?

744


I must admit I have a ender 3 v2 with zero upgrades. I just prints without a lot of tweaking.

I do however look what I can upgrade, but as it's working fine never did it.

745


This was a really concise way to explain layer lines and chamfers and fillets.

746


When I click a tag on a thing I get what I think is their 404 page. At least I think it is because they decided to to make it all cute rather than provide information

747


I posted here a bit ago with zero 3d printing experience. You guys helped me mash this case together. I printed it, attached it to my phone, and it seems to work. It has a magnetic ring that I bought from quadlock, but it fits in the case, so it effective has both quadlock and magsafe capabilities. I reinforced the attachment points with 3m transfer tape, and it is solid.

My next project to print (which someone already has made) is a mod to convert the quadlock bicycle mount into a wireless charger.

Thanks all!

I'm very happy to see this community seems to be thriving here, and im impressed with how many people quickly engaged me with ideas on how to mash two things together. I've abstained from the old site since last May time-frame, and I'm honestly happy with the quality of interactions I've had here.

748


I say having spent the last weekish frustrated that my printer seemed to just be awful at making prints with even loose tolerances all the sudden.

I was using filament that had been left out a month or two, so not long at all, so I thought. Killed the rest of the spool trying to tune things, prints worked perfectly when I got a new spool out.

Goddamnit.

749
750


I'm using an Anycubic Kobra 2 printer, it has a nice rubber pad at the back of the plate, which i assume is for wiping the nozze? However the printer profile Anycubic provides for prusa slicer doesn't use it at all, and actually has a fair amount of oozing because it heats the extruder first (which it then doesn't wipe away). So i decided i would add it myself. I'm completely new 3D printing, having only had the printer for a little over a week, so my solution may be a bit rough around the edges.

################ Start G-code with nozzle wipe and purge in back-left corner ################
G90                                        ; use absolute coordinates
M83                                        ; set extruder to relative mode
M140 S[first_layer_bed_temperature]        ; set bed temp
G28                                        ; home all axes
G1 Z2                                      ; raise nozzle to 2mm
G92 E0                                     ; reset extruder position
G1 X80 Y240 F1500                          ; position nozzle right next to wipe pad
M104 S[first_layer_temperature]            ; set extruder temp
M190 S[first_layer_bed_temperature]        ; wait for bed temp
M109 S[first_layer_temperature]            ; wait for extruder temp
G1 Z0                                      ; lower nozzle before wiping
G1 X90 F500                                ; wipe nozzle across pad in X direction
G1 Y235 F500                               ; wipe nozze in Y direction
G1 Z3                                      ; lift nozzle to 3mm
G1 X5 Y225 F3000                           ; move nozze to back-left corner of bed for purging
G1 Z0.28                                   ; lower nozzle to 0.28mm
G1 X45 E25 F500                            ; extrude 25mm of filament in a 40mm line
G92 E0                                     ; reset extruder position
G1 E-3 F3000                               ; quickly retract filament 3mm
G1 X90 F4000                               ; quickly move away from purge

The printer also end with the bed pulled all the way to the back, which I disliked since i would prefer it presented at the front for easy removal.

################ End G-code which presents the print for easy removal by pushing the bed fully forward ################
M104 S0                                    ; Extruder off 
M140 S0                                    ; Heatbed off 

G92 E0                                     ; reset extruder position
G1 E-5 F3000                               ; quickly retract filament 5mm
G91                                        ; use relative positioning
G1 Z1                                      ; lift nozzle 1mm
G28 X0 Y0                                  ; home X and Y axis
G1 X0 Y240 F3000                           ; move nozzle to the side and bed fully forward
M107                                       ; Fan off 
M84                                        ; disable stepper motors
view more: ‹ prev next ›