426
3DPrinting
16354 readers
263 users here now
3DPrinting is a place where makers of all skill levels and walks of life can learn about and discuss 3D printing and development of 3D printed parts and devices.
The r/functionalprint community is now located at: or [email protected]
There are CAD communities available at: [email protected] or [email protected]
Rules
-
No bigotry - including racism, sexism, ableism, homophobia, transphobia, or xenophobia. Code of Conduct.
-
Be respectful, especially when disagreeing. Everyone should feel welcome here.
-
No porn (NSFW prints are acceptable but must be marked NSFW)
-
No Ads / Spamming / Guerrilla Marketing
-
Do not create links to reddit
-
If you see an issue please flag it
-
No guns
-
No injury gore posts
If you need an easy way to host pictures, https://catbox.moe may be an option. Be ethical about what you post and donate if you are able or use this a lot. It is just an individual hosting content, not a company. The image embedding syntax for Lemmy is 
Moderation policy: Light, mostly invisible
founded 2 years ago
MODERATORS
427
428
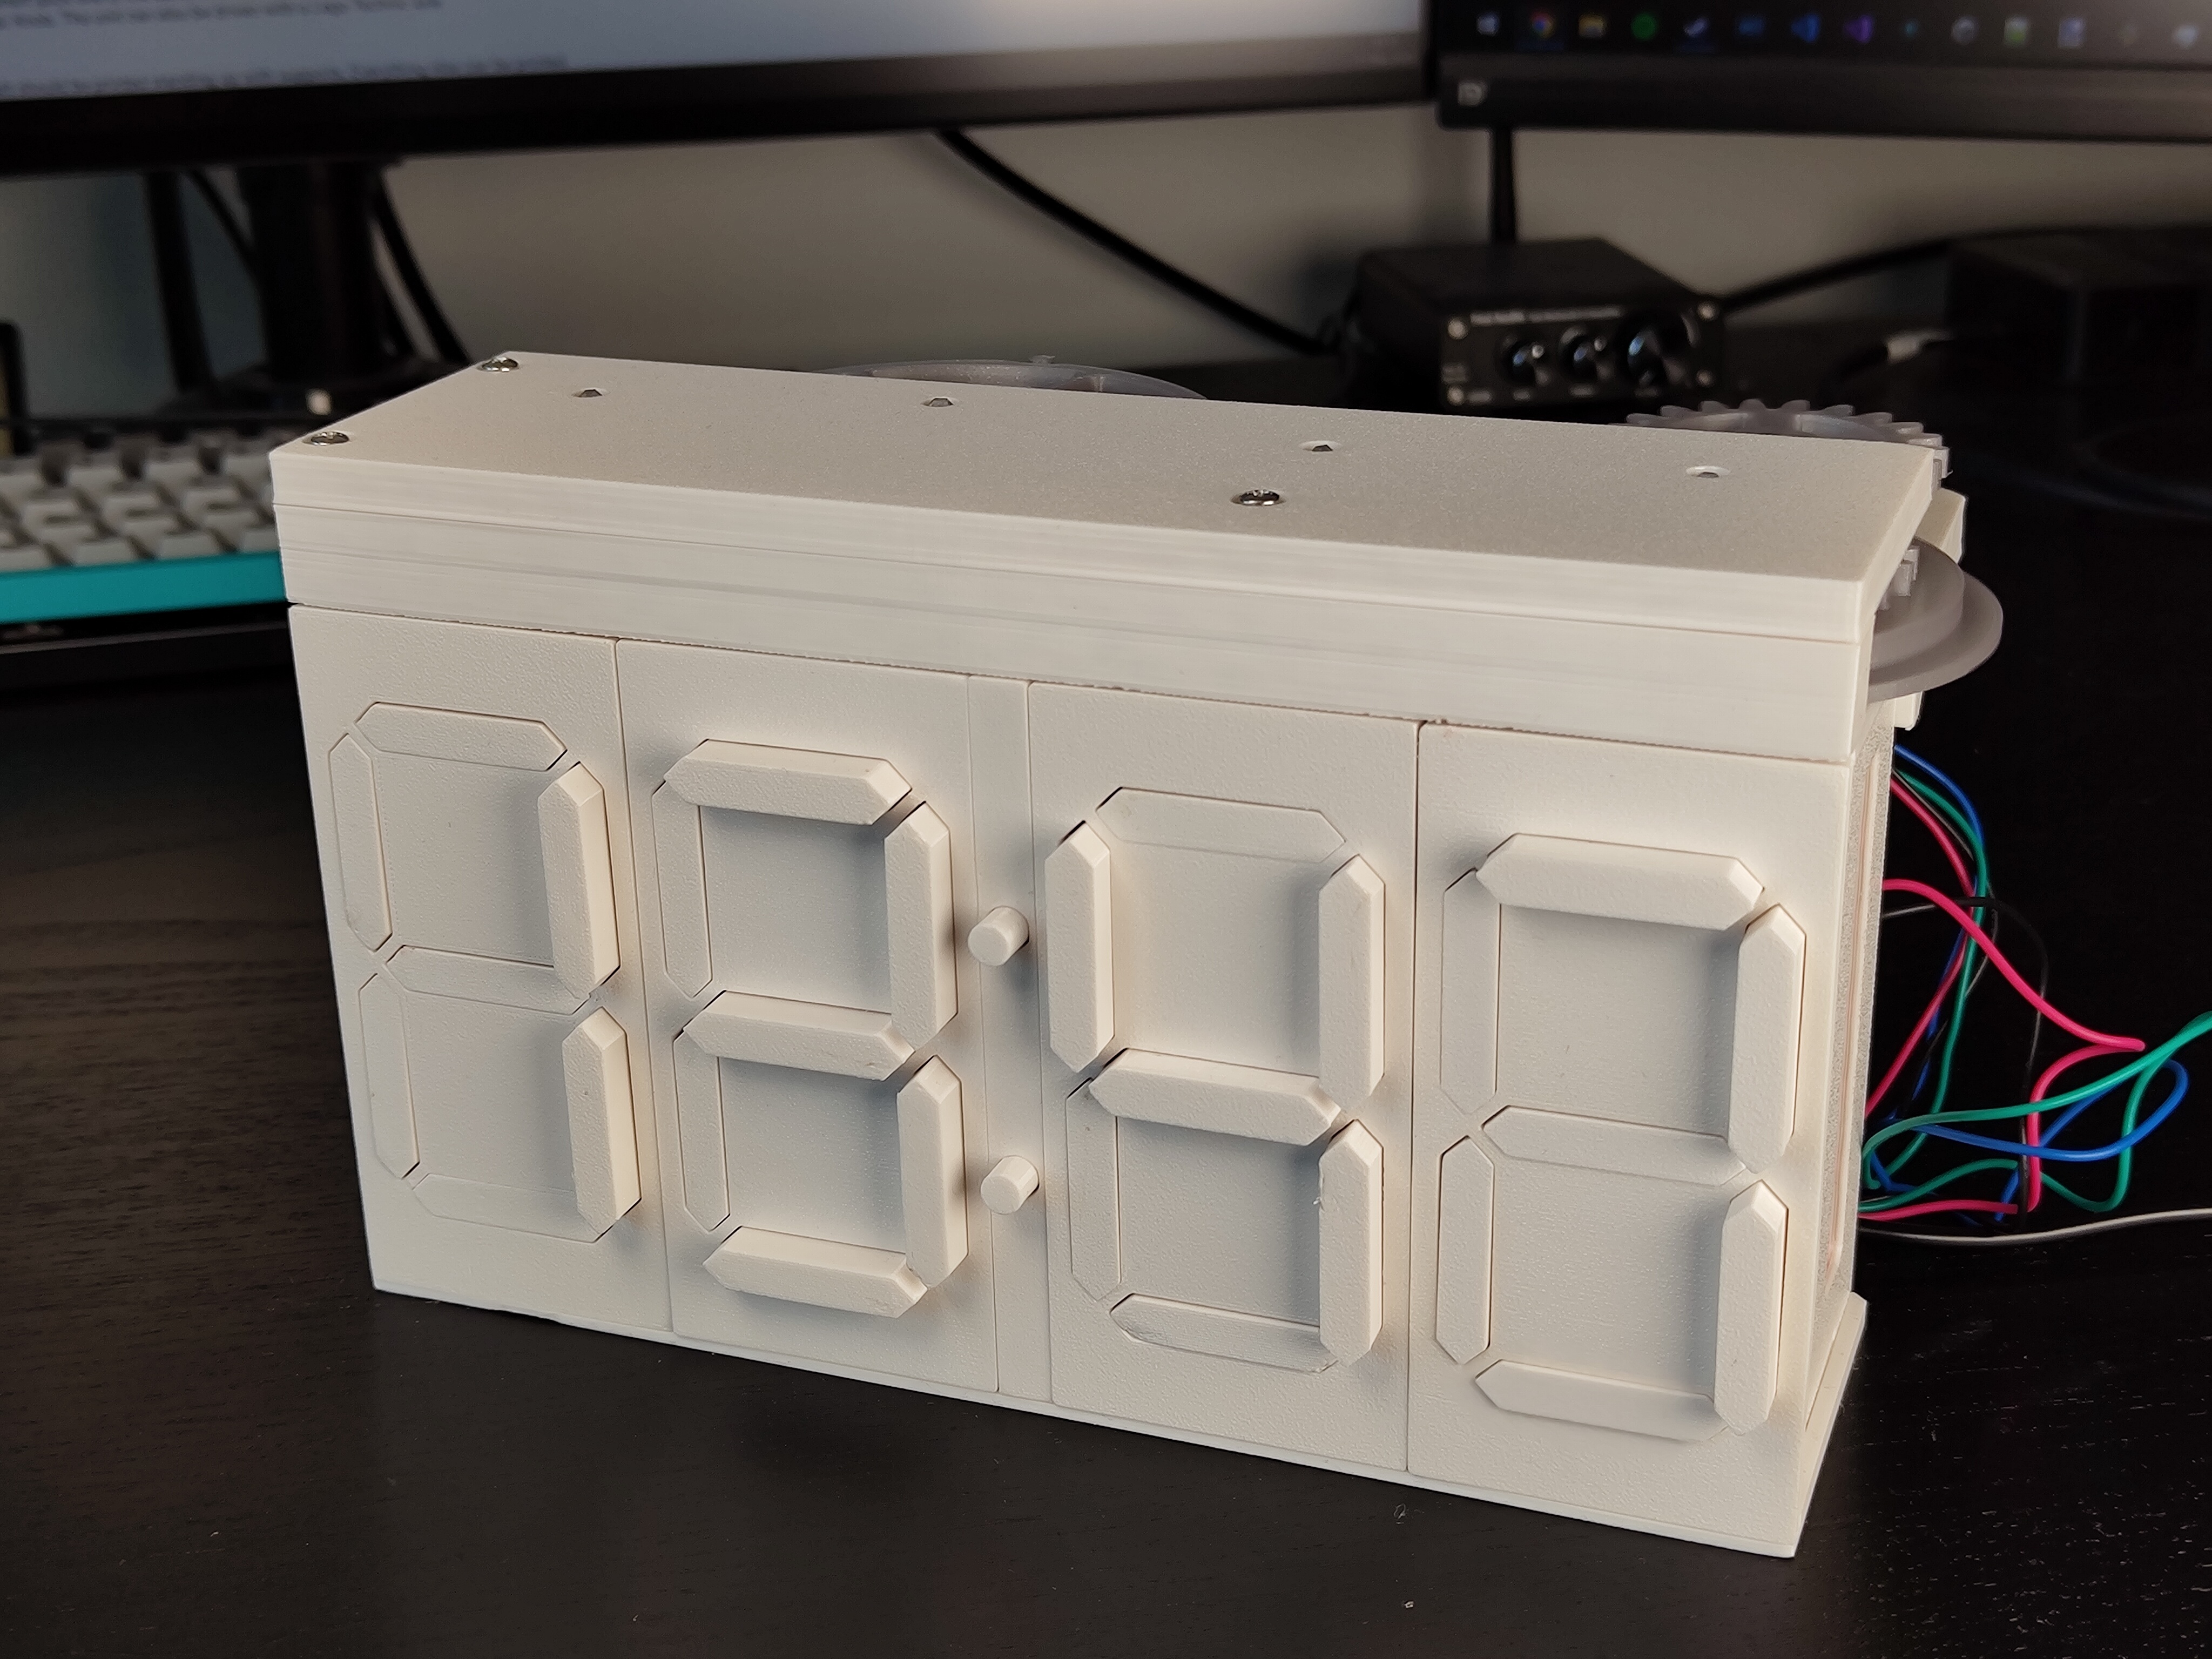
Made a FreeCAD tutorial for making this container: https://makertube.net/w/mg7rdKStSUua7AhnAt1RoM I have to warn you that I made a bunch of mistakes and it may be really hard to follow.
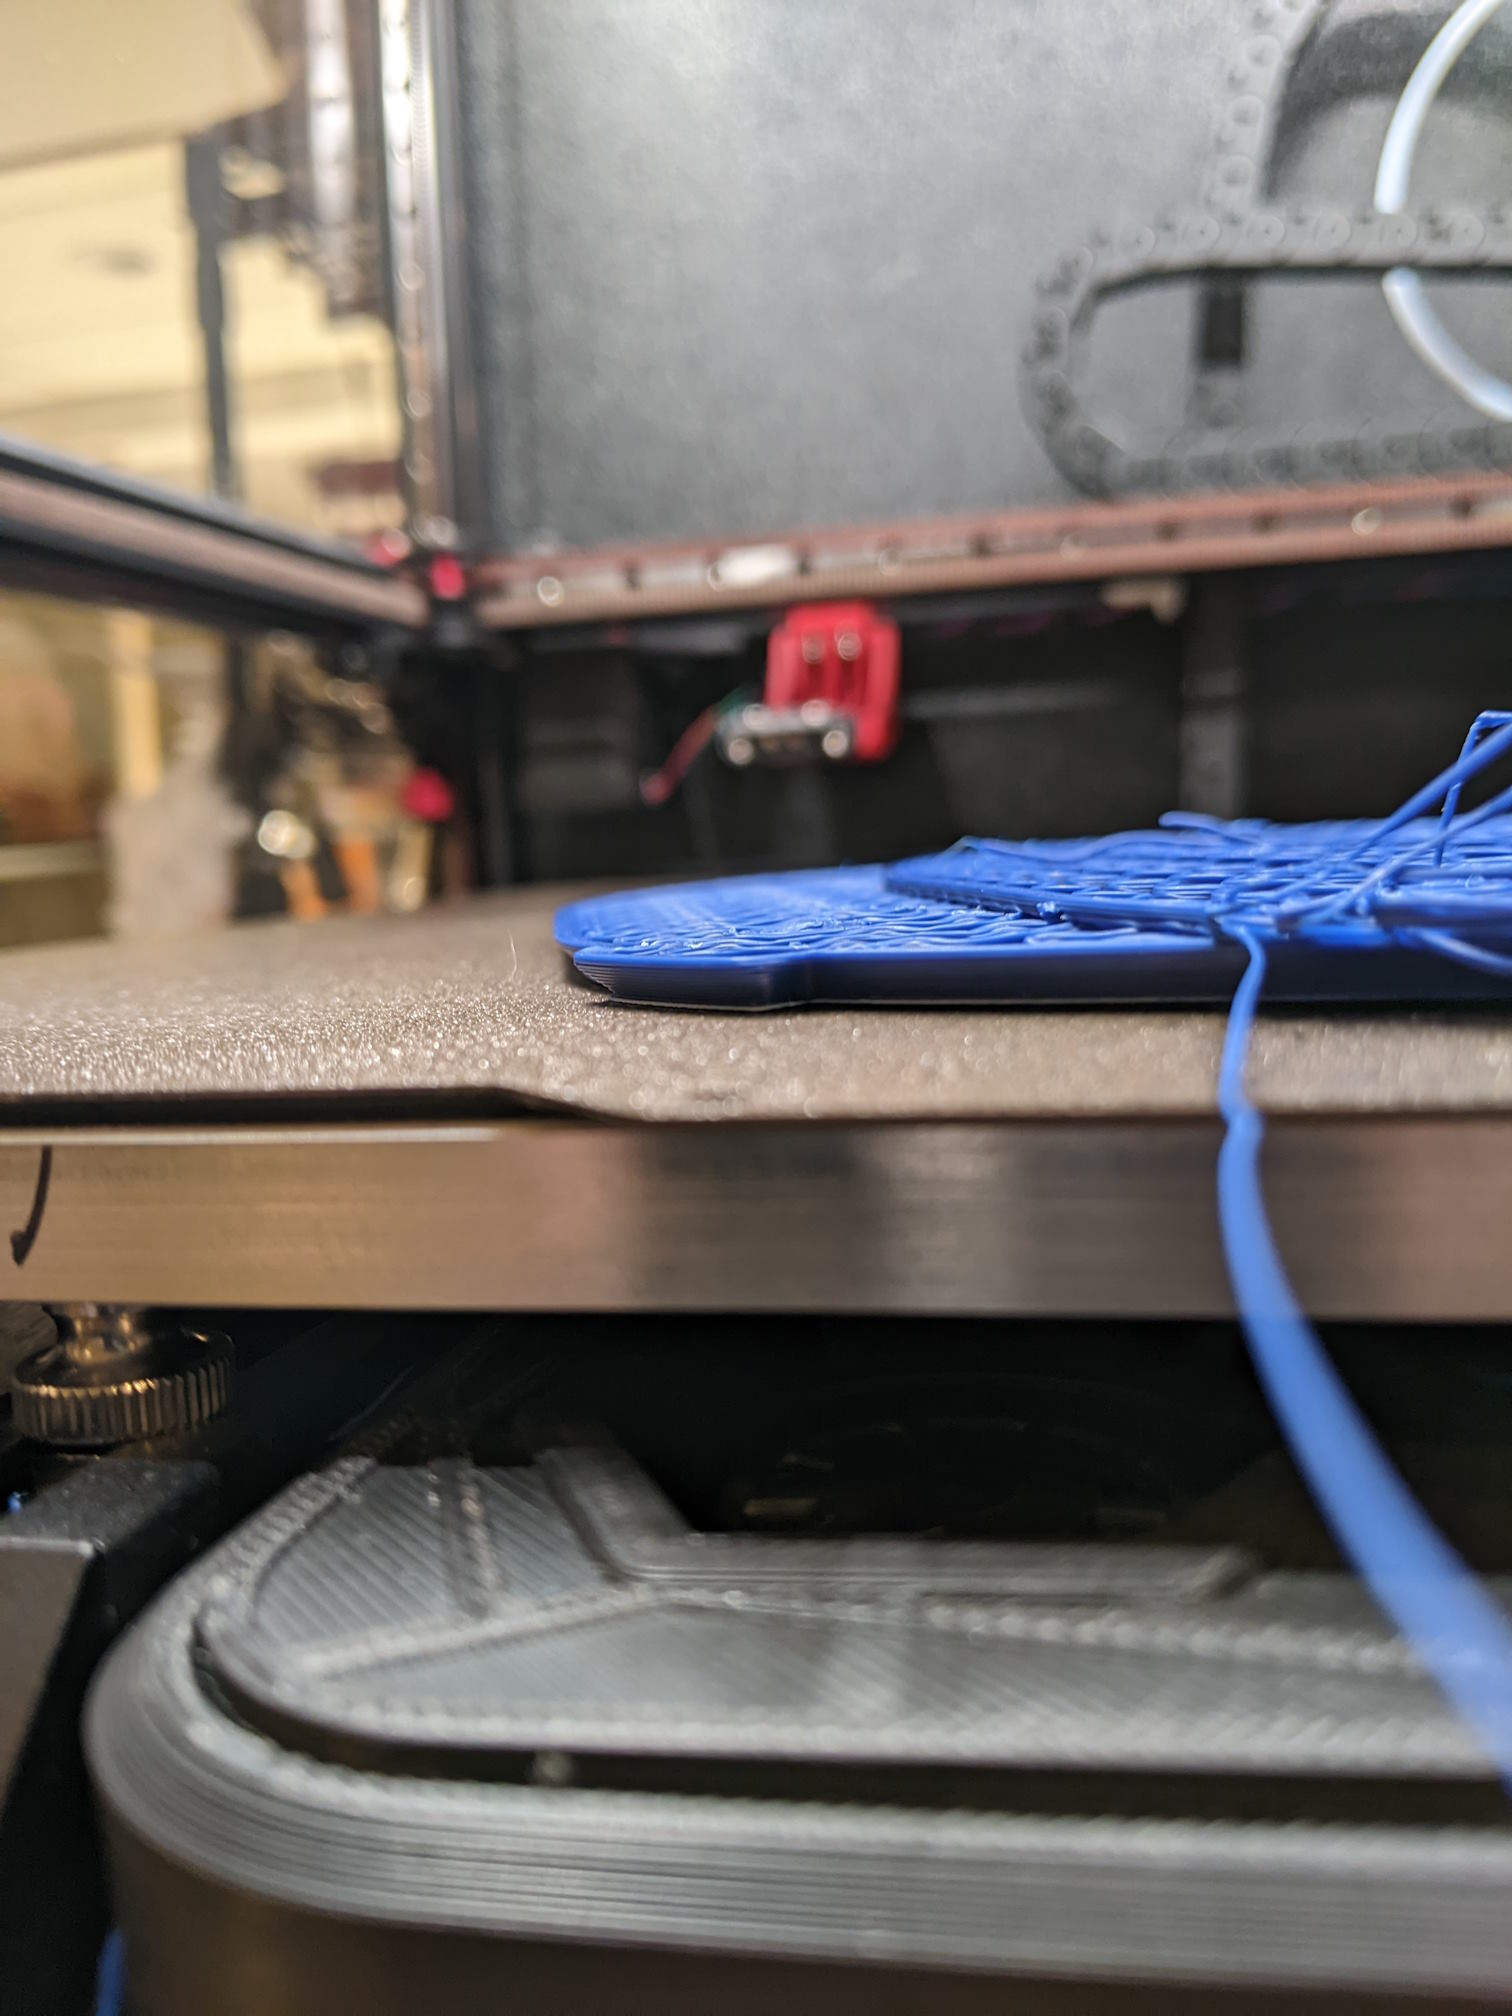
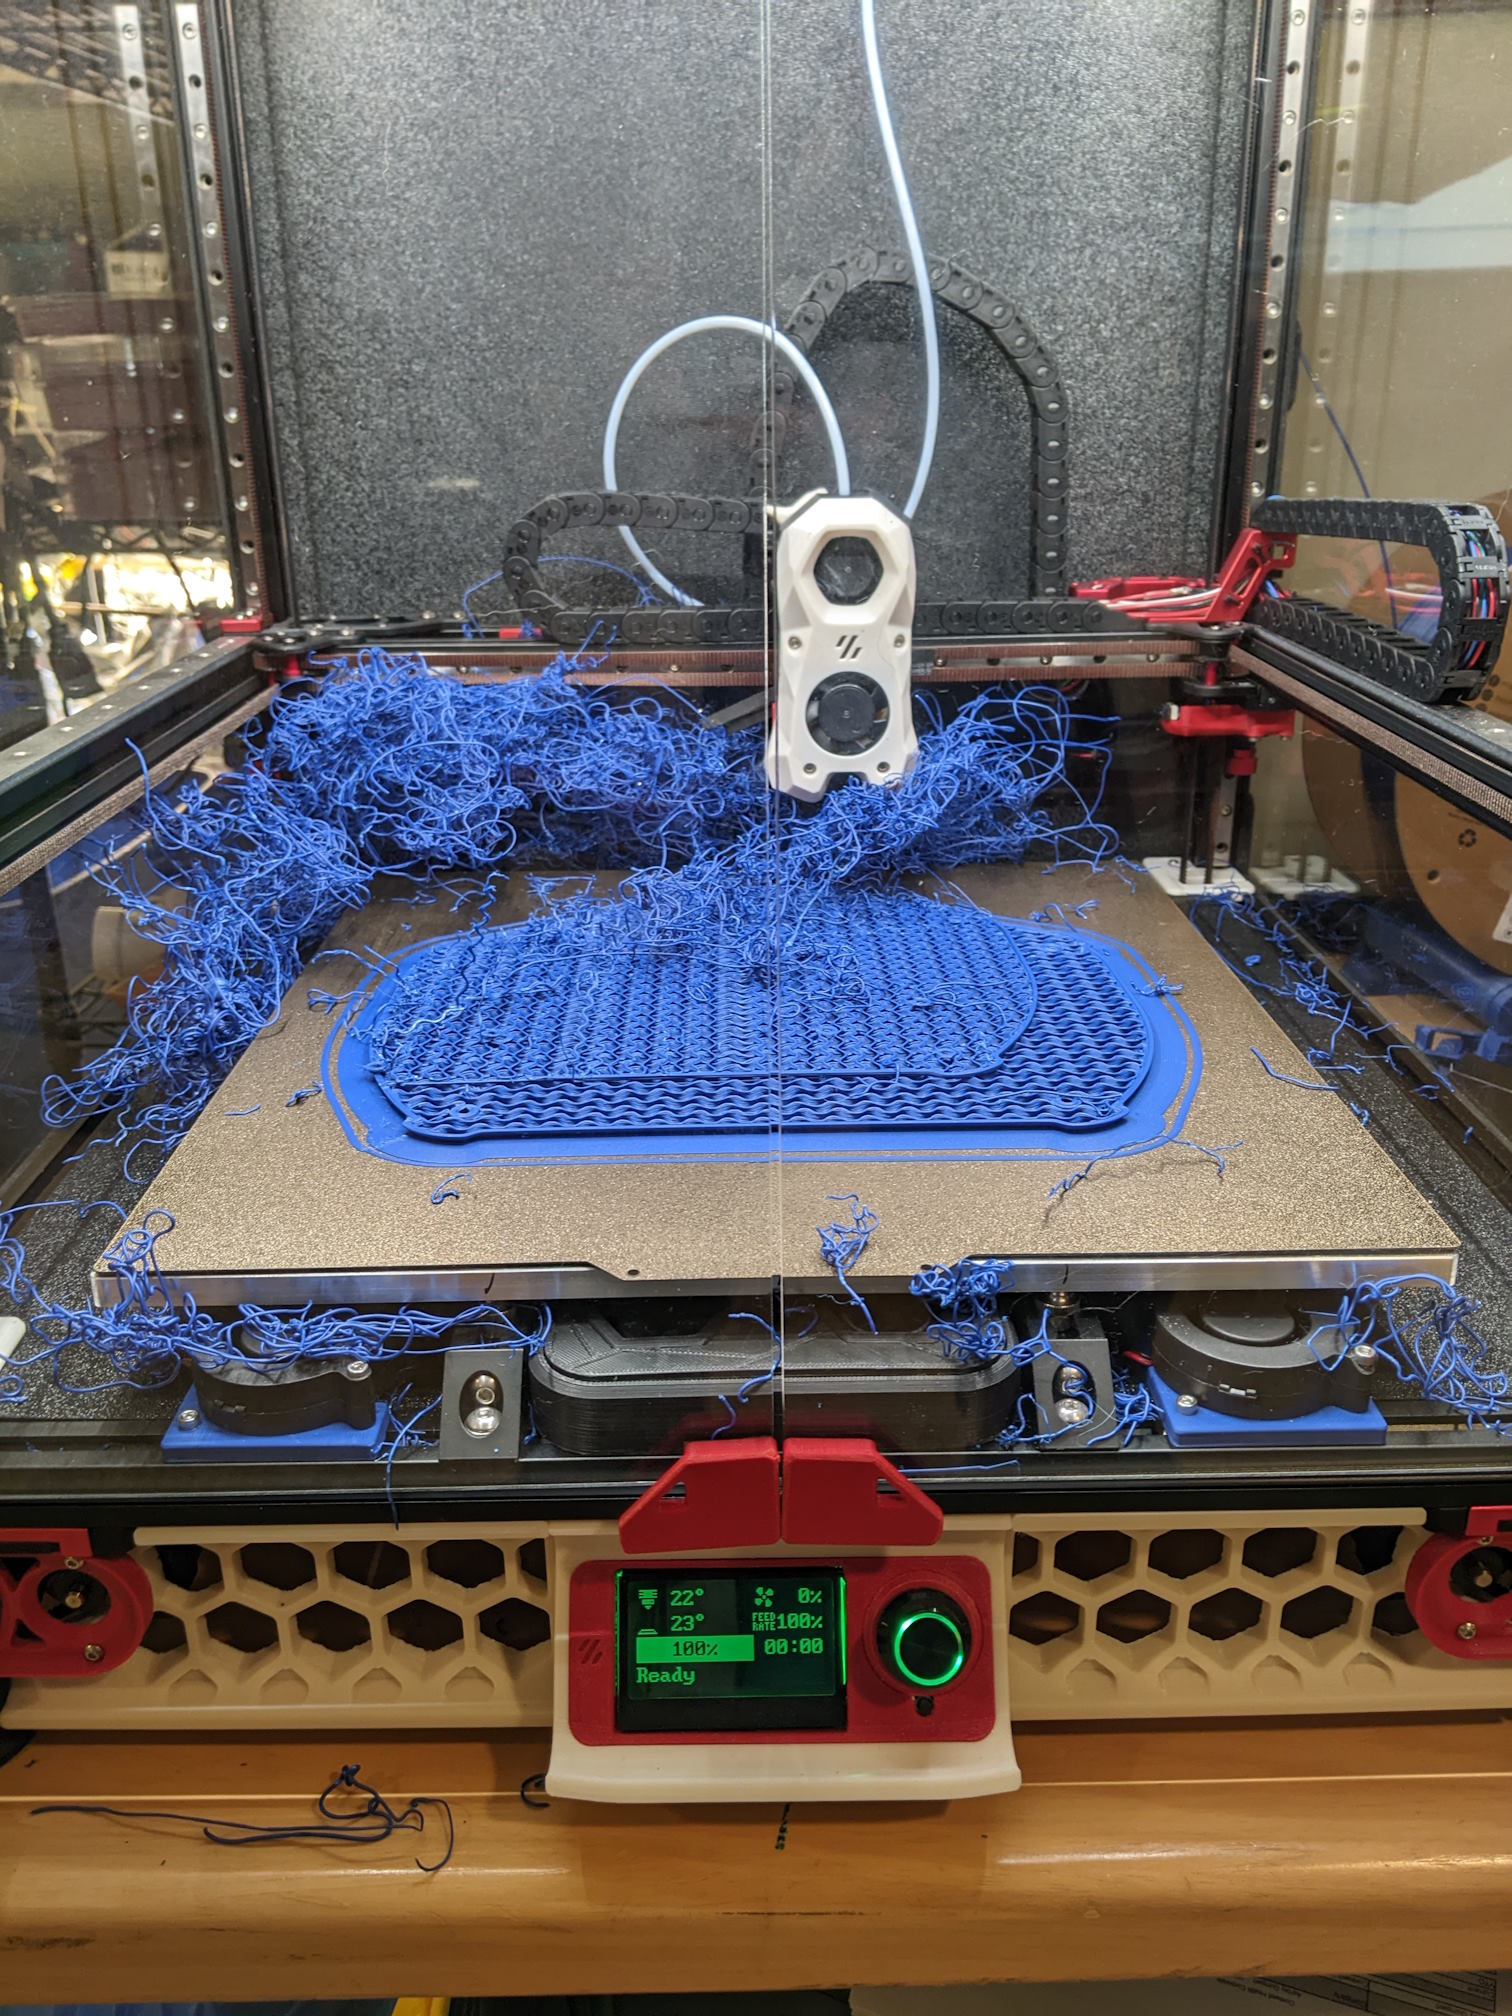
429
This is a follow up from my spaghetti post a few days ago.
Good news: I caught the nozzle catching on the infill during travels. The infill must have been curling up ever so slightly. Turning z-hop on solved this. I also bumped my nozzle to 255 based on a temp tower, but I don't think my original issue was flow related.
Bad news: this brought me to the failure above - evidently my chamber temps are too low for this size of ASA part and it warped. Maybe the higher nozzle temp contributed. Maybe this size of ASA part is unrealistic despite not having sharp corners. Maybe it's the fact that it's continuous from side to side. I am still going to attempt to print a hollow cylinder to go between this piece and another similar piece in ASA, so I guess we'll find out!
Good news: the part did not let go of the build plate. I'm pretty happy about this. My first layer is not overly squished, I've never used any adhesion aids (glue stick, hair spray, ASA slurry, etc), etc. Tuning my print_start sequence is resulting in a very consistent first layer.
Bad news: the build plate came up with the print. Holding the build plate down with binder clips or the like would probably just make something else fail.
Good news: I had enough PETG in stock to use that instead. Zero warpage, so great success. I had to go a bit slower because a flow test showed that I'm limited to around 25 mm^3 for PETG before the extrude motor started misstepping, despite bumping temp to 255 °C. I limited flow to 20 mm^3 to be safe. The print's a success so meh.


430
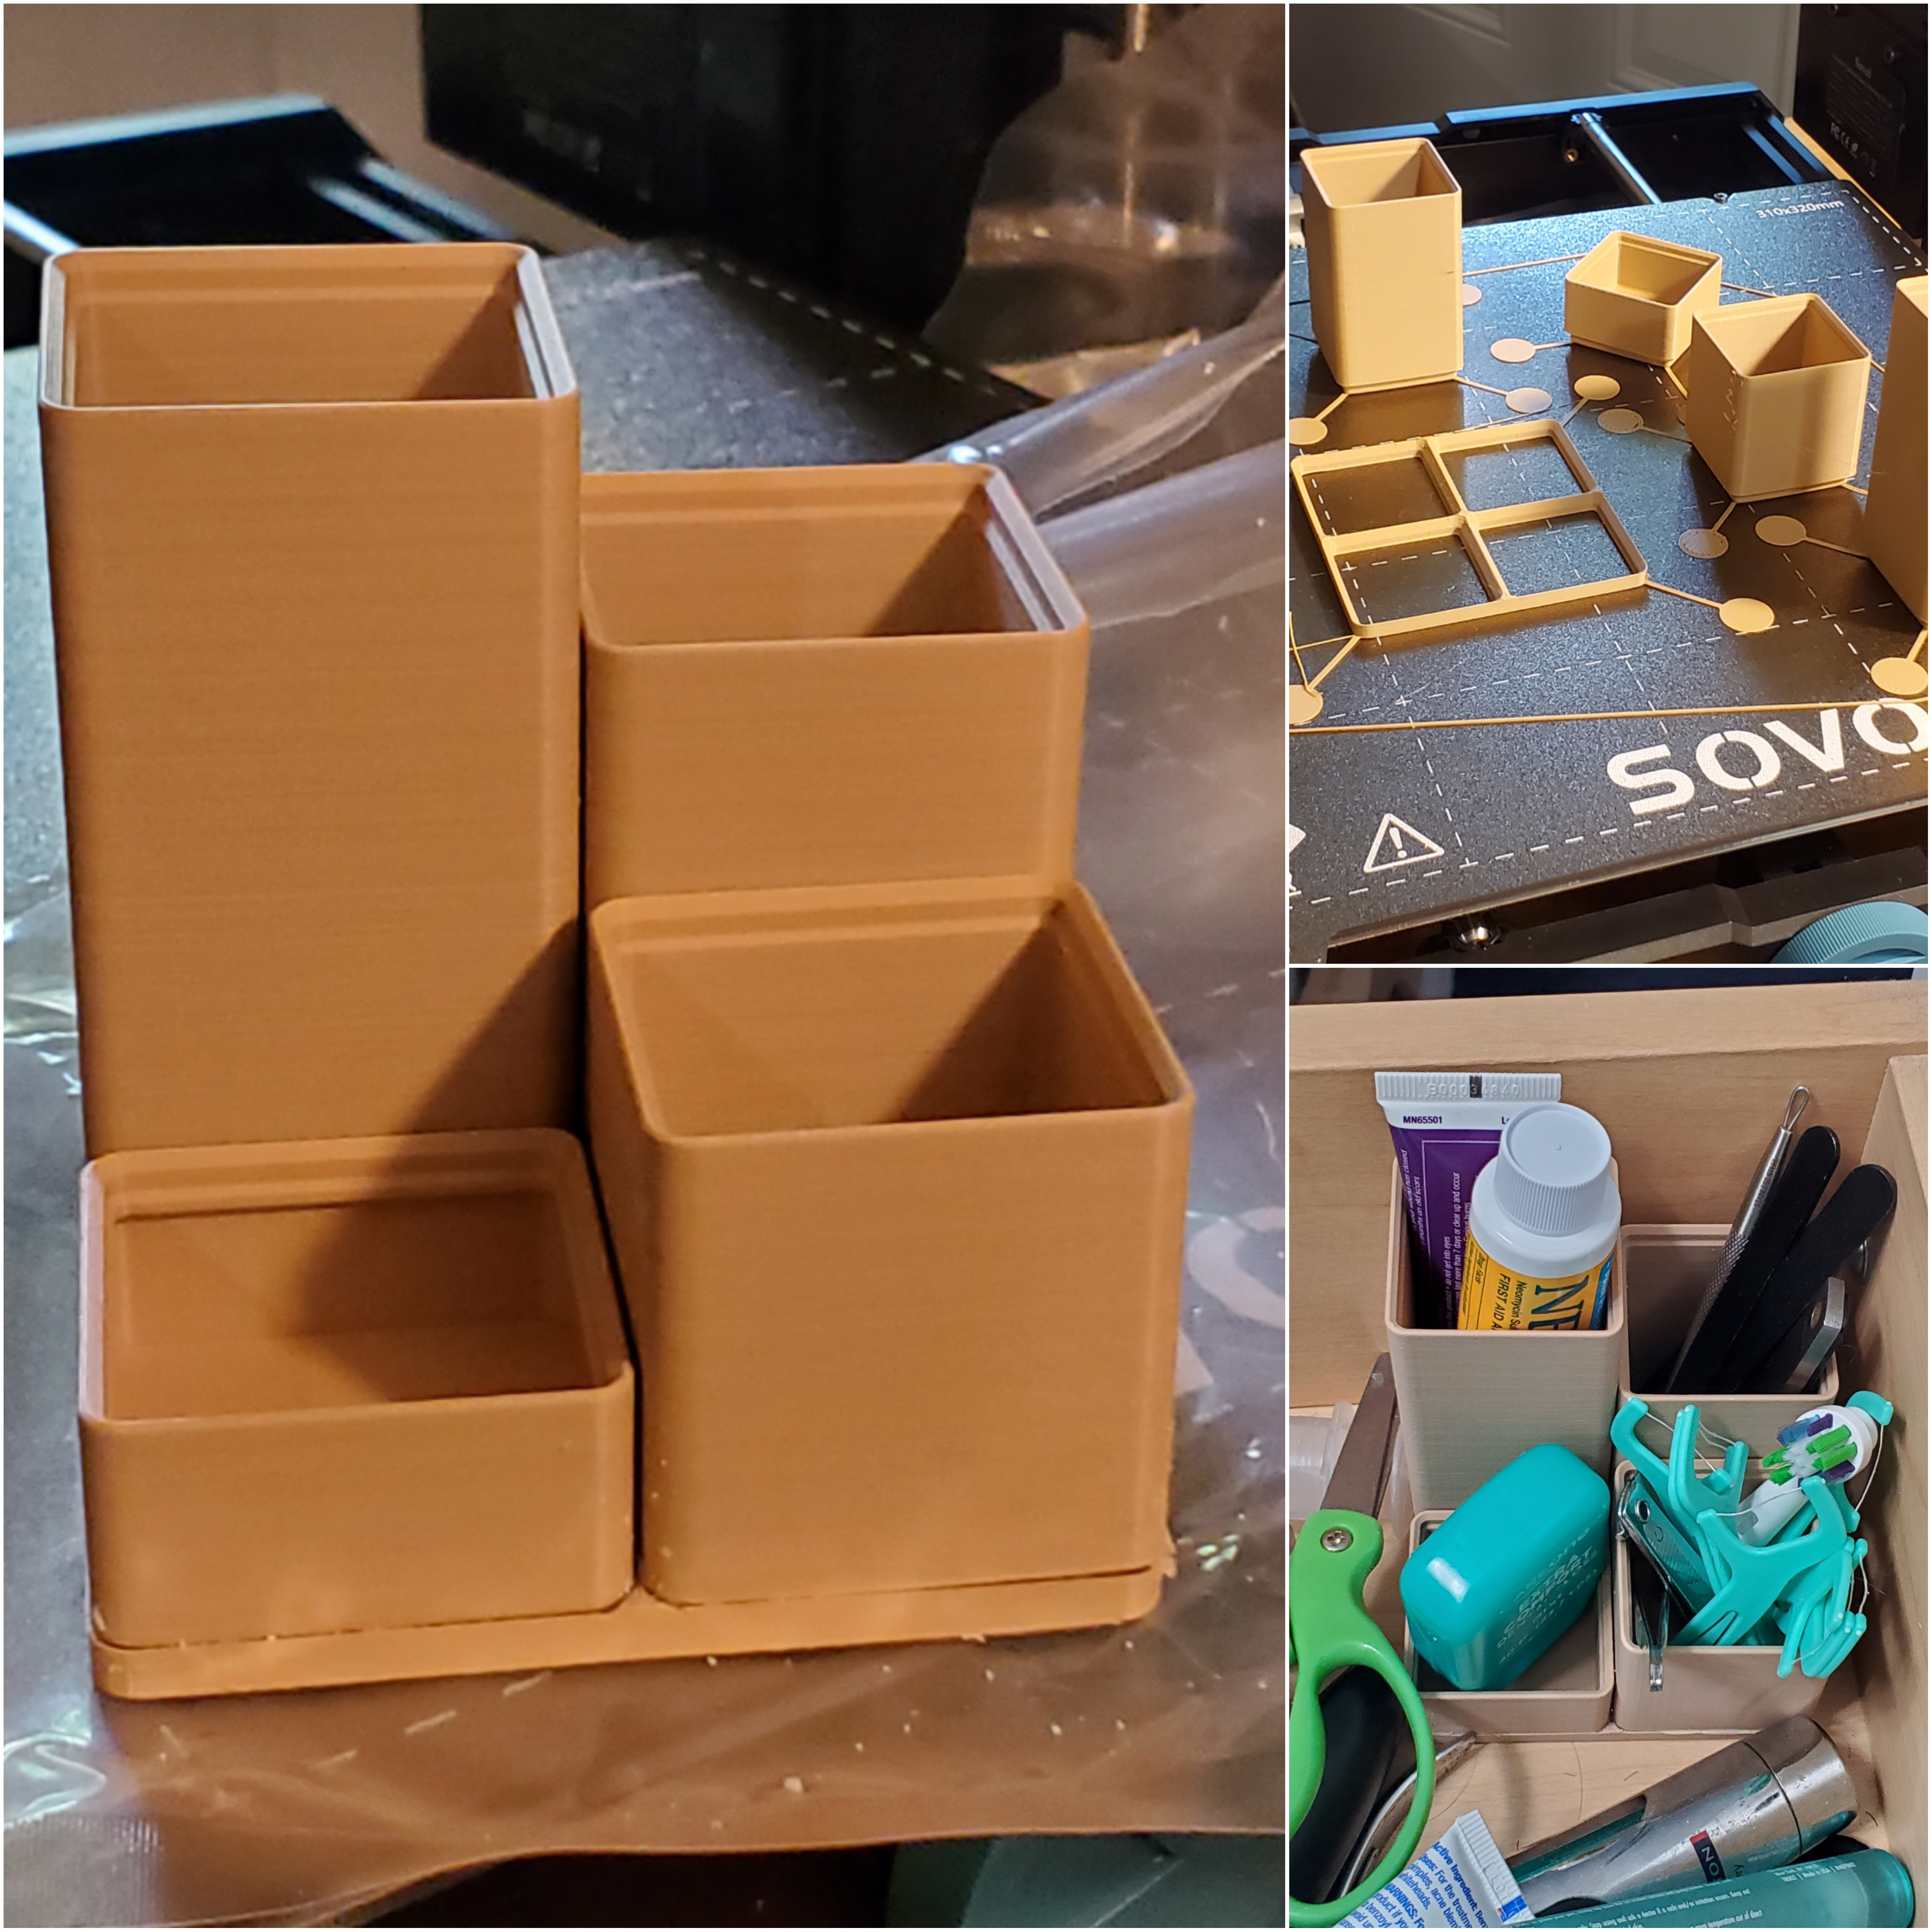
Printed out this little bathroom or whatever organizer. Gridfinity is neat. Choose your bins, glue to the base and viola.
431
You can download the files on:
Thingiverse: https://www.thingiverse.com/thing:6615905
Printables: https://www.printables.com/model/874747
FreeCAD Design Files: https://github.com/the16bitgamer/16BitVirtualStudiosDesigns/tree/main/GLoA%20E-Reader%20Cases/6%20inch
The files are for all the 3D Printable components which makes up the e-reader case. What's not included in the files is the cutting profiles for the case that holds it. But you can just use duck tape or some flexible adhesive and it'll work. Along with the screws, nuts and magnets required.

432
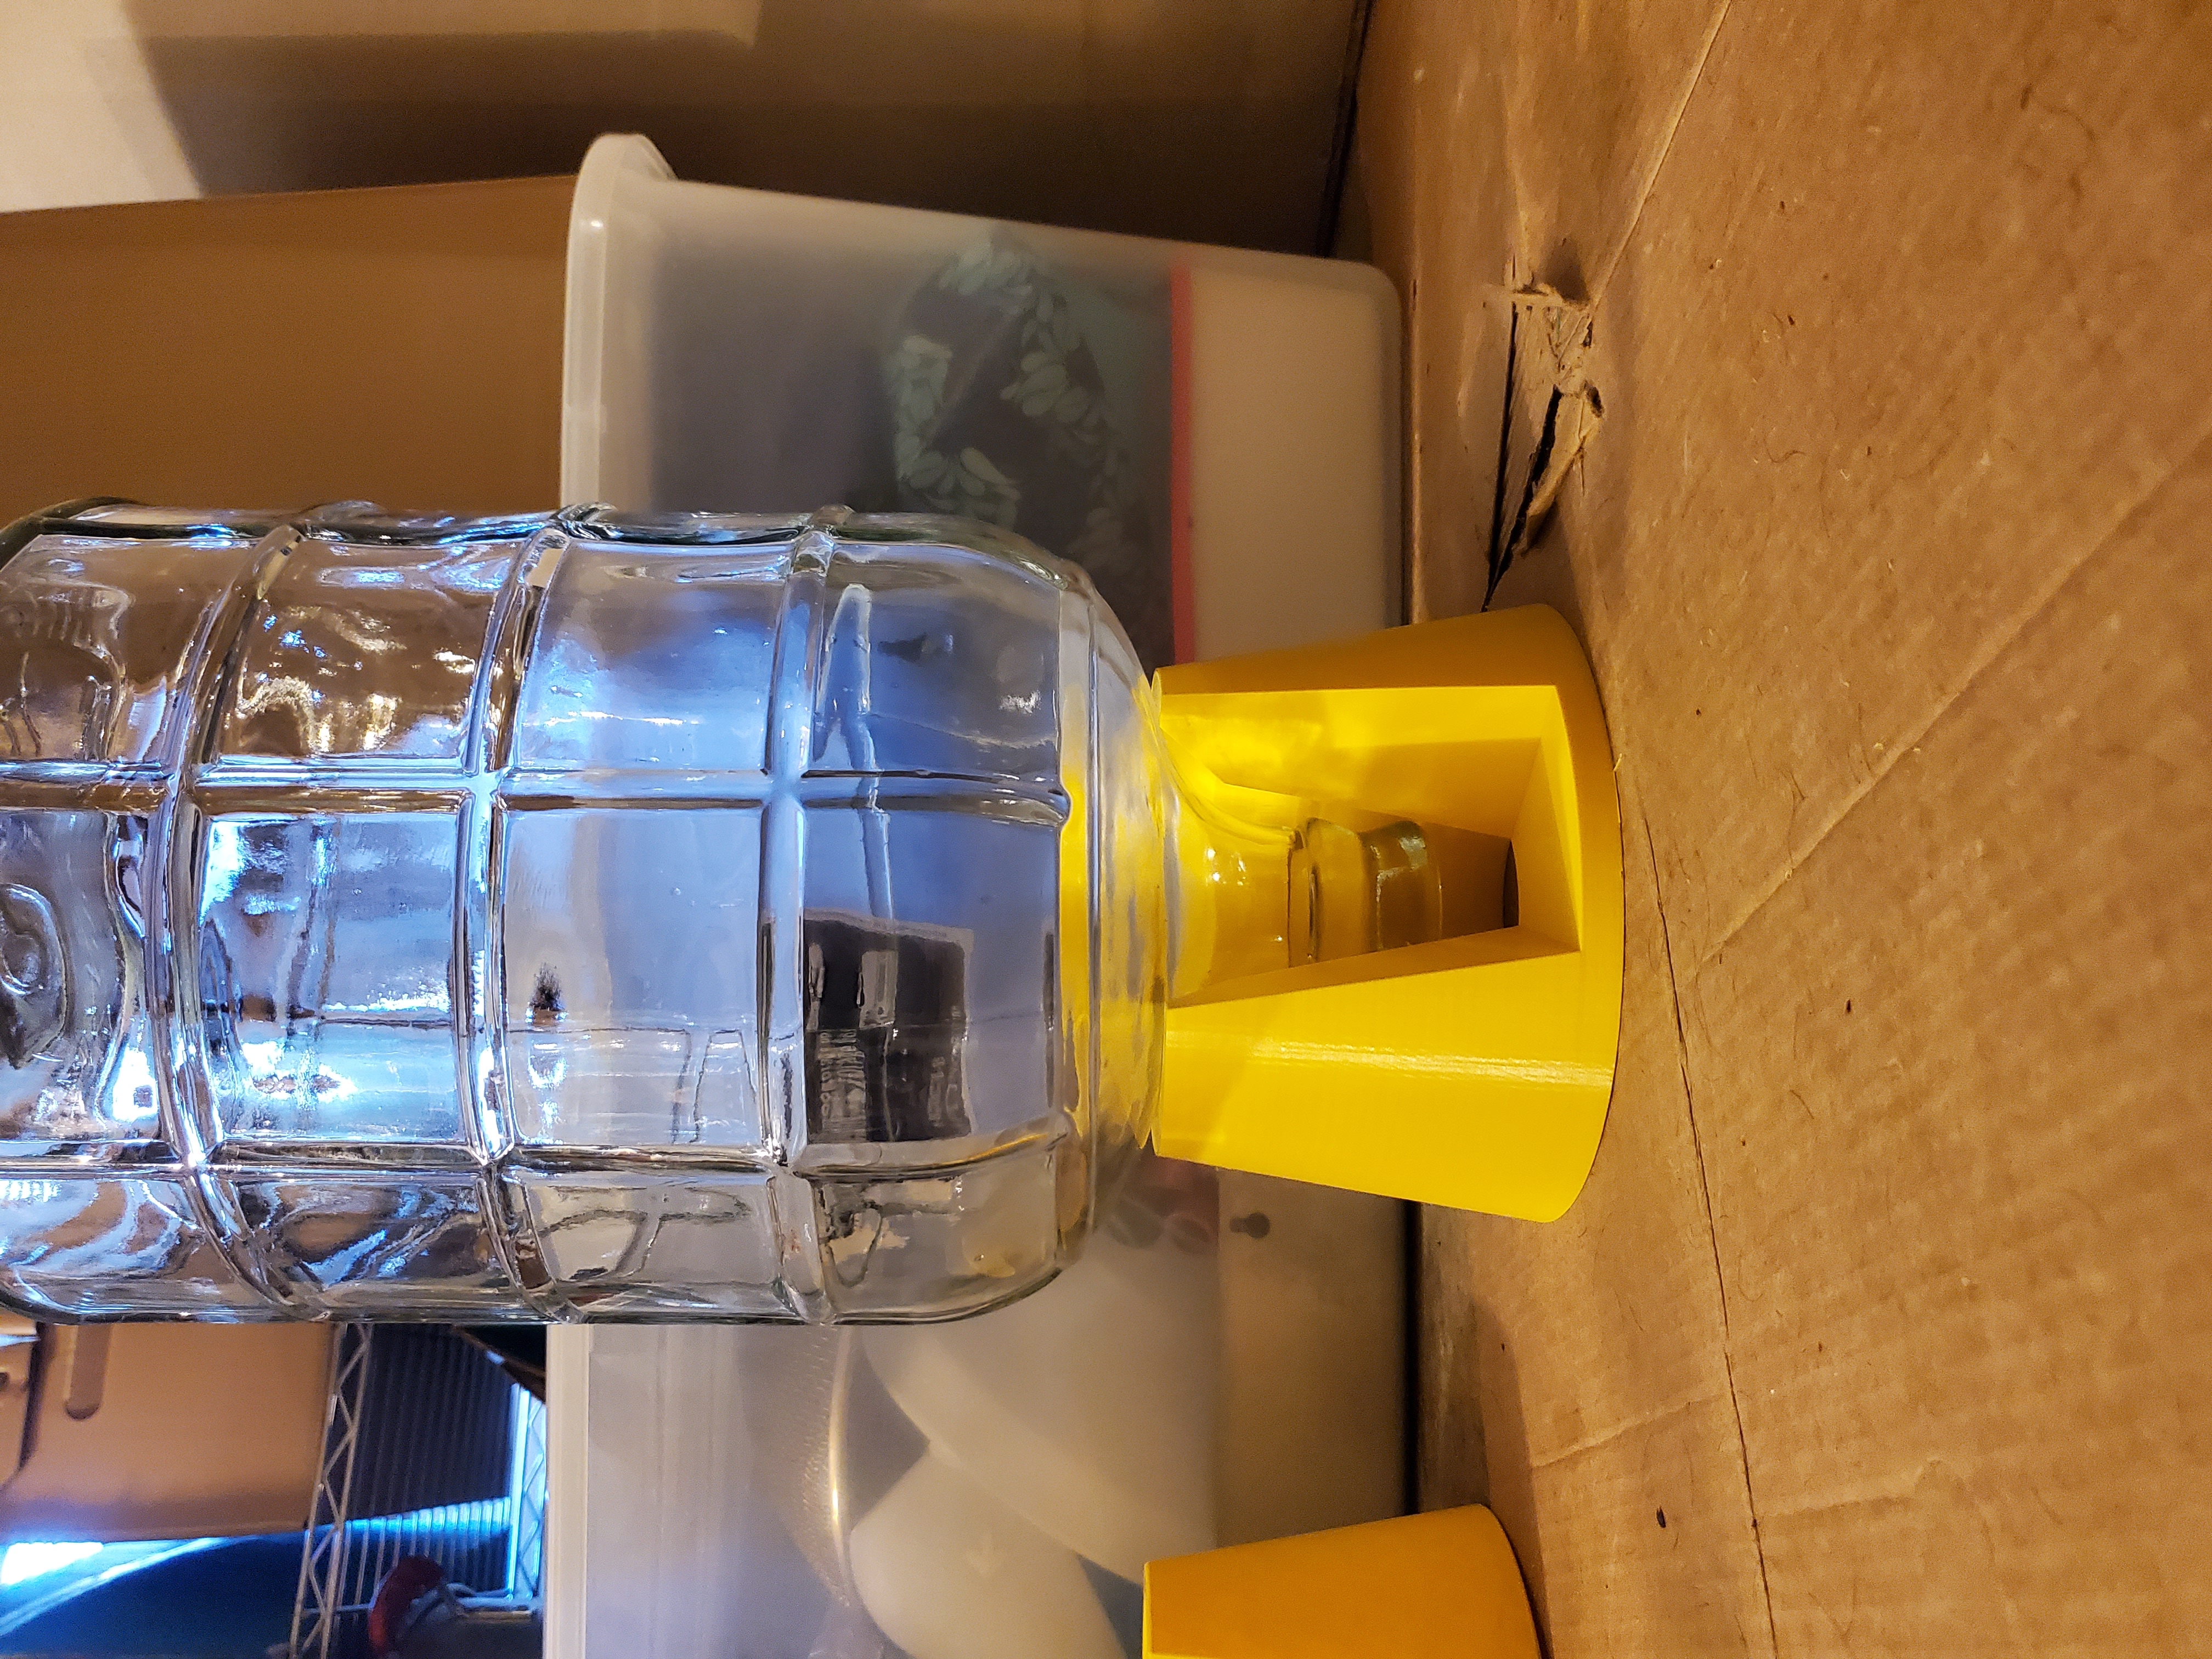
433
STL https://www.printables.com/model/866603-carboy-dryer-stackable
Description I wanted a carboy drainer that was 3d printable (because why not?). They're stackable, too.
References:
- This model on Amazon was nice https://www.amazon.com/Blue-Carboy-Drainer-Pack-2/dp/B074KL8QD2
- I liked the handle cutout on this model https://www.printables.com/en/model/734966-carboy-drainer
- This model wasn't bulky enough and I didn't like the feet. https://www.printables.com/en/model/33122-carboy-drying-stand
- This seemed clever, but too fragile. https://www.printables.com/model/841046-carboy-dryer-for-plastic-23-litre-carboy
- This model was my main inspiration for size but wasn't bulky enough https://www.printables.com/model/305346-carboy-dryer
Licensing: Credit/attribution/link is my only requirement. Free to use, modify, or sell. Please share your work, I love to see it.
Shout out to [email protected]
434
435
My SUNLU S1 Plus filament dryer was slipping around getting yanked forward on my TUKKARI TLX MK4 enclosure, so I designed this mount which fits into the existing slots on top of the enclosure. Prints in two pieces that screw together since otherwise the supports would be complicated. Had to print the larger piece on my big bed printer (artillery sw x2). I'm using up the last of my prusament galaxy black pla.
https://www.printables.com/model/871193-tukkari-tlx-prusa-mk3mk4-enclosure-sunlu-s1-plus-f

436
Any suggestions before trying again after a reset? This is my first go round changing nozzle diameter. I went from a 0.4 mm nozzle to a 0.6 mm nozzle.
After the swap I checked my extrusion multiplier (no change needed) and tuned pressure advance (I had to decrease the value a bit, but it looks spot on now).
As part of the nozzle swap, I also bumped line width from 125% to 150% in Orca Slicer (should be around 0.9mm extrusion width) and increased layer height to 0.3mm. This should put me around 22 mm^3/s of material, which shouldn't be an issue for a Rapido 2 but this is the most flow I've pushed through it so far. Maybe I should bump temp a touch? I'm still at my fairly-low-for-ASA 230 that I was using with my 0.4mm nozzle.
The print didn't move on the bed and shows no signs of warpage. There also aren't any signs of curling on the areas that the nozzle must have hit to cause the layer shift.
The only thing that seems like a miss was having z lift turned off while troubleshooting a print quality issue. I had it set to only lift above 0.25mm (not on the first layer) and only lift below z 0mm (this probably disabled z-hop). Z hop when retracting is set to 0.2mm, which is less than my 0.4mm retraction length so it seems like changing the "only lift below below z" value would re-enable z-hop.


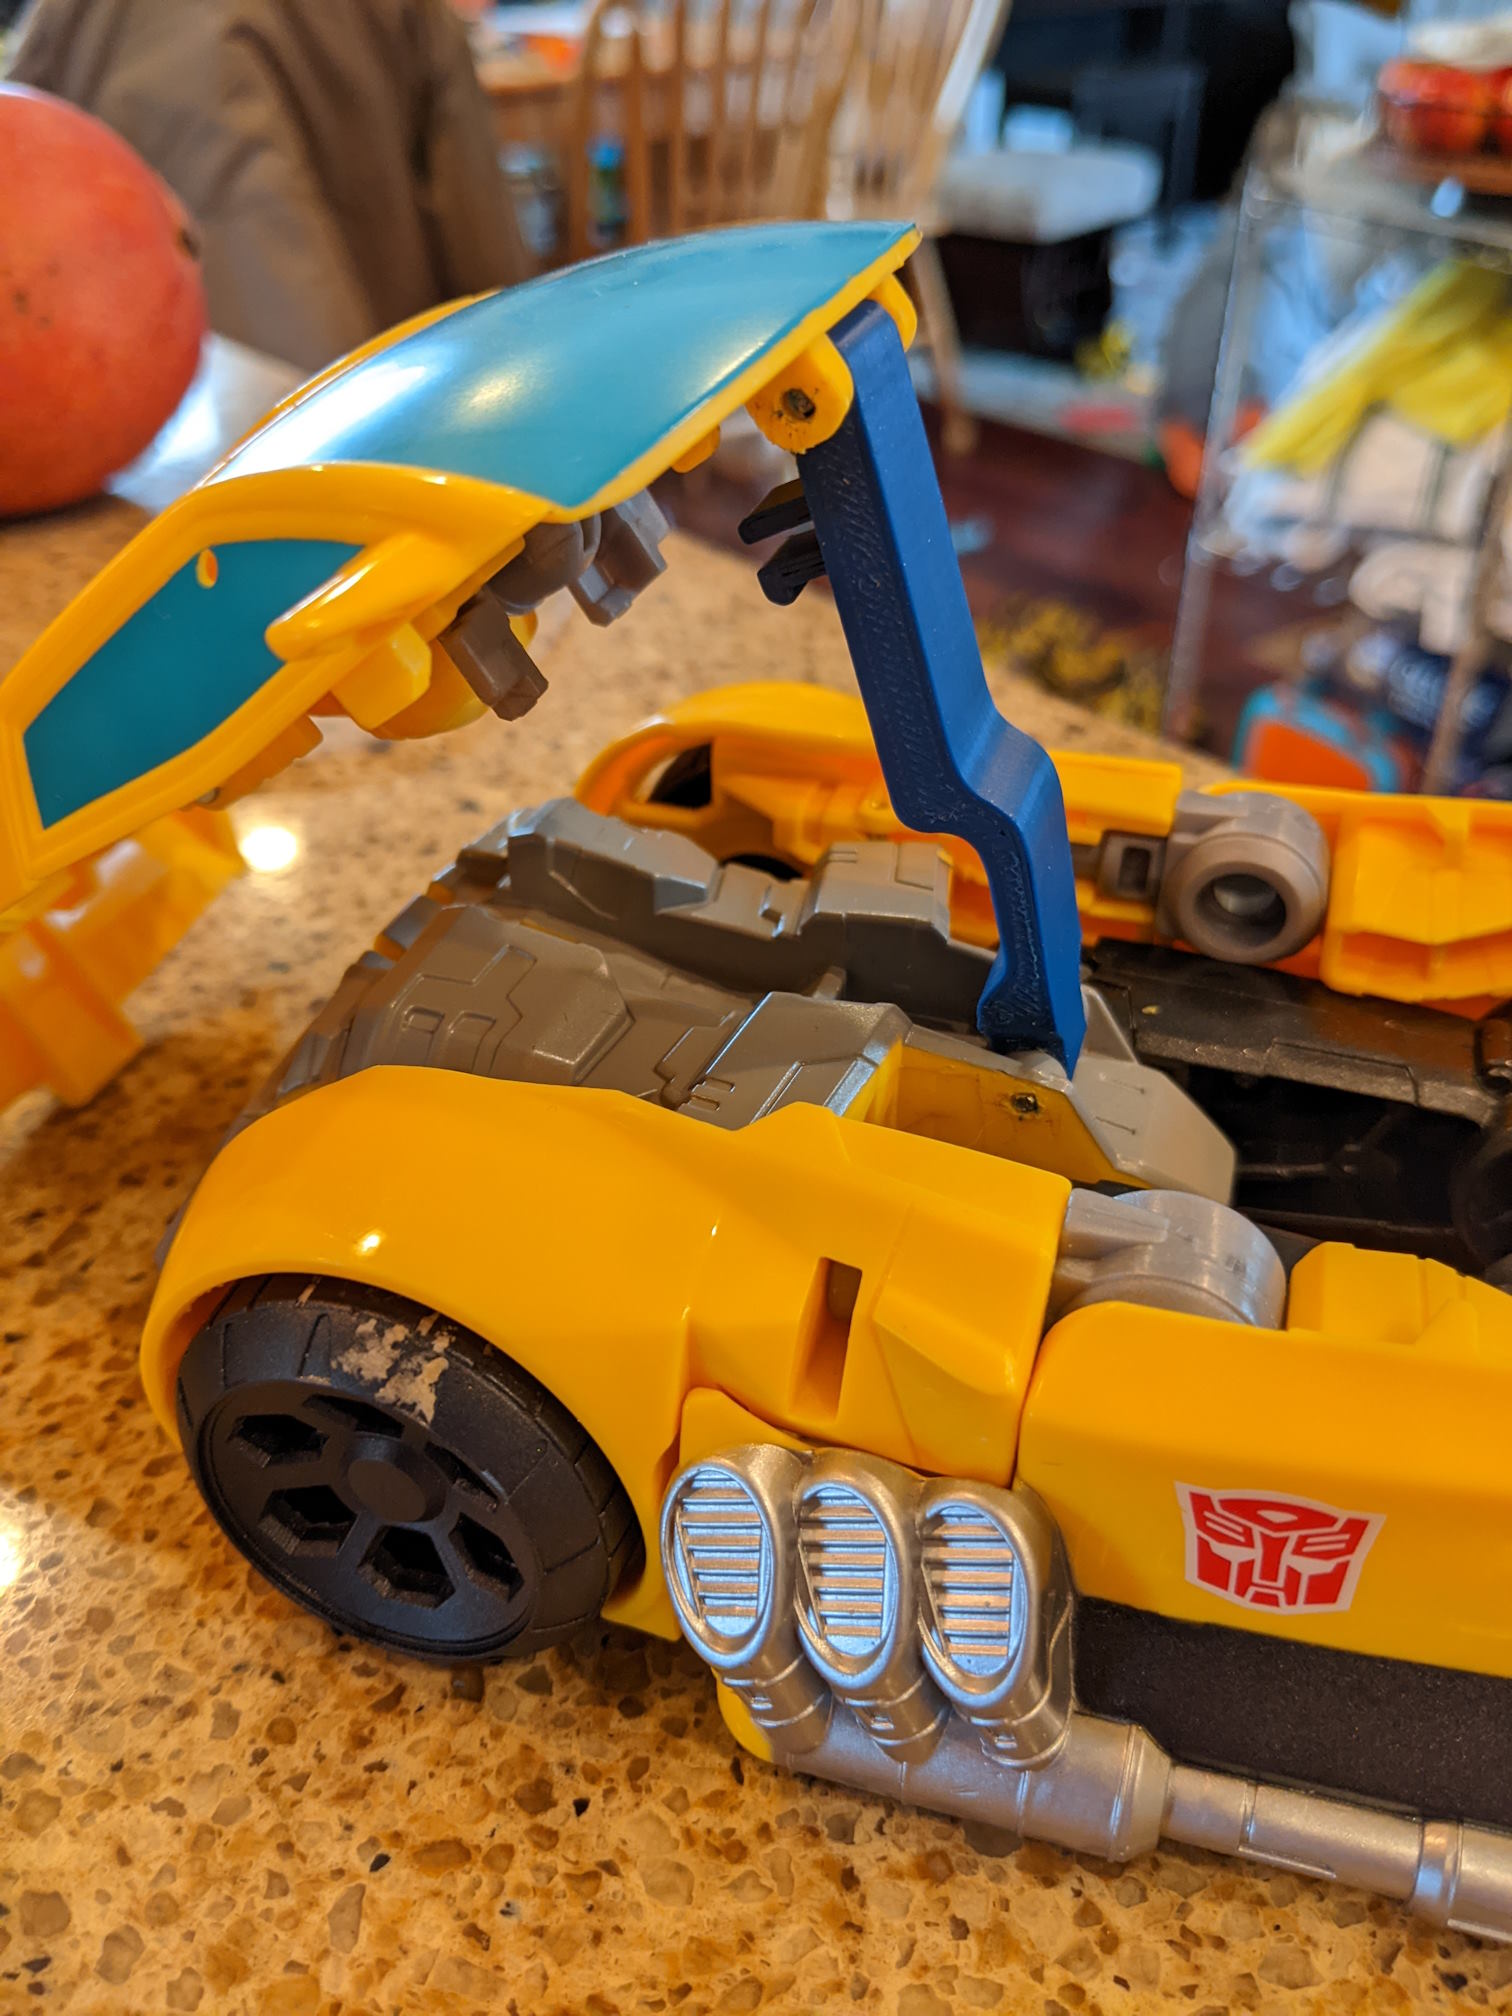
437
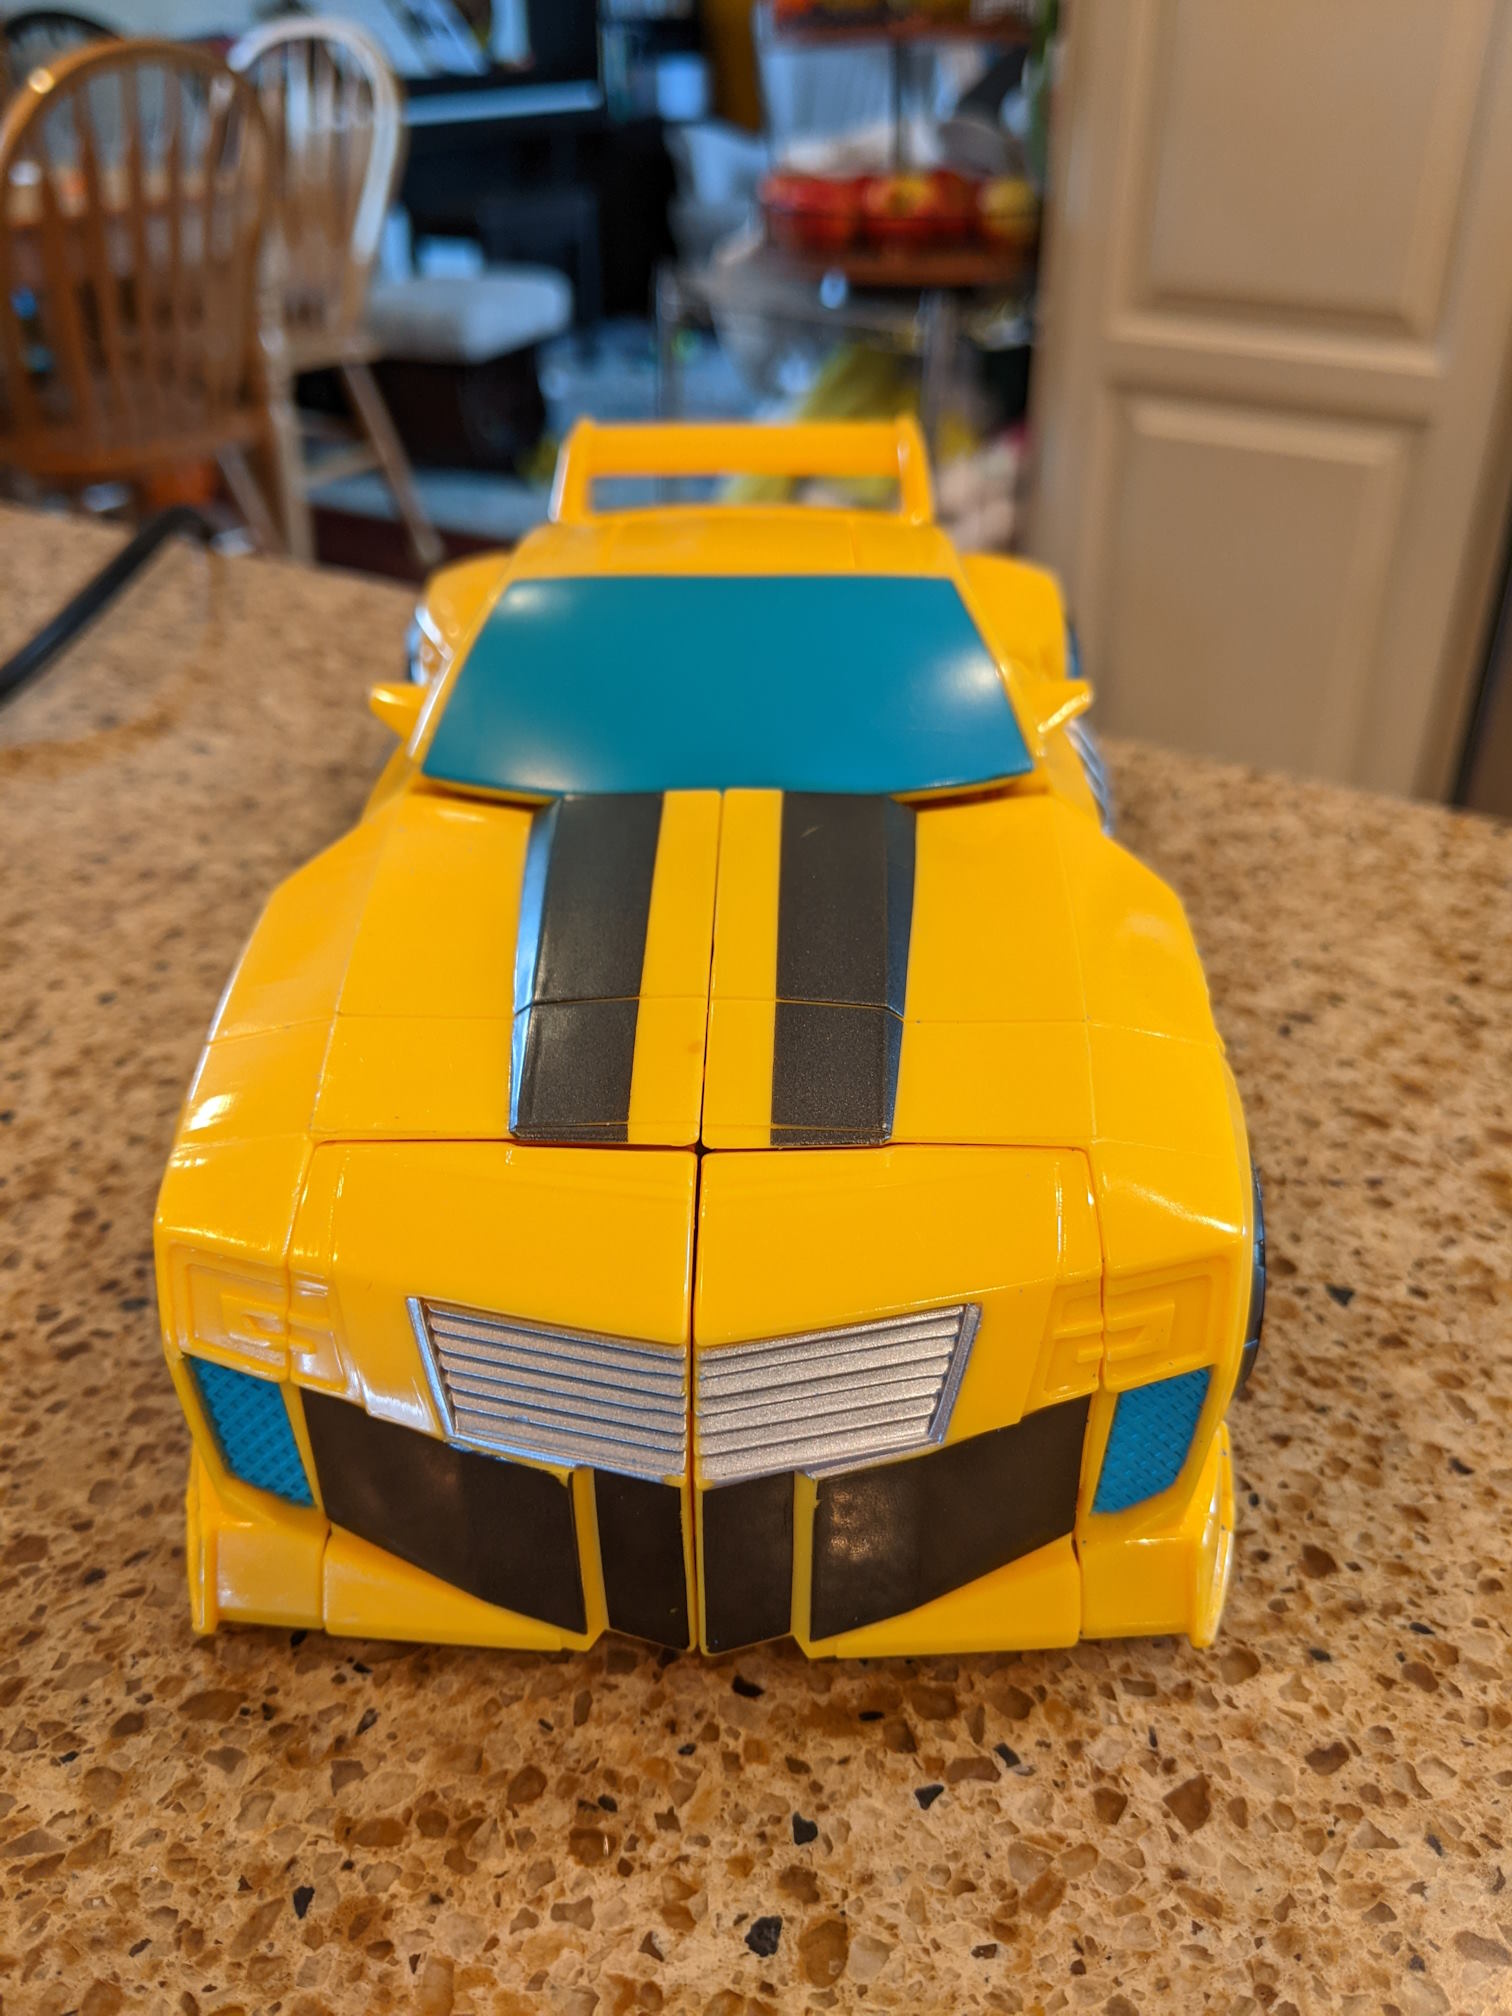
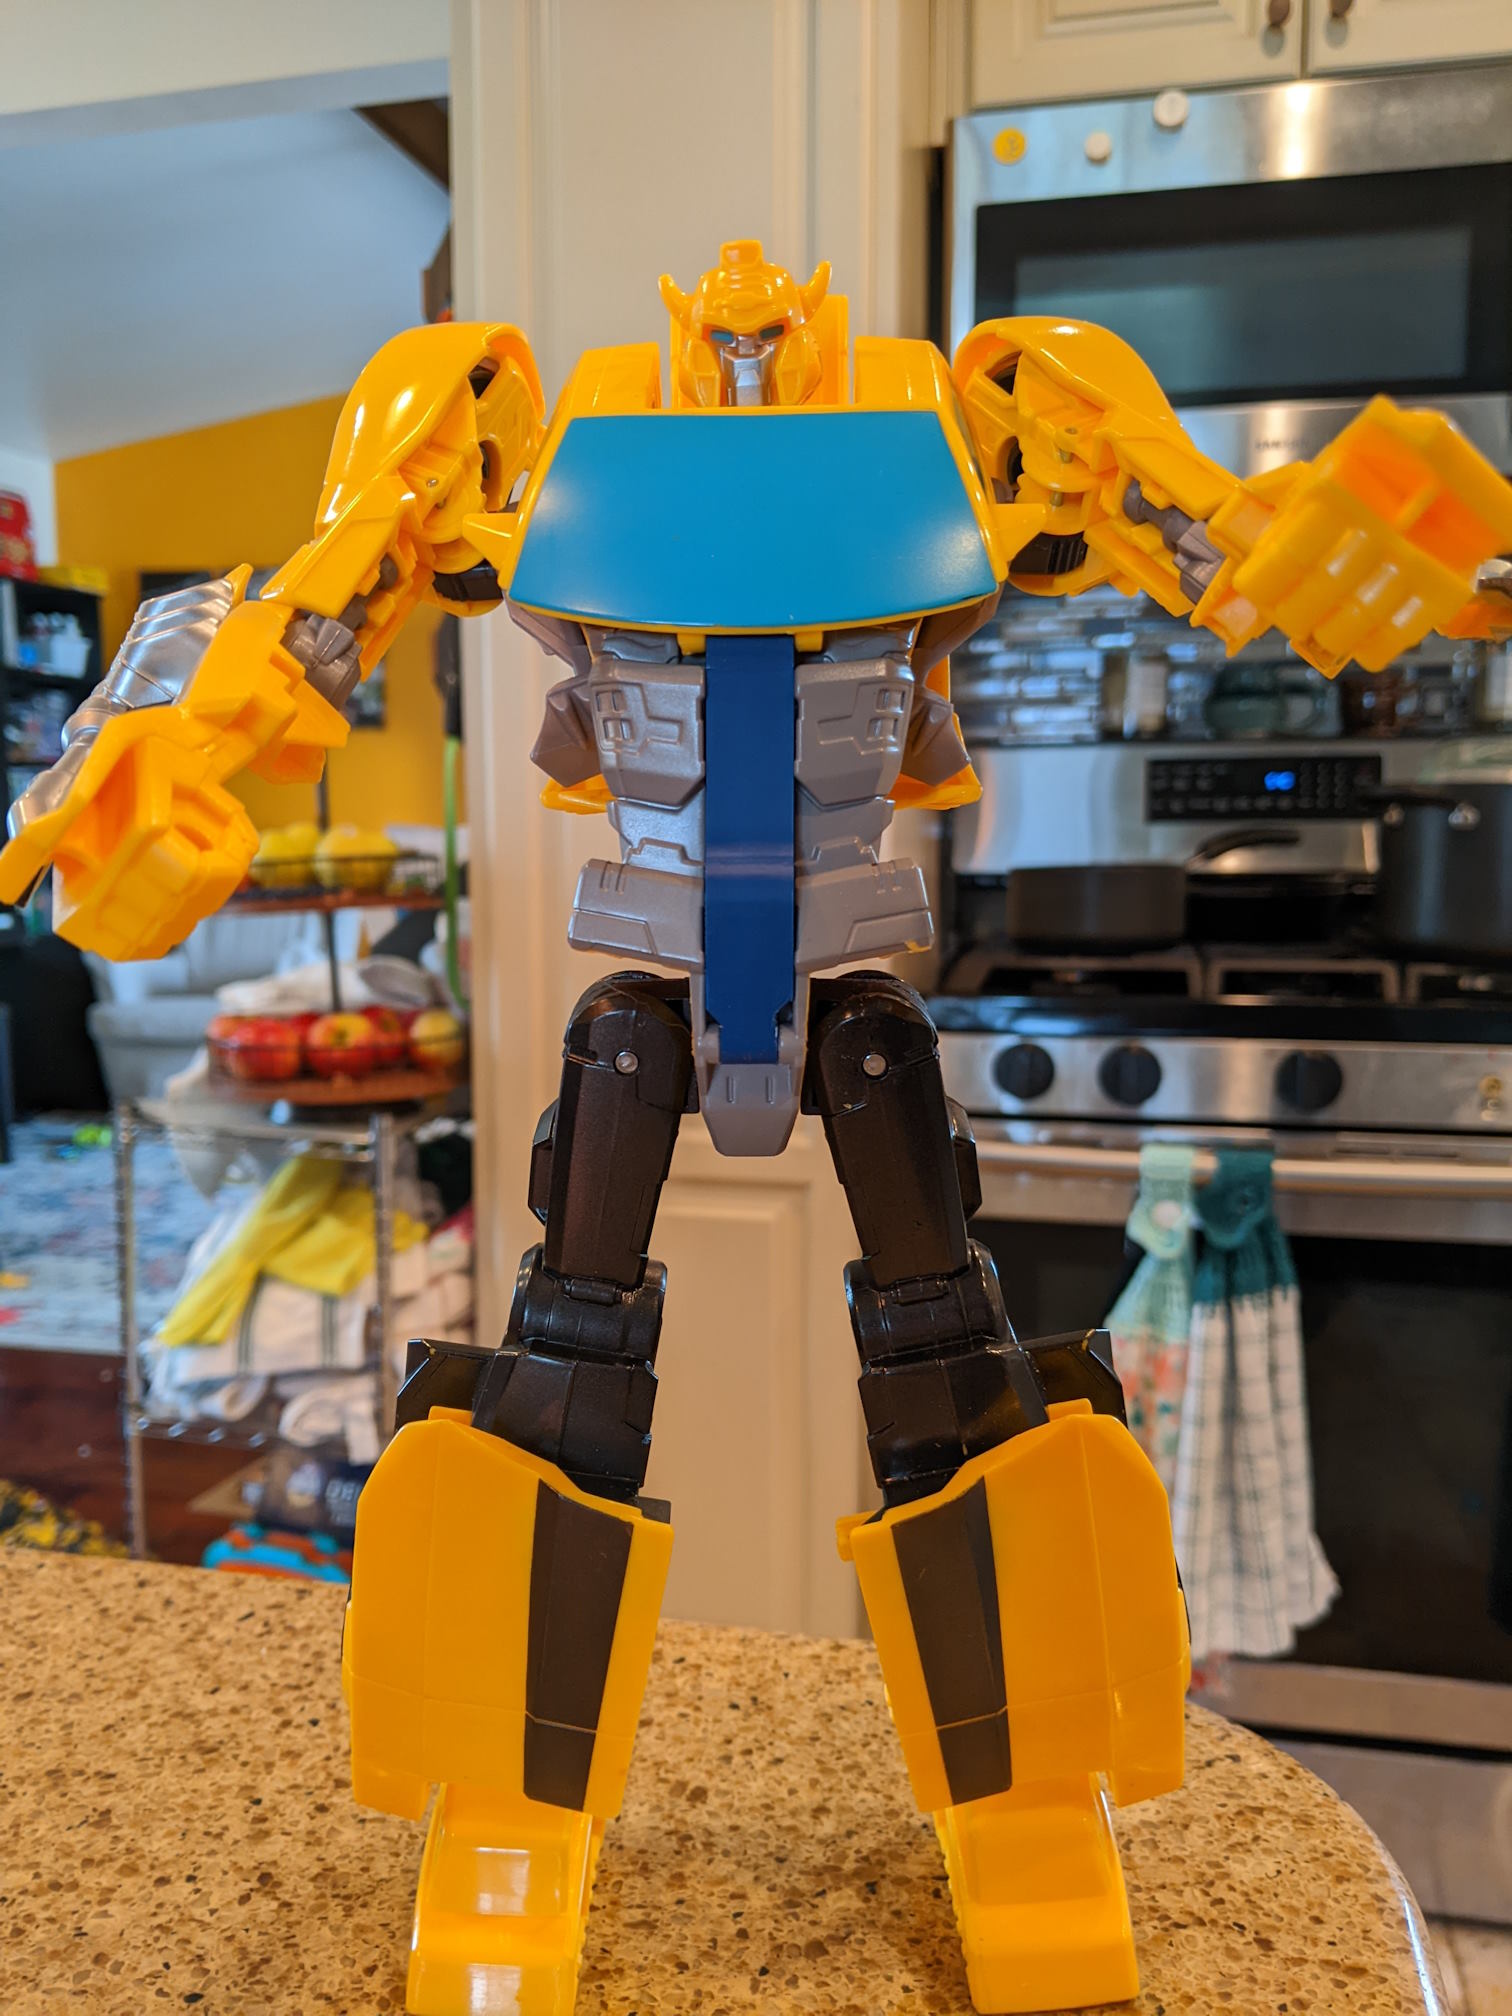
Our youngest broke his big brother's bumblebee. Three iterations later, everything fits pretty well and the older one is happy to have bumblebee back.
This part seems super niche, so no printables link. That said, if anyone needs a replacement for this VSO let me know and I'll upload it.
438
439
440
441
442
I've made a large number of custom prints, and all of them were created using TinkerCad. It's an amazing toolkit, stupid easy to use but versatile. That is ... until something needs a tiny adjustment somewhere. That's when I feel it would've been neat to use parametric CAD instead.
I have spent many hours following Youtube tutorials for Onshape, Fusion, and FreeCAD. Tutorial shapes like a LEGO brick are fairly easy, although I admit that this kind of modeling is a sharp departure from the kid-friendly TinkerCad.
My problem is that I don't want to make simple coasters or keychains, but complex shapes like this one. It's a holder/mount for two different kinds of walkie-talkies that I use, and the blue part slides into a tray in my car's dash where it sits nice and snug.
Question: How the hell do I even get started modeling something like this?? There's not a single straight cuboid here. Everything is slightly wedge-shaped.
The way I do this in TinkerCad is that I build the hollow first: I made a 3d model of the walkie, a little oversized, set it be hollow, and drop it into the shape - that's the red or orange shells you see.

443
444
145
After printing ABS almost exclusively for about a decade, I'm rediscovering PLA and its fancy variants
(feddit.it)
I think 1kg spools are too much, I want to experiment with ALL THE COLORS... But few manufacturers offer 250g, and they are sometimes twice the cost by weight.


445
65
SBC Case Builder v3.0 can create thousands of cases for popular SBCs and standard motherboards
(www.cnx-software.com)
446
447
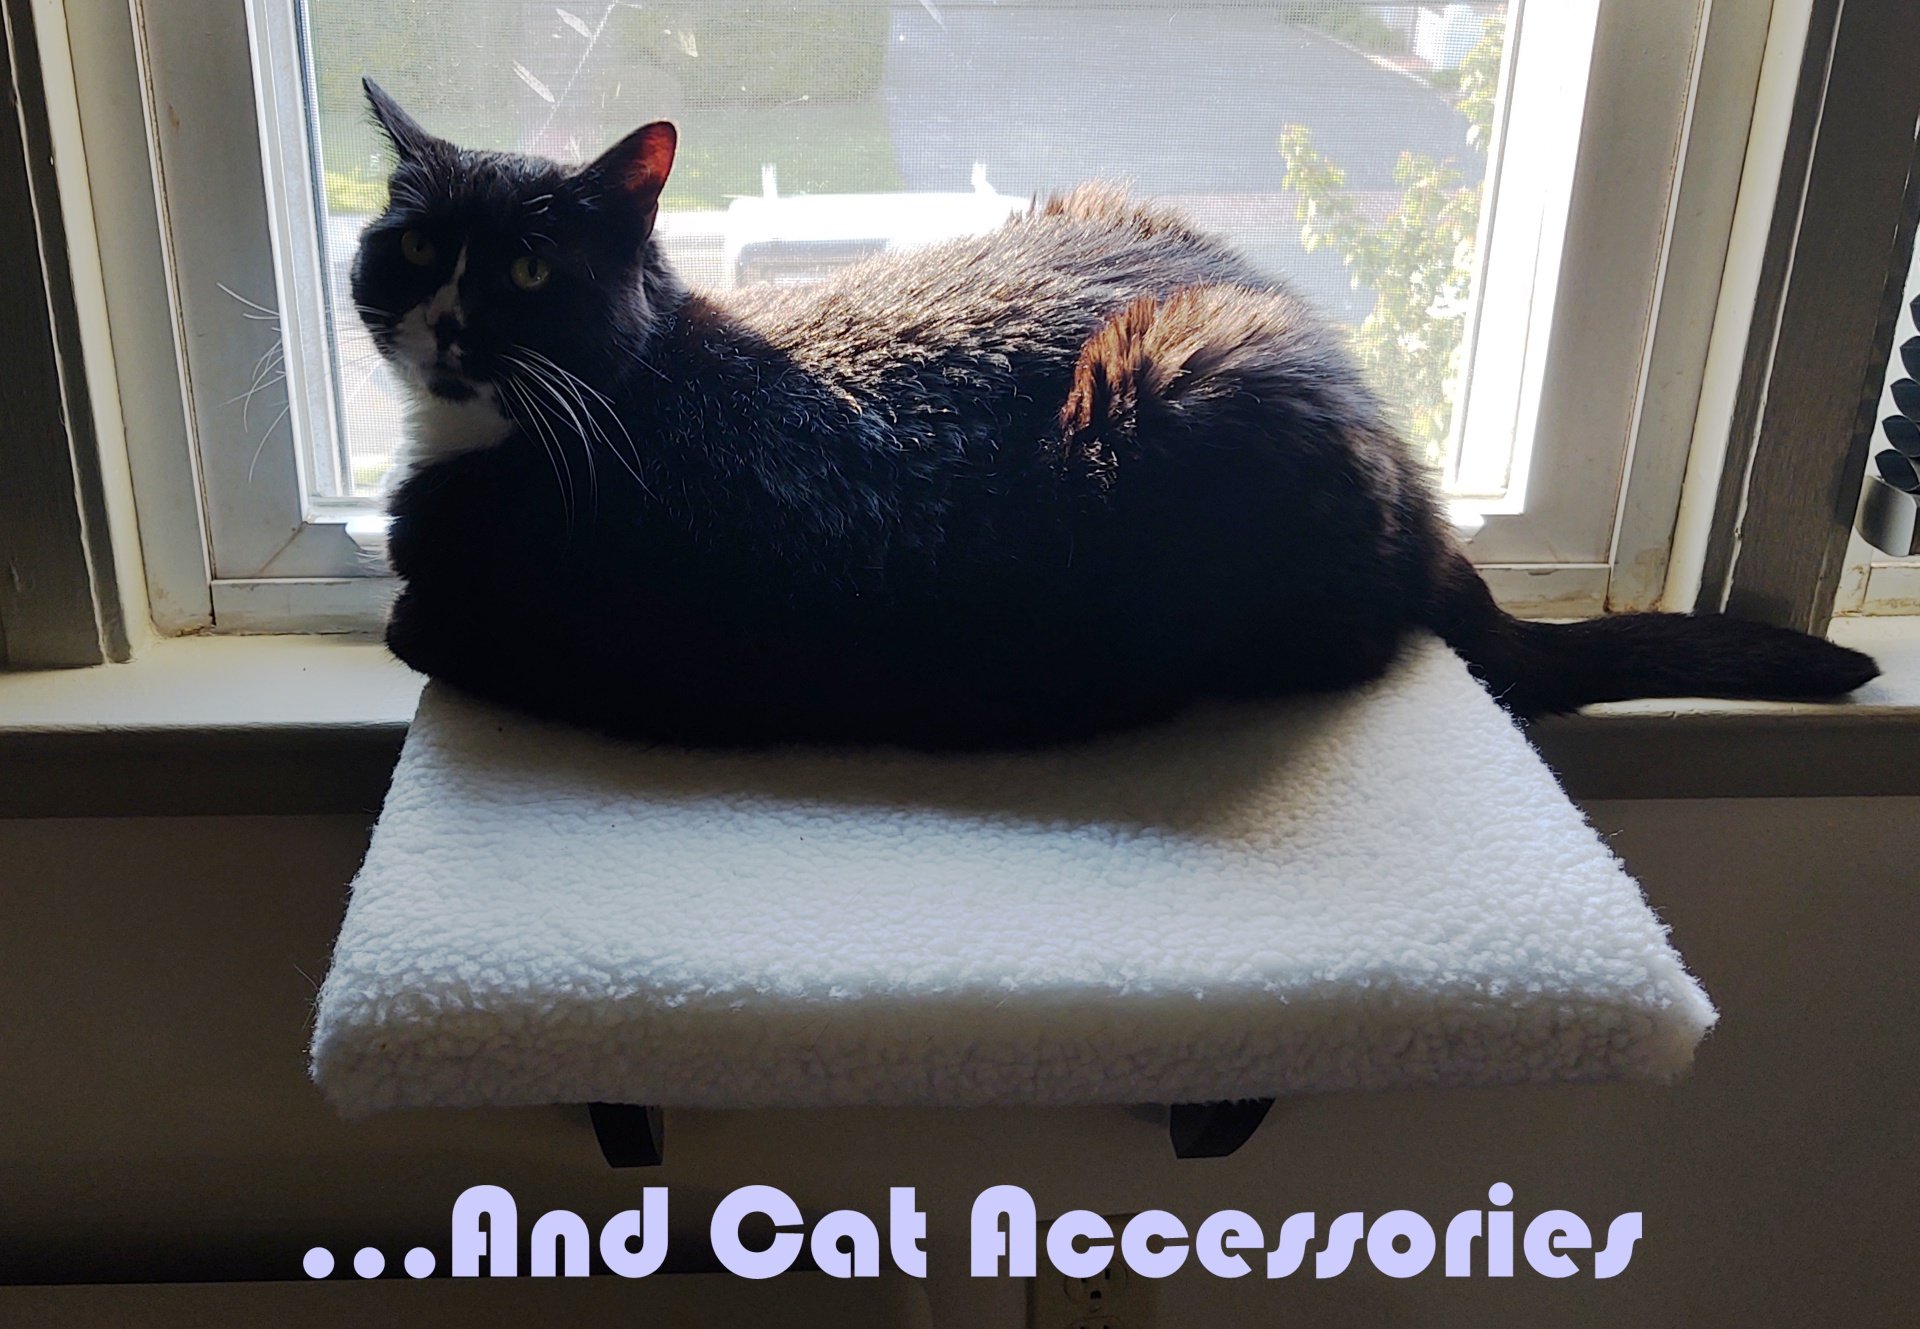
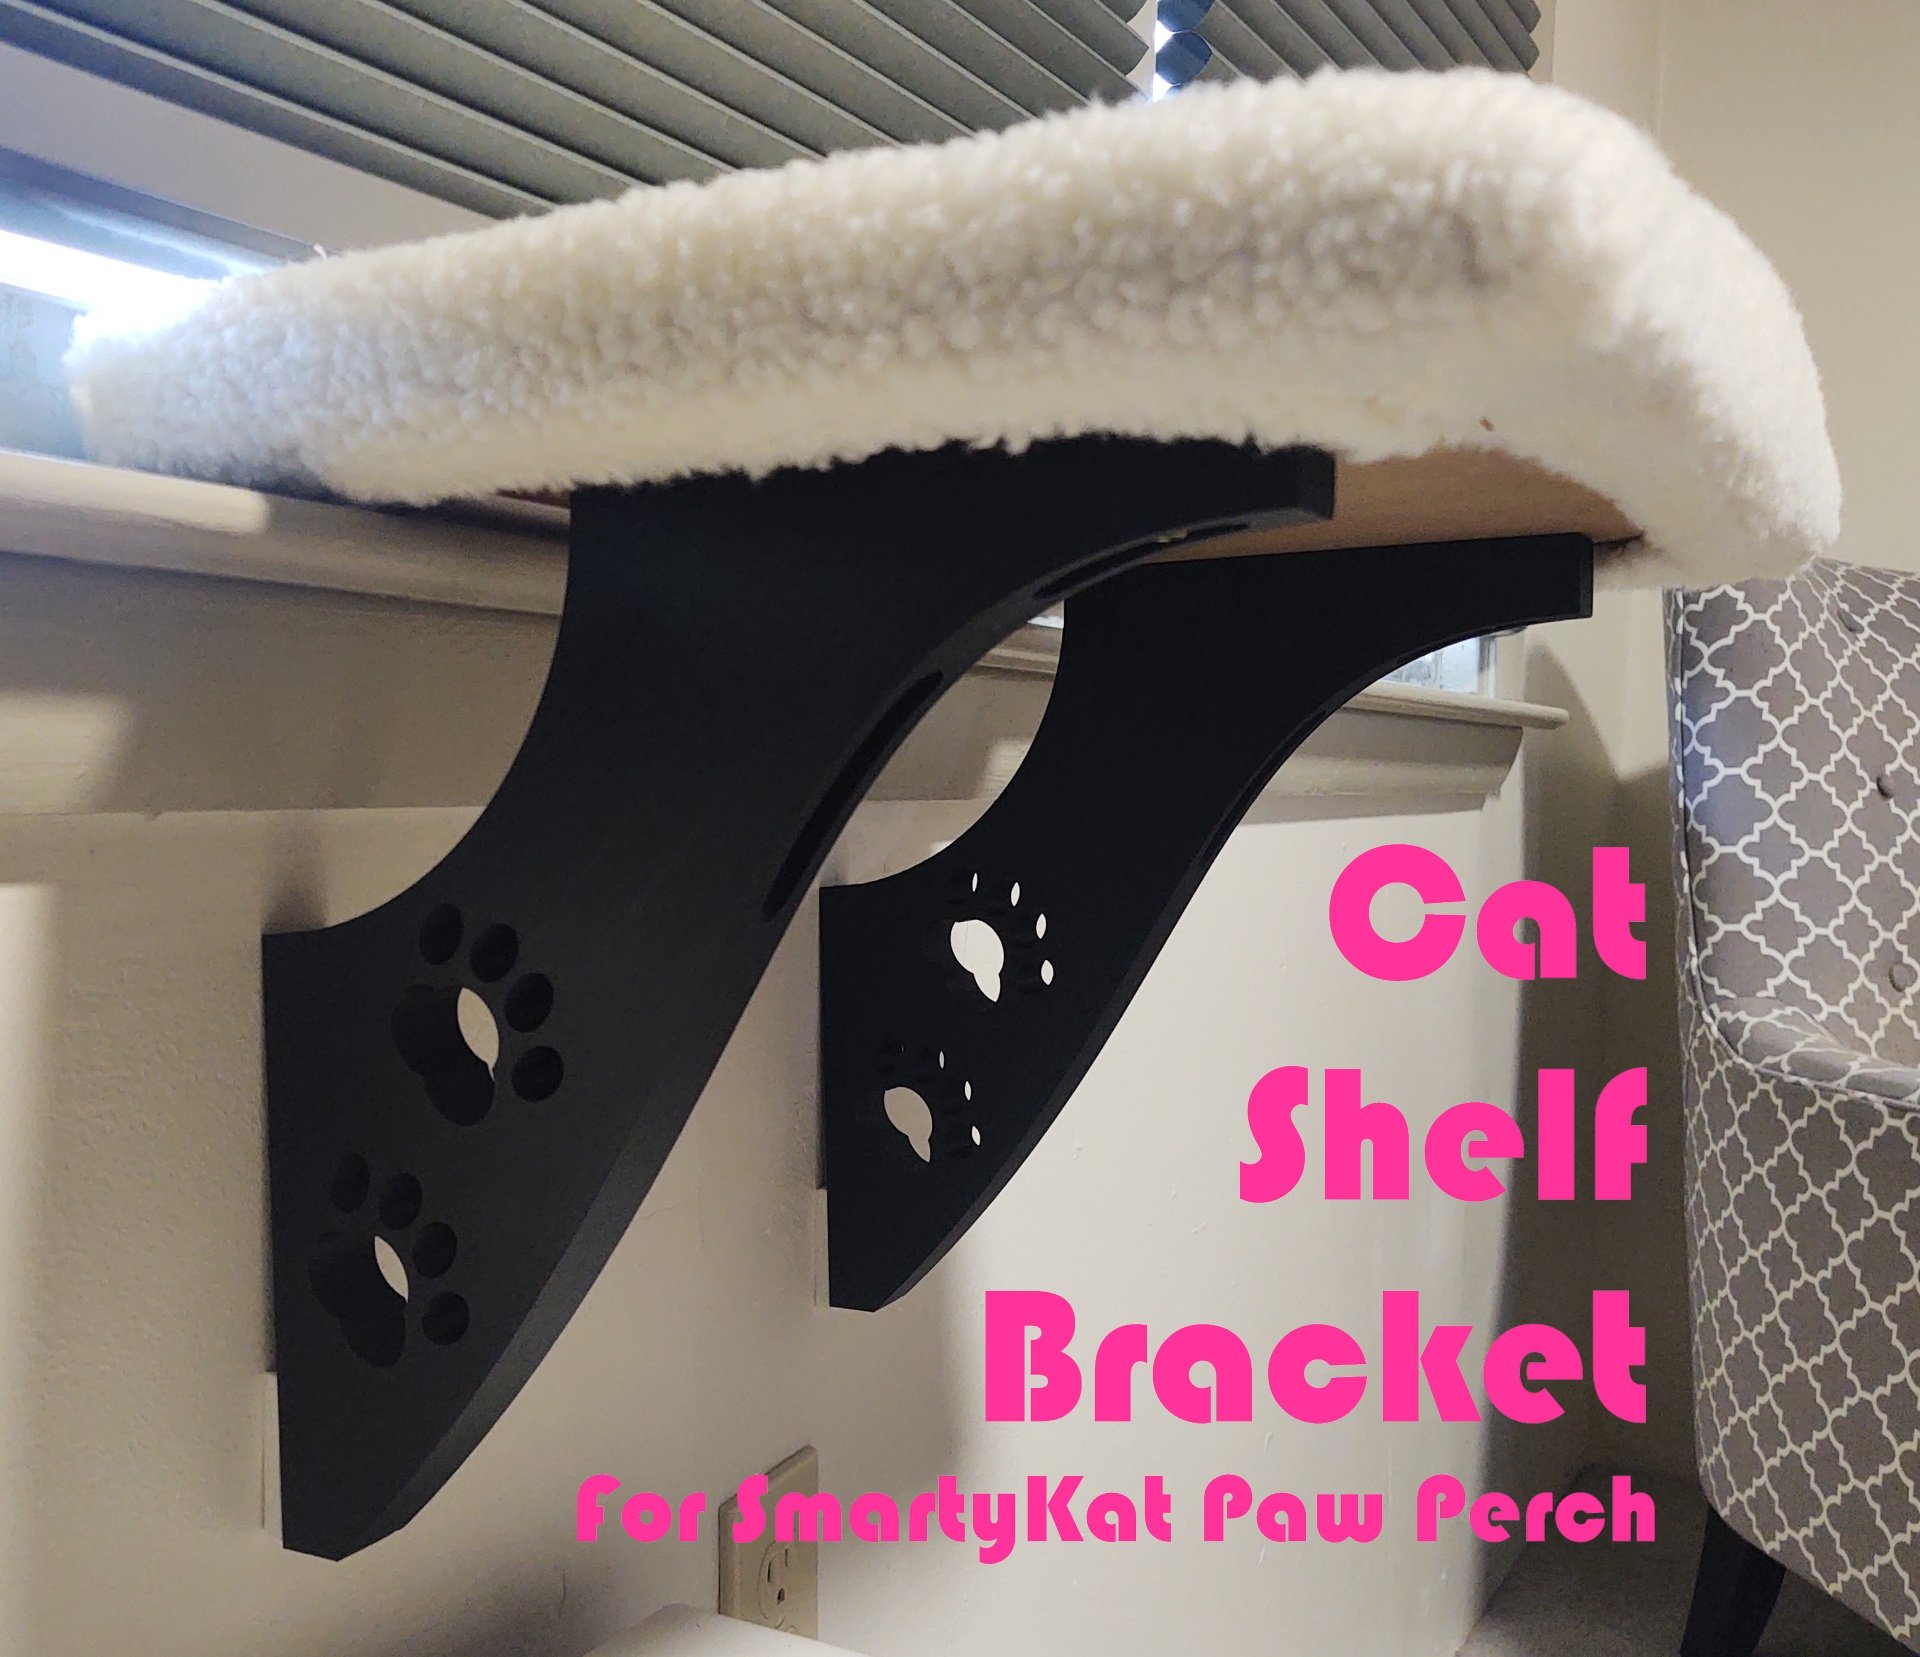
In keeping with my usual tradition of harping on about the dumb shit I design and slap up on Printables:
https://www.printables.com/model/862518-cat-shelf-bracket-for-smartykat-paw-perch-or-build
These brackets solve a specific, but major, usability issue with the aforementioned brand and model of cat accessory widely sold at Walmart, Amazon, Chewy, Pet Smart, etc.
Conversely, there's nothing stopping you from screwing your own piece of wood to the top of a pair of these and arriving at roughly the same result without shelling out 30 of your hard earned Washingtons.
Cat tax paid:

448
449
450