Title basically. I've been "long term renting" a few camera bodies by purchasing used gear with the intention of selling what I didn't want to keep. I'm now at the point of thinning the heard. I'm partially writing this for myself, but am more than open to feedback :)
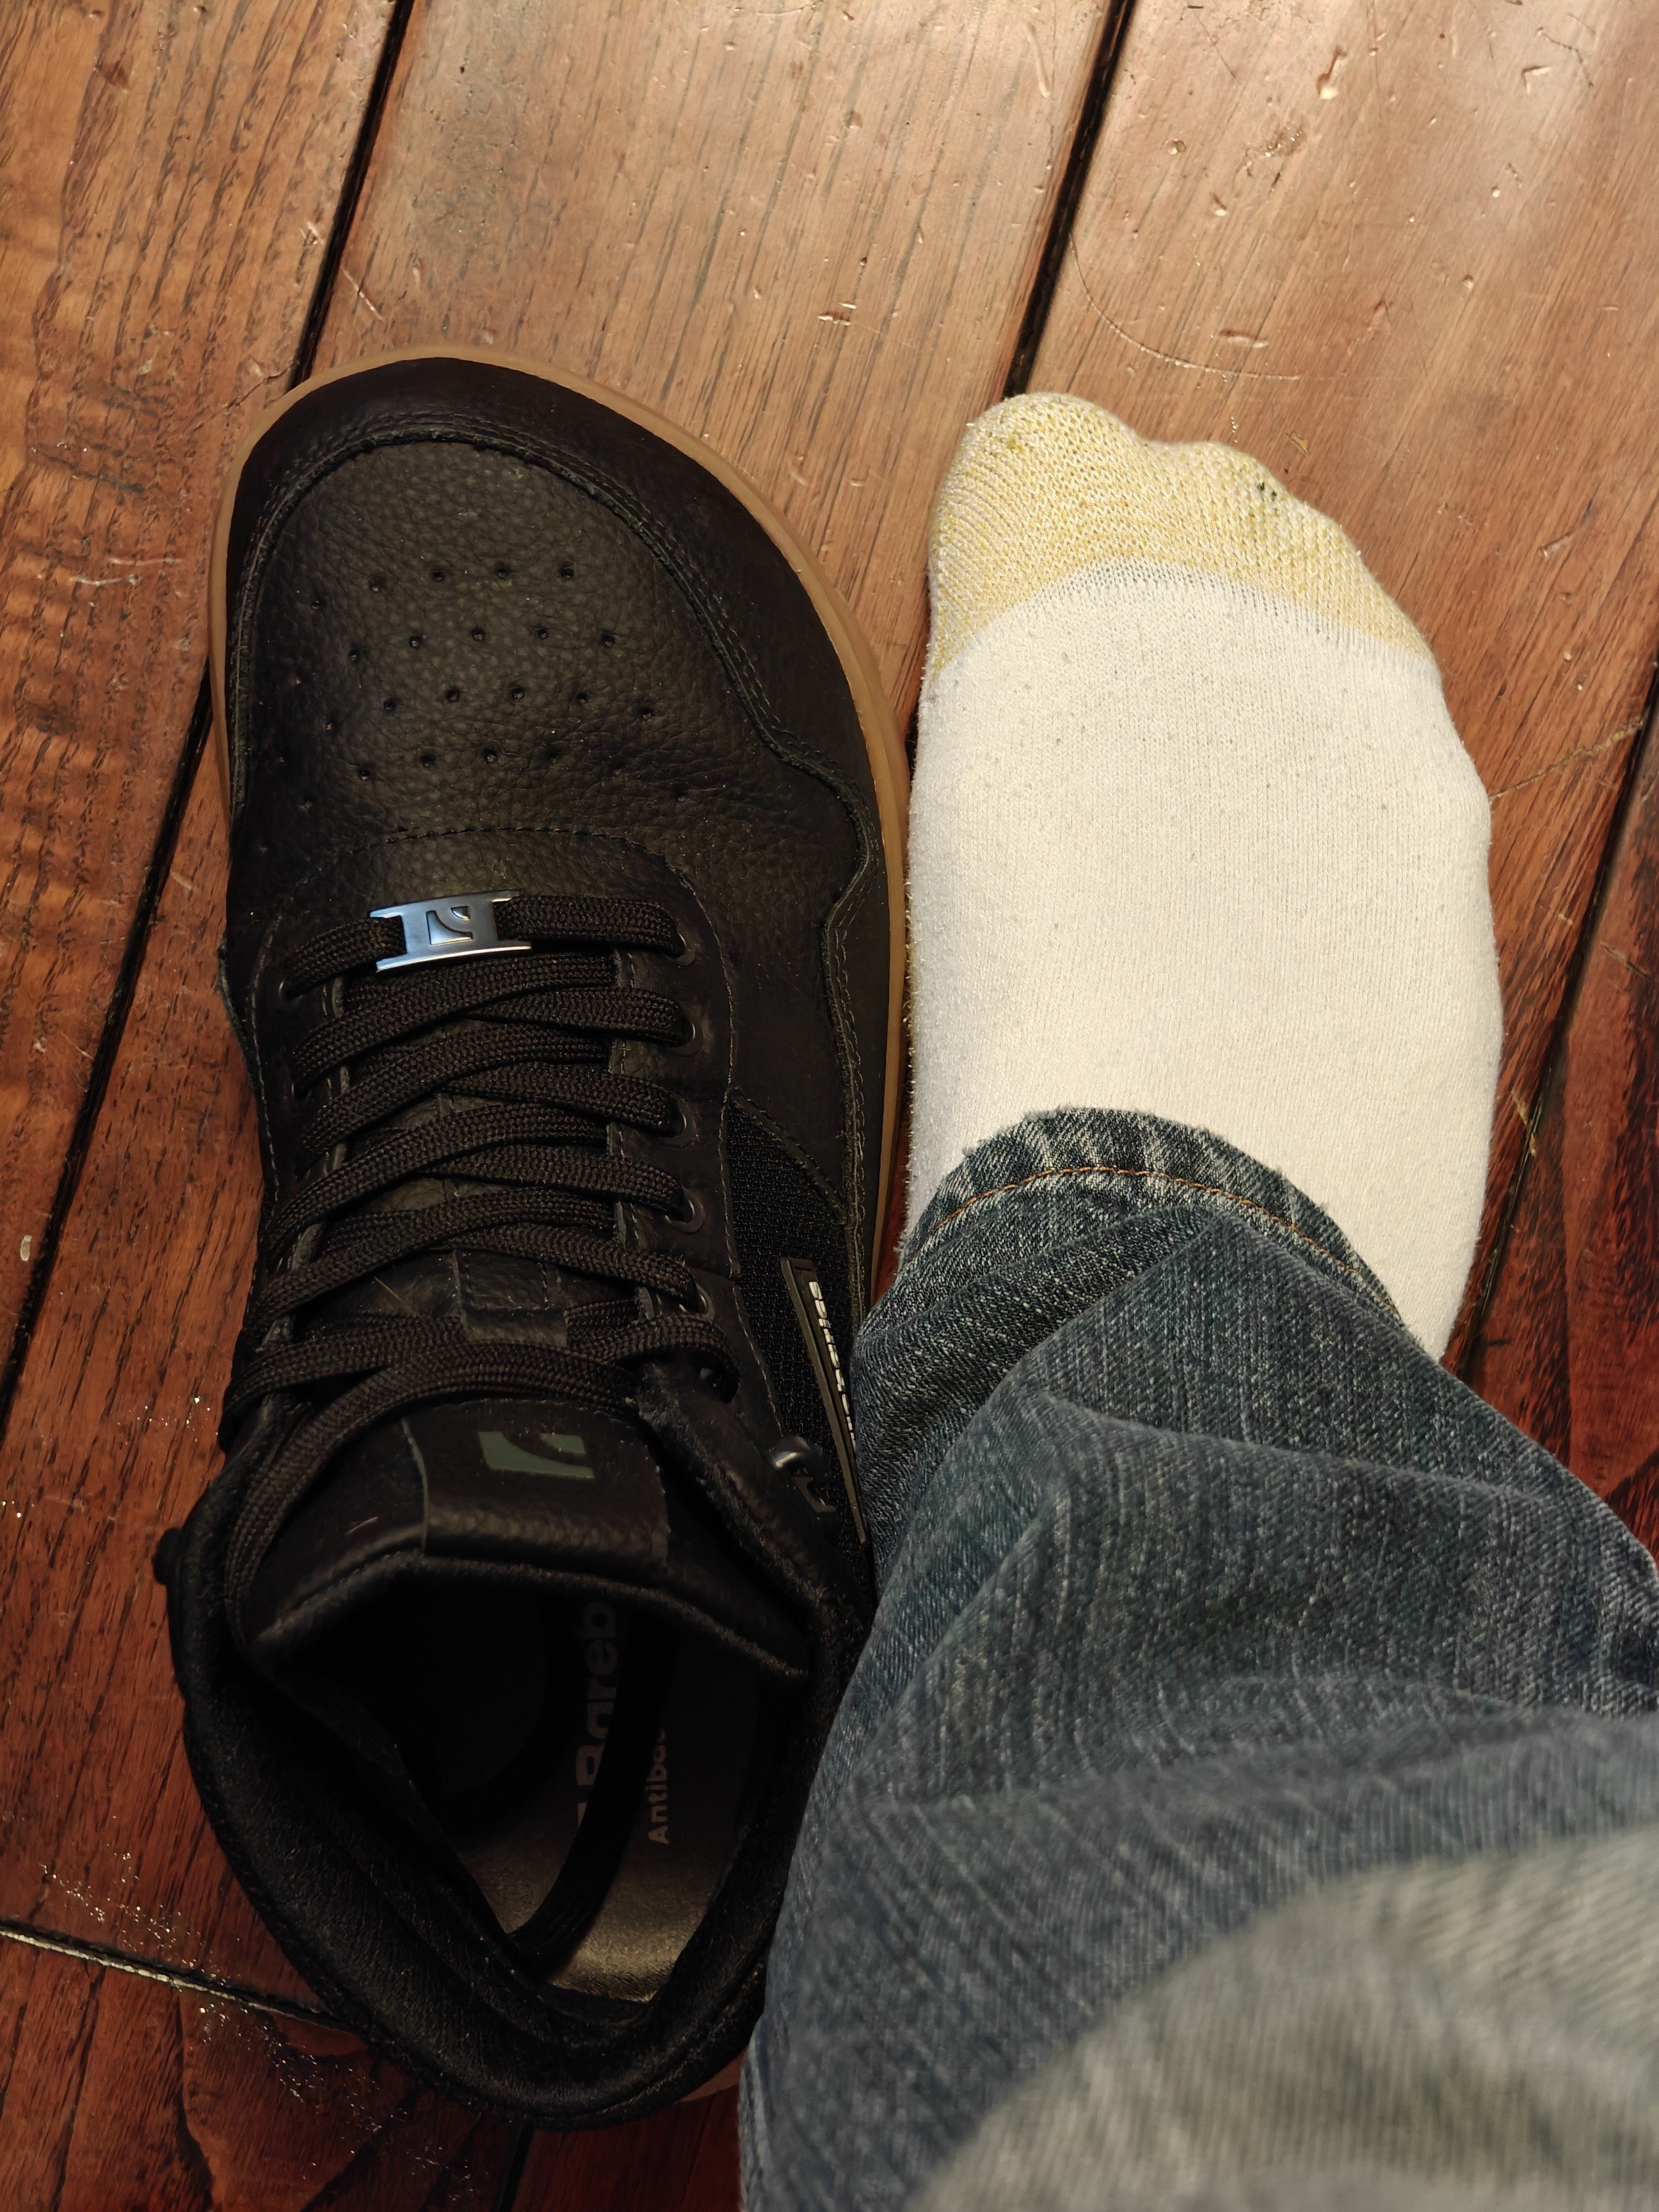
The cameras in the post photo are an OM-1 and an A7 III, but I'm really comparing the OM-1 against an A9 II. The A7 III is generally a solid camera, but its mechanical shutter is somewhat loud to use in places like museums with the kiddos and its electronic shutter catches tons of banding from modern lighting. Both the OM-1 and the A9 II solve that problem, although the A9 II does so a bit better (yay faster readout).
What do I take photos of?
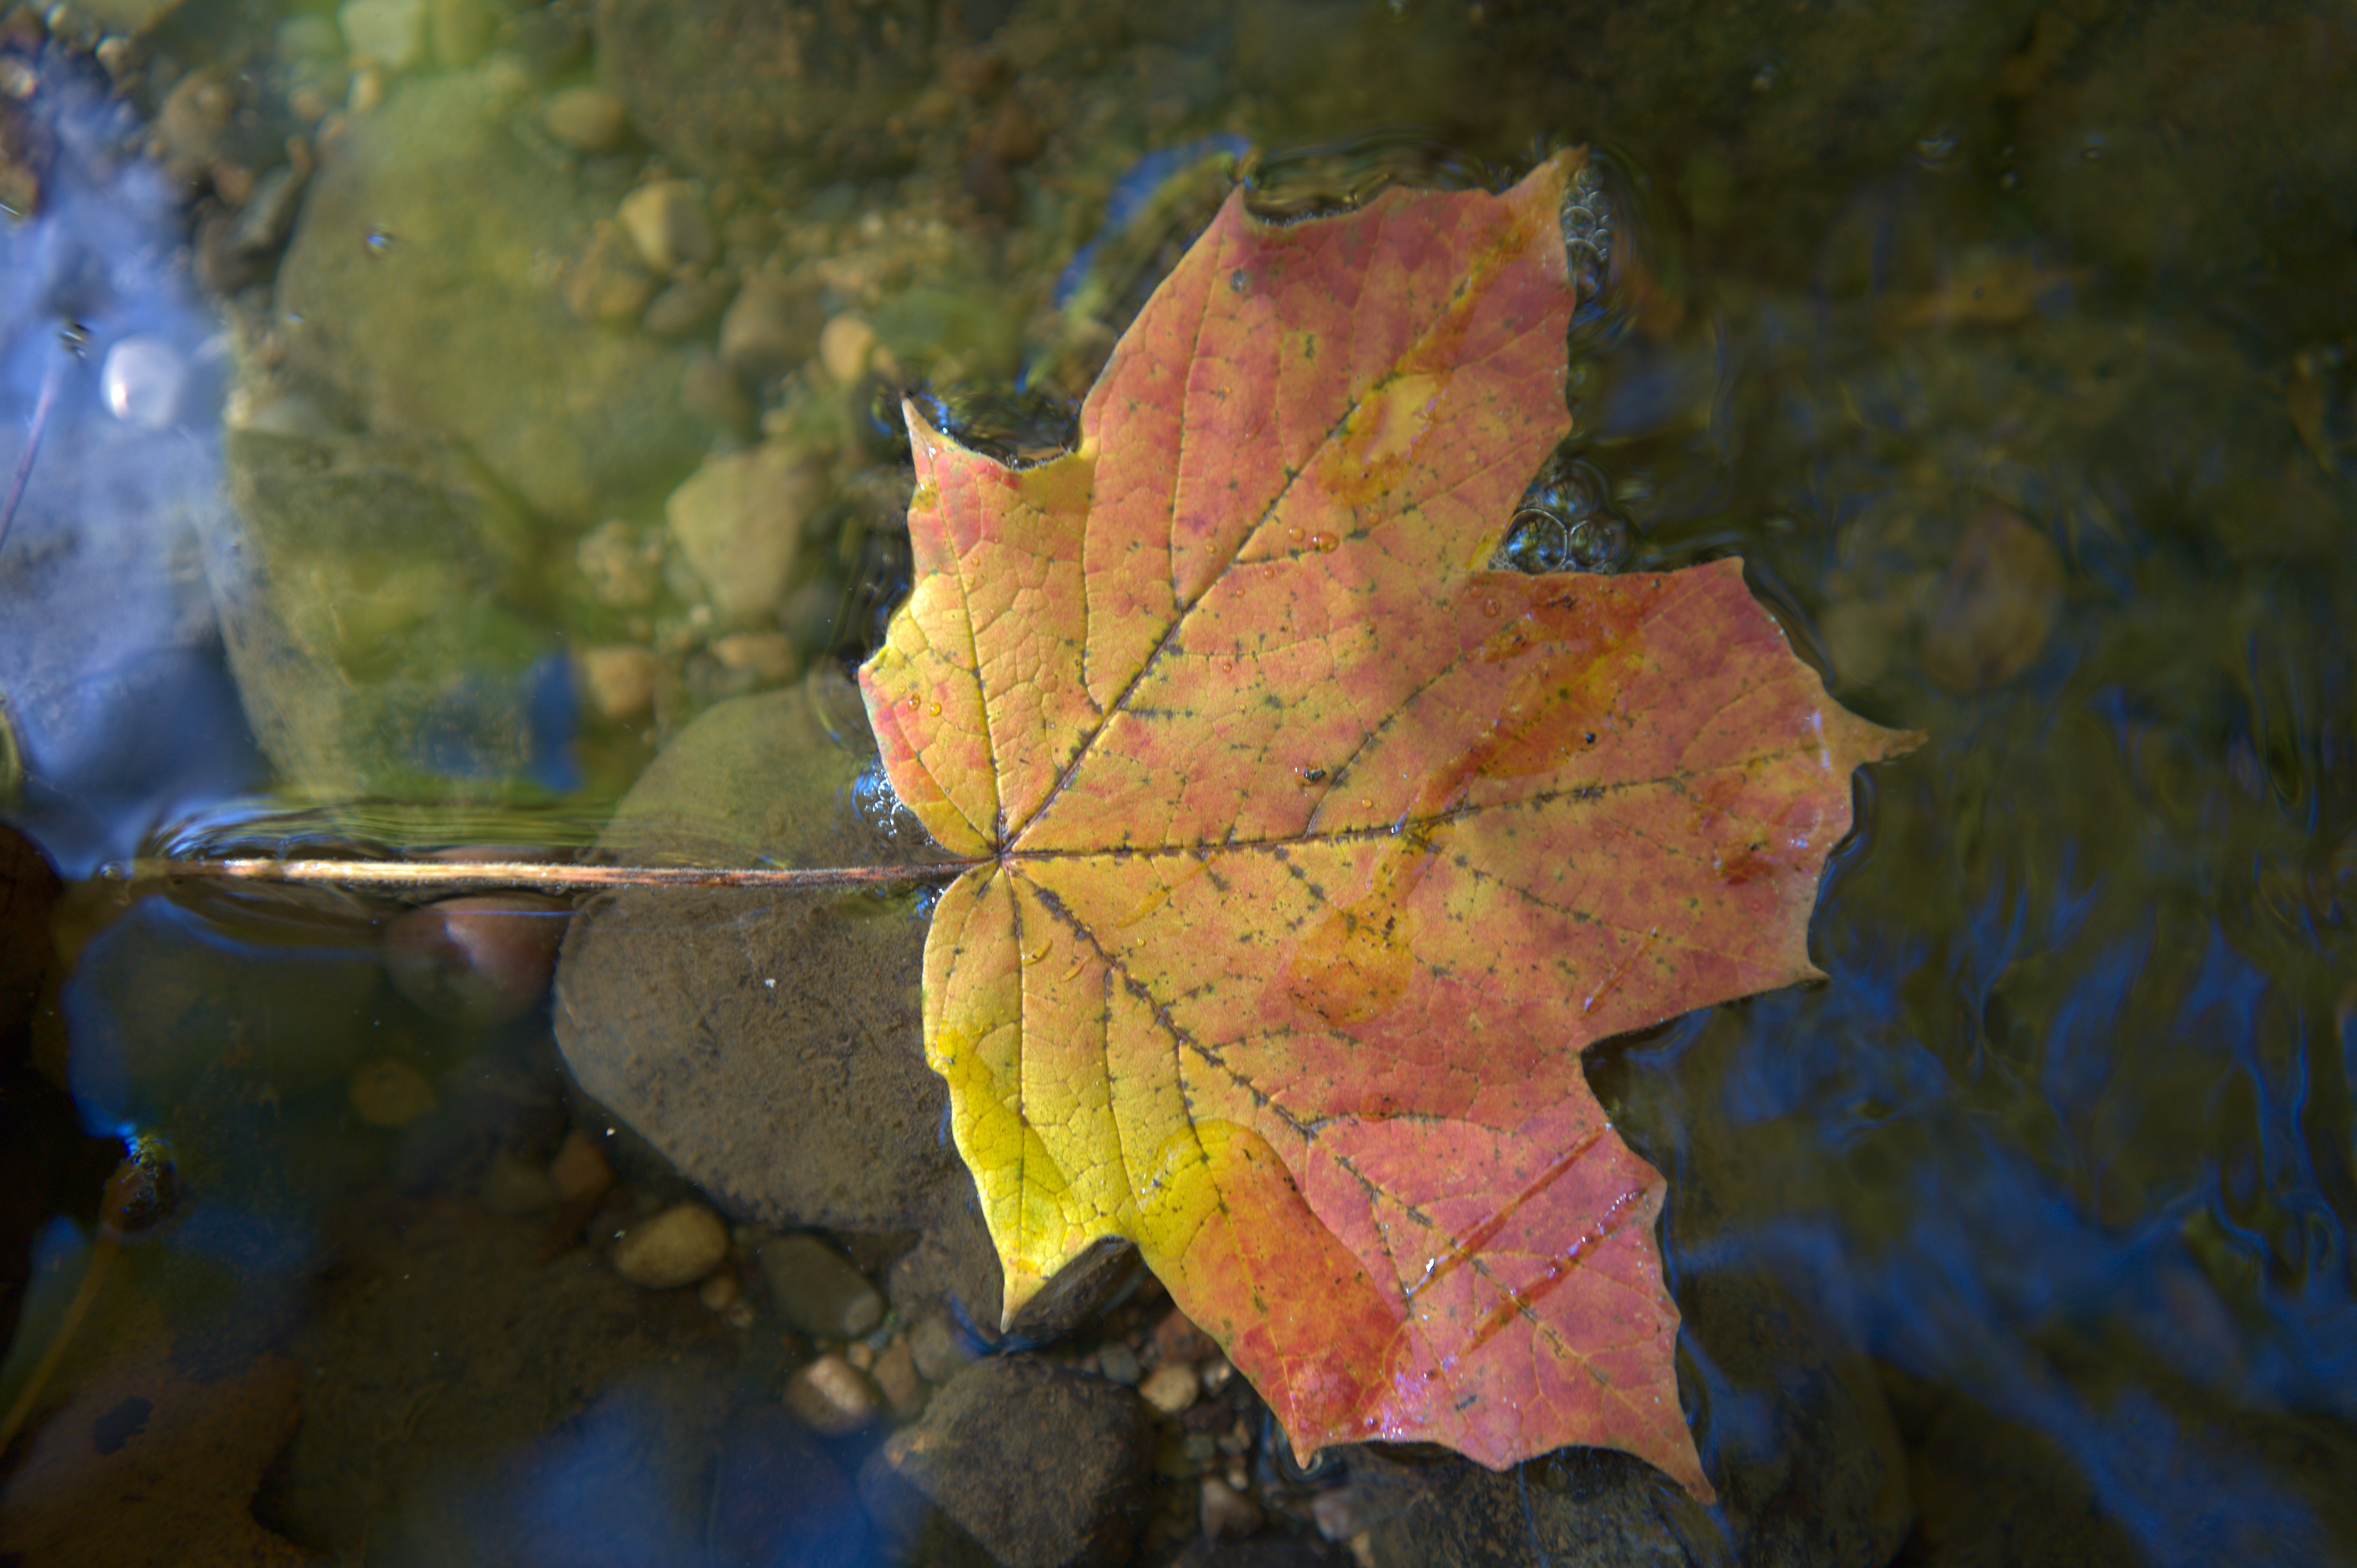
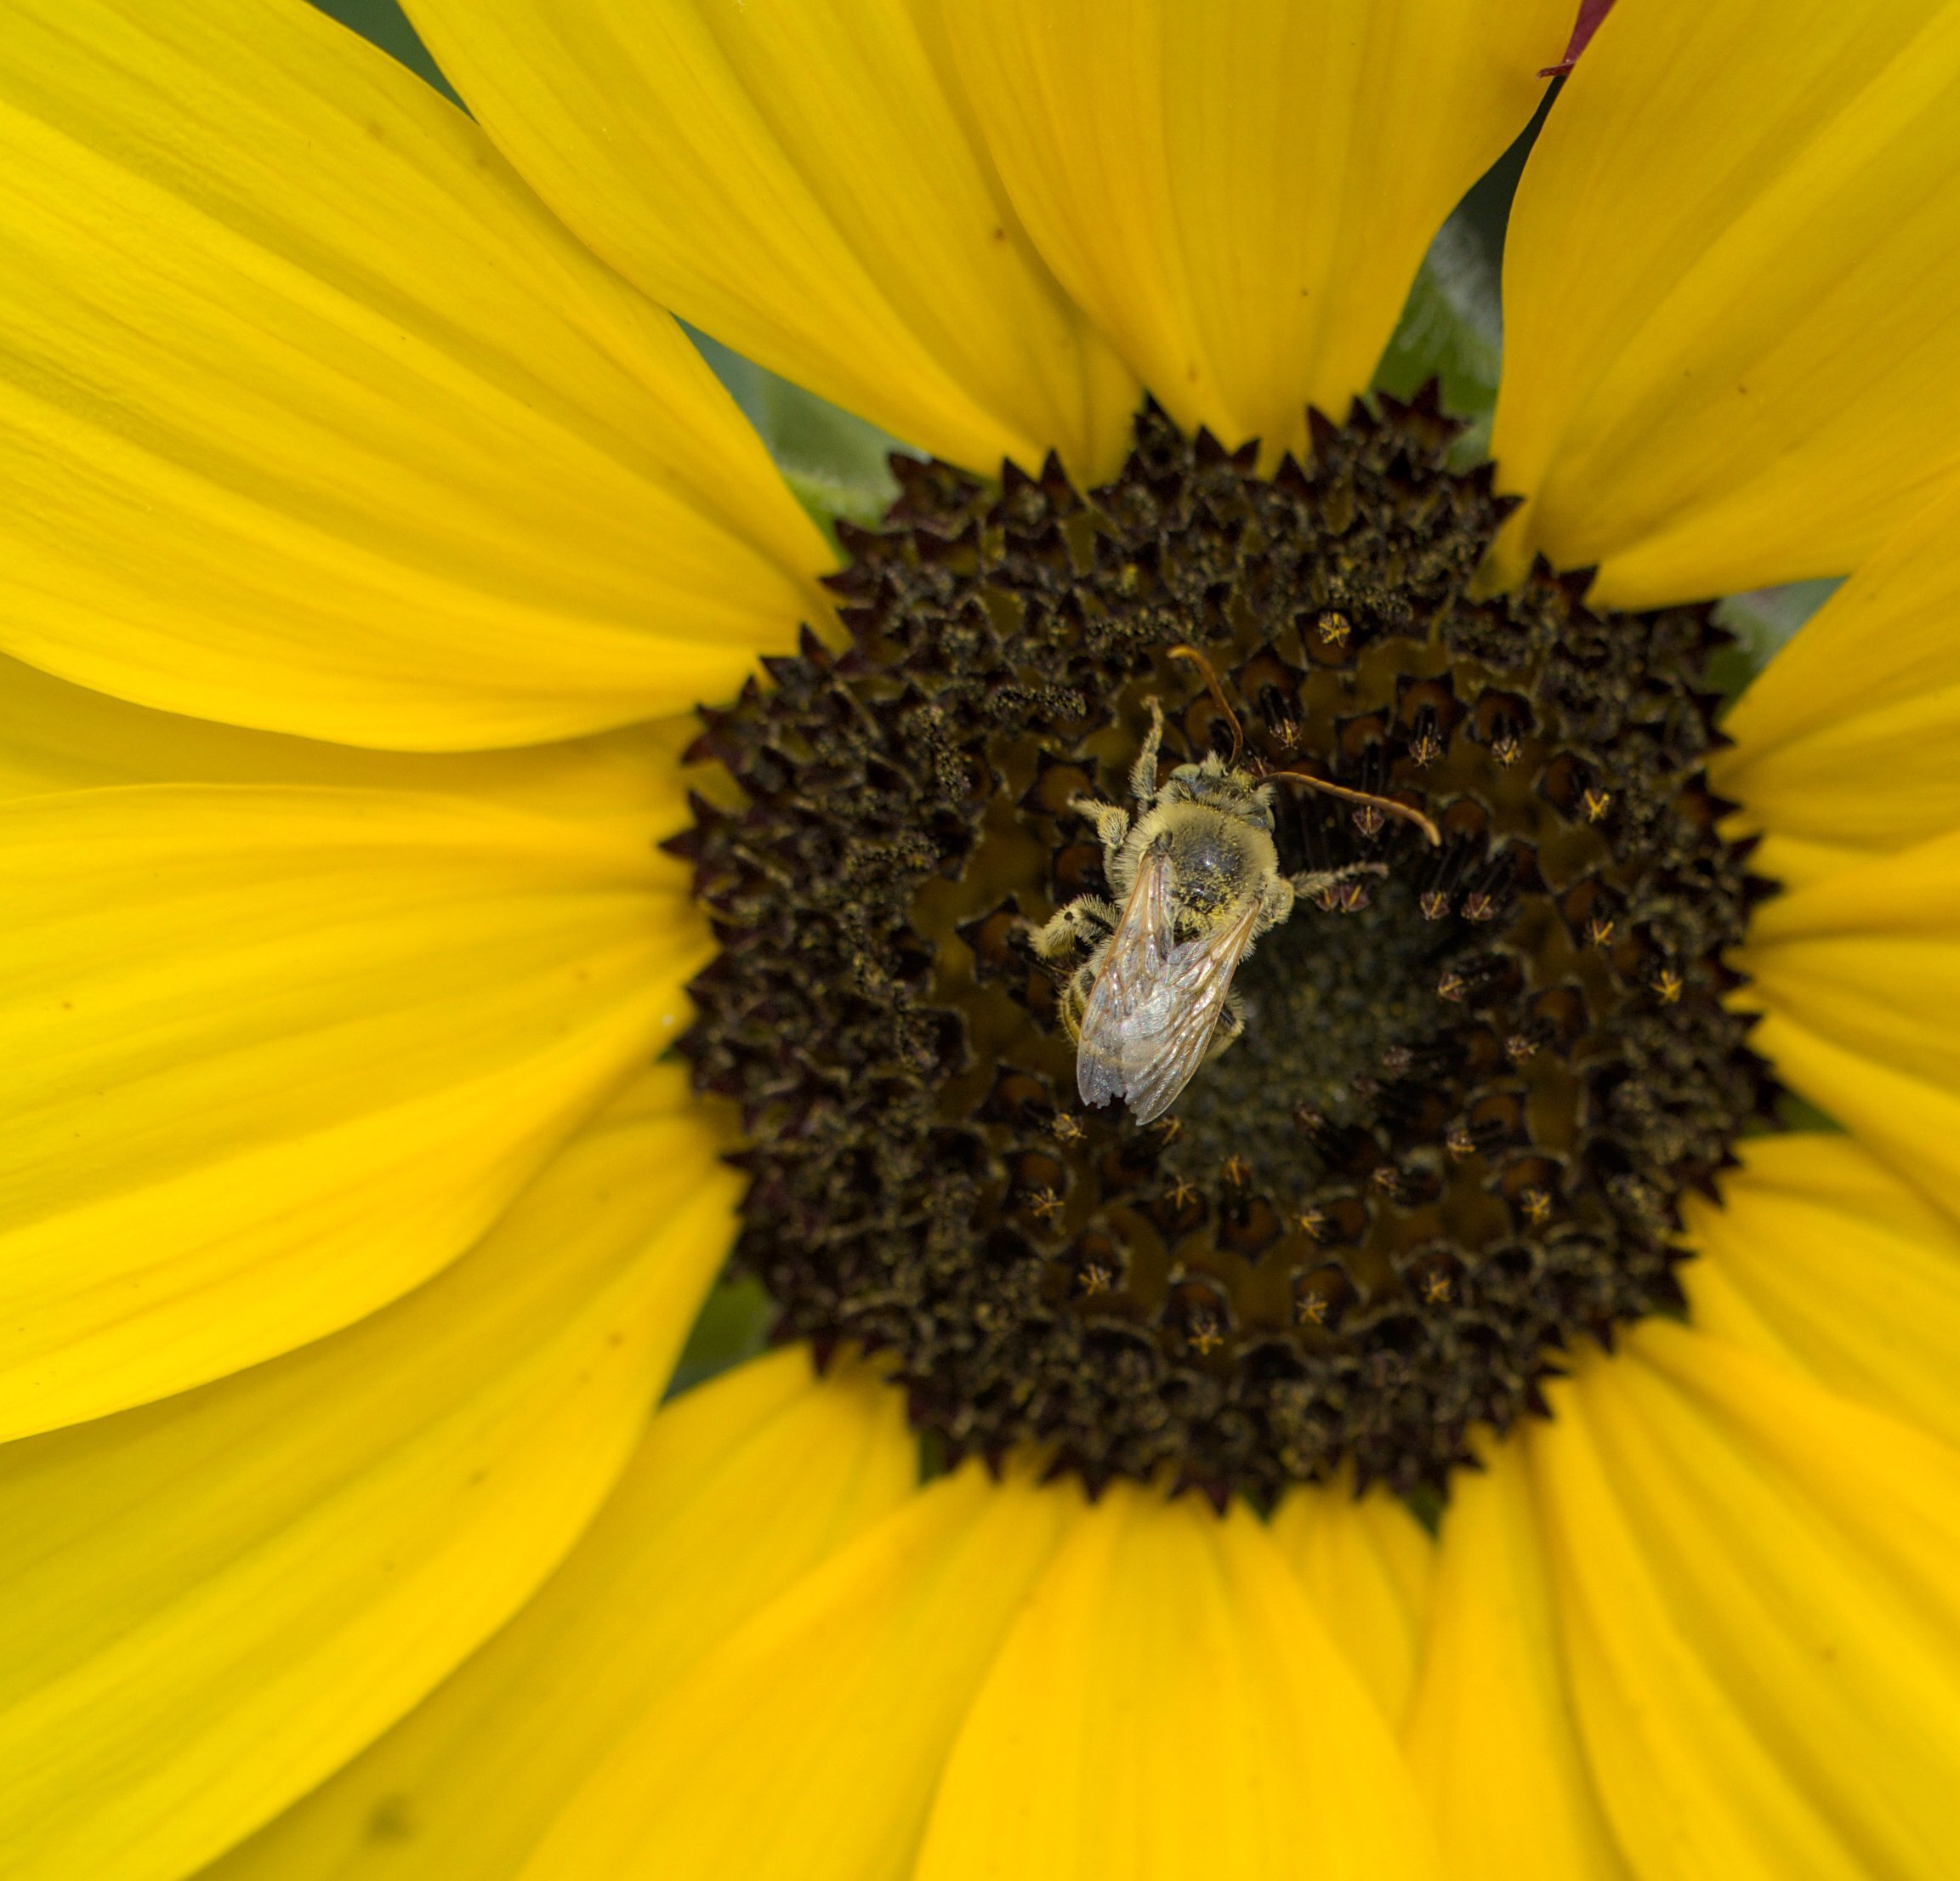
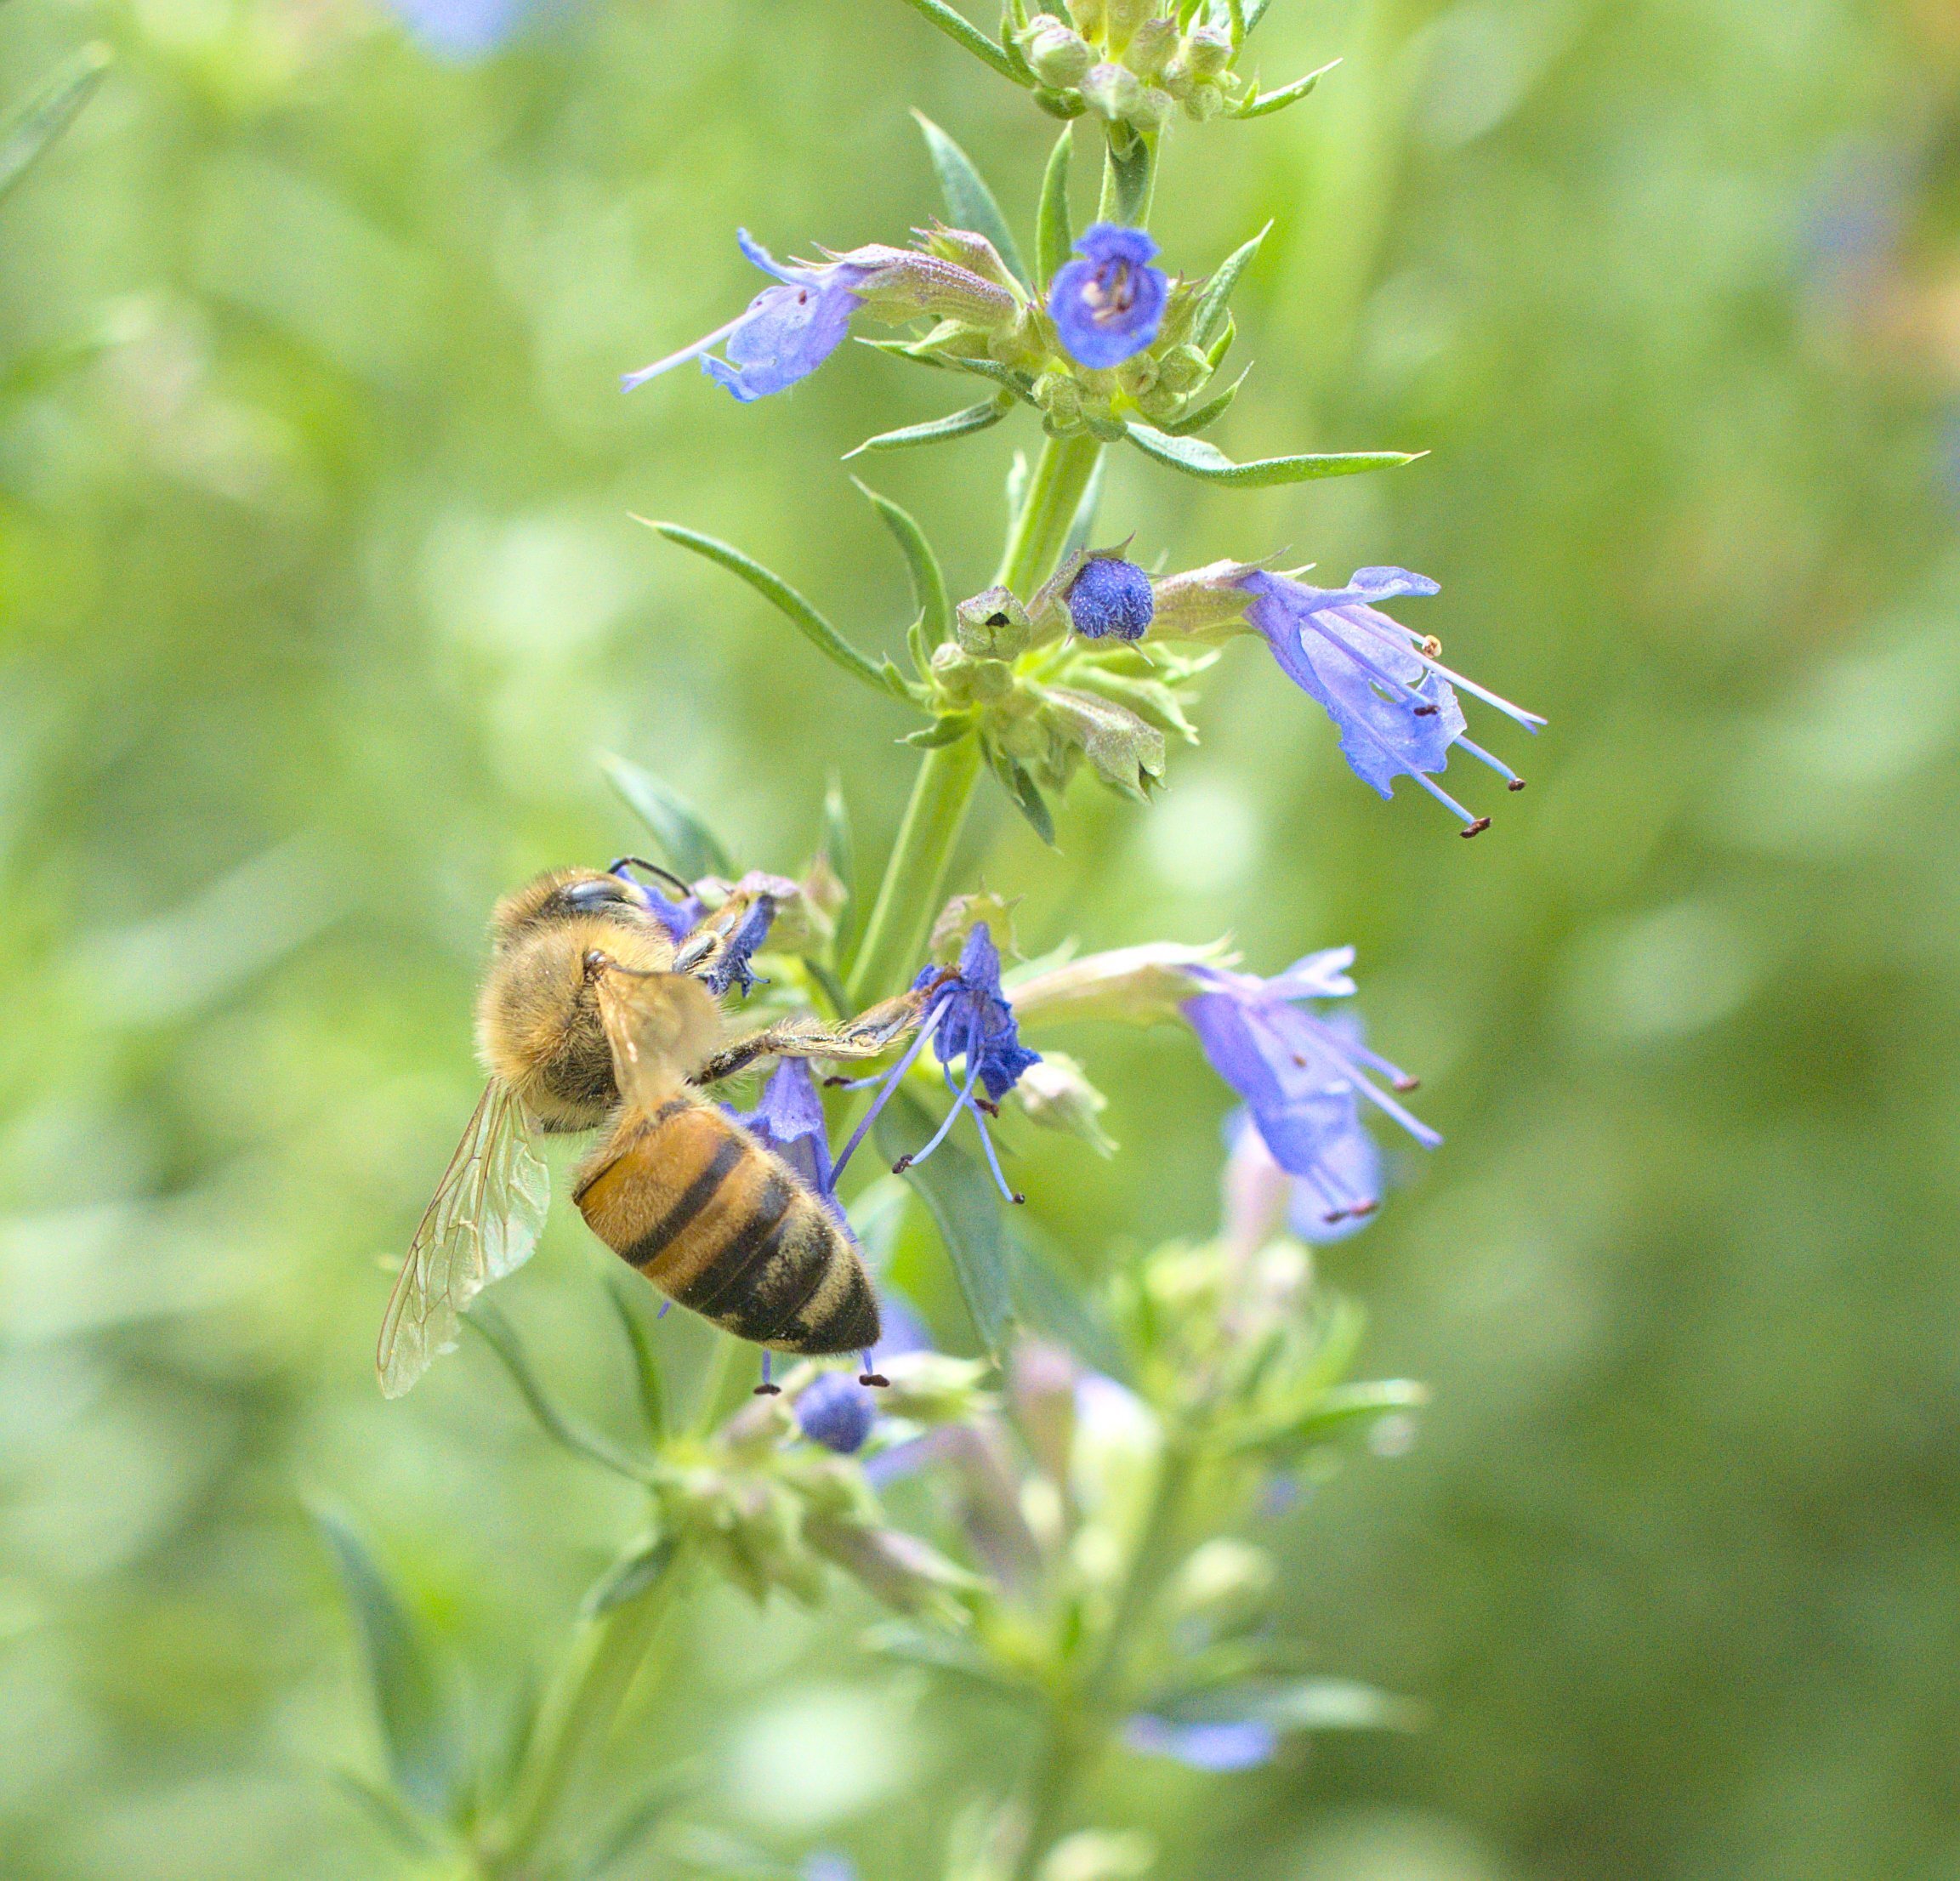
Candid kids (playing, sports, etc), some pets, some bugs, some plants, some landscape. But mostly kids in various states of motion.
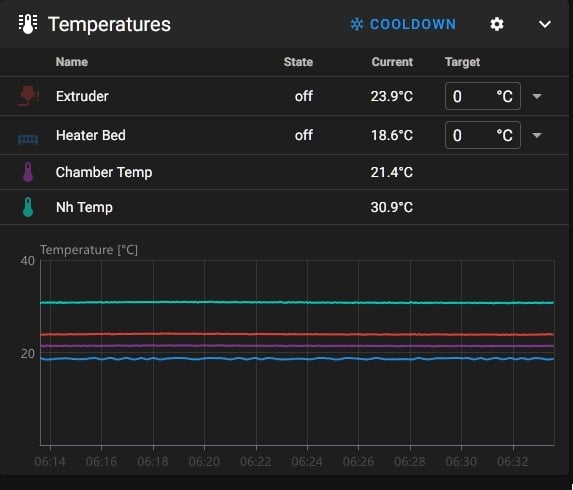
What lighting do I shoot in?
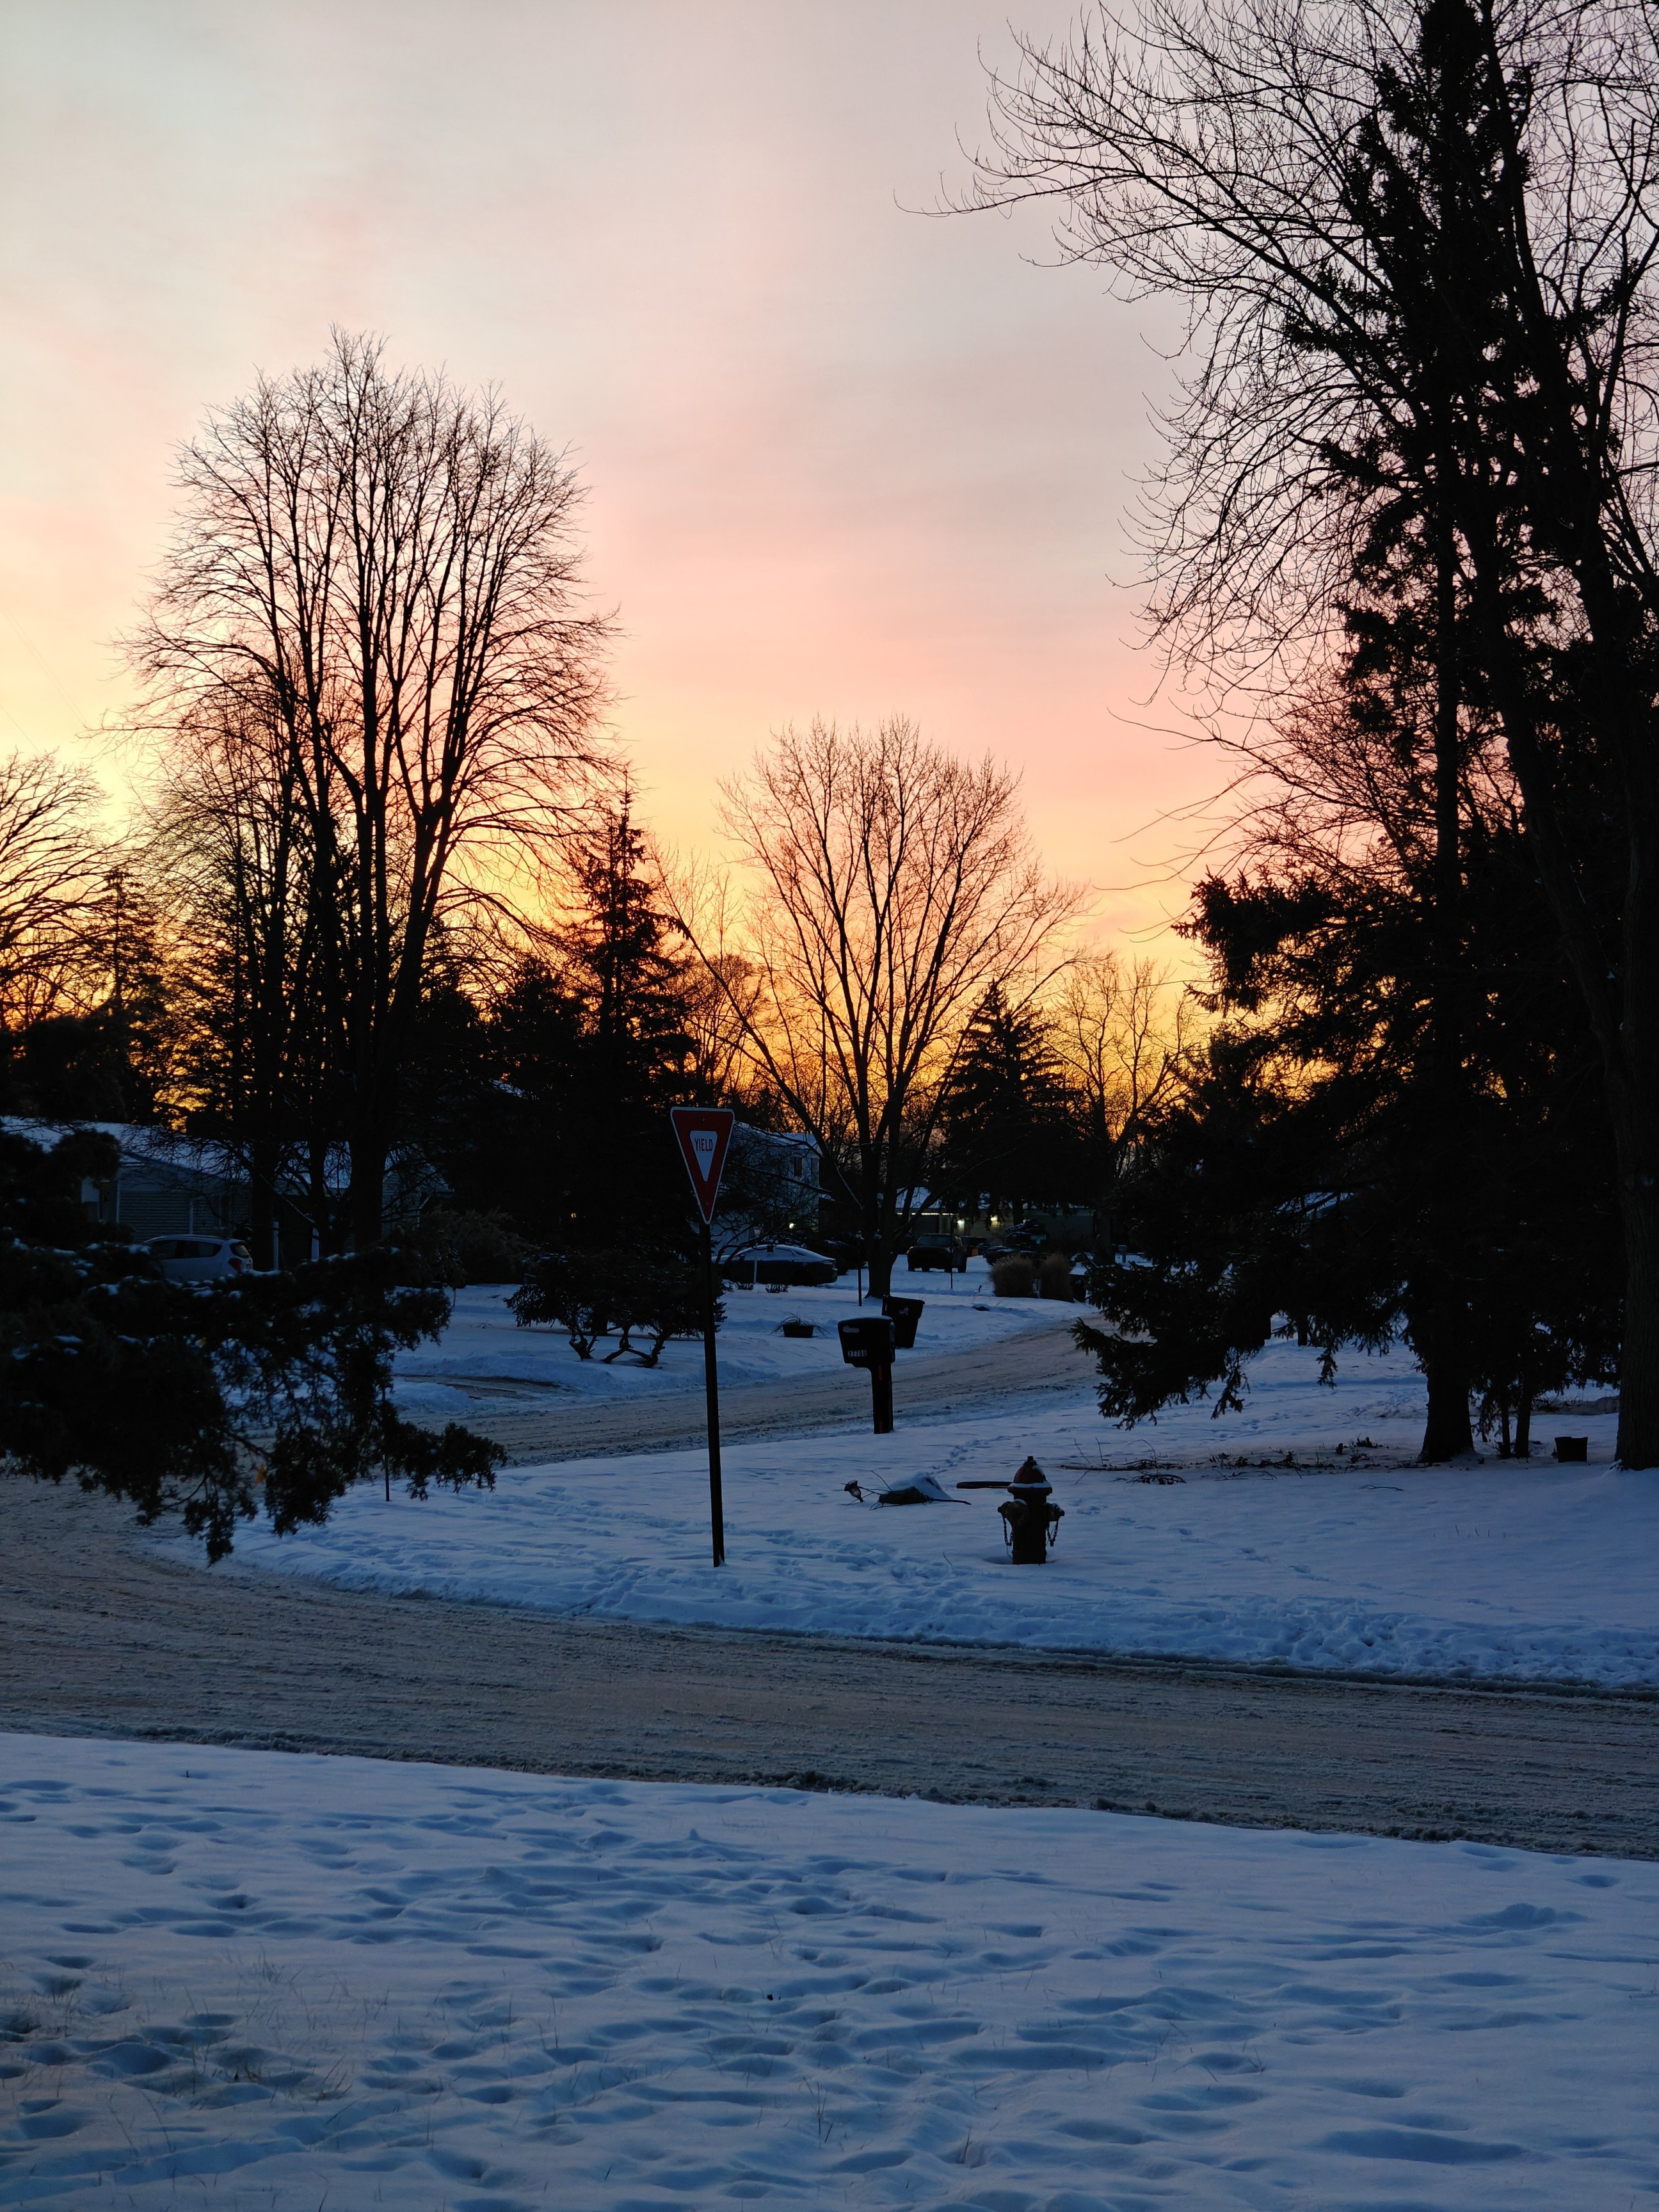
In other words, do I really need the ISO/DR performance? There are a few answers to this question. First, I shoot in a wide range of lighting:

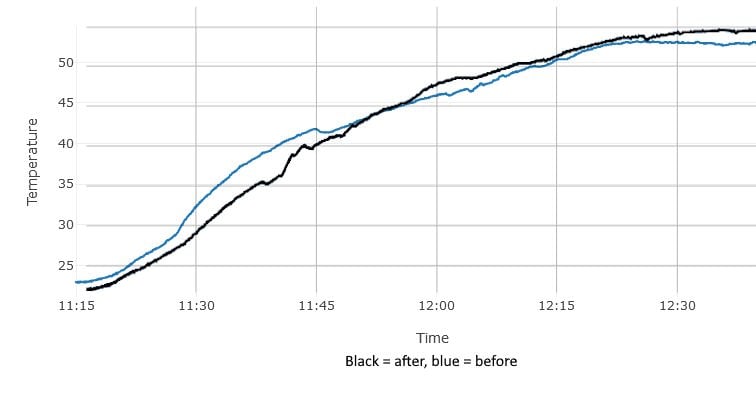
Second, when I shoot in lower light I am able to decrease my shutter speed and/or use fast glass to keep ISO fairly low:

Third, I am wary of needing to push ISO in the future for faster motion + lower light, but this isn't currently a concern.
What kind of lenses am I using these days?
For shorter distances, fast(ish) primes. On the long end, telephoto zooms.
On e-mount, I have a pair of Sigma 35mm lenses: their f/1.4 and f/2.0. The 2.0 is much more compact and is on the camera most of the time. I also have Sony's 50mm 1.8, which I will likely upgrade if I keep the camera. Closing out my e-mount collection is Tamron's 150-500.
On M43, I have the 25mm 1.2 pro and 12-40mm. I don't yet have a long telephoto, but will buy one if I decide to stick with the OM-1.
OM-1 Pros
- Of the cameras in this comparison, the burst rate of the OM-1 is frankly nuts
- Feels more mechanical than it is. Turns on nearly immediately, even when sitting for a long time, and its controls are all very responsive
- New M43 glass is cheaper than FF glass, used M43 glass is very available
- M43 is a much more macro friendly mount, especially once you factor in 2x FF equivalency. For example, the 12-40 has 0.3x magnification, but when you factor in that the sensor is half the size of a FF sensor this is equivalent to 0.6x
- The promise of compact
- The promise of fast AF
OM-1 Cons
- Minor one first. Since the camera isn't very popular accessories are somewhat harder to find and/or have less verity available
- Even when in focus priority, it will happily take photos that are out of focus. This seems to be more of an issue for humans than say birds, but I happen to want to take photos of humans
- Human face/eye detect works fairly well as long as faces/eyes leave the frame when they're lost. If the face/eye stays in the frame, and the camera starts to lose focus, it will continue to indicate focus on the face/eye as it slowly goes soft
- FF lenses can be even more compact once you get into FF equivalency, especially when you get into shorter focal lengths. More on this later
- The depth of field preview thing bugs me. For those who haven't shot M43, their preview (eg waving the camera around to get framing) and focusing happens wide open. They only step down when you're taking photos. They do have a depth of field preview button you can use, but the workflow turns into: press button, camera steps down, focus, camera opens, take photo, camera steps down 'just in time'
- If you want GPS coordinates in your photos the companion app is very silly. The OM-1 can encode GPS coordinates as you take photos, but only if you launch the camera app and record your location as you're walking around. This requires you to take an action in the app. Leaving the app in this mode will drain your phone battery. Sony/Nikon/Fuji simply require the companion app to be running in the background on your phone
- This is a quibble, but in a series of photos the OM-1 will fiddle with exposure a lot more than any other camera I've used. It's easy enough to address in post, but it's somewhat distracting while culling two very similarly framed photos with slightly different expsorues
A9 II Pros
- Very easy to use autofocus. Set it to tracking flexible spot M or L, aim the camera at the thing you want, engage autofocus, forget about it
- If it loses a face eye, it tells you immediately and often before that face/eye is out of focus. I've taken very few out of focus photos with this camera
- Preview and focus are stepped down, although it will occasionally go wide open to acquire initial focus. Once focus has been achieved it will step back down
- Huge quantity of available glass to fit basically any need/use case
- Ability to push ISO
- Large ecosystem around the camera
A9 II Cons
- The HMI is laggy, the camera can take a long time to turn on if it has sat for a while
- Expensive glass
- Physical size/weight of of lens when you get into bigger focal lengths
One sentence each
A9 II = very easy to focus on taking photos (framing, depth of field, etc)
OM-1 = the promise of compact, very fast
On compactness
On the shorter side of the focal range: Once you factor in FF equivalency (2x better total light gathering thanks to surface area, 2 stop depth of field difference), my 25mm f1/2 turns into a 50mm 2.5. This means that I can put something like Sony's 50mm 2.5 G or Sigma's 50mm F2 DG DN on the A9 II and have very comparable image quality with a more compact lens.

On the telephoto end, my 150-500 spends a lot of time between 350 and 500. It's a sharp lens, it focuses quickly, renders nicely, and I really appreciate 500mm. But it's heavy at 1.7 kg and the zoom ring is pretty stiff. The closest M43 lens to it are the pair of 100-400s. They will admittedly gain me quite a bit of reach, but I don't need that reach right now. Physically, they're not much smaller than the 150-500, but they're 600 grams (the Olympus) and 750 grams (the Panasonic) lighter respectively. I do wonder how sharp the Panasonic 100-400 is and am somewhat wary of the Olympus 100-400 since in Sony land its Sigma counterpart has the reputation for somewhat slow AF.


I think many assume there's more of a plan, or at least more structure, than there actually is. When you pick at it, or pull the single link keeping it all together, it tumbles down.