3DPrinting

16310 readers
118 users here now

3DPrinting is a place where makers of all skill levels and walks of life can learn about and discuss 3D printing and development of 3D printed parts and devices.

The r/functionalprint community is now located at: or [email protected]

There are CAD communities available at: [email protected] or [email protected]

Rules

If you need an easy way to host pictures, https://catbox.moe may be an option. Be ethical about what you post and donate if you are able or use this a lot. It is just an individual hosting content, not a company. The image embedding syntax for Lemmy is ![](URL)

Moderation policy: Light, mostly invisible

founded 2 years ago
MODERATORS
401
84
DIY 3dprinted buggy (sh.itjust.works)
submitted 8 months ago by [email protected] to c/3dprinting


cross-posted from: https://sh.itjust.works/post/19906943

Had some left over rc junk, challenged myself to make it go without my usual over designing/thinking/planning procrastinating until I never even start. happy how it turned out! reminds me of a tyco bandit, probably shorten v2 even more and stick that bandit body on.

402


As the titles says, I tried to post a 2.2mb image and get a 413 error. Any help?

403
7
CR 6 Max extruder issue (lemmy.dbzer0.com)
submitted 8 months ago by [email protected] to c/3dprinting


I have a CR 6 Max and I took apart the extruder and now whenever I put it back there are always problems.

Firstly the spring is impossible to put back correctly so it never aligns perfectly.

When I managed to screw in the screws such that is was as good as I could make it, now the filament does not insert properly.

How do I proceed from here? Is there an easier way to put it back together? Is it possible to get another extruder that works differently but is compatible with the cr 6 max?

404
13
Tape Residue on a spool (self.3dprinting)
submitted 8 months ago by JoShmoe to c/3dprinting


Is it possible for the leftover residue, of tape on a spool to be scraped into the feed? As the filament drags over the edges of the spool?

405
406


At least so far. The first go round had the nozzle crash into the tree support, resulting in a layer shift. The good news is that the print stayed very firmly stuck to the bed.

I've reset, lowered my extrusion multiplier a smidge, switched to a more traditional support pattern, and am going for it again. Wish me luck!

407


When printing on my Ender 3 Max Neo (stock except for a PEI bed), the right side of the bed is always printing too close. I manually leveled the bed, and then I run the auto-leveling sequence. I also have it set to run auto-level before every print, and confirmed that it's enabled using M420 S1 after the G29 in the opening gcode.

I also disabled it in one test with M420 S0 and confirmed that it is making a difference so it appears to be working, but the auto-level map seems to be incorrect every time. Any ideas?

408


Hey 3D printing fellas,

Are you worried about failures that can lead to disaster like printer catching on fire and burning down firniture and house? Do you use any kind of protection against fire?

I know metal enclosures are the best, but my printer is in the Ikea Lack enclosure. I checked connections and everything looks great, but I soldered cable on the heated bed anyway. Im not super worried tbh, but Im thinking about buying Stovetop Firestop and mounting it inside the enclosure just in case. This one is triggered with open flame only, so probably false activation is not possible. I would probably buy 2 more for kitchen.

There are also balls and other extinguisher shapes, but the one from the picture seems more recommended. Bad thing is I cant find that one availabls in europe. There are also smoke detectors, but they can only alarm you or cut the power.

What do you use? Can you recommend any good automatic extinguisher available in europe?

409


This might be a useful reference to be aware of for projects, especially for very small designs.

https://www.youtube.com/watch?v=TQiLLcumqDw

410


Hi guys, it's The Clog Guy, thought I'd try to share something other than problems...

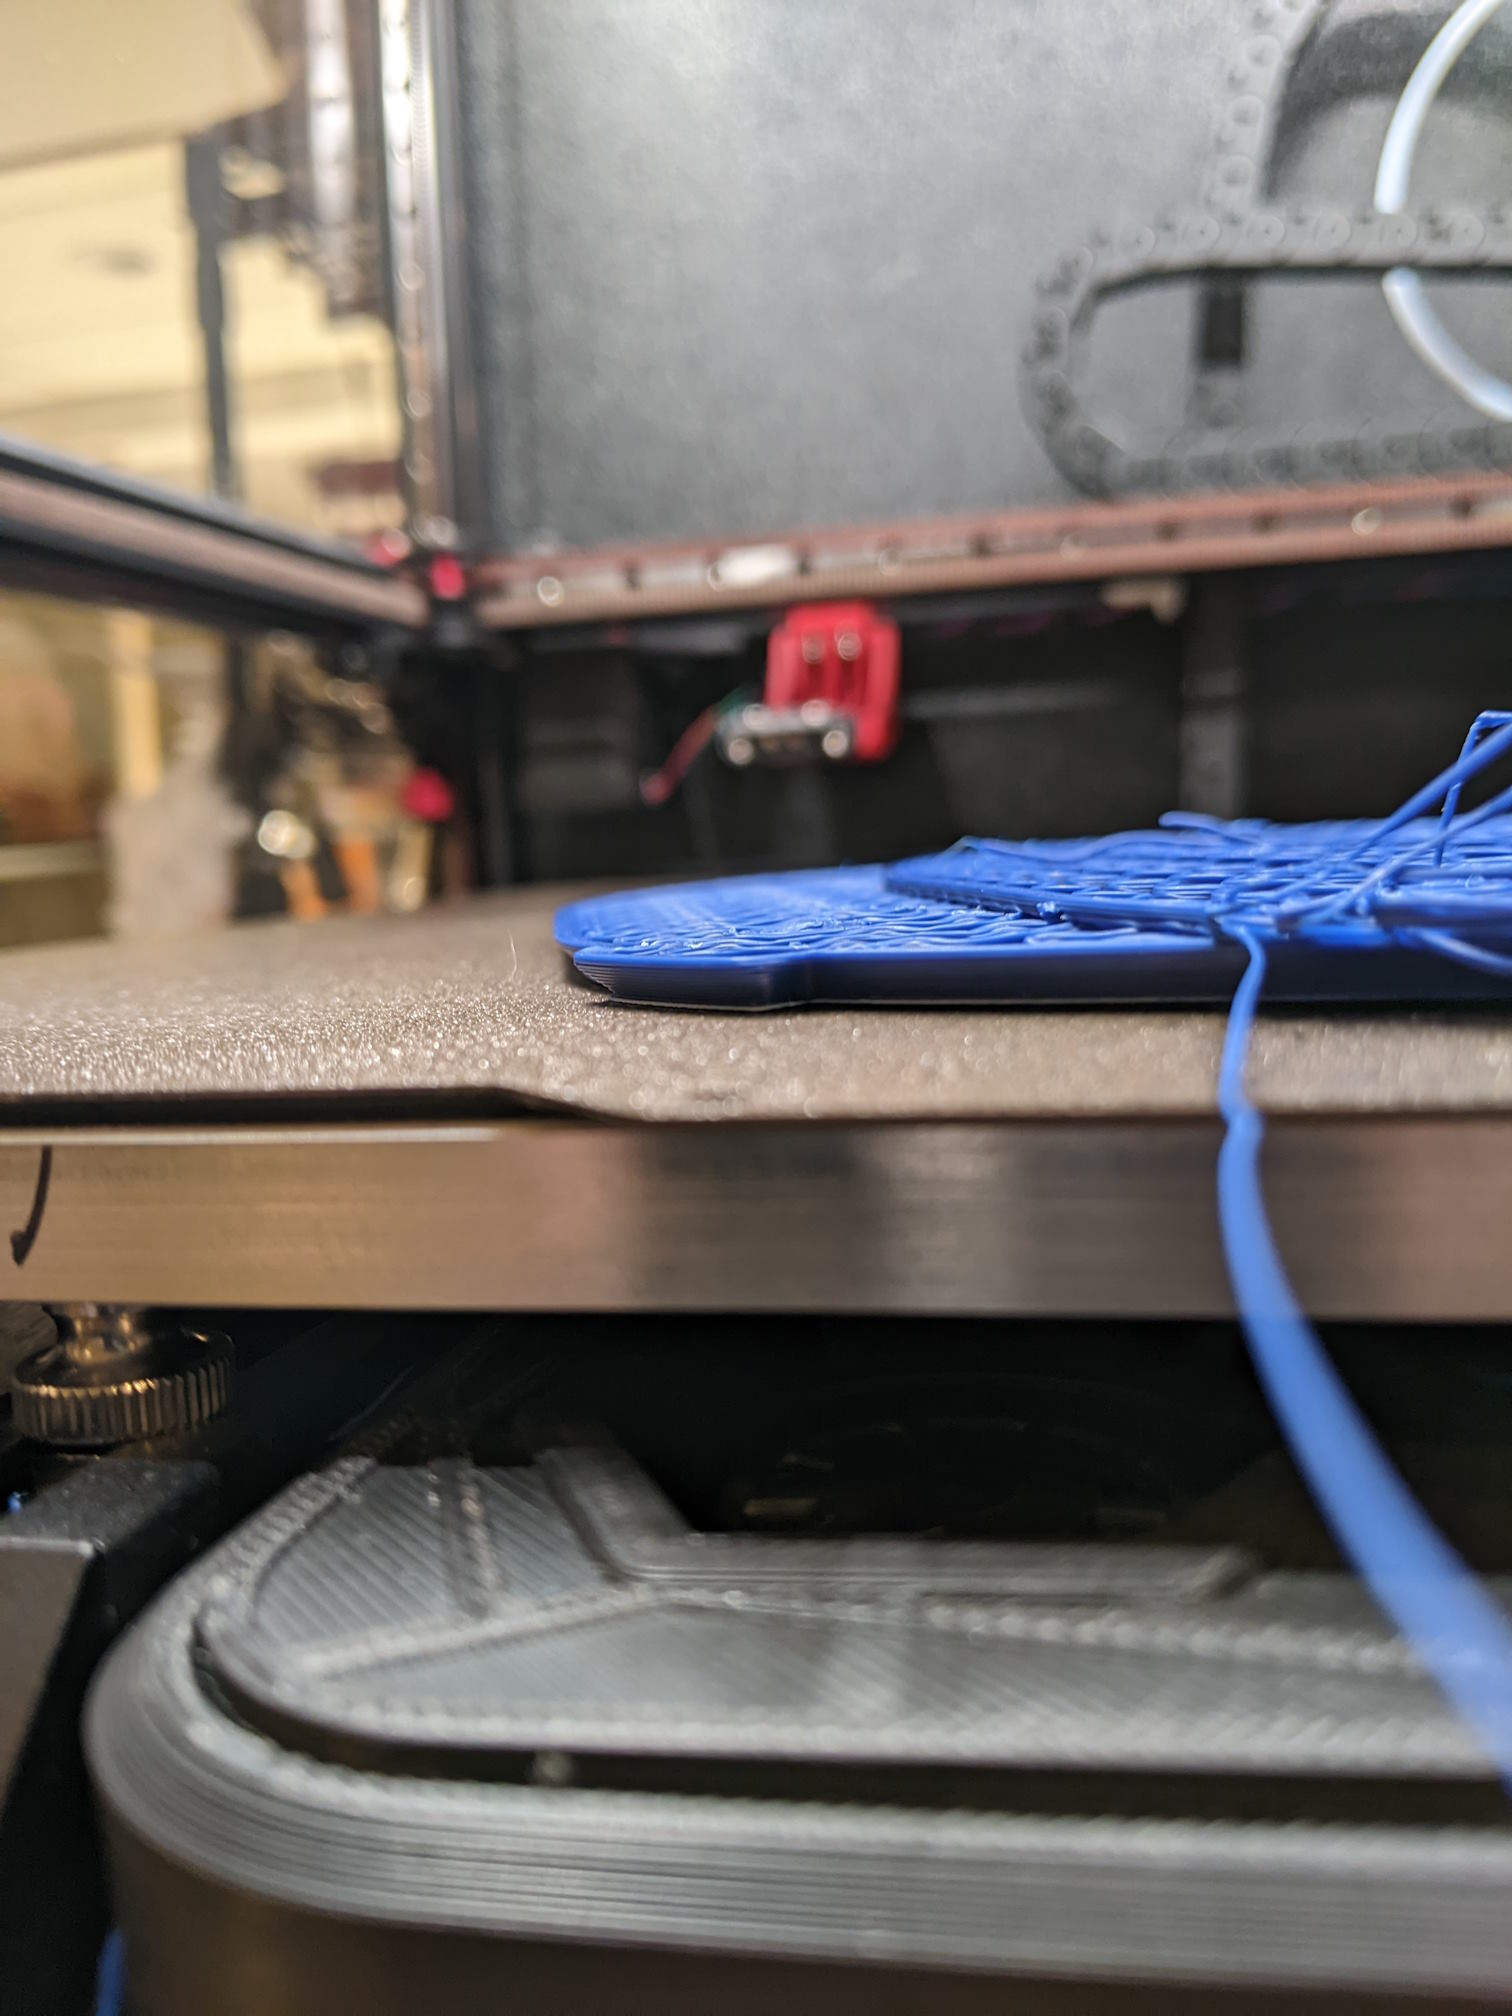
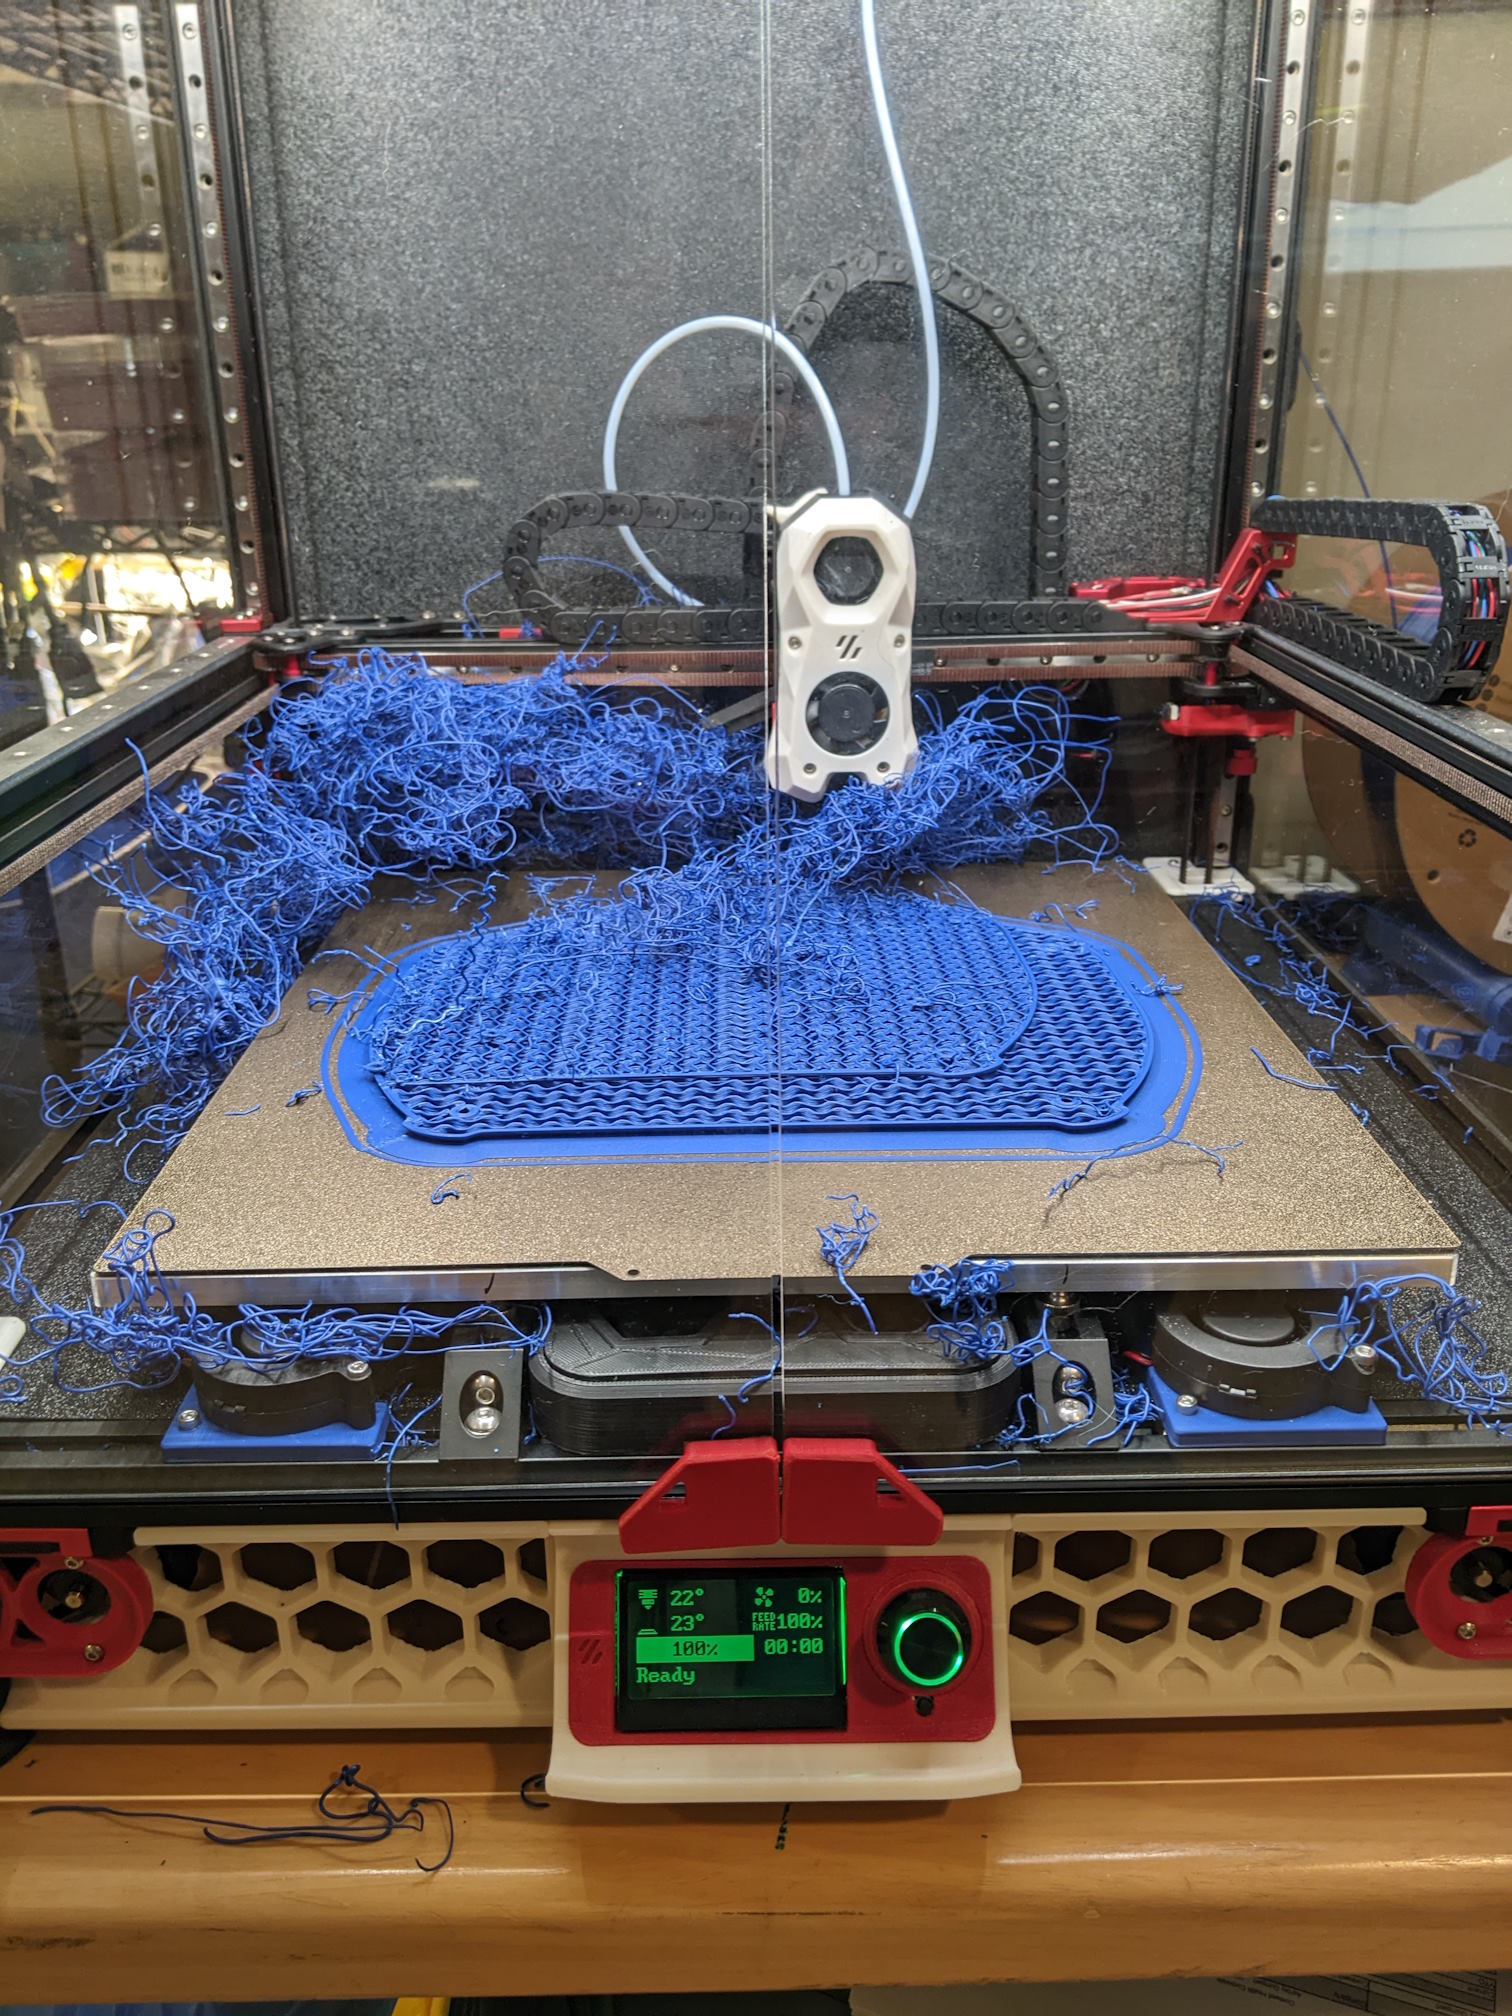
Shortly before my printer went kaput again, I designed and printed a bracket to move my Bowden extruder to the hotend, making my printer a direct drive variant.

This posed an issue: I now needed to feed filament from the top of the printer rather than the side, where I previously mounted my filament holder.

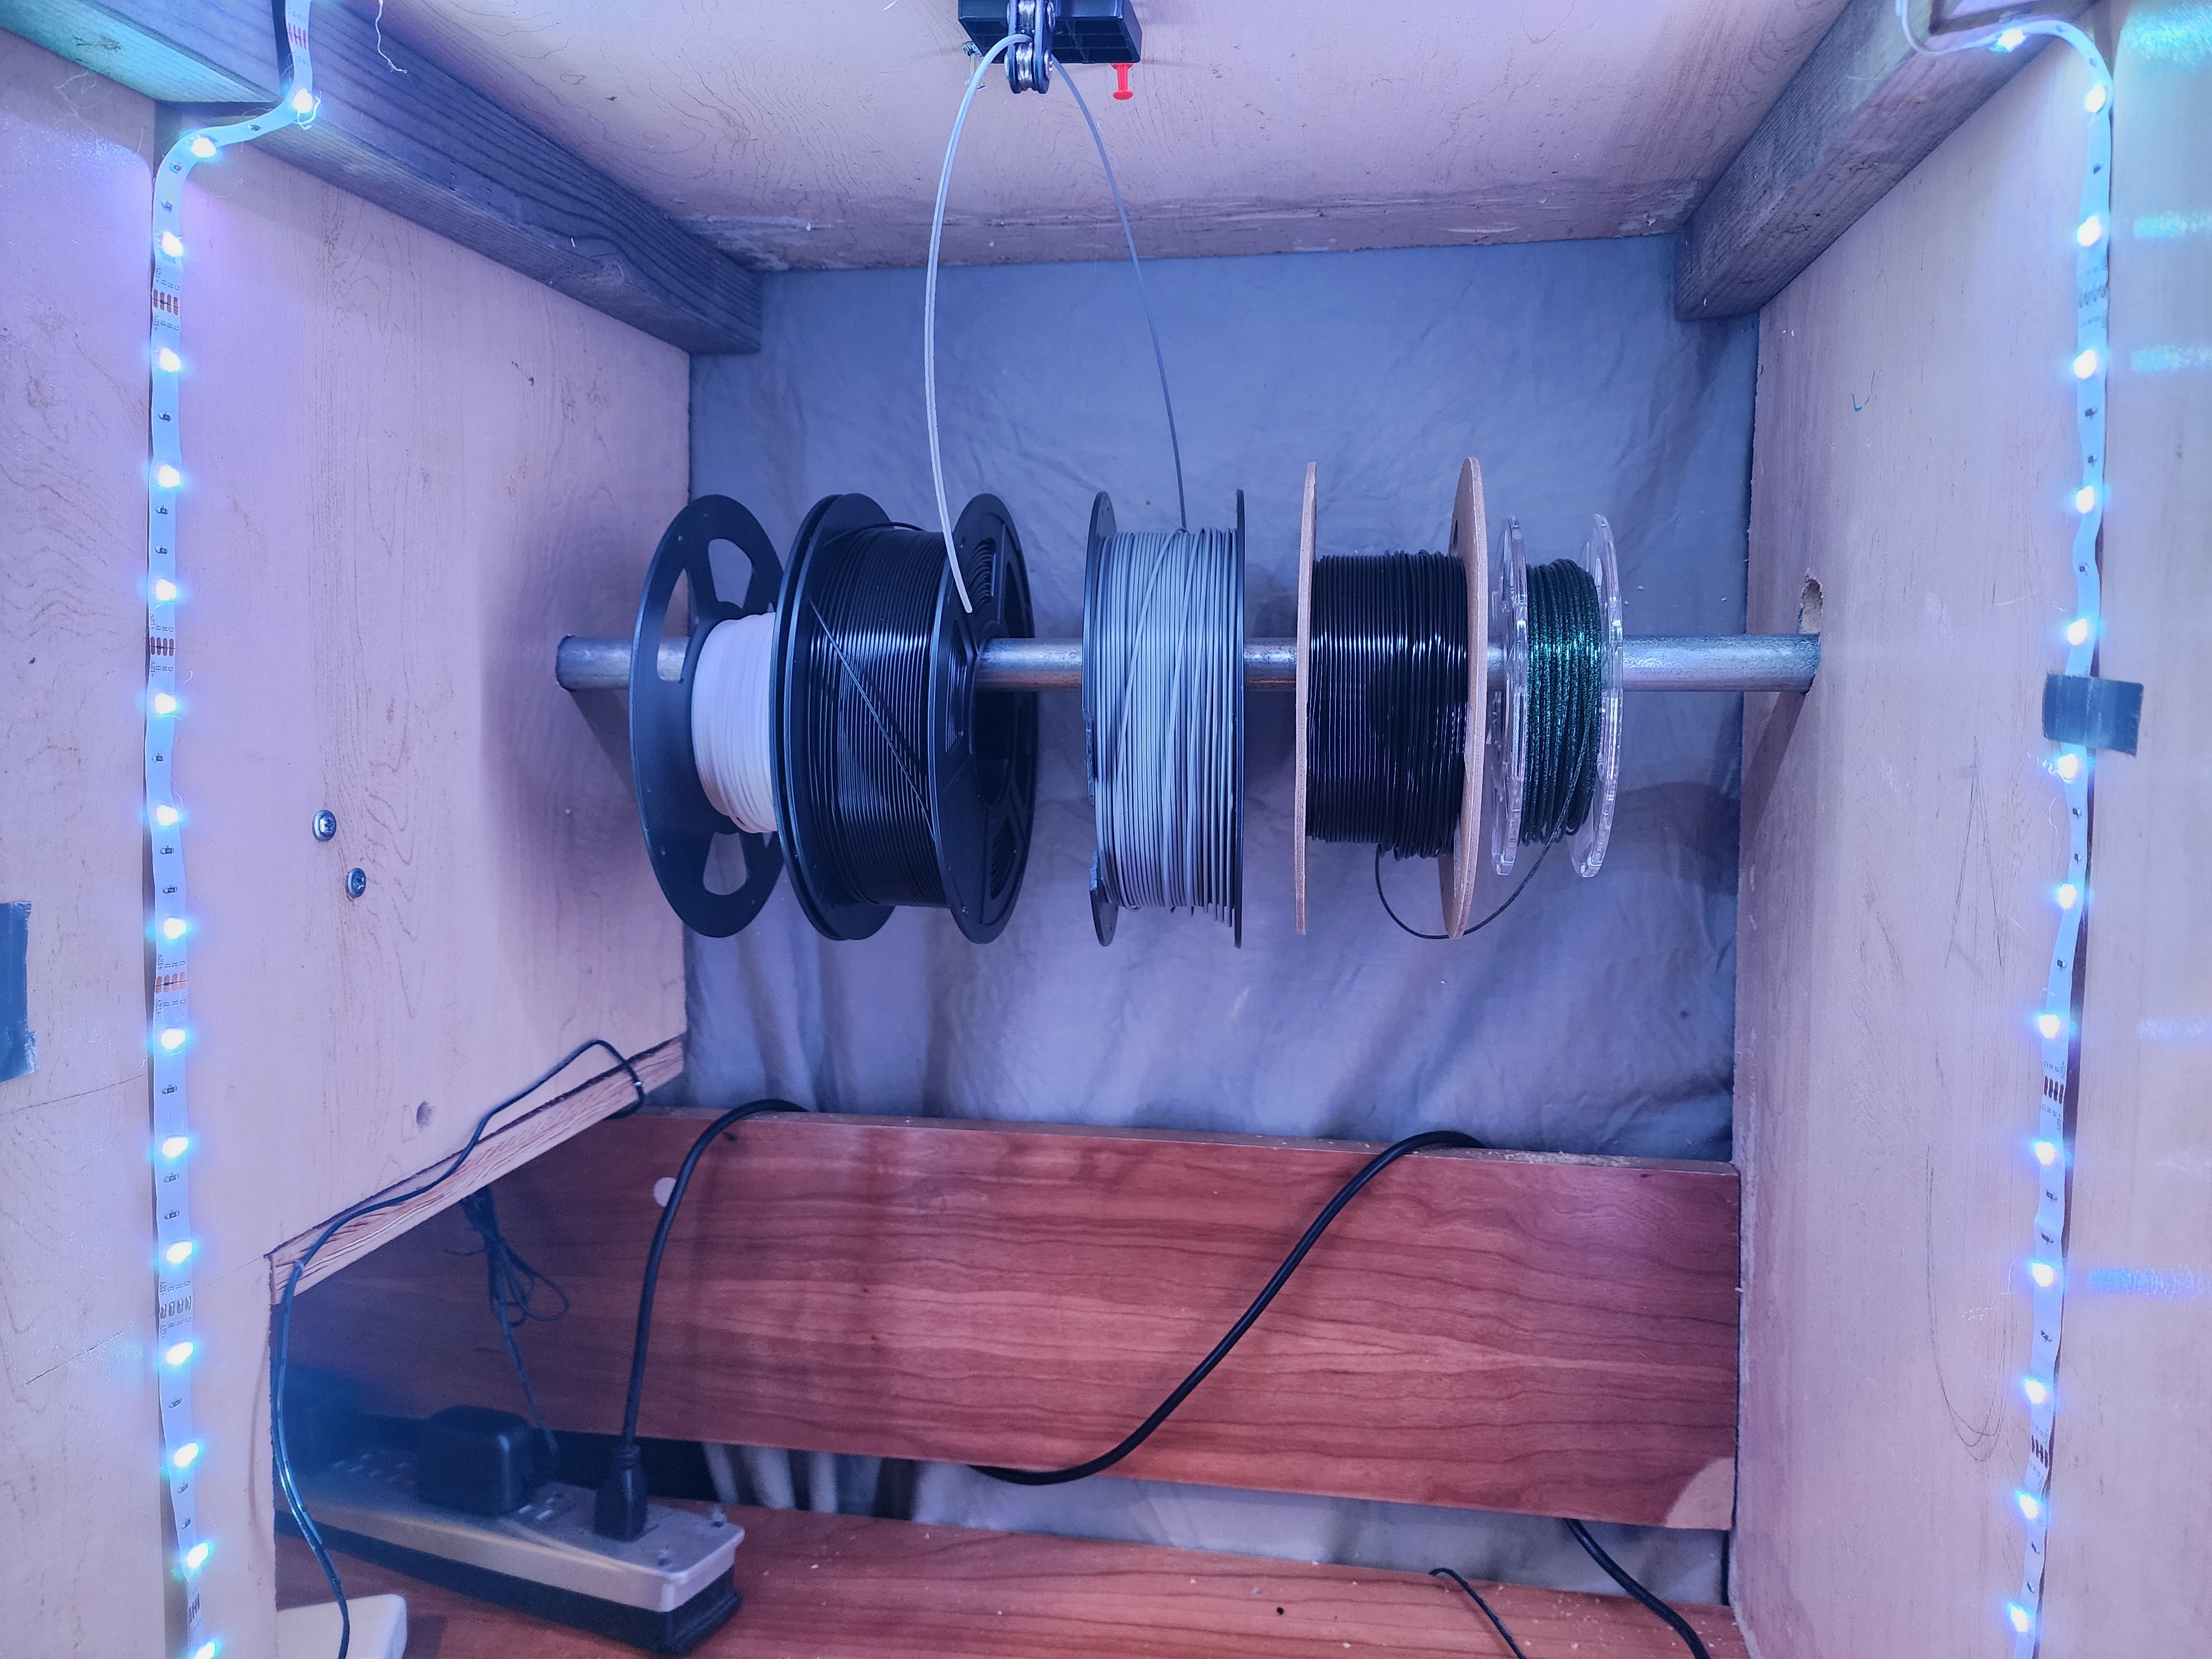
I also have the issue many of you probably do where I am running out of room for my many filament spools.

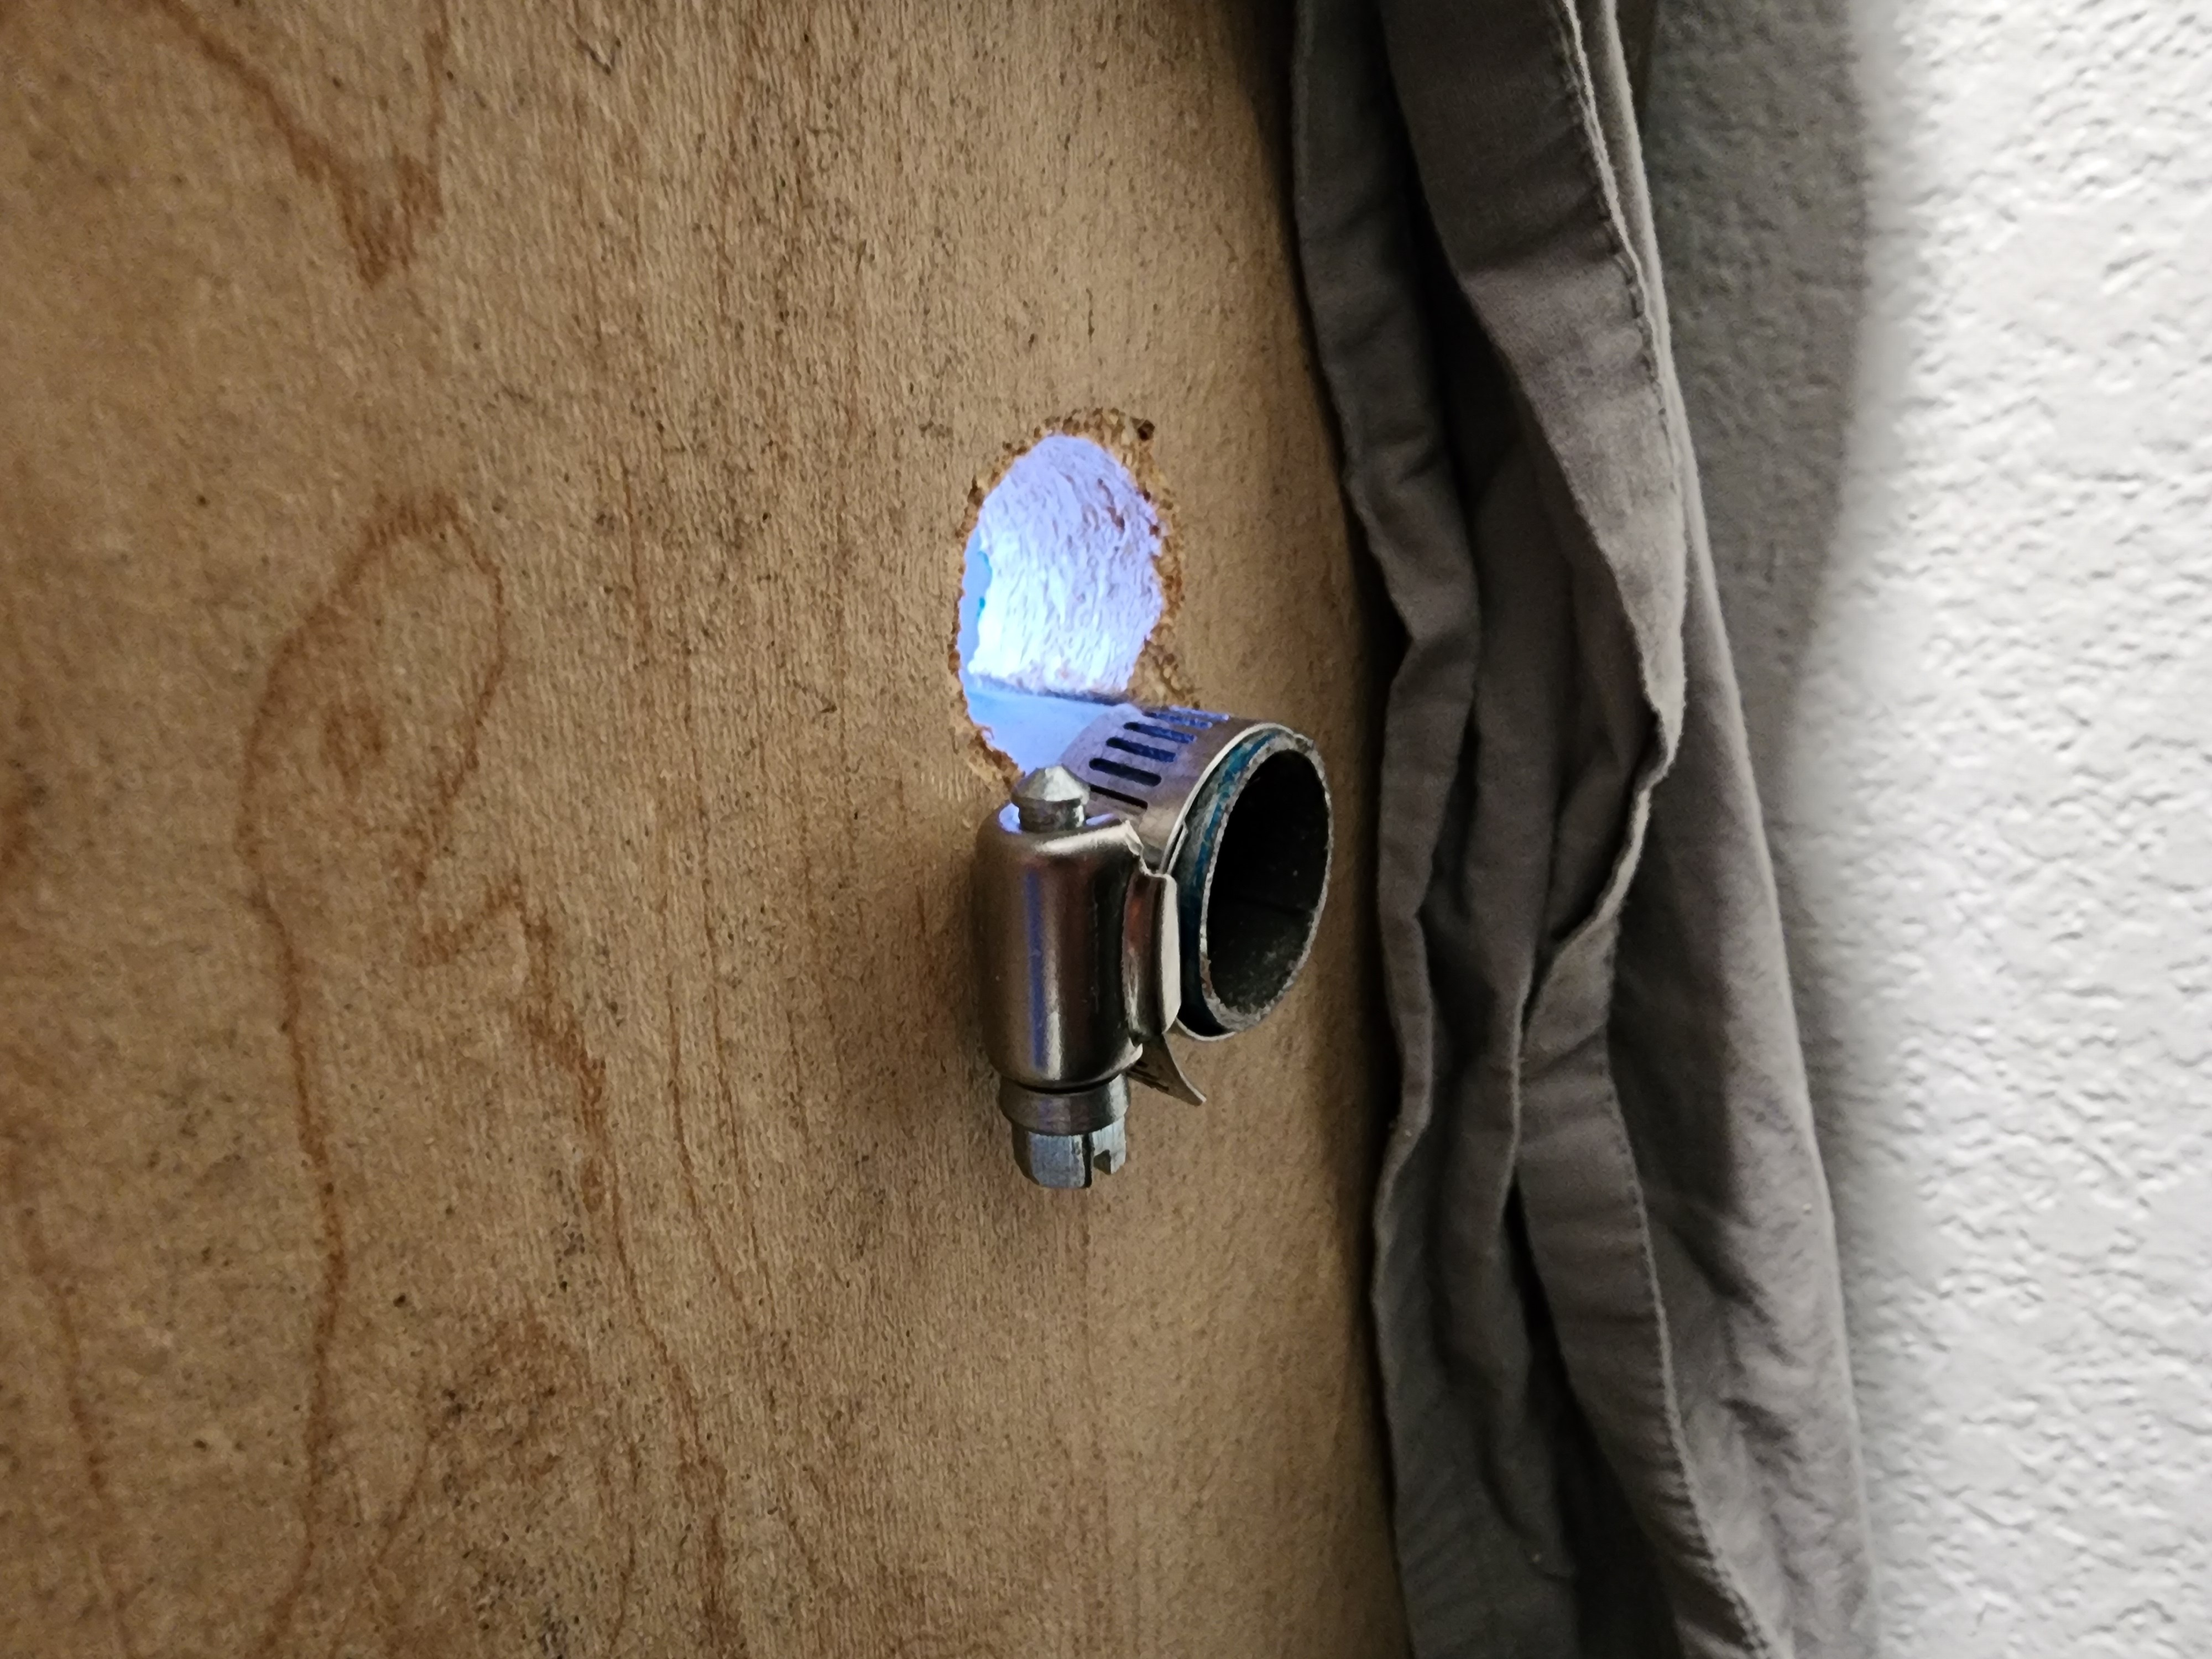
Enter: The Rod. Two holes on either side of the enclosure, and I can hold probably 8 or so spools within the enclosure.

The Rod slides out on one end to allow for quick spool changes:

The Rod removed

And I even had the foresight to put a clamp on one end to prevent it from getting yanked out all the way:

The Rod clamped

I canabalized the filament guide from the printer to the top of the enclosure with one screw so it would swivel, put those thumb tacks in to keep it from spinning all the way around, and the enclosure is ready to go!

Now if only my printer worked...

411
 
 
412


Ok guys, I'm breaking down and posting here to see if anyone has any ideas. I'm greatful for any advice.

I have an upgraded flsun SR. I recently lost my computer (psu issue, waiting for replacement) and I took this opportunity to switch from Cura to Orcaslicer.

Over-all I'm very happy, and getting some good speeds, but I just cannot remove stringing no matter what I try:

  • Retraction from 0-7mm. After about 3mm, no further effect
  • Retraction speed from 30mm/s-50mm/s. No noticable effect
  • Travel speed and acceleration both high (up to 350mm/s and 6000 accel. No effect
  • Temp from 205-215 with no effect
  • Dried filament and different colours, no effect
  • Wipe on retract on and off, up to 2mm wipe distance and 100% retraction. No effect
  • Messed with scarf seams on and off, no effect
  • No effect from layer heights

My setup:

  • Printer - FLSun SR running klipper with a speede pad
  • Filament - Esun PLA+
  • Upgrades - Deported fans, OMG v2 extruder, volcano hotend and high flow cht nozzle
413


Hi guys. Please check my previous post for any background questions, I don't have it in me to go over everything again.

Long story short, I was having issues with clogging that were being caused by my hotend not reaching the reported temp. After a few days of troubleshooting and diagnosing the motherboard and Klipper settings, I gave up and decided the motherboard was faulty (even though I could not perform any tests to determine in) and bought an SKR mini. I got that all set up, and the printer has been working flawlessly since then.

Until now.

Same exact problem; one print goes perfectly fine, next print, failing to extrude by the 4th layer. I removed the clog, restarted the print, now can't even extrude the priming line. Fearing the worst, I disassemble the hotend, try hand feeding filament, and once again I am unable to push more than a few centimeters through before it gets clogged up. A probe thermometer reads ~160C while Klipper reports 200C.

What could possibly be happening here? The board is an aftermarket replacement from a completely different company, so I doubt it's a recurring manufacturer defect, but I have no idea what else can be causing this.

At this point I've spent so much time and money trying to fix this printer that I could almost buy a new one, but at this point I'm not convinced even that would solve the problem.

414


Hi - Tenlog TLD3-Pro, printing with branx new Overture PLA+, printing an OpenSCAD exported STL sliced with Cura 5.7.1 (most recent as of yesterday).

I'm printing first level at 0.3mm thickness, but the print is irregularly too thick in height -- and not by a little bit, a lot. I've lowered the temperature to 190. I've physically lowered the bed to the point that the skirt didn't print, then raised it just barely back. I've reduced the flow rate to 85%, and I'm still getting the same results. I've lowered the build plate temperature, no change.

The skirt might be a tough high in spots, but I'm ending up with the first level of a prime tower that looks like this.

Any ideas? What else can I try?

415
69
submitted 9 months ago* (last edited 9 months ago) by [email protected] to c/3dprinting


As I'm graduating college in a few weeks, I'll be losing access to my university's free printers and filament. I'm going to build up a home lab with a couple printers where I can make goofy little mechanical projects as well as some components for my cars and stuff.

Who's your go-to for PLA and ABS/ASA filaments? Those will be my primary print jobs in any serious volume. I know our college's club has had hella problems with random chinese brand filaments not printing consistently but I also don't want to spend $30+ per kg for something like Prusament.

416
417


Made a FreeCAD tutorial for making this container: https://makertube.net/w/mg7rdKStSUua7AhnAt1RoM I have to warn you that I made a bunch of mistakes and it may be really hard to follow.

418


This is a follow up from my spaghetti post a few days ago.

Good news: I caught the nozzle catching on the infill during travels. The infill must have been curling up ever so slightly. Turning z-hop on solved this. I also bumped my nozzle to 255 based on a temp tower, but I don't think my original issue was flow related.

Bad news: this brought me to the failure above - evidently my chamber temps are too low for this size of ASA part and it warped. Maybe the higher nozzle temp contributed. Maybe this size of ASA part is unrealistic despite not having sharp corners. Maybe it's the fact that it's continuous from side to side. I am still going to attempt to print a hollow cylinder to go between this piece and another similar piece in ASA, so I guess we'll find out!

Good news: the part did not let go of the build plate. I'm pretty happy about this. My first layer is not overly squished, I've never used any adhesion aids (glue stick, hair spray, ASA slurry, etc), etc. Tuning my print_start sequence is resulting in a very consistent first layer.

Bad news: the build plate came up with the print. Holding the build plate down with binder clips or the like would probably just make something else fail.

Good news: I had enough PETG in stock to use that instead. Zero warpage, so great success. I had to go a bit slower because a flow test showed that I'm limited to around 25 mm^3 for PETG before the extrude motor started misstepping, despite bumping temp to 255 °C. I limited flow to 20 mm^3 to be safe. The print's a success so meh.

419


Printed out this little bathroom or whatever organizer. Gridfinity is neat. Choose your bins, glue to the base and viola.

Stl https://thangs.com/category/Gridfinity

420


You can download the files on:

Thingiverse: https://www.thingiverse.com/thing:6615905

Printables: https://www.printables.com/model/874747

FreeCAD Design Files: https://github.com/the16bitgamer/16BitVirtualStudiosDesigns/tree/main/GLoA%20E-Reader%20Cases/6%20inch

The files are for all the 3D Printable components which makes up the e-reader case. What's not included in the files is the cutting profiles for the case that holds it. But you can just use duck tape or some flexible adhesive and it'll work. Along with the screws, nuts and magnets required.

421
422
106
submitted 9 months ago* (last edited 9 months ago) by [email protected] to c/3dprinting


STL https://www.printables.com/model/866603-carboy-dryer-stackable

Description I wanted a carboy drainer that was 3d printable (because why not?). They're stackable, too.

References:

  1. This model on Amazon was nice https://www.amazon.com/Blue-Carboy-Drainer-Pack-2/dp/B074KL8QD2
  2. I liked the handle cutout on this model https://www.printables.com/en/model/734966-carboy-drainer
  3. This model wasn't bulky enough and I didn't like the feet. https://www.printables.com/en/model/33122-carboy-drying-stand
  4. This seemed clever, but too fragile. https://www.printables.com/model/841046-carboy-dryer-for-plastic-23-litre-carboy
  5. This model was my main inspiration for size but wasn't bulky enough https://www.printables.com/model/305346-carboy-dryer

Licensing: Credit/attribution/link is my only requirement. Free to use, modify, or sell. Please share your work, I love to see it.

Shout out to [email protected]

423


I have recently obtained a friend's old Formlabs Form 2 SLA printer. I I am an absolute beginner to printing, but I am pretty excited to get into it.

However, the only place that I would realistically be able to put it is on my desk in my bedroom. From everything I've read, I need a better ventilated space with more tolerance for a mess than I could possibly provide.

I think that the right call is to just sell it and save up for some FDM printer, but at the end of the day, I have the SLA printer in hand.

I am asking whether these concerns about resin printers are really that bad and if I am actually fine to start learning printing with what I have in my bedroom.

424


My SUNLU S1 Plus filament dryer was slipping around getting yanked forward on my TUKKARI TLX MK4 enclosure, so I designed this mount which fits into the existing slots on top of the enclosure. Prints in two pieces that screw together since otherwise the supports would be complicated. Had to print the larger piece on my big bed printer (artillery sw x2). I'm using up the last of my prusament galaxy black pla.

https://www.printables.com/model/871193-tukkari-tlx-prusa-mk3mk4-enclosure-sunlu-s1-plus-f

425


Any suggestions before trying again after a reset? This is my first go round changing nozzle diameter. I went from a 0.4 mm nozzle to a 0.6 mm nozzle.

After the swap I checked my extrusion multiplier (no change needed) and tuned pressure advance (I had to decrease the value a bit, but it looks spot on now).

As part of the nozzle swap, I also bumped line width from 125% to 150% in Orca Slicer (should be around 0.9mm extrusion width) and increased layer height to 0.3mm. This should put me around 22 mm^3/s of material, which shouldn't be an issue for a Rapido 2 but this is the most flow I've pushed through it so far. Maybe I should bump temp a touch? I'm still at my fairly-low-for-ASA 230 that I was using with my 0.4mm nozzle.

The print didn't move on the bed and shows no signs of warpage. There also aren't any signs of curling on the areas that the nozzle must have hit to cause the layer shift.

The only thing that seems like a miss was having z lift turned off while troubleshooting a print quality issue. I had it set to only lift above 0.25mm (not on the first layer) and only lift below z 0mm (this probably disabled z-hop). Z hop when retracting is set to 0.2mm, which is less than my 0.4mm retraction length so it seems like changing the "only lift below below z" value would re-enable z-hop.

view more: ‹ prev next ›