3DPrinting

15906 readers
166 users here now

3DPrinting is a place where makers of all skill levels and walks of life can learn about and discuss 3D printing and development of 3D printed parts and devices.

The r/functionalprint community is now located at: or [email protected]

There are CAD communities available at: [email protected] or [email protected]

Rules

If you need an easy way to host pictures, https://catbox.moe may be an option. Be ethical about what you post and donate if you are able or use this a lot. It is just an individual hosting content, not a company. The image embedding syntax for Lemmy is ![](URL)

Moderation policy: Light, mostly invisible
founded 2 years ago
MODERATORS
276


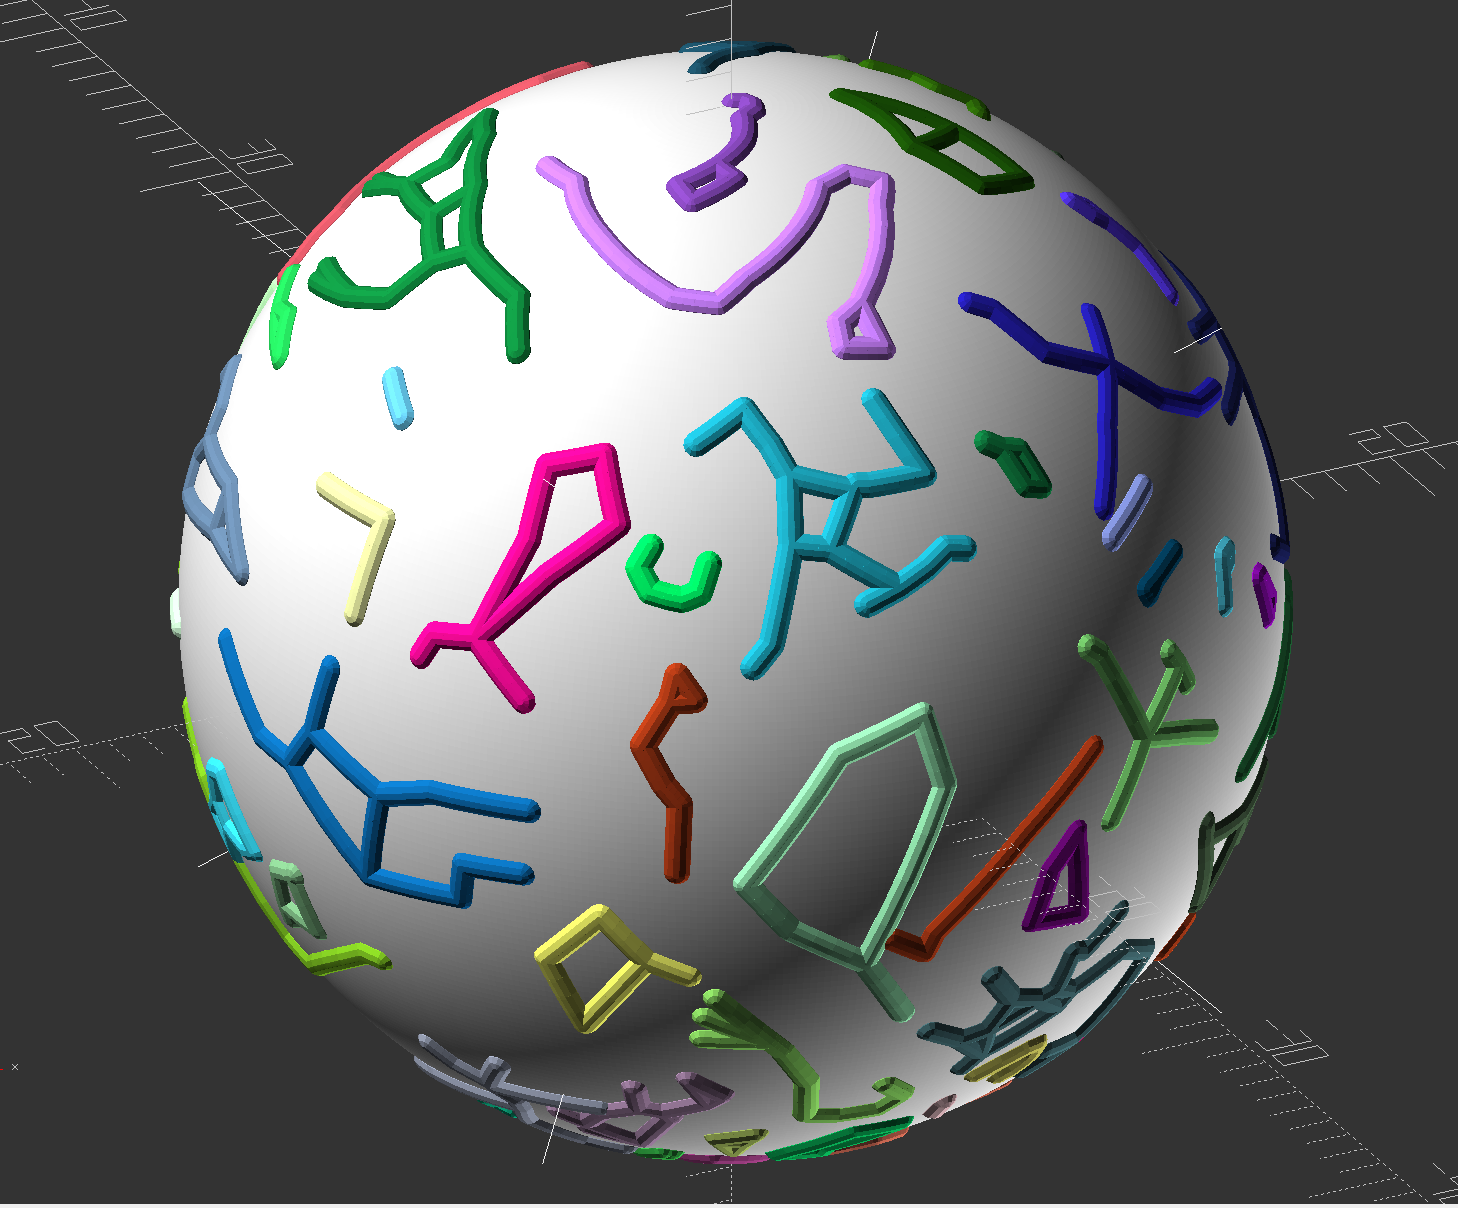
Openscad wanted about 25 gig of RAM to crunch this.

277
59
submitted 5 months ago* (last edited 5 months ago) by [email protected] to c/3dprinting


Hi everyone,

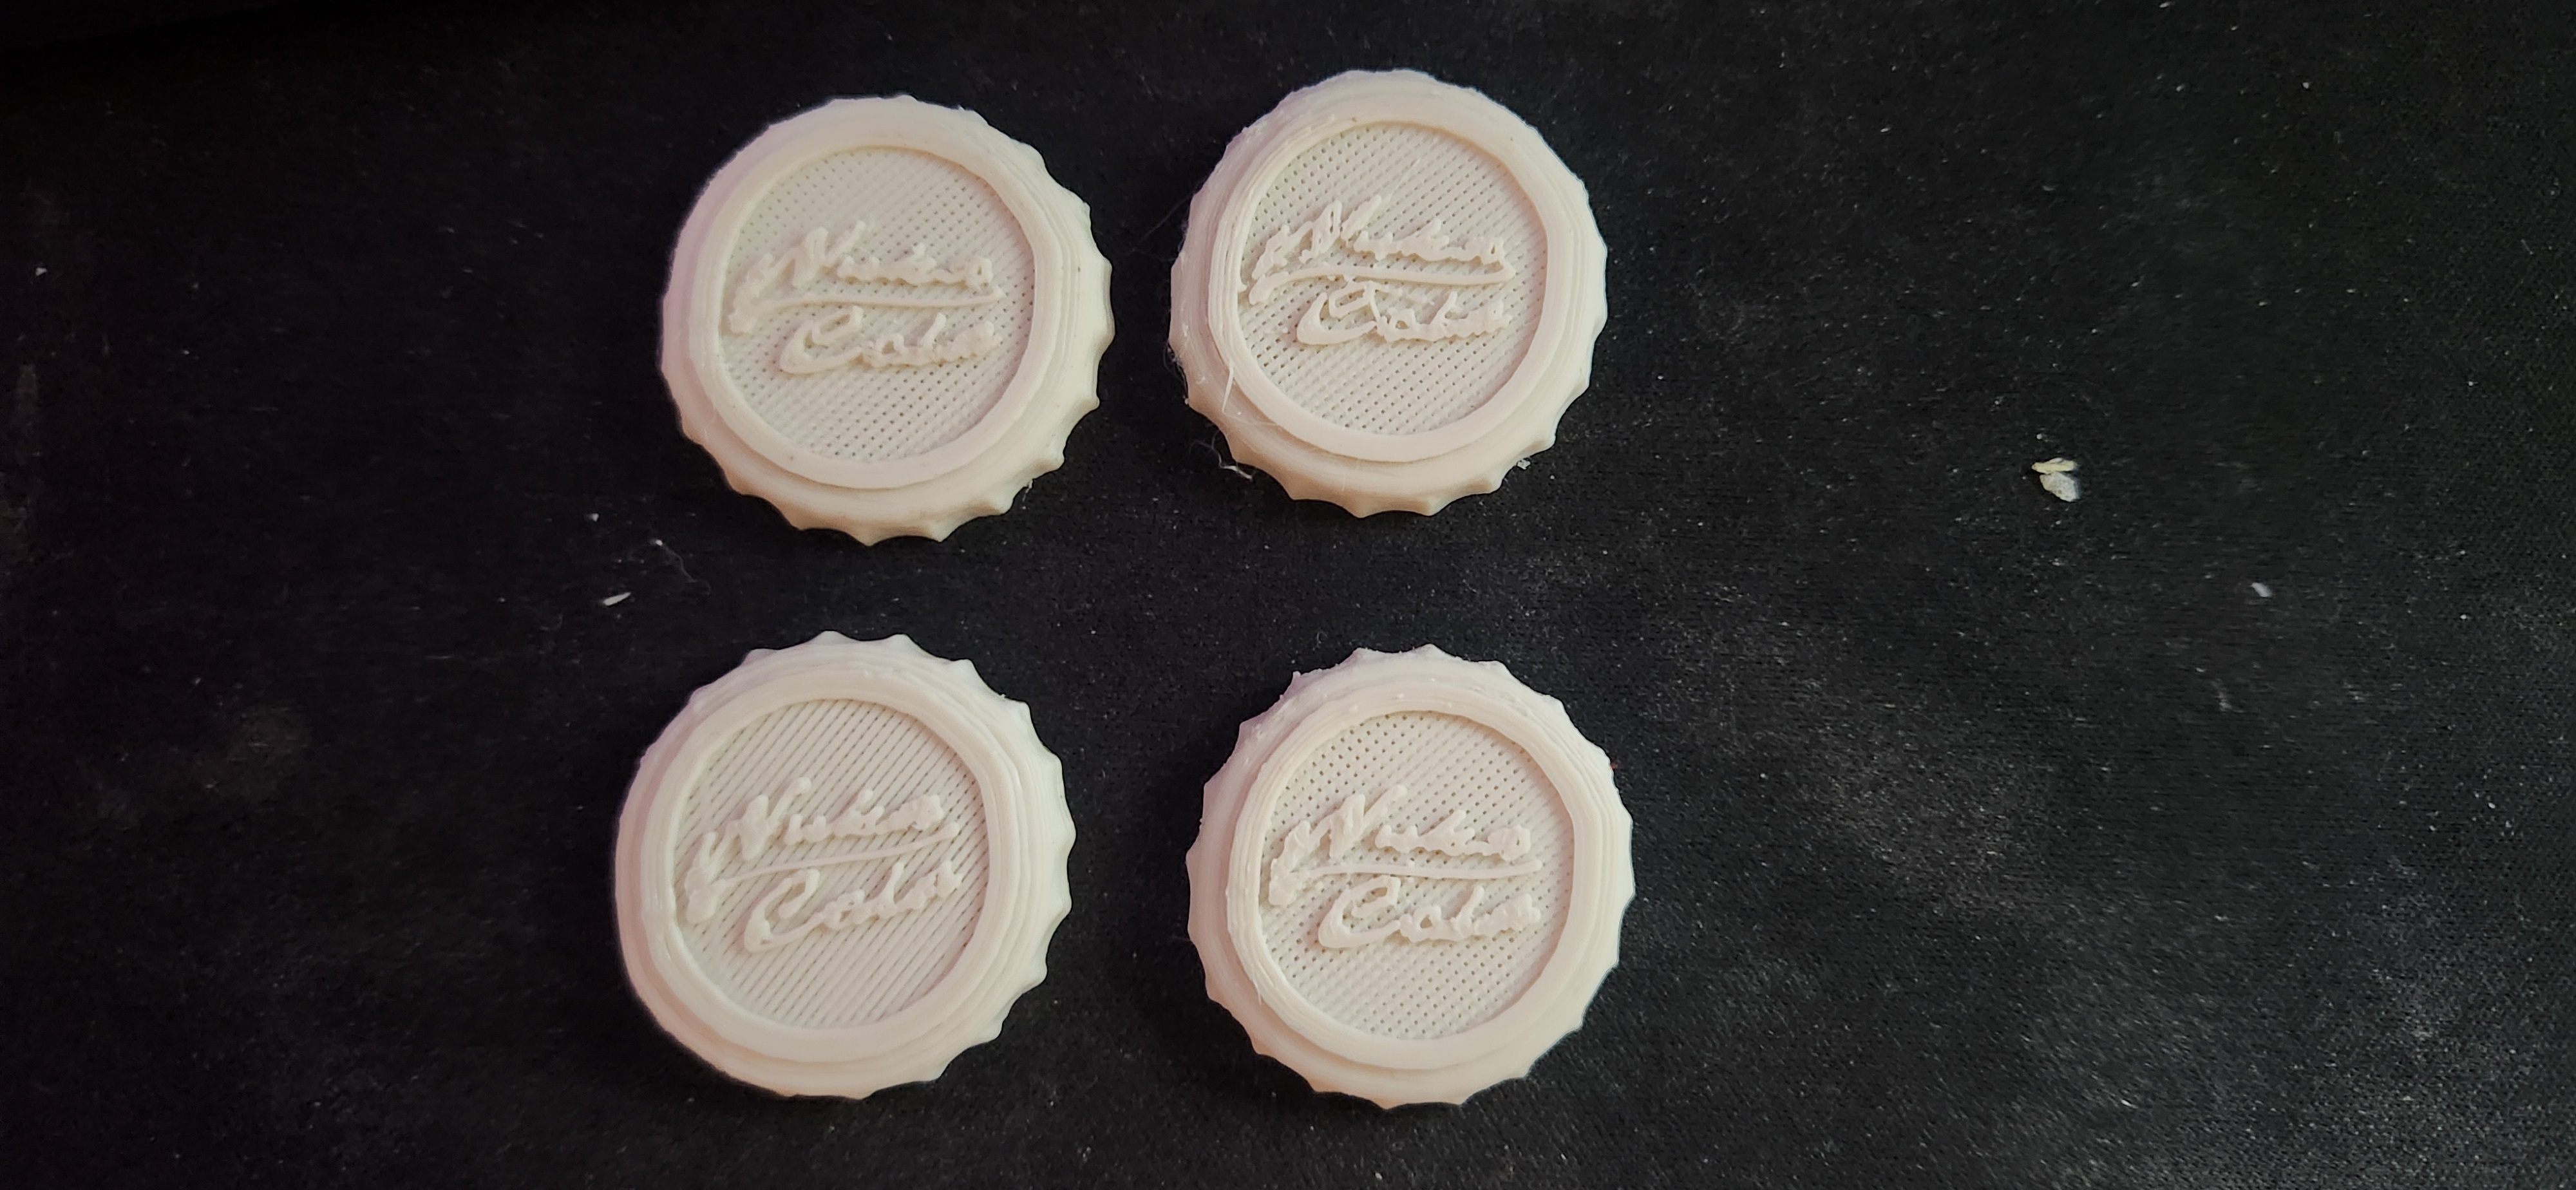
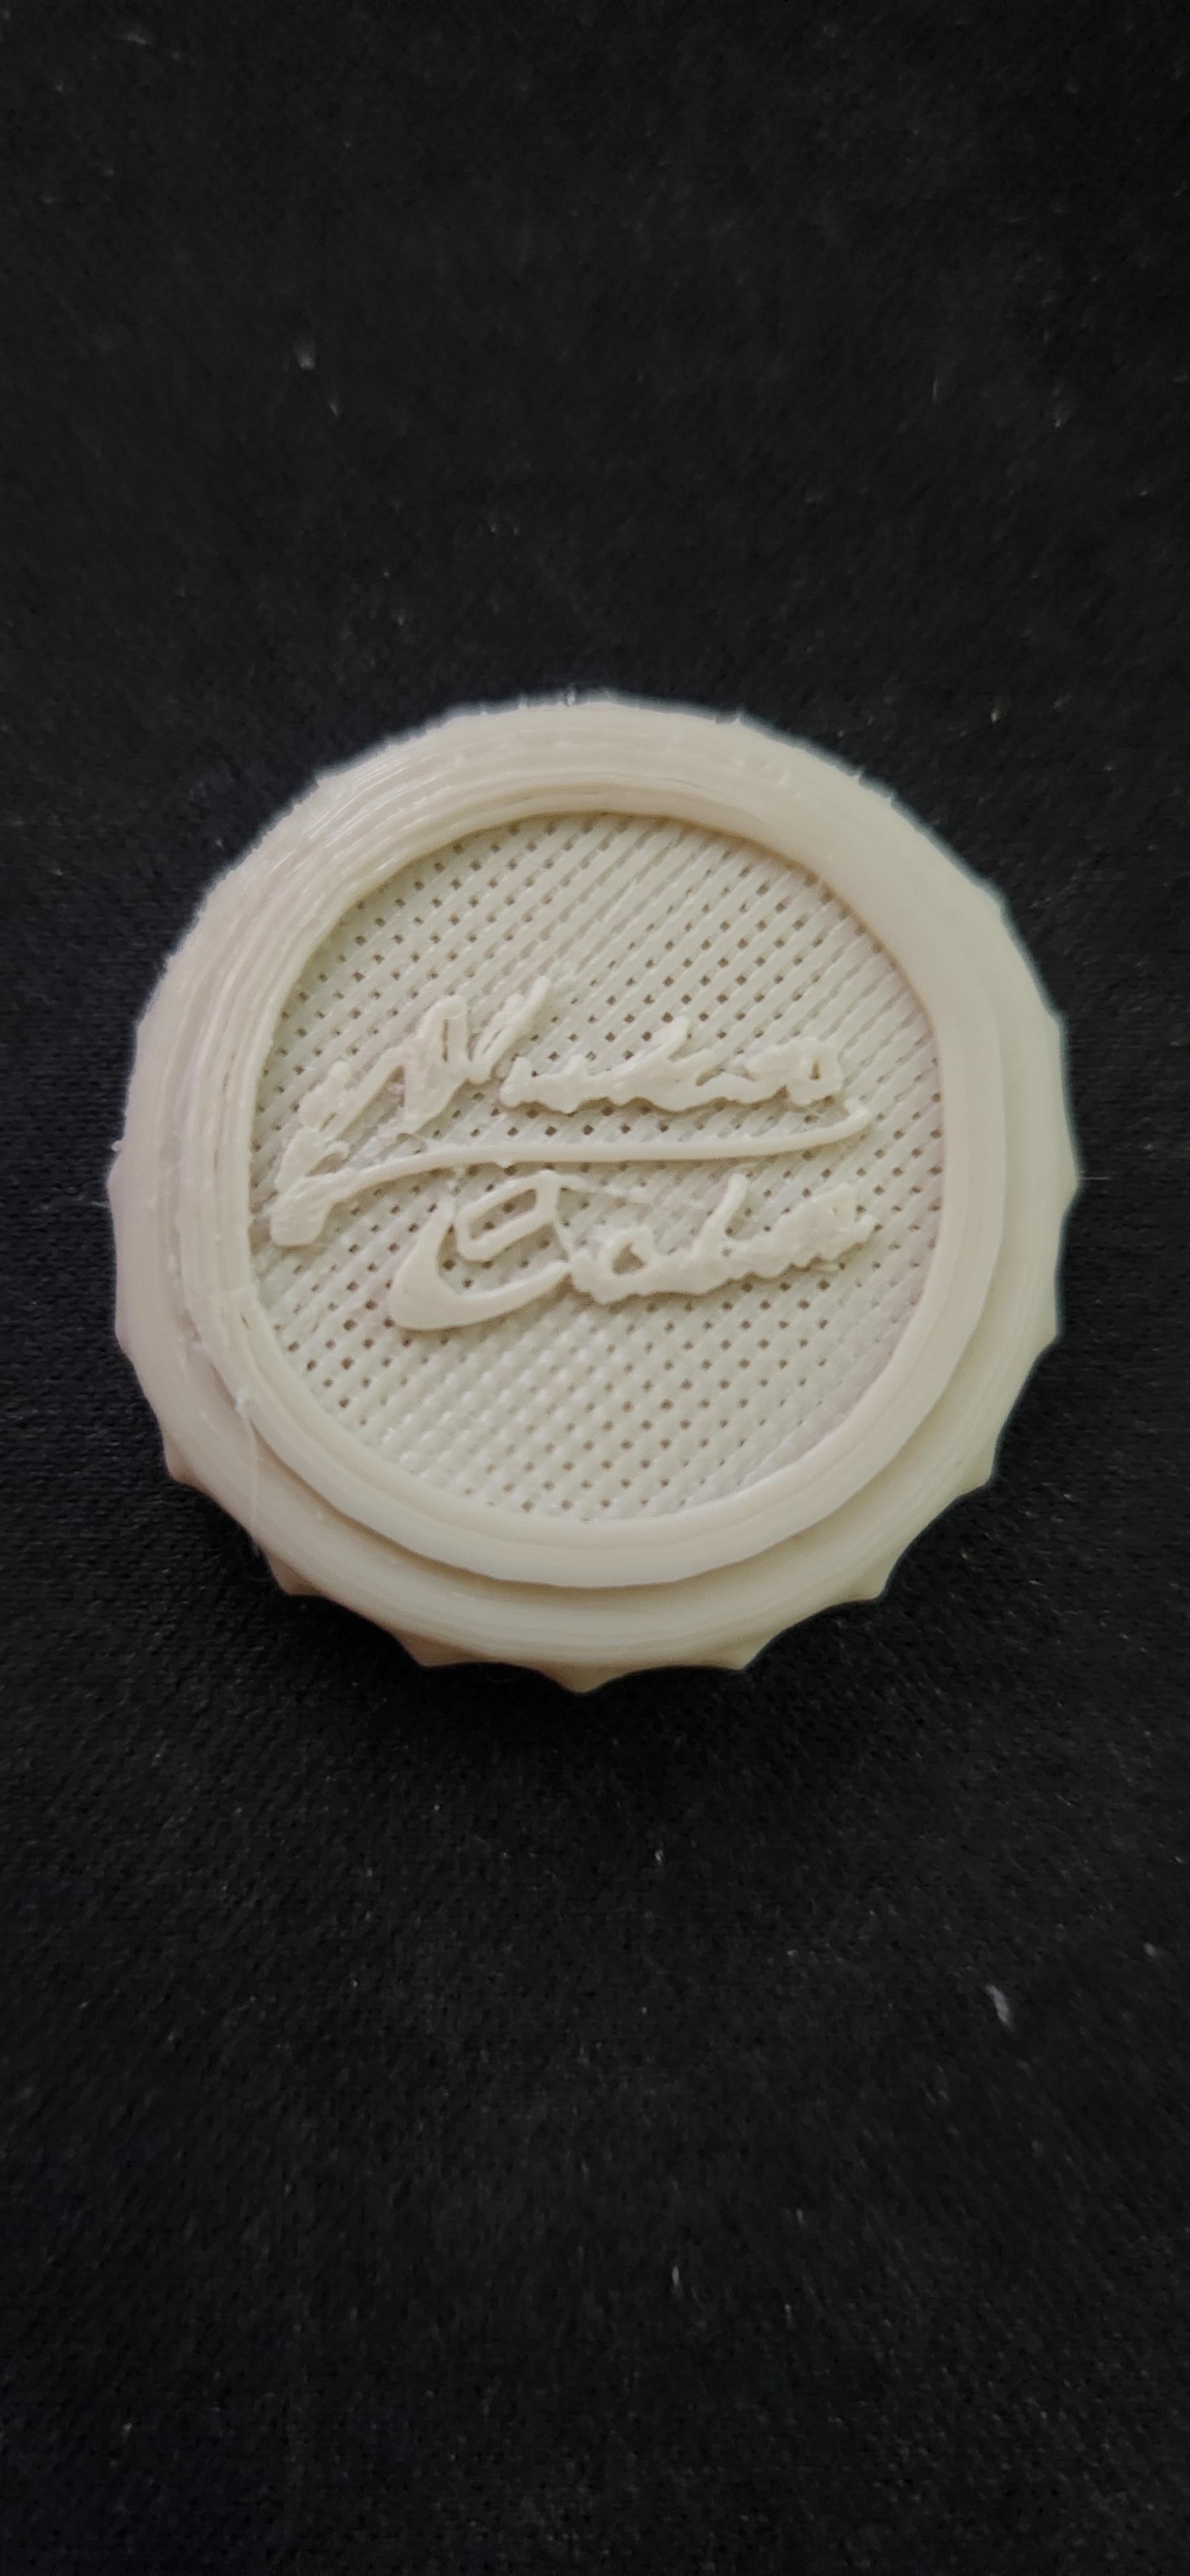
I'm having a weird issue with text such as the one in this image. Big or small, fancy or regular, all text comes out looking like it does in the image - cracked and hollow. I've spent the last few days trying to figure out why, and I'm stumped.

I've tried printing slower and slower and adding more and more top layers (the bottom 2 bottle caps are completely solid with 100% infil), but it doesn't seem to fix the issue.

Here's what I'm working with:

  • Ender 3
    • Software 2.0.8.27
    • Hardware 4.2.2
  • CR Touch
  • PrusaSlicer 2.8.0
  • MakerBot PLA Filament
  • I've used various temperatures and speeds. All of them have generated the terrible text you see here

Thanks in advanced for the help!

Update: We seem to be getting somewhere!

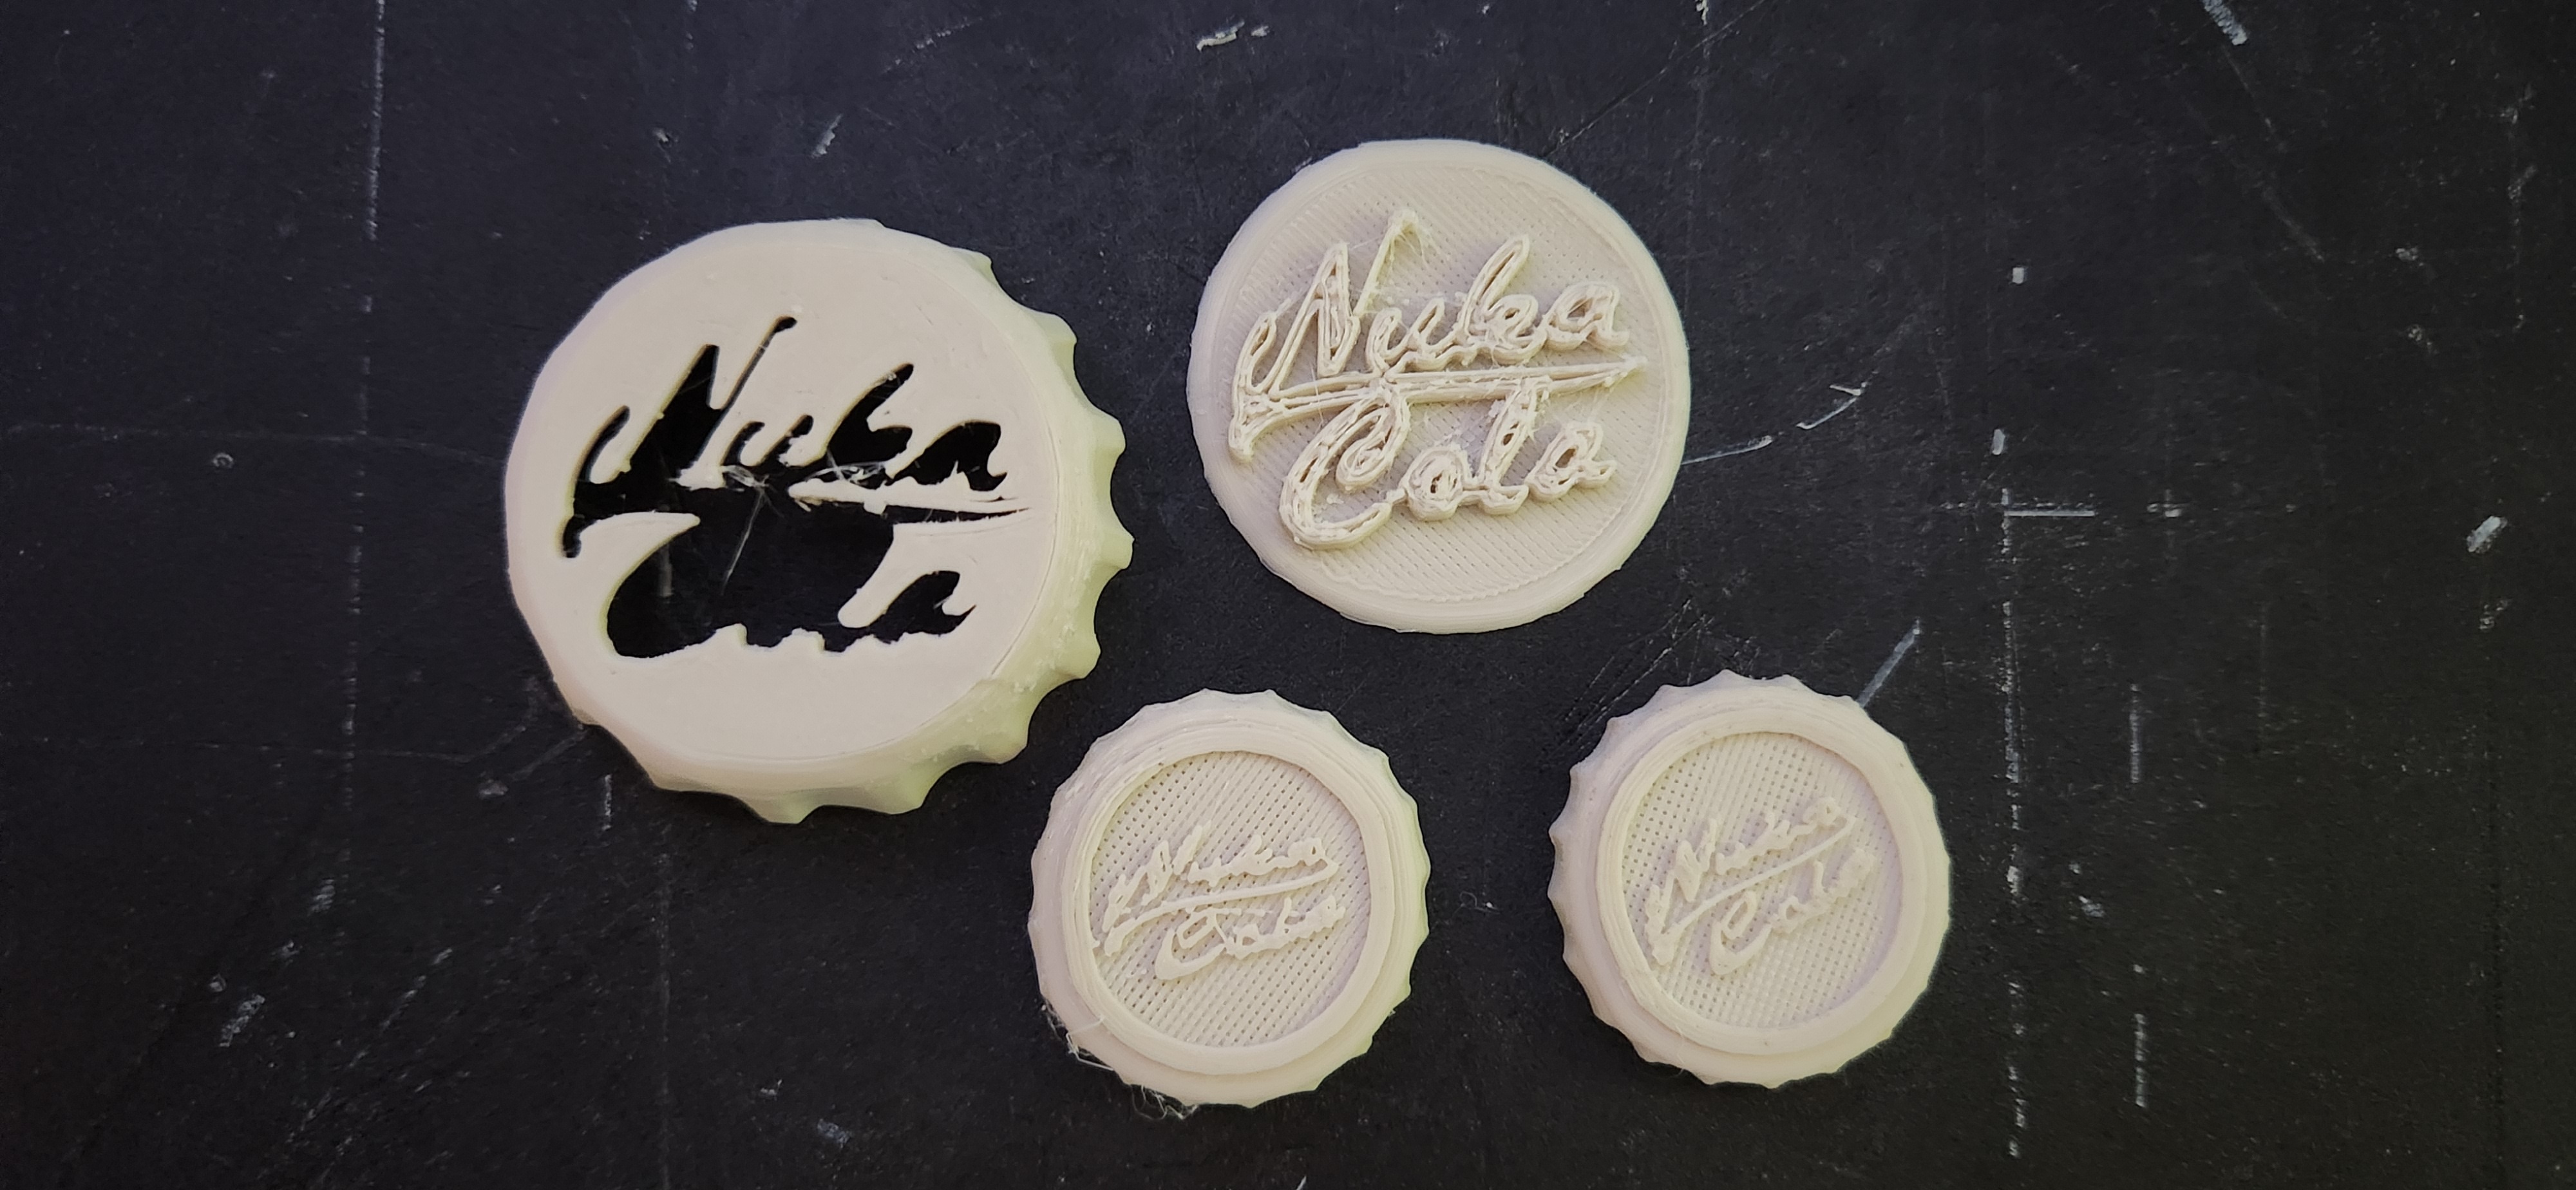
The top 2 are the same ones featured in the post above. The bottom left was printed at 110% extrusion and normal speed. The bottom right was printed at 110% extrusion and a much slower speed for the text, and it looks much better! I'm printing another now with higher bridge flow rate (it was 70%, I set it to 85%), so I'll update again in a few minutes when that finishes!

Thanks for the information about calibrating e steps from everyone! It's getting late, so I don't want to mess around with that tonight, but I'll give it a shot tomorrow!

Update 2: welp.

That's possibly the worst one yet. I'm reprinting the bigger insert piece seen in the original post to check if my printer simply can't do that quality or if it's the e steps. If it's e steps, I'm going to bed...

Update 3:

Welp, seems like it's the e-step. However, it's too late for me to care about that right now, so I'm going to bed. Thanks for the help everyone! I'll work on fixing the issue tomorrow

278
18
Sovol SV06 stringing issue (discuss.tchncs.de)
submitted 5 months ago* (last edited 5 months ago) by [email protected] to c/3dprinting


I would really appreciate it if someone could help me with this. I'm having an issue with my Sovol SV06, which is that I get a lot of stringing. I'm still fairly new to 3D printing, so I have no idea what could cause this and how I could go about fixing this. I already searched for this issue online btw but didn't really find anything helpful.

The only change I made to this printer is that I hooked up a Raspberry Pi 4 to it and installed Klipper and Octoprint. I'm also using PrusaSlicer with the config from here.

Edit: Forgot to mention I was using PLA for this print

279
113
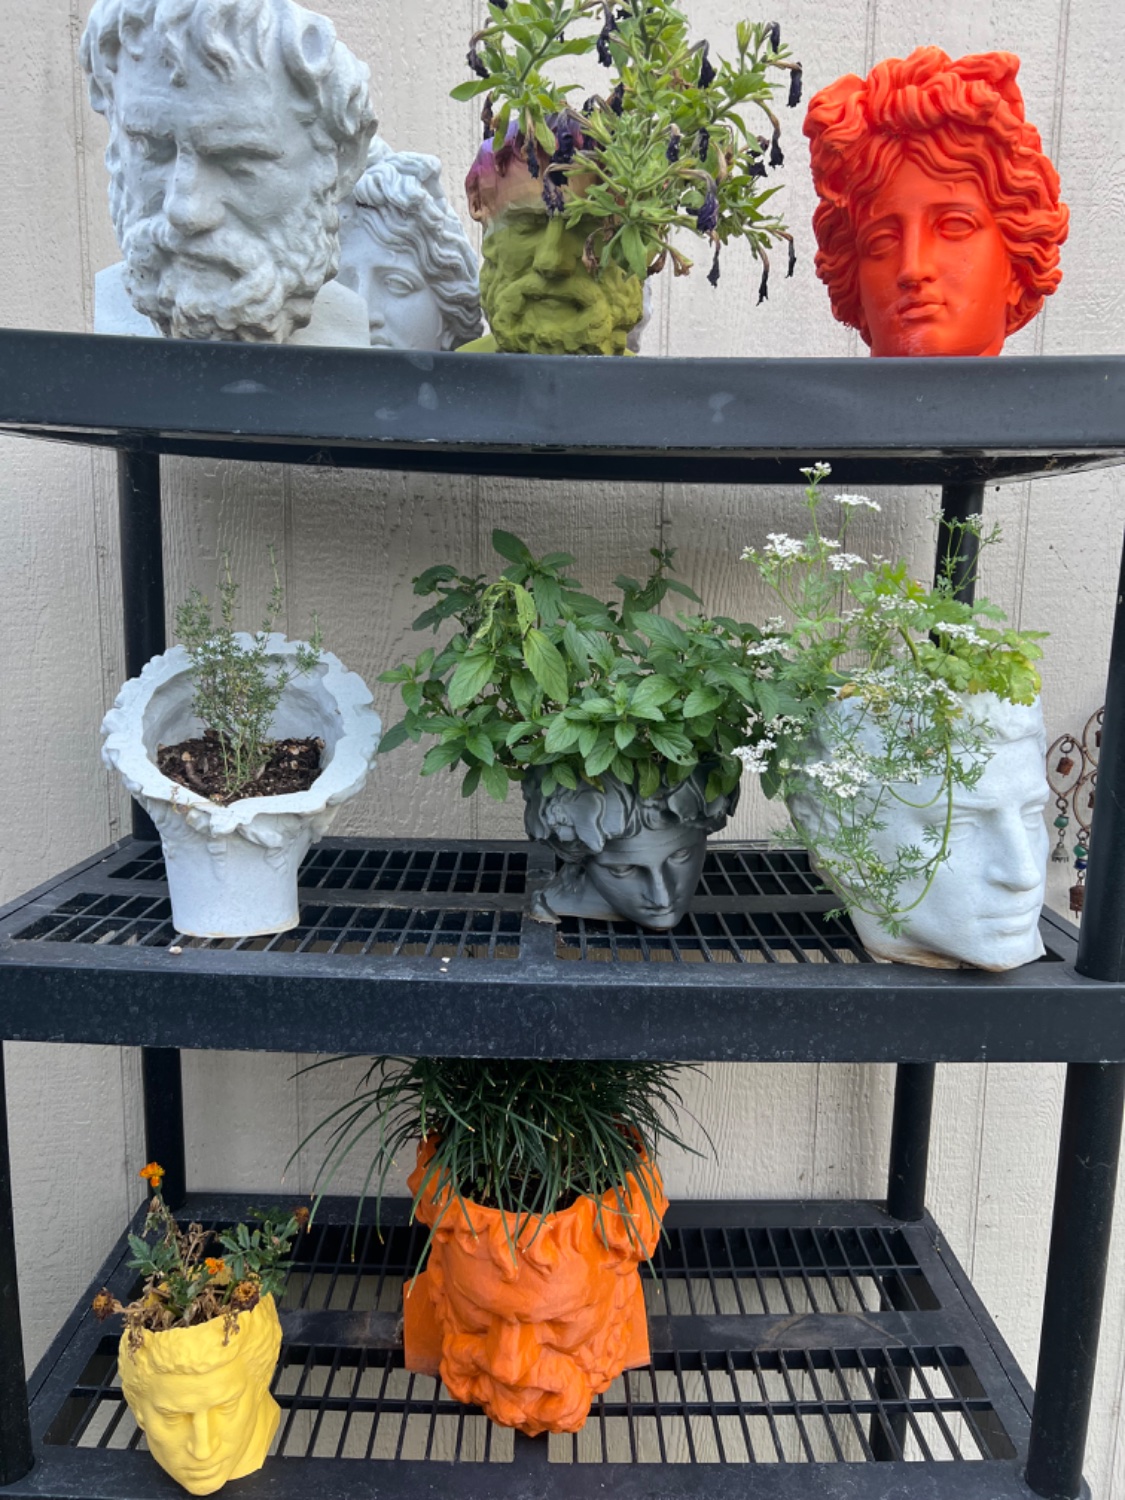
Planter Head update (sh.itjust.works)
submitted 5 months ago by [email protected] to c/3dprinting
 
 
280


This was my very first 3D print on an Anycubic Photon D2. Turned out much better than I expected

281
39
submitted 5 months ago* (last edited 5 months ago) by [email protected] to c/3dprinting


I'm looking to buy ups as I have few power outage (last between 1 to 5 seconds max) where I live but I have never used one so don't know what specs should I check for

Ideally I will plug my 3d printer (about 100-160w when printing), a pi 4 with nvme drive (no idea of wattage) and a mini pc with n100 processor (around 10-20W)

Thanks for your advices

282


Screenshots of the UI changes on the Mac - in my opinion it is now just wasting a lot of screen estate for zero benefit.

On non-Macs they're adding an extra usability issue by hiding the top menu bar. I've gove back to 2.7.4 for now - fortunately I had my configuration in git.

Up to 2.7.4:

2.8.4:

283


Seems neat. If it wasn't so expensive, I'd try it.

Side note: I wanna know more about that inline filament dryer. I don't like the prep by using a box. I always forget.

284
285
54
submitted 6 months ago* (last edited 6 months ago) by [email protected] to c/3dprinting


I guess they're just going to end up being really good but heavily overpriced like the rest of the FormLabs products.

286


cross-posted from: https://lemmy.world/post/17328458

Oh boy, here I go shillin' again.

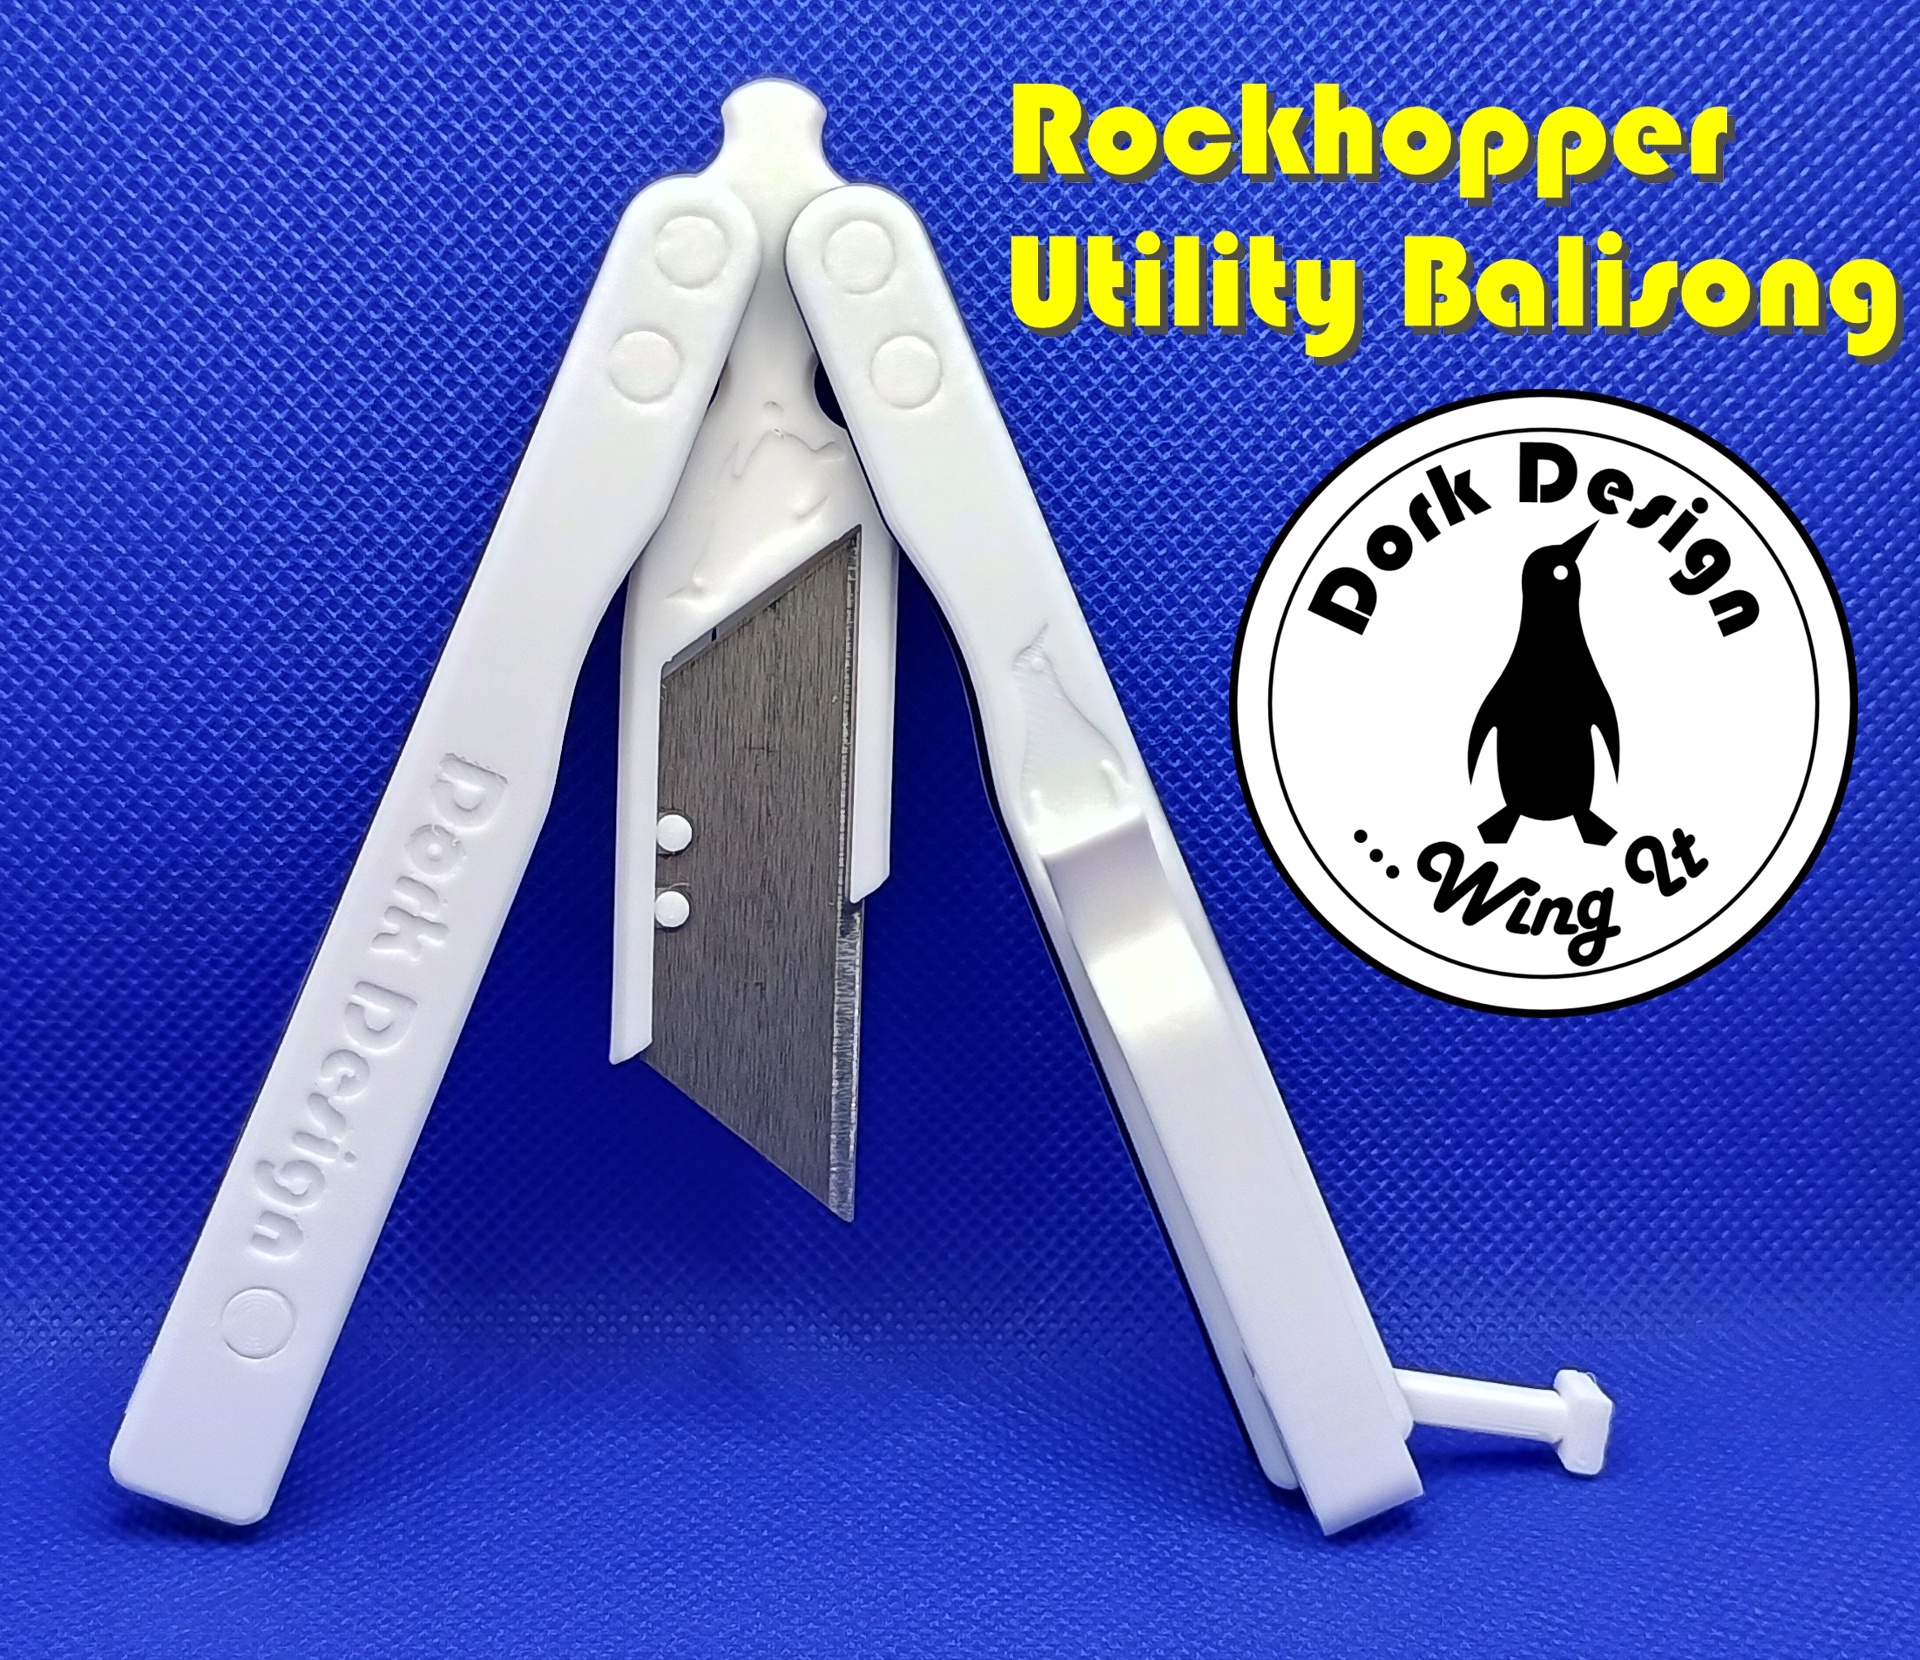
I just updated my 3D printable balisong utility knife so hard that it wound up with a new name.

As usual, you get the brief version here. Massive amounts of details are located, as ever, in the original post and also at the Printables link.

Want one? Of course you do. Get the files here.

287
288


Hello!

So I decided, as a way to improve my cad skills, that I would take an old laptop of mine and design a case around the motherboard and use it as a micro PC in my work area. I have nearly all of it designed, just shy of the power button.

On account of not having a sautering iron, I would rather avoid sautering a button on and was trying to go a more analogue approach by printing a button into the case that could maybe use a compliant mechanism to press in and come back out, but I am very uncertain how to go about it.

Any help appreciated

289


Super simple prototype but if it works... Very cool idea!

290
14
Horrible underextrusion (sh.itjust.works)
submitted 6 months ago* (last edited 6 months ago) by [email protected] to c/3dprinting


Hey. A couple weeks ago I got my old ender 3 pro out of the basement and have been trying to get a decent print with it ever since. I managed to print out one benchy without issue, but ever since then every print I do would be plagued with awful underextrusion.

I've replaced a few parts, including the hot end and the nozzle, and even did this one hack someone suggested where you put a piece of PTFE tubing in the hotend, but no matter what the issue persists. My thought was it might be the creality filament I ordered, so I ordered a spool of hatchbox filament. But the problem ended up being worse on the hatchbox filament. I've put both in a filament dehydrator but it's made no difference. Both spools have tough sections along them that don't seem to melt as easily when I pull them out of the extruder, so I'm thinking that might have something to do with it.

Turning the print speed down and increasing the flow and temperature yielded better results, but it was still underextruding on every other layer.

I want to know if there's something I can or should do before I just give in and buy another roll of filament. I've probably spent enough at this point to buy a better printer, but I guess that's sunk cost for ya.

Edit: SOLVED! I just forgot to tighten the extruder tension arm, now it's working perfectly. Thanks to @[email protected]

291


I have to have that spider mech.

292
293


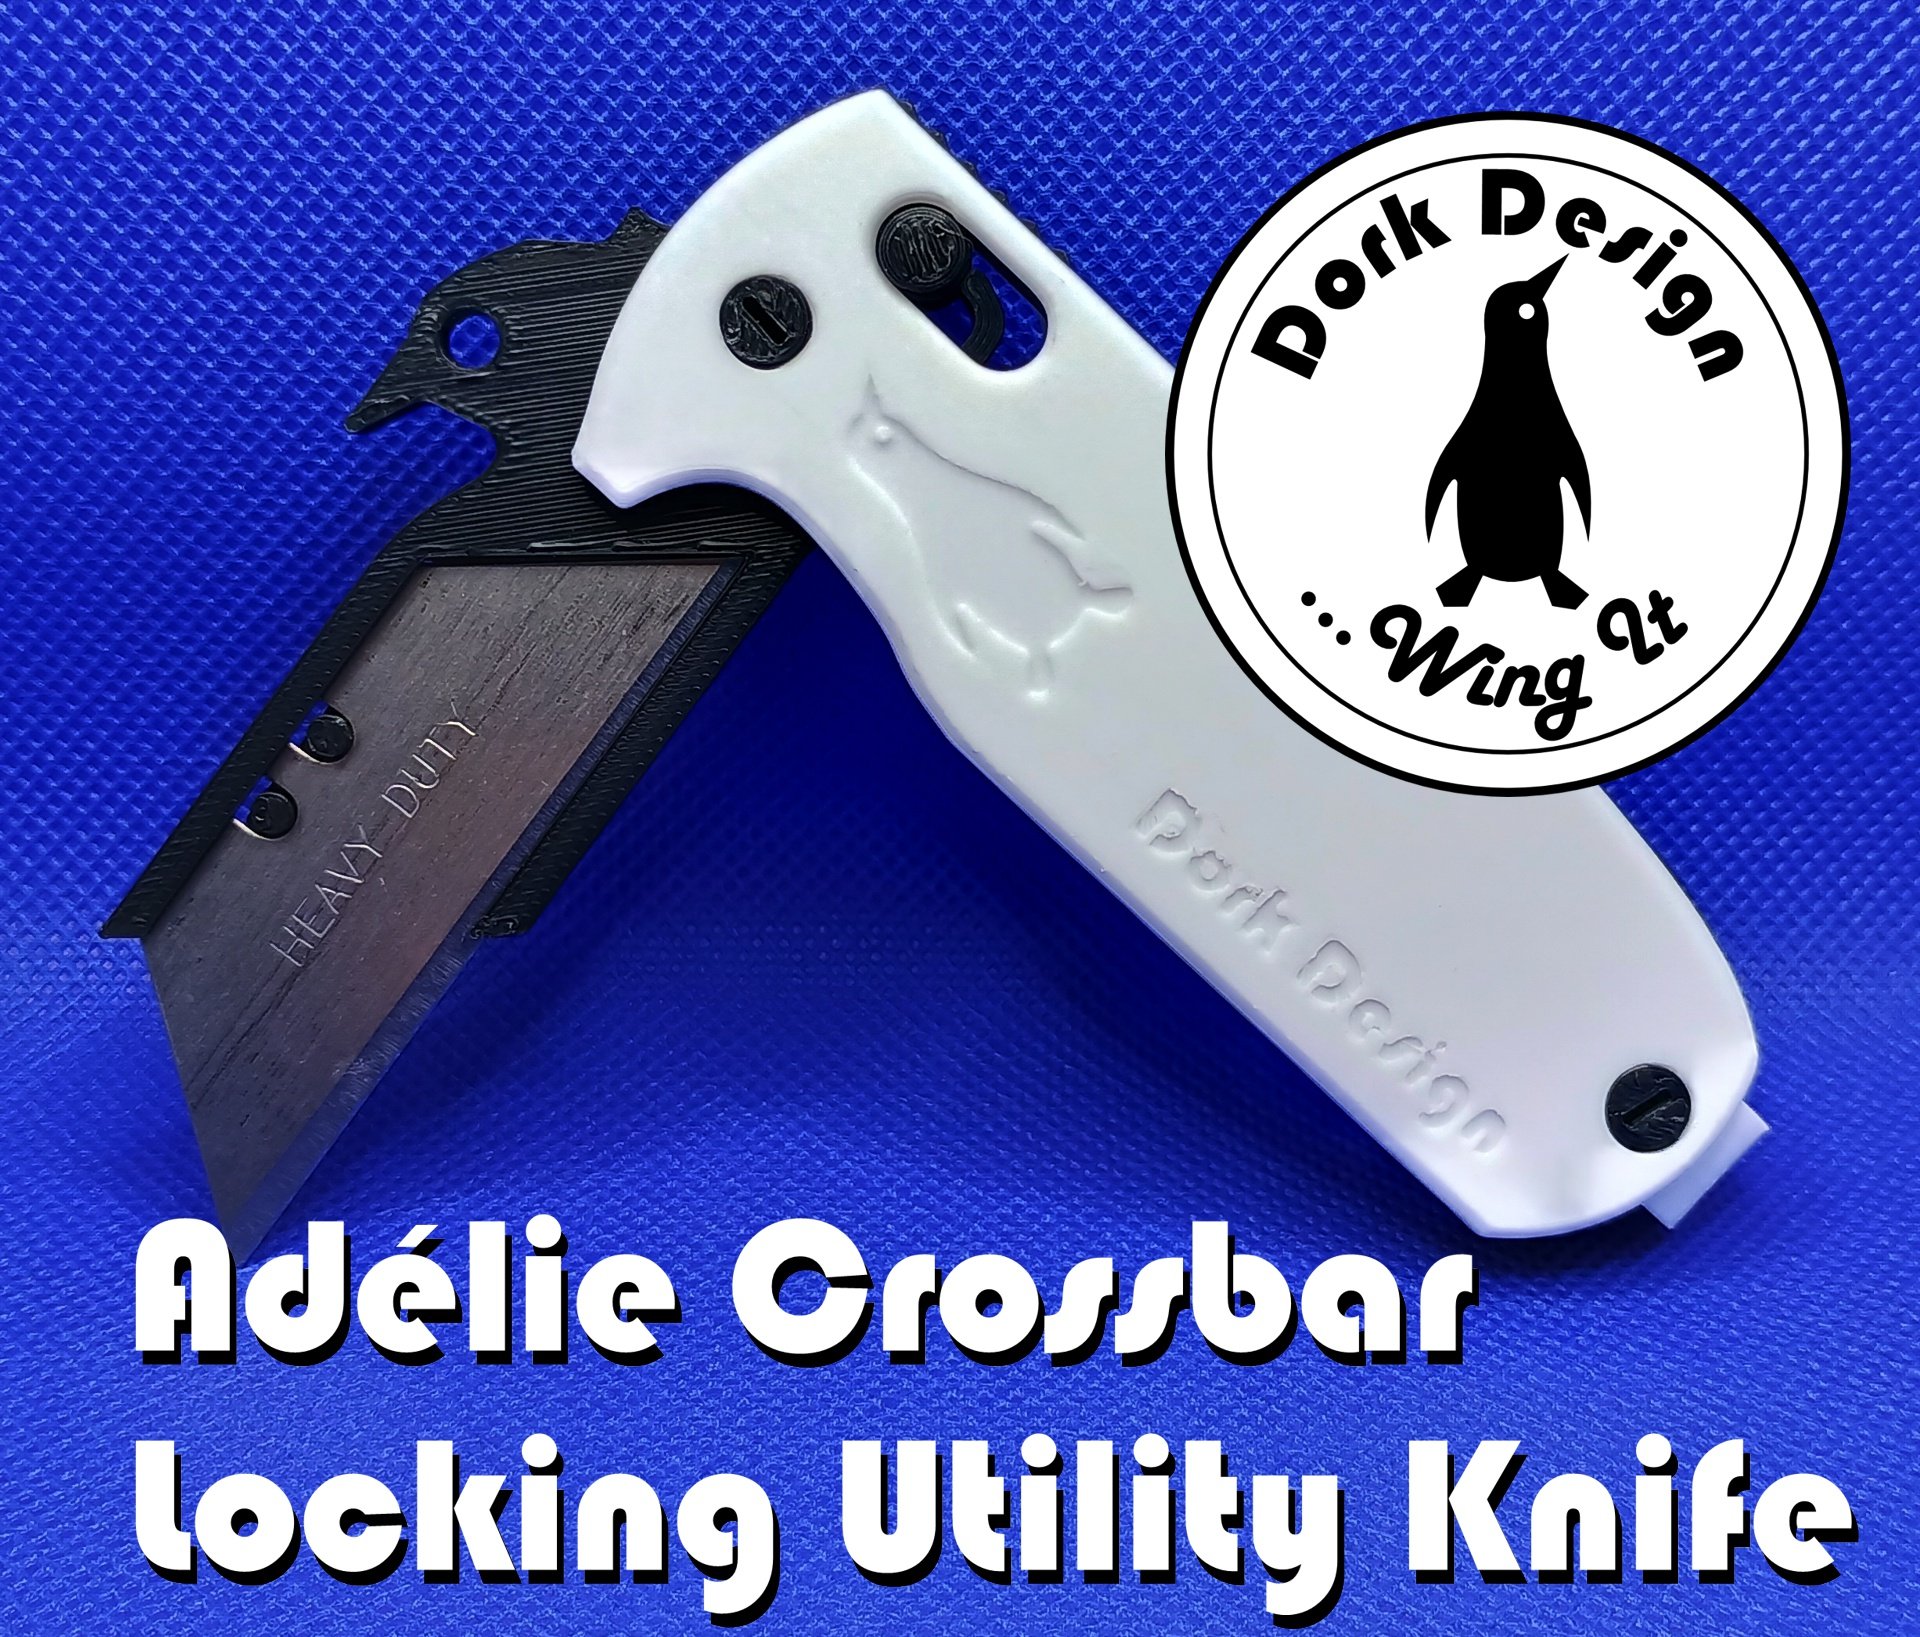
cross-posted from: https://lemmy.world/post/17097936

As usual, since I already wrote a monumental piece on this in the other community, I'm just going to give you guys the short version. The long version is in the cross-post link above.

What it is: A 3D printable Axis lock folding knife, mechanically complete fully functional, with Penguin beak wave opener, one each. The world's finest; the world's only.

We're having great fun with this and other silly objects over on [email protected].

Jooooooin usssssss. You know you want to.

Printables link: Here.

294


I've been trying to troubleshoot a surface texturing issue for several weeks. I accidentally noticed the pulley had wobble, but thought it was the stepper motor at first. Nope. It's the pulley.

295


I'm interested in trying to build a Snappy v3

296


I started a print today as per usual and I randomly thought of something and am uncertain if it may already be a thing.

Independent perimeter layer height. Or basically, you take the set layer height, say 0.3, divide it by a user selected amount, in this case by two, and print some number of the outermost perimeters at that height until it reaches the set layer height. In this example it would print two outer perimeters at 0.15 layer height in two layers, and then proceed with the rest of the layer.

I thought this may be what variable layer height does, but it seems to vary the height of the whole layer in different regions. If there is anything like this that would be neat

297
30
none slip surface. (lemmy.world)
submitted 6 months ago by skulkbane to c/3dprinting


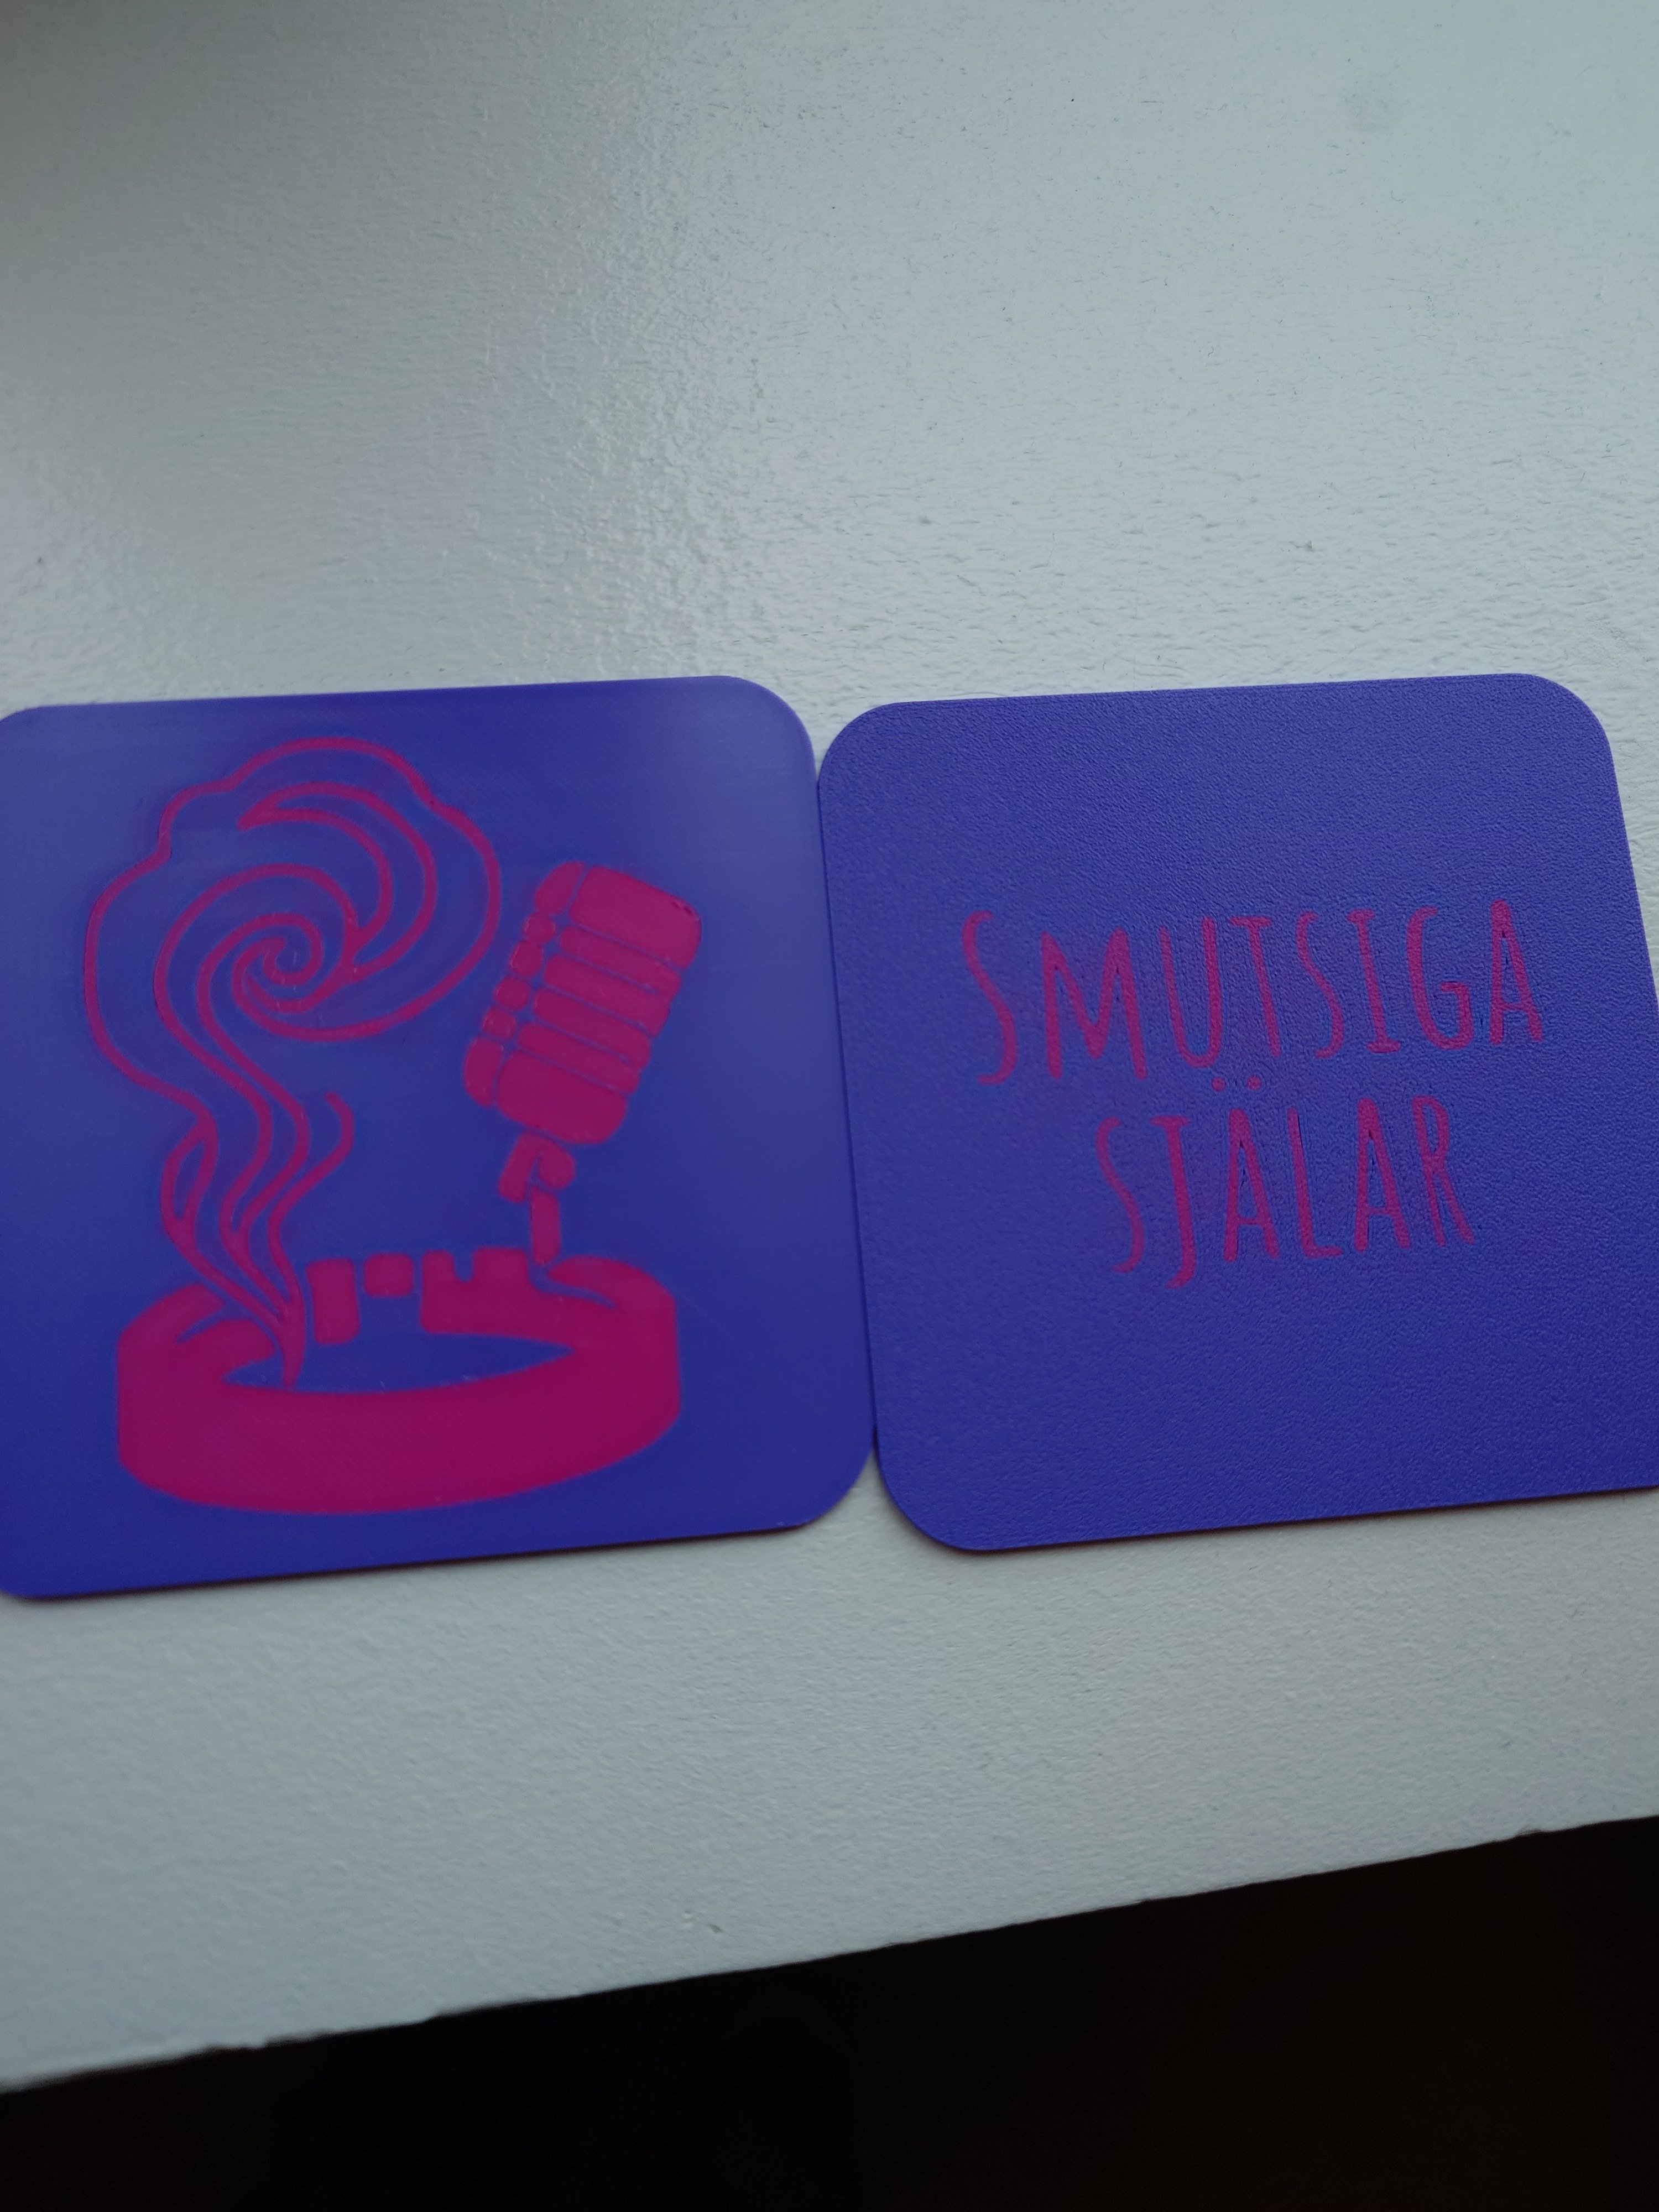
I'm working on a gift for a coworker who is resigning, it's based on a joke about the breakfast discussions being an excellent podcast.

I have 3 test pieces that I want to experiment on I want to smooth the surface and add a anti-slip surface to both sides. Any suggestions? Ideas? Comments?

298


I've watched a lot of resources about toner transfer over the last few days, and while everything was quite experimental and empirical, the main gist was : heat + pressure = toner transfer. As I didn't want to, for obvious reasons, cook a dial full of unknown glues, paints and metals in the family's kitchen oven, I started experimenting with my printer's bed.

So I made a janky setup. I printed my design mirrored on a laser-compatible transparency sheet, cut it to size, secured it on a sterile dial with a bit of Kapton and cut a bit of rubber to try and spread pressure evenly. I then clamped the contraption to my printer's heated bed.

Advantages: It's basically free if you already have a laser printer, transparencies and a 3d printer laying around.

Inconvenients: It looks absolutely unprofessional up close. At regular wrist distance, it's fine.

My first attempt was 30 minutes at 100°C. Way too much heat and/or pressure, the printing was smooshed and uneven pressure meant that parts of the design didn't transfer properly. The sheet's cutout shape was clearly imprinted on the glossy dial.

My second attempt (pictured here) was 15 minutes at 95°C. Much crisper lines and if not for a tiny bit of the logo that didn't transfer (probably a speck of dust underneath), would have been perfect. The sheet's cutout shape was still slightly imprinted on the glossy dial, on matte dials it might not be visible.

This process deserves to be refined as it brings an easy way to customize dials if you're not aiming at super macro beauty shots, unfortunately I don't have any spare dials anymore to experiment. I think a lower temperature and/or a lower pressure might work even better.

Edit: Here are my two attempts at making this dial:

https://i.imgur.com/QWKhzYG.jpeg

299
5
submitted 6 months ago* (last edited 5 months ago) by [email protected] to c/3dprinting


Edit: Just copy the original filename, Chinese and all, to a custom RERF file. It tested fine with the factory tests and also custom test parts I made. I didn't test with only "R_E_R_F.px6s" as the filename as I proved the original filename works fine with custom models.

Edit2: I had the motivation to check the file today without that Chinese and it works fine as well.

Just got a new Anycubic Photon Mono X 6Ks and the RERF file on the included USB has Chinese characters in the name. ("R_E_R_Fchch.px6s" / ch being Chinese characters...) Does the printer require those characters for custom RERF test prints, or is it actually just "R_E_R_F.px6s"?

The documentation is unclear and online searching is jumbled with several issues regarding this filename across different printer models.

300


In my previous post titled Low End FDM for Miniatures, Hobby Parts, and Messing Around? I received a ton of fantastic recommendations, but ultimately went with the A1 mini due to its price at the time, ease of use, and several other factors. It came in today, and I've already made 10 different prints on it. The Benchy came out wonderfully, and so has everything else so far.

Thank all of you for your help, and I look forward to continuing to be a part of the community.

view more: ‹ prev next ›