3DPrinting
3DPrinting is a place where makers of all skill levels and walks of life can learn about and discuss 3D printing and development of 3D printed parts and devices.
The r/functionalprint community is now located at: or [email protected]
There are CAD communities available at: [email protected] or [email protected]
Rules
-
No bigotry - including racism, sexism, ableism, homophobia, transphobia, or xenophobia. Code of Conduct.
-
Be respectful, especially when disagreeing. Everyone should feel welcome here.
-
No porn (NSFW prints are acceptable but must be marked NSFW)
-
No Ads / Spamming / Guerrilla Marketing
-
Do not create links to reddit
-
If you see an issue please flag it
-
No guns
-
No injury gore posts
If you need an easy way to host pictures, https://catbox.moe may be an option. Be ethical about what you post and donate if you are able or use this a lot. It is just an individual hosting content, not a company. The image embedding syntax for Lemmy is 
Moderation policy: Light, mostly invisible
view the rest of the comments


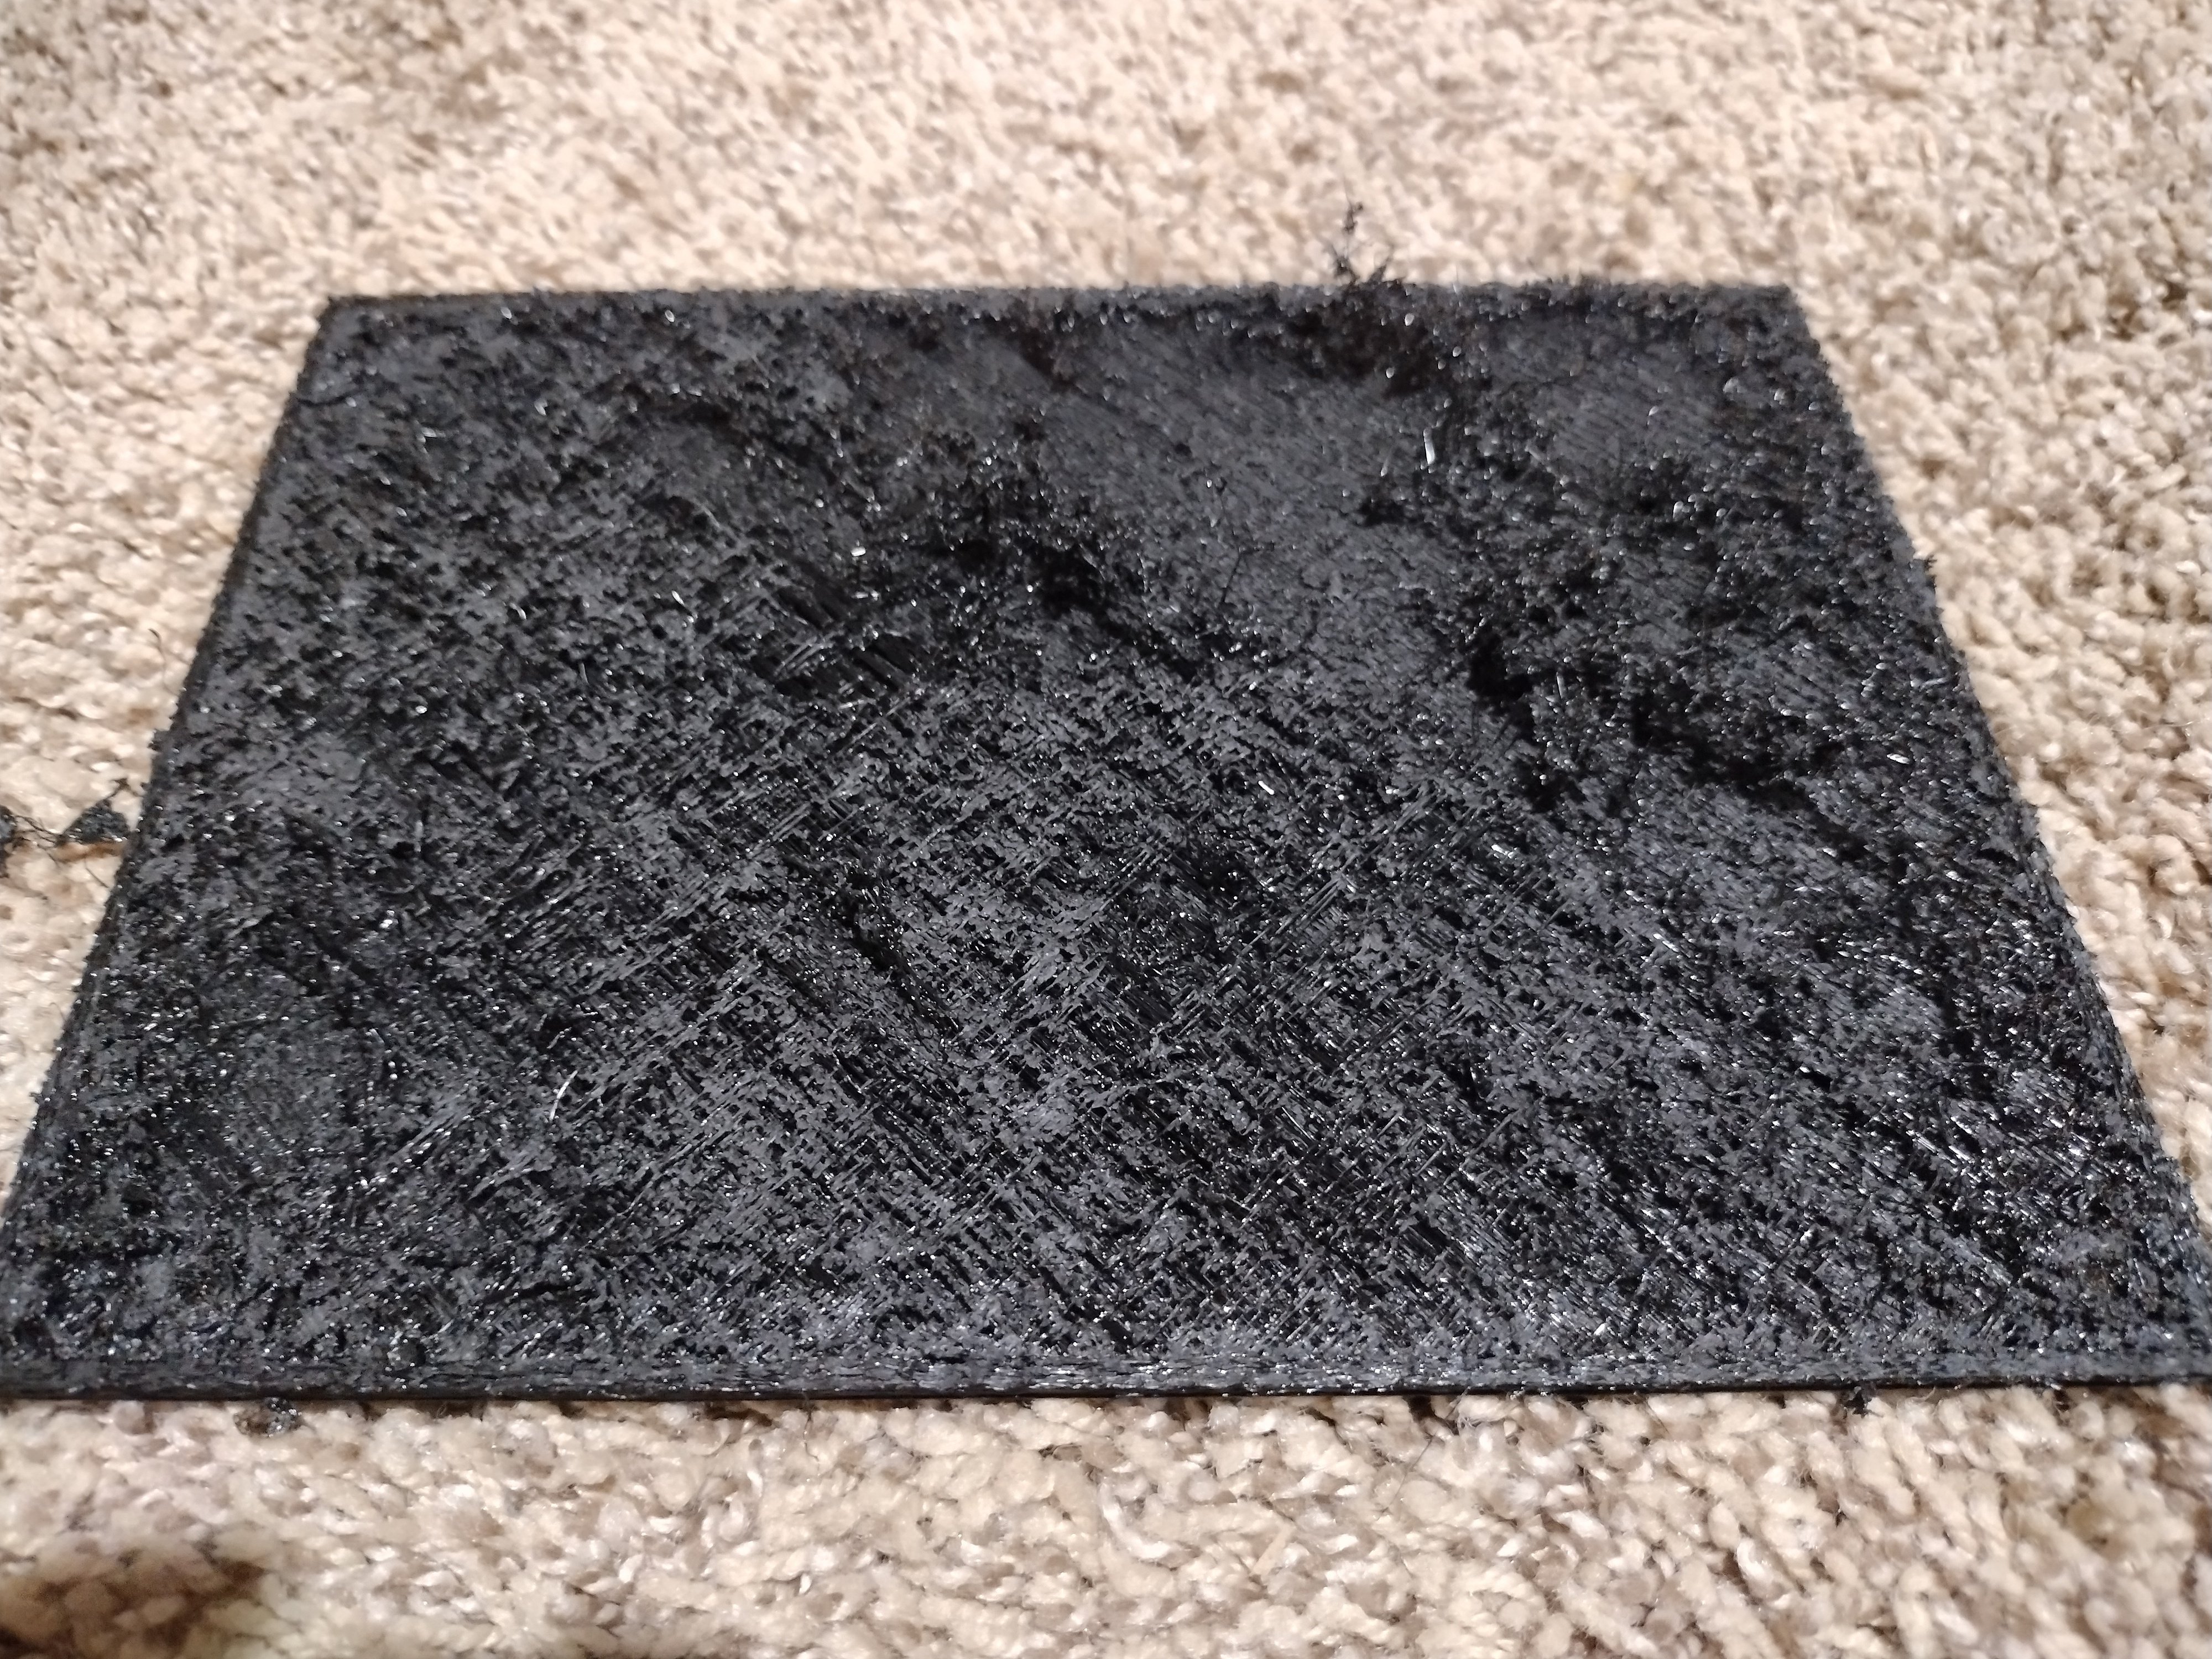
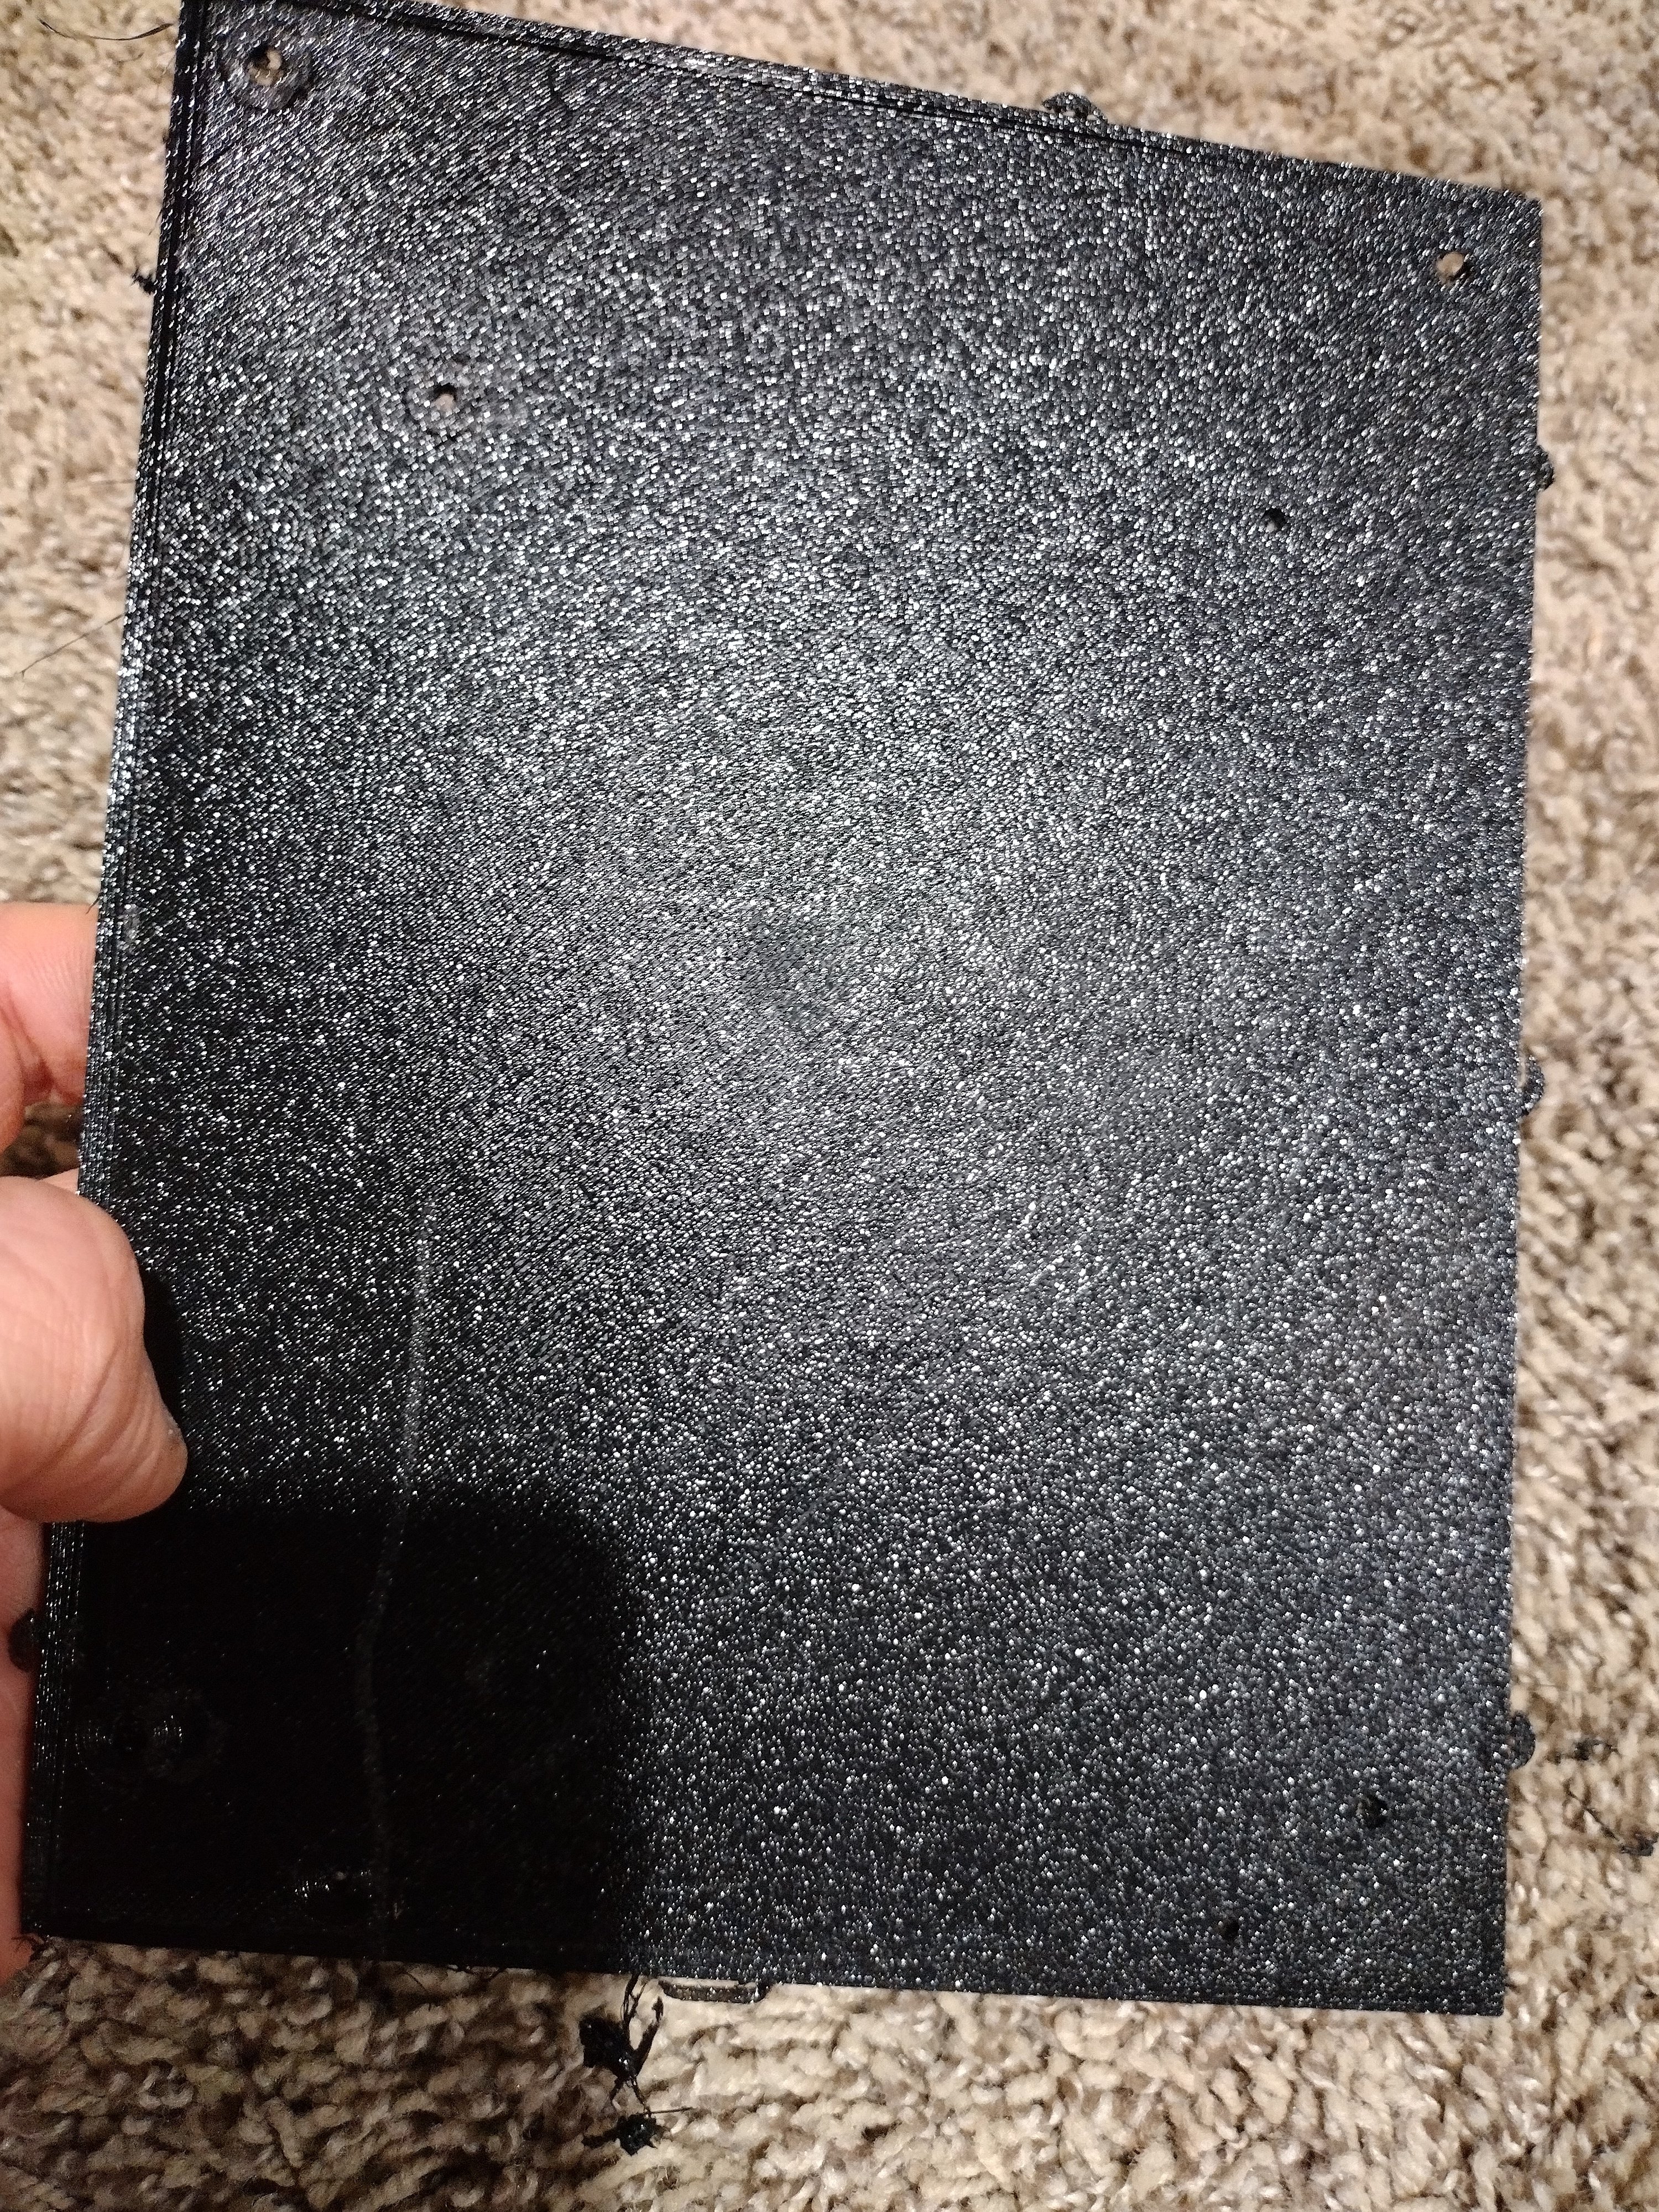
Because I hate when people ask questions and never go back to update their original post when they solve the issue, I'm gonna post an update here and now.
The fix was actually surprising but simple. I ended up moving the second Z axis lead screw carriage mount a bit further towards the motor. That is, the piece that supports the build plate, where it connects to the leadscrew.
Further diagnostics ended up showing me that it was binding, and one of the problems I had later on was that it was binding but only when going up. So I ended up having prints that got progressively more and more stretched out along the z axis.
Moving it to be further in line and loosening a few mount screws to allow the nut to come back to vertical got me to where I needed to be. Hope this helps!