3DPrinting
3DPrinting is a place where makers of all skill levels and walks of life can learn about and discuss 3D printing and development of 3D printed parts and devices.
The r/functionalprint community is now located at: or [email protected]
There are CAD communities available at: [email protected] or [email protected]
Rules
-
No bigotry - including racism, sexism, ableism, homophobia, transphobia, or xenophobia. Code of Conduct.
-
Be respectful, especially when disagreeing. Everyone should feel welcome here.
-
No porn (NSFW prints are acceptable but must be marked NSFW)
-
No Ads / Spamming / Guerrilla Marketing
-
Do not create links to reddit
-
If you see an issue please flag it
-
No guns
-
No injury gore posts
If you need an easy way to host pictures, https://catbox.moe may be an option. Be ethical about what you post and donate if you are able or use this a lot. It is just an individual hosting content, not a company. The image embedding syntax for Lemmy is 
Moderation policy: Light, mostly invisible
view the rest of the comments

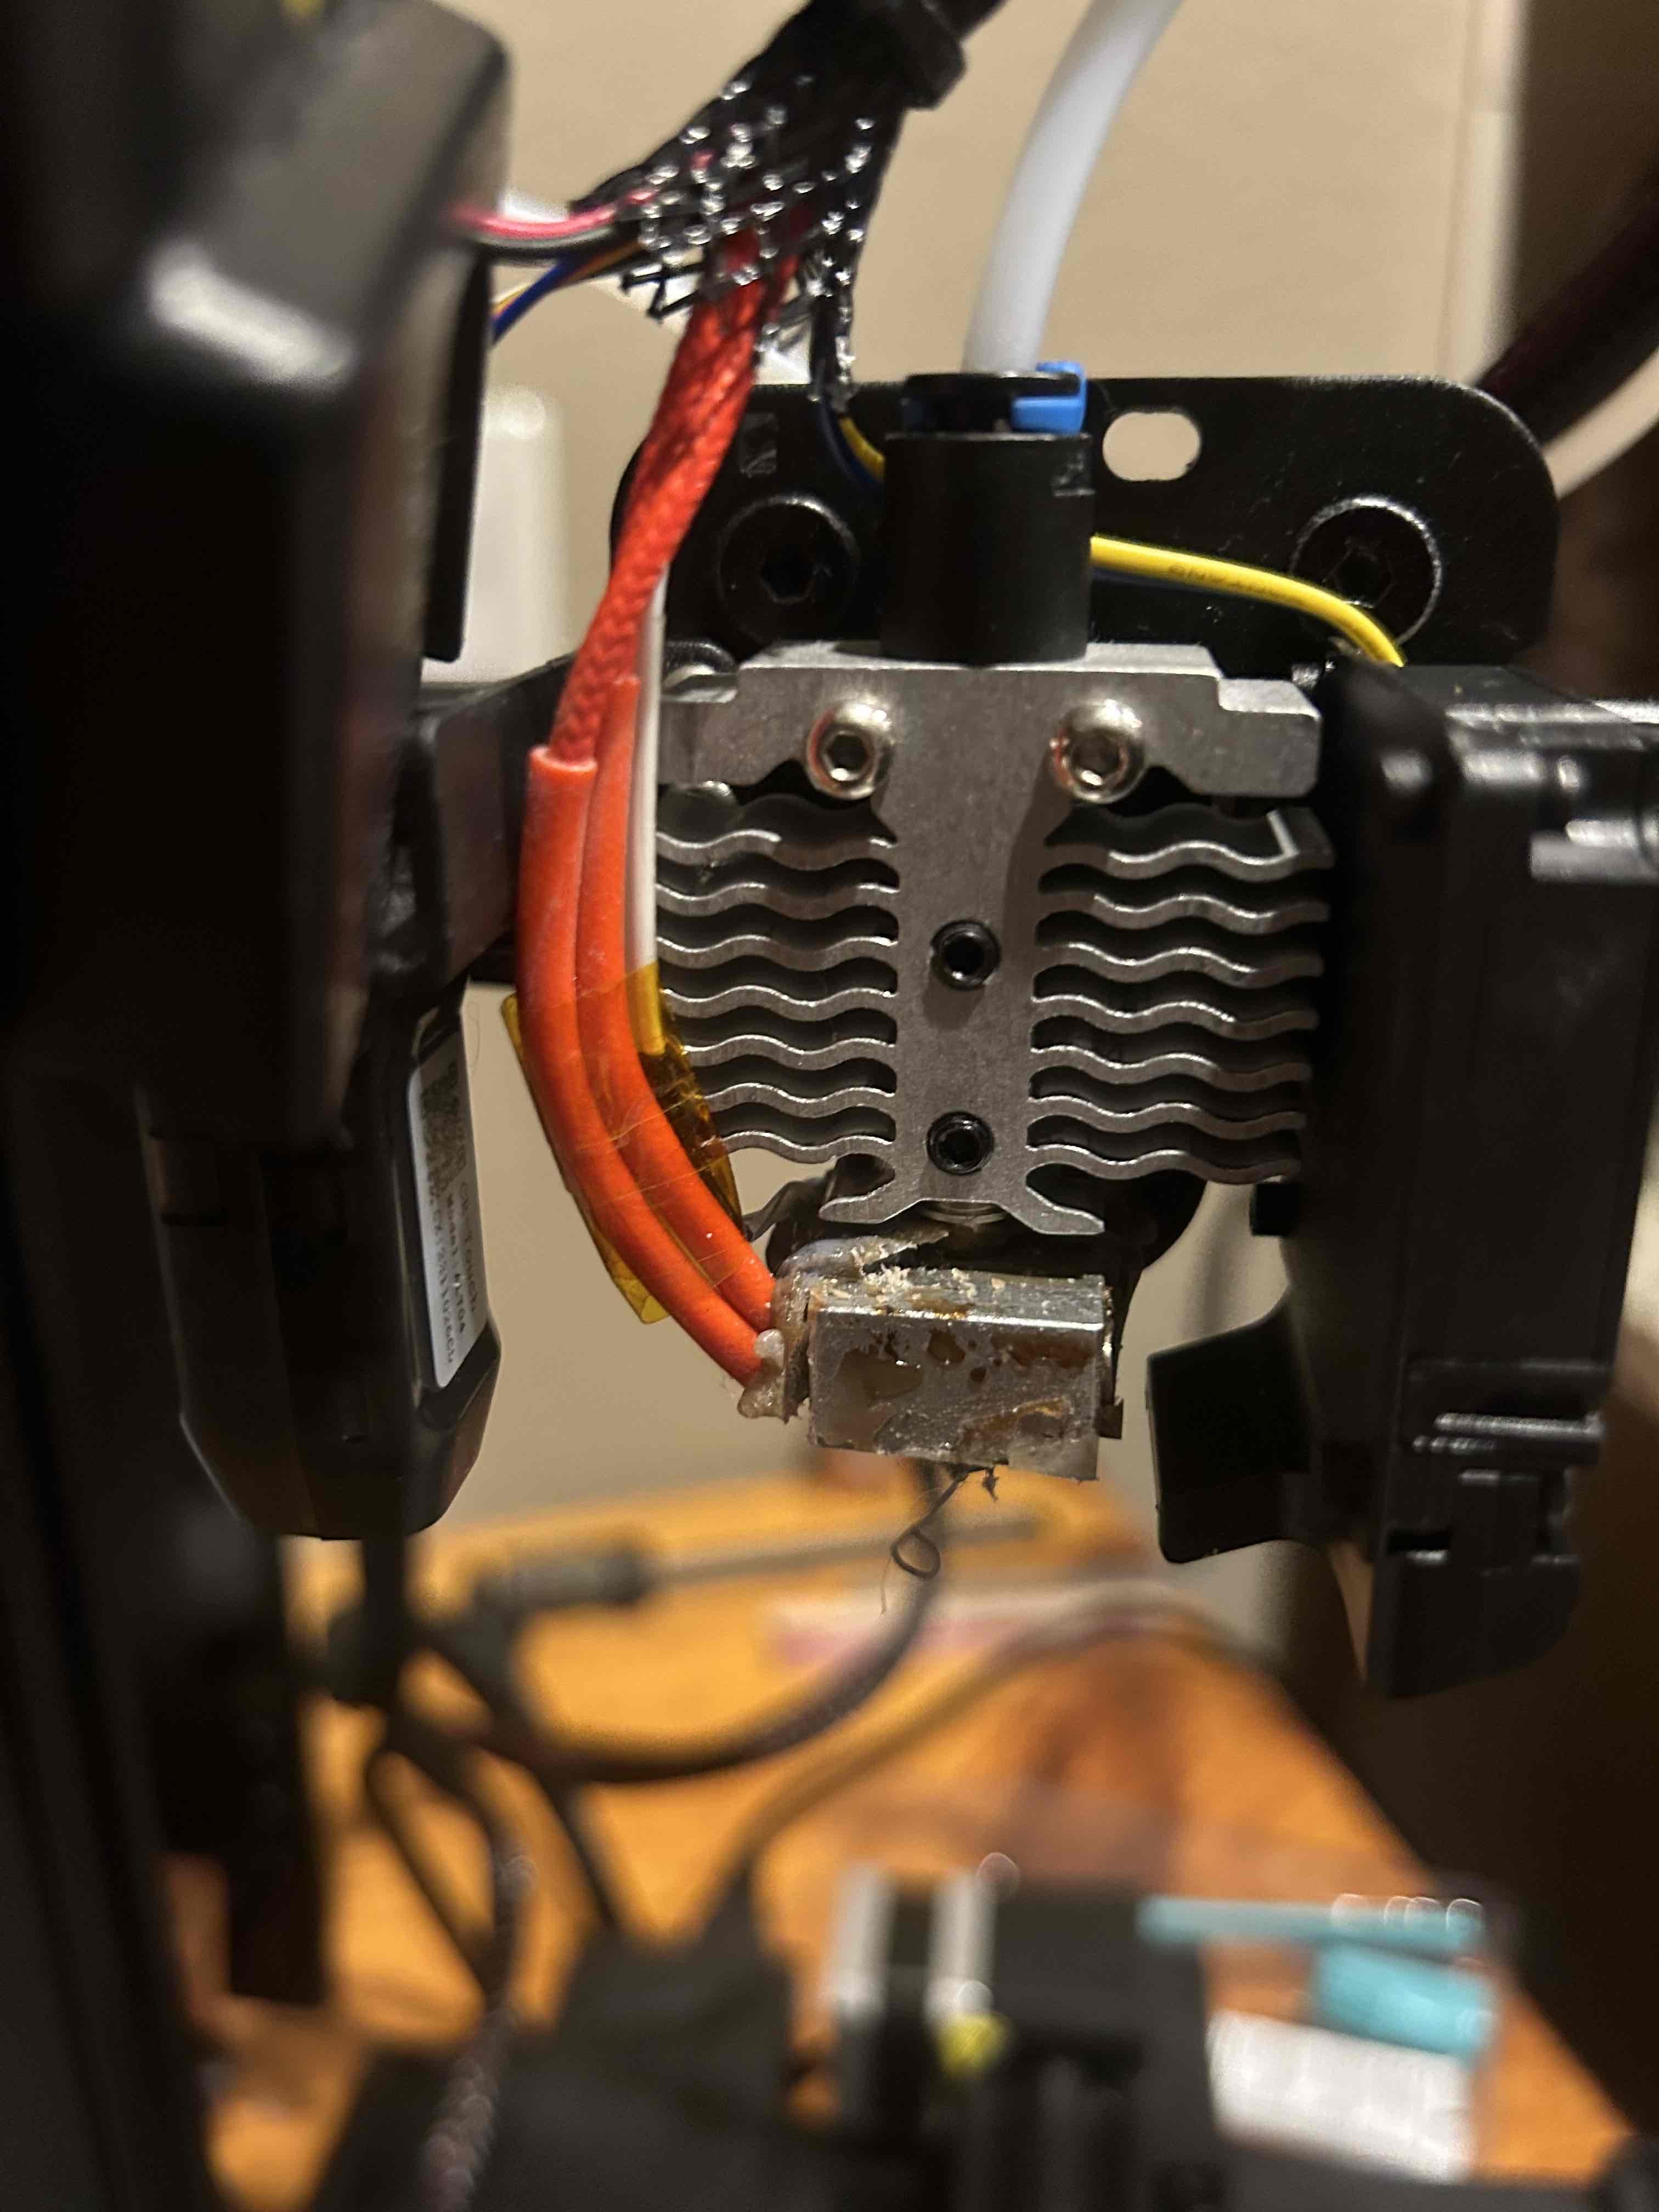
Okay, using a microswiss hot end for an example, and that's a clean photo. They're all usually about the same anyhow. What's going on here is a very common mistake to make. the immediate cause is that the heat break (red arrow in the picture) is not screwed on to the heater block tightly enough, and some filament is oozing out the top rather than getting forced out the nozzle.
The solution is to heat it up, clean everything up with a brass brush or something similar. Then remove the nozzle and run filament through while it's hot, clearing out any gunk that's built up.
Now, to get it on there tight enough, what you need to do is heat up the nozzle to higher than you normally print at, then tighten it down as tight as it can go while trying very hard to not burn yourself.
You can get the same problem with the nozzle oozing, out (blue arrow) as well, so while you're running hot, go ahead and put the nozzle back in and get it as tight as you can, too. once it's done, you can loosen the set screw above the heat break (green arrow. the set screw holds the heat break in place.) and turn the block so it's more or less aligned with the printer. Let it cool back down and bring it up to temperature and check for leaks again.
and just for the record. everyone here has probably had this happen. I just want to make that clear. please don't give up. You'll reach a point where it all makes sense. If you need to step away for a bit, that's okay, but also, don't be afraid to come back to it.
Thank you for your advice and encouragement! Its comforting to know that its happened to everyone and its a common error.
After everything is cleaned up should i reseat the heat block before i remove the nozzle to clear the gunk or after?
I would suggest removing the nozzle, and clearing it if there’s a jam first, then seating the heat block to the break. Then the nozzle. Both the best break and the nozzle need to be hot as you’re doing the final tightening. I don’t know that the order really matters … it’s just how i do it. I do recommend being systematic about how you go through things. It’s helpful to have a process.
Systematic processes help you to not forget things, like forgetting to reconnect the BLtouch cable when doing stuff with the hot end. (Ooops.)
I’d also recommend keeping some of the more interesting failed prints as “art”. I may be weird but sometimes the spaghetti monsters look cool
Thank you! Unfortunately i didnt get a cool spaghetti monster this time, but I like the idea of keeping them to see how far youve come
Those otherwise stupid silicone oven gloves are just about perfect for this task, at least on your non-wrench holding hand.
I always laugh at those stickers on the hotend cowlings "Caution Hot." On one hand... thank you captain OBVIOUS... on the other hand... eh.... hehe.