3DPrinting
3DPrinting is a place where makers of all skill levels and walks of life can learn about and discuss 3D printing and development of 3D printed parts and devices.
The r/functionalprint community is now located at: [email protected] or [email protected]
There are CAD communities available at: [email protected] or [email protected]
Rules
-
No bigotry - including racism, sexism, ableism, homophobia, transphobia, or xenophobia. Code of Conduct.
-
Be respectful, especially when disagreeing. Everyone should feel welcome here.
-
No porn (NSFW prints are acceptable but must be marked NSFW)
-
No Ads / Spamming / Guerrilla Marketing
-
Do not create links to reddit
-
If you see an issue please flag it
-
No guns
-
No injury gore posts
If you need an easy way to host pictures, https://catbox.moe may be an option. Be ethical about what you post and donate if you are able or use this a lot. It is just an individual hosting content, not a company. The image embedding syntax for Lemmy is 
Moderation policy: Light, mostly invisible
view the rest of the comments

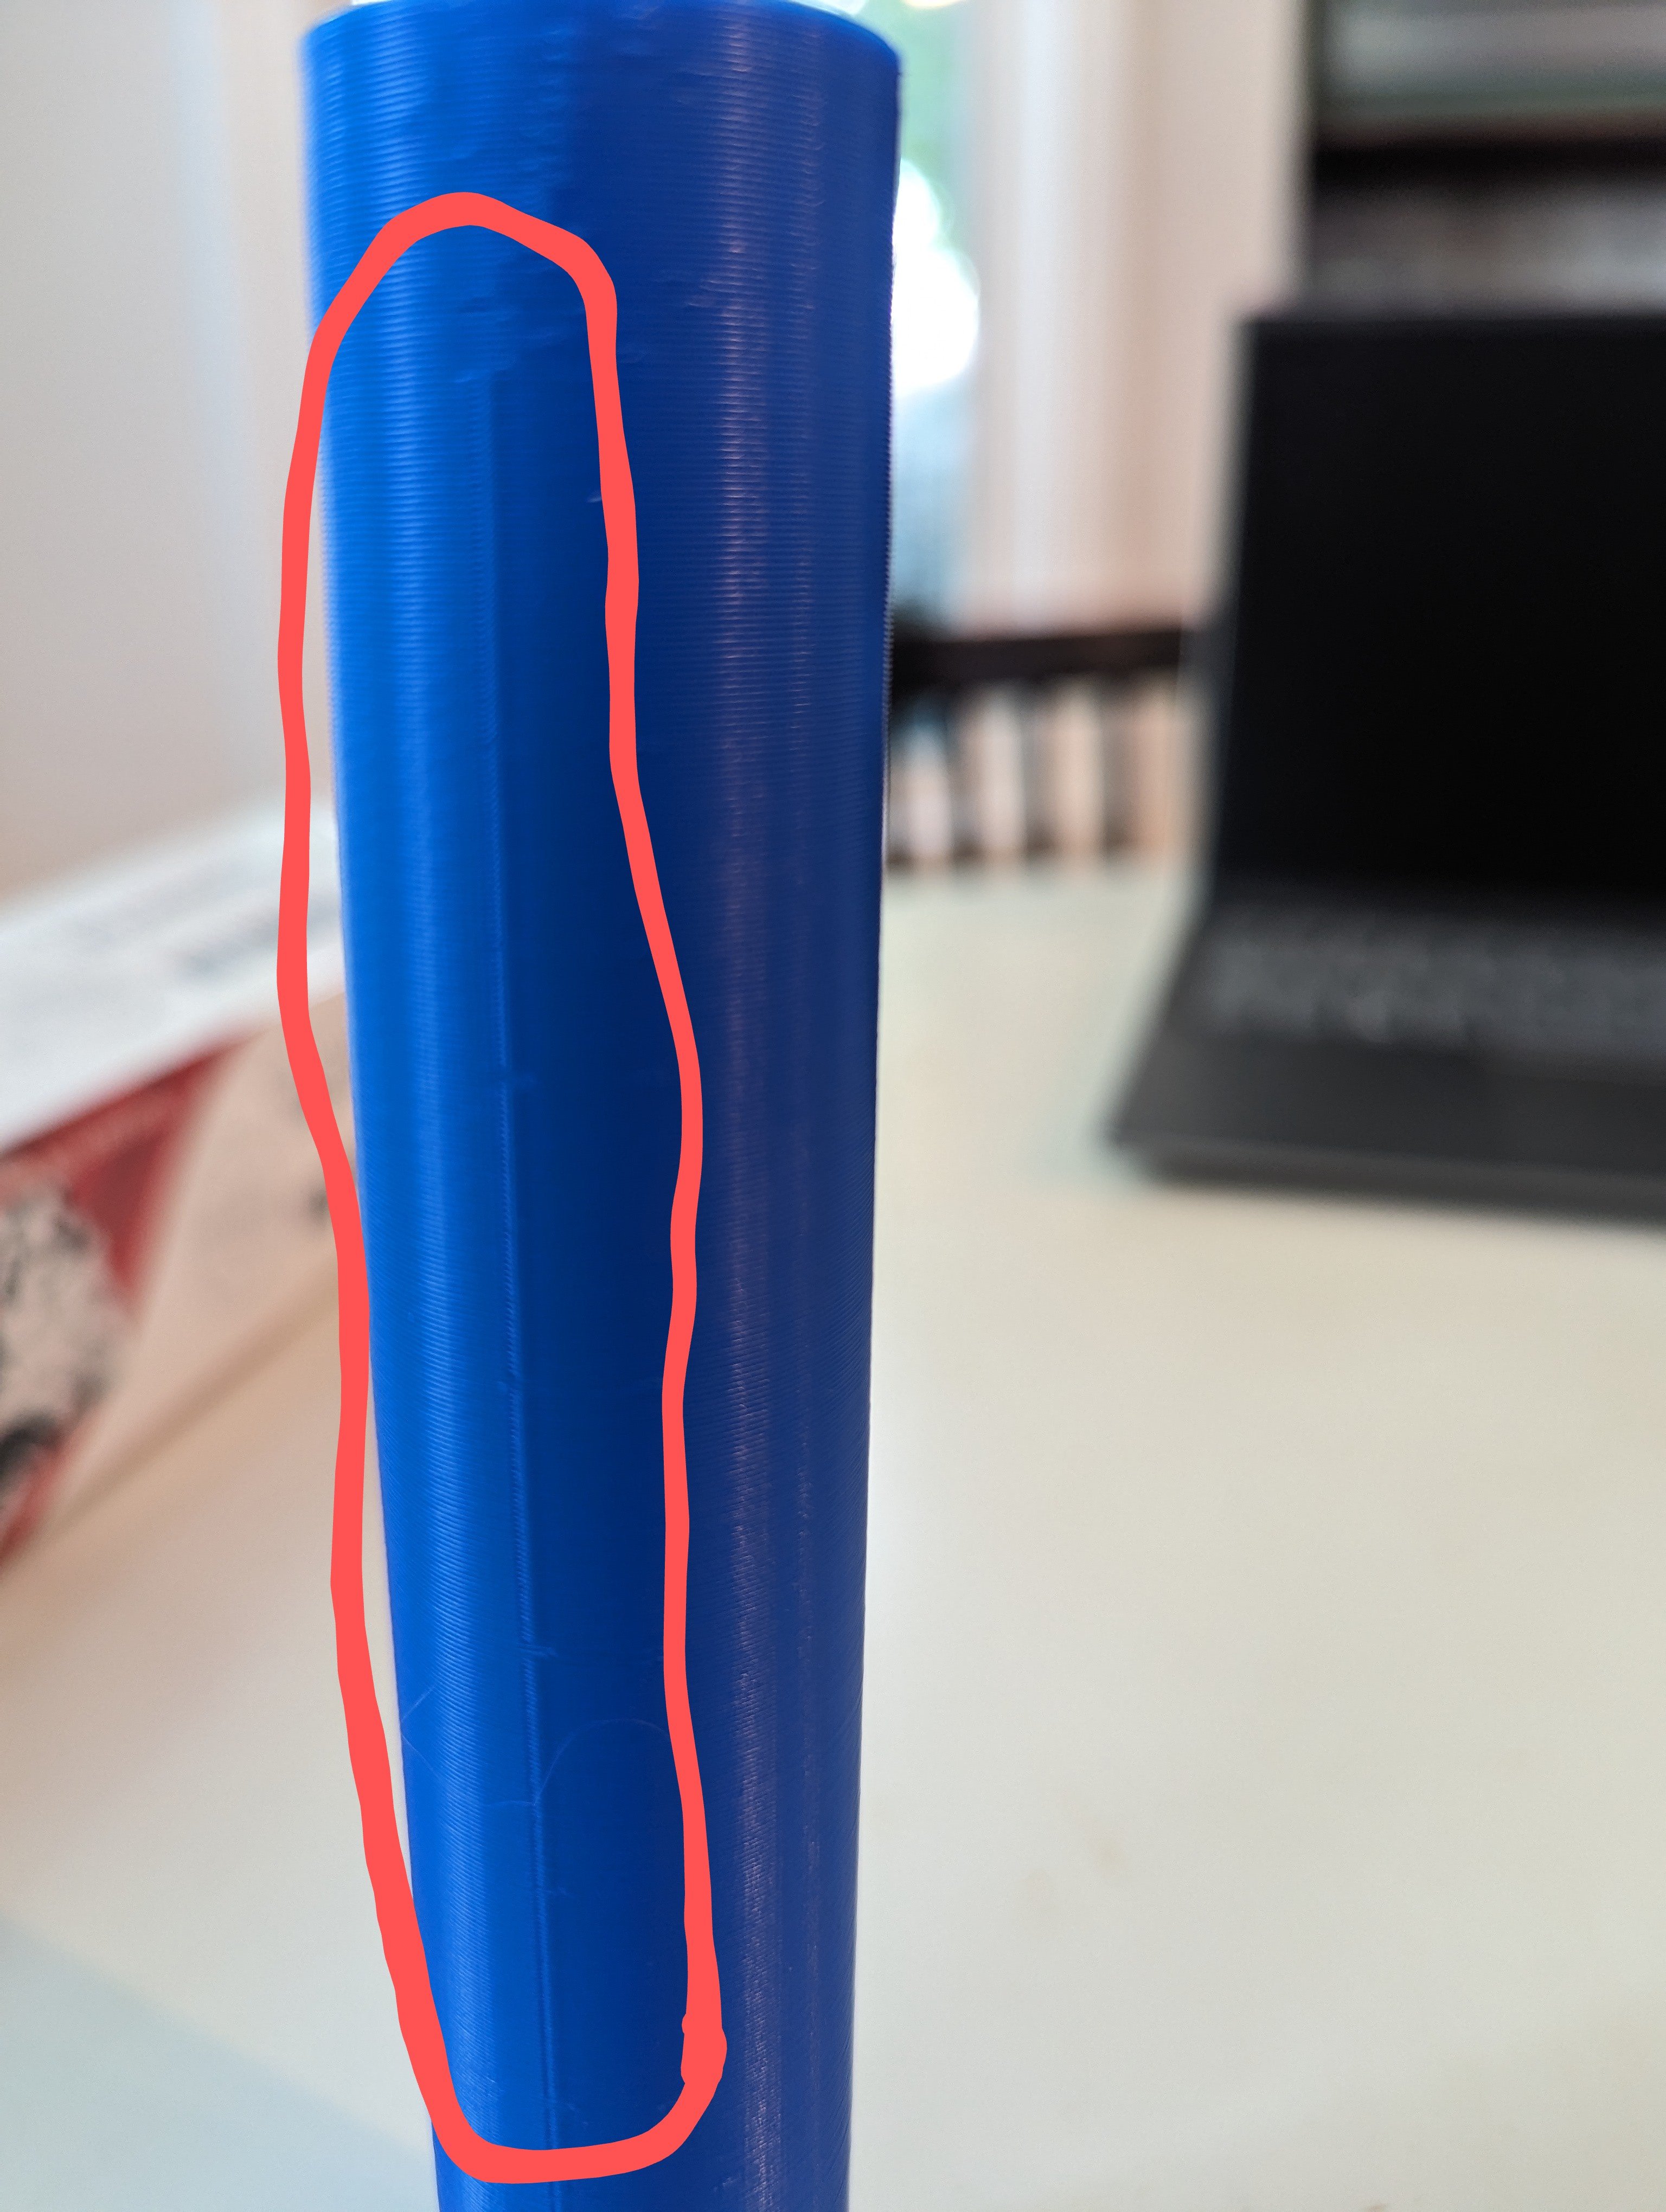
You should also know that the seam forms a weak point (this is true even if you change your settings to make the seam less visible). If this part of your project is structural (going to be put under stress/weight/wear) in some way then you should use a setting like "Random" so that the seam doesn't line up on every layer, and just accept that the surface will have bumps.
On the other hand, if this part is visual and doesn't need to be strong, then lining up the seam like this is good and you should just arrange the part so that the seam is on the back or inside area of your project.
Good to know for future prints. Thank you. This particular part of for a toy sword for my son, we're learning this hobby together so I appreciate the insight.
If you’re going to paint it, take the opportunity to sand the Z seam off before doing it