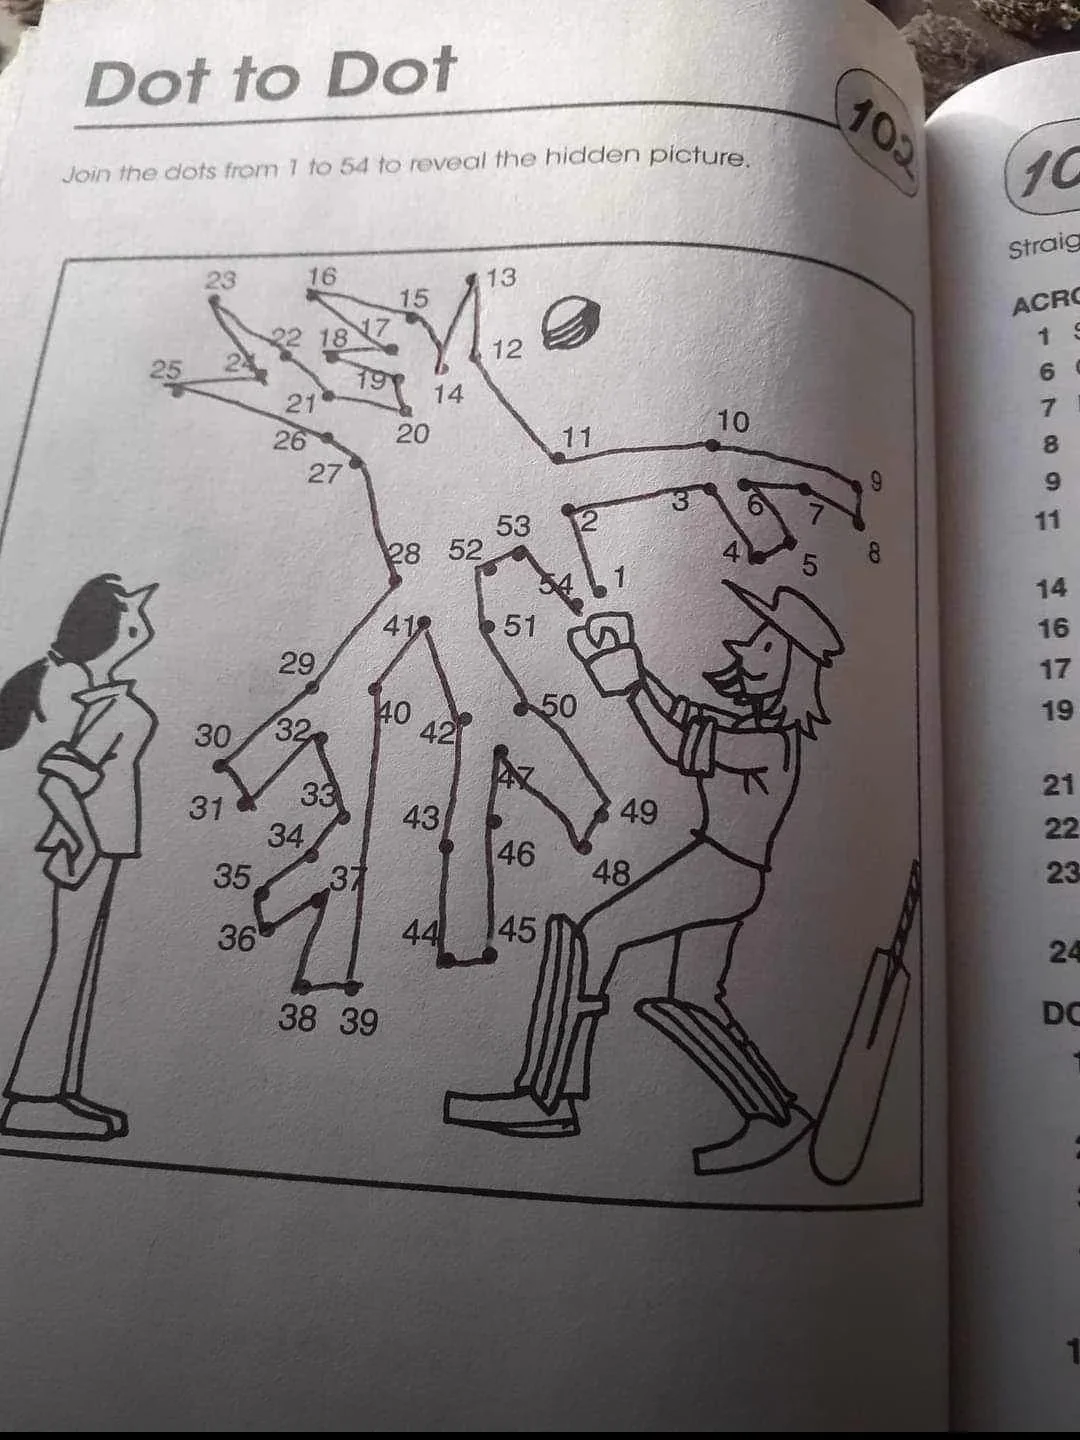
This whole "manual" is like this. No idea how they managed to screw up so bad

Does the smell change with temperature or airflow? That might give clues as to whether it’s embedded in materials or something in the air itself.
What is the source of the data? This X account seems fishy af
Isn't that what the local feed is for? All means, well, all.
From reddit:
is this trust worthy?
Extasis mentions this guy handledeck as the source
https://xcancel.com/HandleDeck/status/1886501899832021224#m
which links to this video
https://www.youtube.com/watch?v=NgKzbHIWDK4
which just mentions this article https://www.phoronix.com/news/Mesa-25.0-RADV-RDNA4-State
saying: "by reading this article carefully we can come up to the conclusion that..."
Seems all bullshit.
A little over 3 million left to beat the NDS, and about 10 million to beat the PS2. Can they do it? It's gonna be close
I think the only reason it sold that well was because it launched in March 2020, basically lockdown central
the only thing they agreed to was to put some troops near the border.
10k is a bit more than "some", imo. But it still means that Mexico caved to demands, no? Why wouldn't they do it before if all it took was a phone call?
Sidenote, I'm asking these questions because I truly don't understand. I'm not trying to start anything here, except maybe some educational comments
Can someone explain how these tarrifs are simultaneously not working, but also foreign leaders are folding?
Signed, a confused European
Like what? AI-generated?
What storage are you running on?
The CPU temp is by design, as far as i know. Zen4 loves to run hot. As long as you're not hitting 95, it should be good.
You could check temps and whether throttling is happening with software, just to exclude it, but it should be okay.
Lastly, Borderlands 2 can be quite the resource hog. There should be a PhysX option in the settings, can you turn that to low or off and compare results?
This whole "manual" is like this. No idea how they managed to screw up so bad
I know some folks that chronically don't reply but react with emoji, so at least I'll get a notification now.
I can also see this becoming really annoying if you announce something in a large community and you get notified.
NOTE: Reaction notifications are currently an experimental feature limited to a select number of desktop and mobile users.

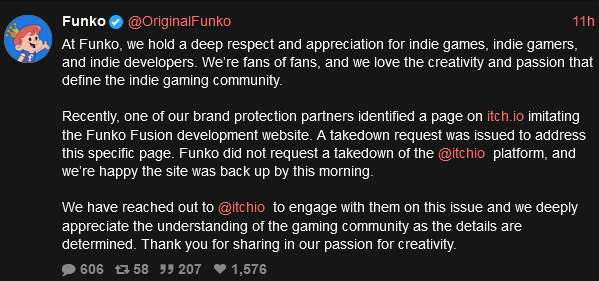
Statement is from https://xcancel.com/OriginalFunko/status/1866255848366039468#m
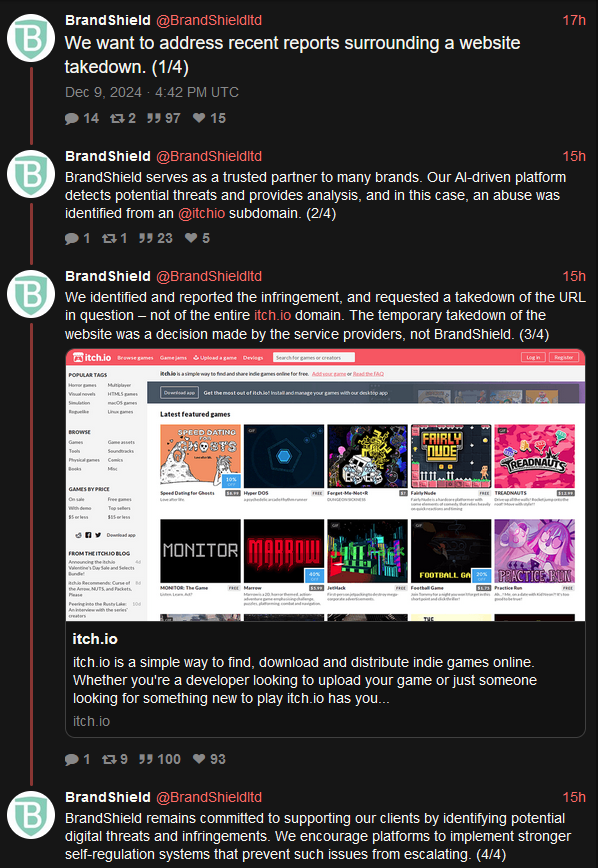
From: https://xcancel.com/BrandShieldltd/status/1866161489528180988#m
Edit, bonus panel! What scum.
If you hit "next", the consent window opens again and if you refuse any of them, you get put back at this screen so you're stuck in a loop.
This shitty practice is even endorsed by Google, as they are promoting this game to try out and earn points.
Edit: game is called Jewel Gold Empire: Match 3 and it's from some Korean company it seems: https://play.google.com/store/apps/details?id=com.penta.empire.google
Obviously I uninstalled it immediately after
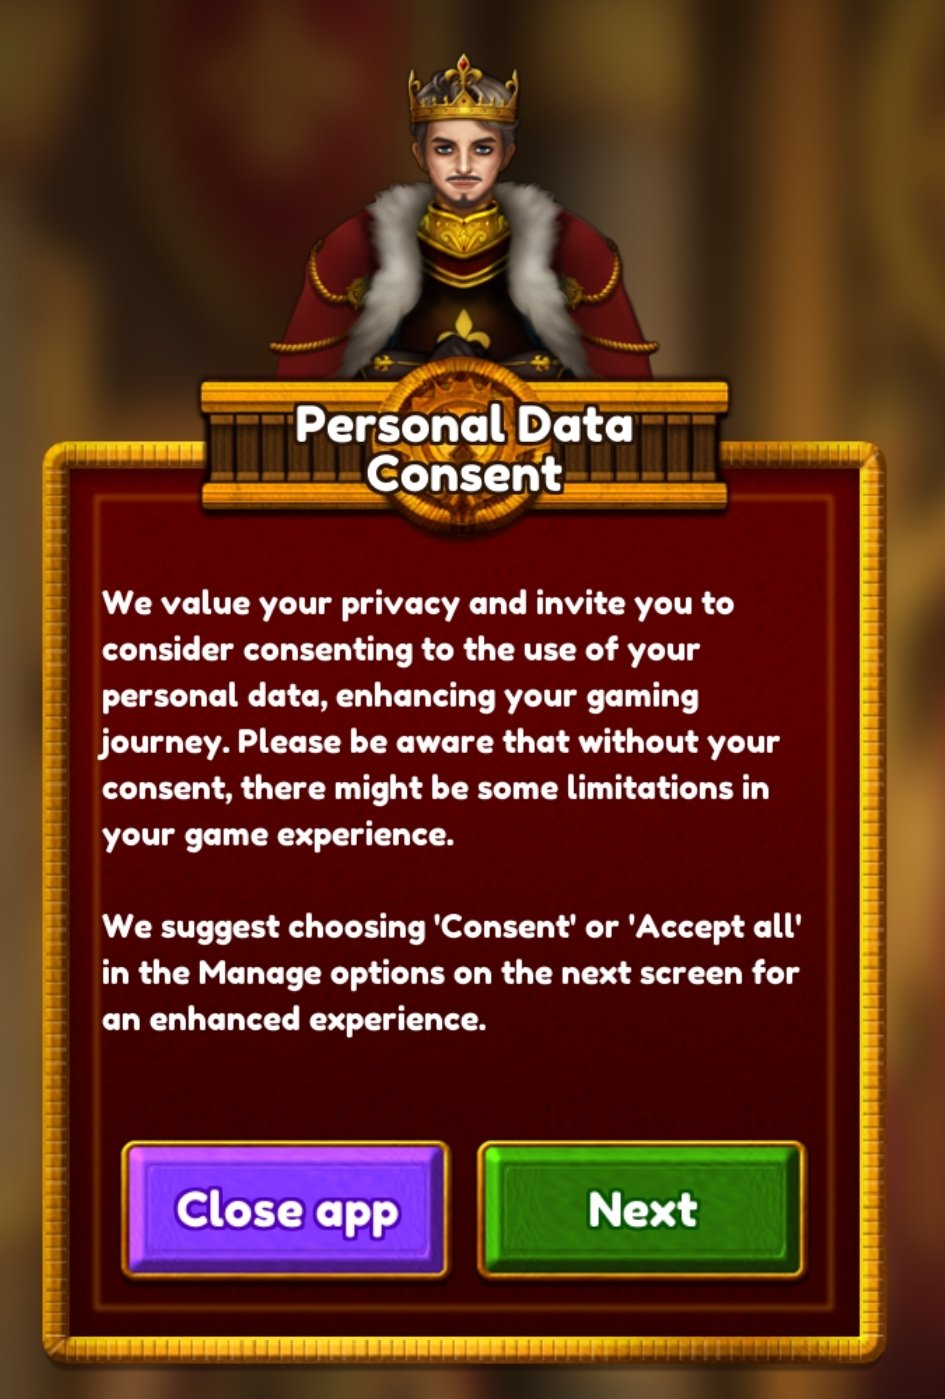
After checking the achievement notification, I was presented with this:
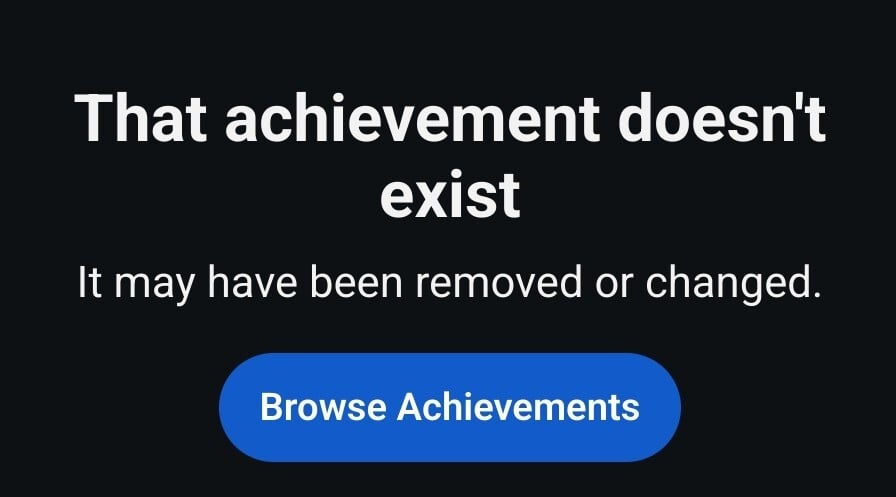
Context: I still have an account after using PDS to alter/remove all my posts and wiping my profile, but I still get messages from redditors seeking help so I check in from time to time.

https://elpasomatters.org/2024/12/04/desert-bighorn-sheep-franklin-mountains-state-park-el-paso/
Texas Bighorn sheep return to Franklin Mountains
80 Texas Bighorn sheep were reintroduced by helicopter, the first in decades, to their natural habitats in the Franklin Mountains.

The world's oldest known wild bird has laid an egg at the approximate age of 74, US biologists say.
Wisdom, a Laysan albatross, was filmed by the US Fish and Wildlife Service (USFWS) at the Midway Atoll national wildlife refuge in the Pacific Ocean with her latest partner looking after the egg.
Members of the species usually only live for 12-40 years, but Wisdom was tagged in 1956 when she was about five.
Edit: trying to add a link to this post because it only added the image, but it's being a bish


The 3DS still sold 10 million units after the Switch launched, so it's not impossible. One could argue the Switch is the successor to both 3DS and Wii U, but it's hard to compare. If they price it right and try to clear stock, I think they can totally do it. Would also be something to brag about, but then again it's not really Japanese business culture to brag, so maybe that's not the biggest motivator for them.