3DPrinting
3DPrinting is a place where makers of all skill levels and walks of life can learn about and discuss 3D printing and development of 3D printed parts and devices.
The r/functionalprint community is now located at: or [email protected]
There are CAD communities available at: [email protected] or [email protected]
Rules
-
No bigotry - including racism, sexism, ableism, homophobia, transphobia, or xenophobia. Code of Conduct.
-
Be respectful, especially when disagreeing. Everyone should feel welcome here.
-
No porn (NSFW prints are acceptable but must be marked NSFW)
-
No Ads / Spamming / Guerrilla Marketing
-
Do not create links to reddit
-
If you see an issue please flag it
-
No guns
-
No injury gore posts
If you need an easy way to host pictures, https://catbox.moe may be an option. Be ethical about what you post and donate if you are able or use this a lot. It is just an individual hosting content, not a company. The image embedding syntax for Lemmy is 
Moderation policy: Light, mostly invisible
view the rest of the comments

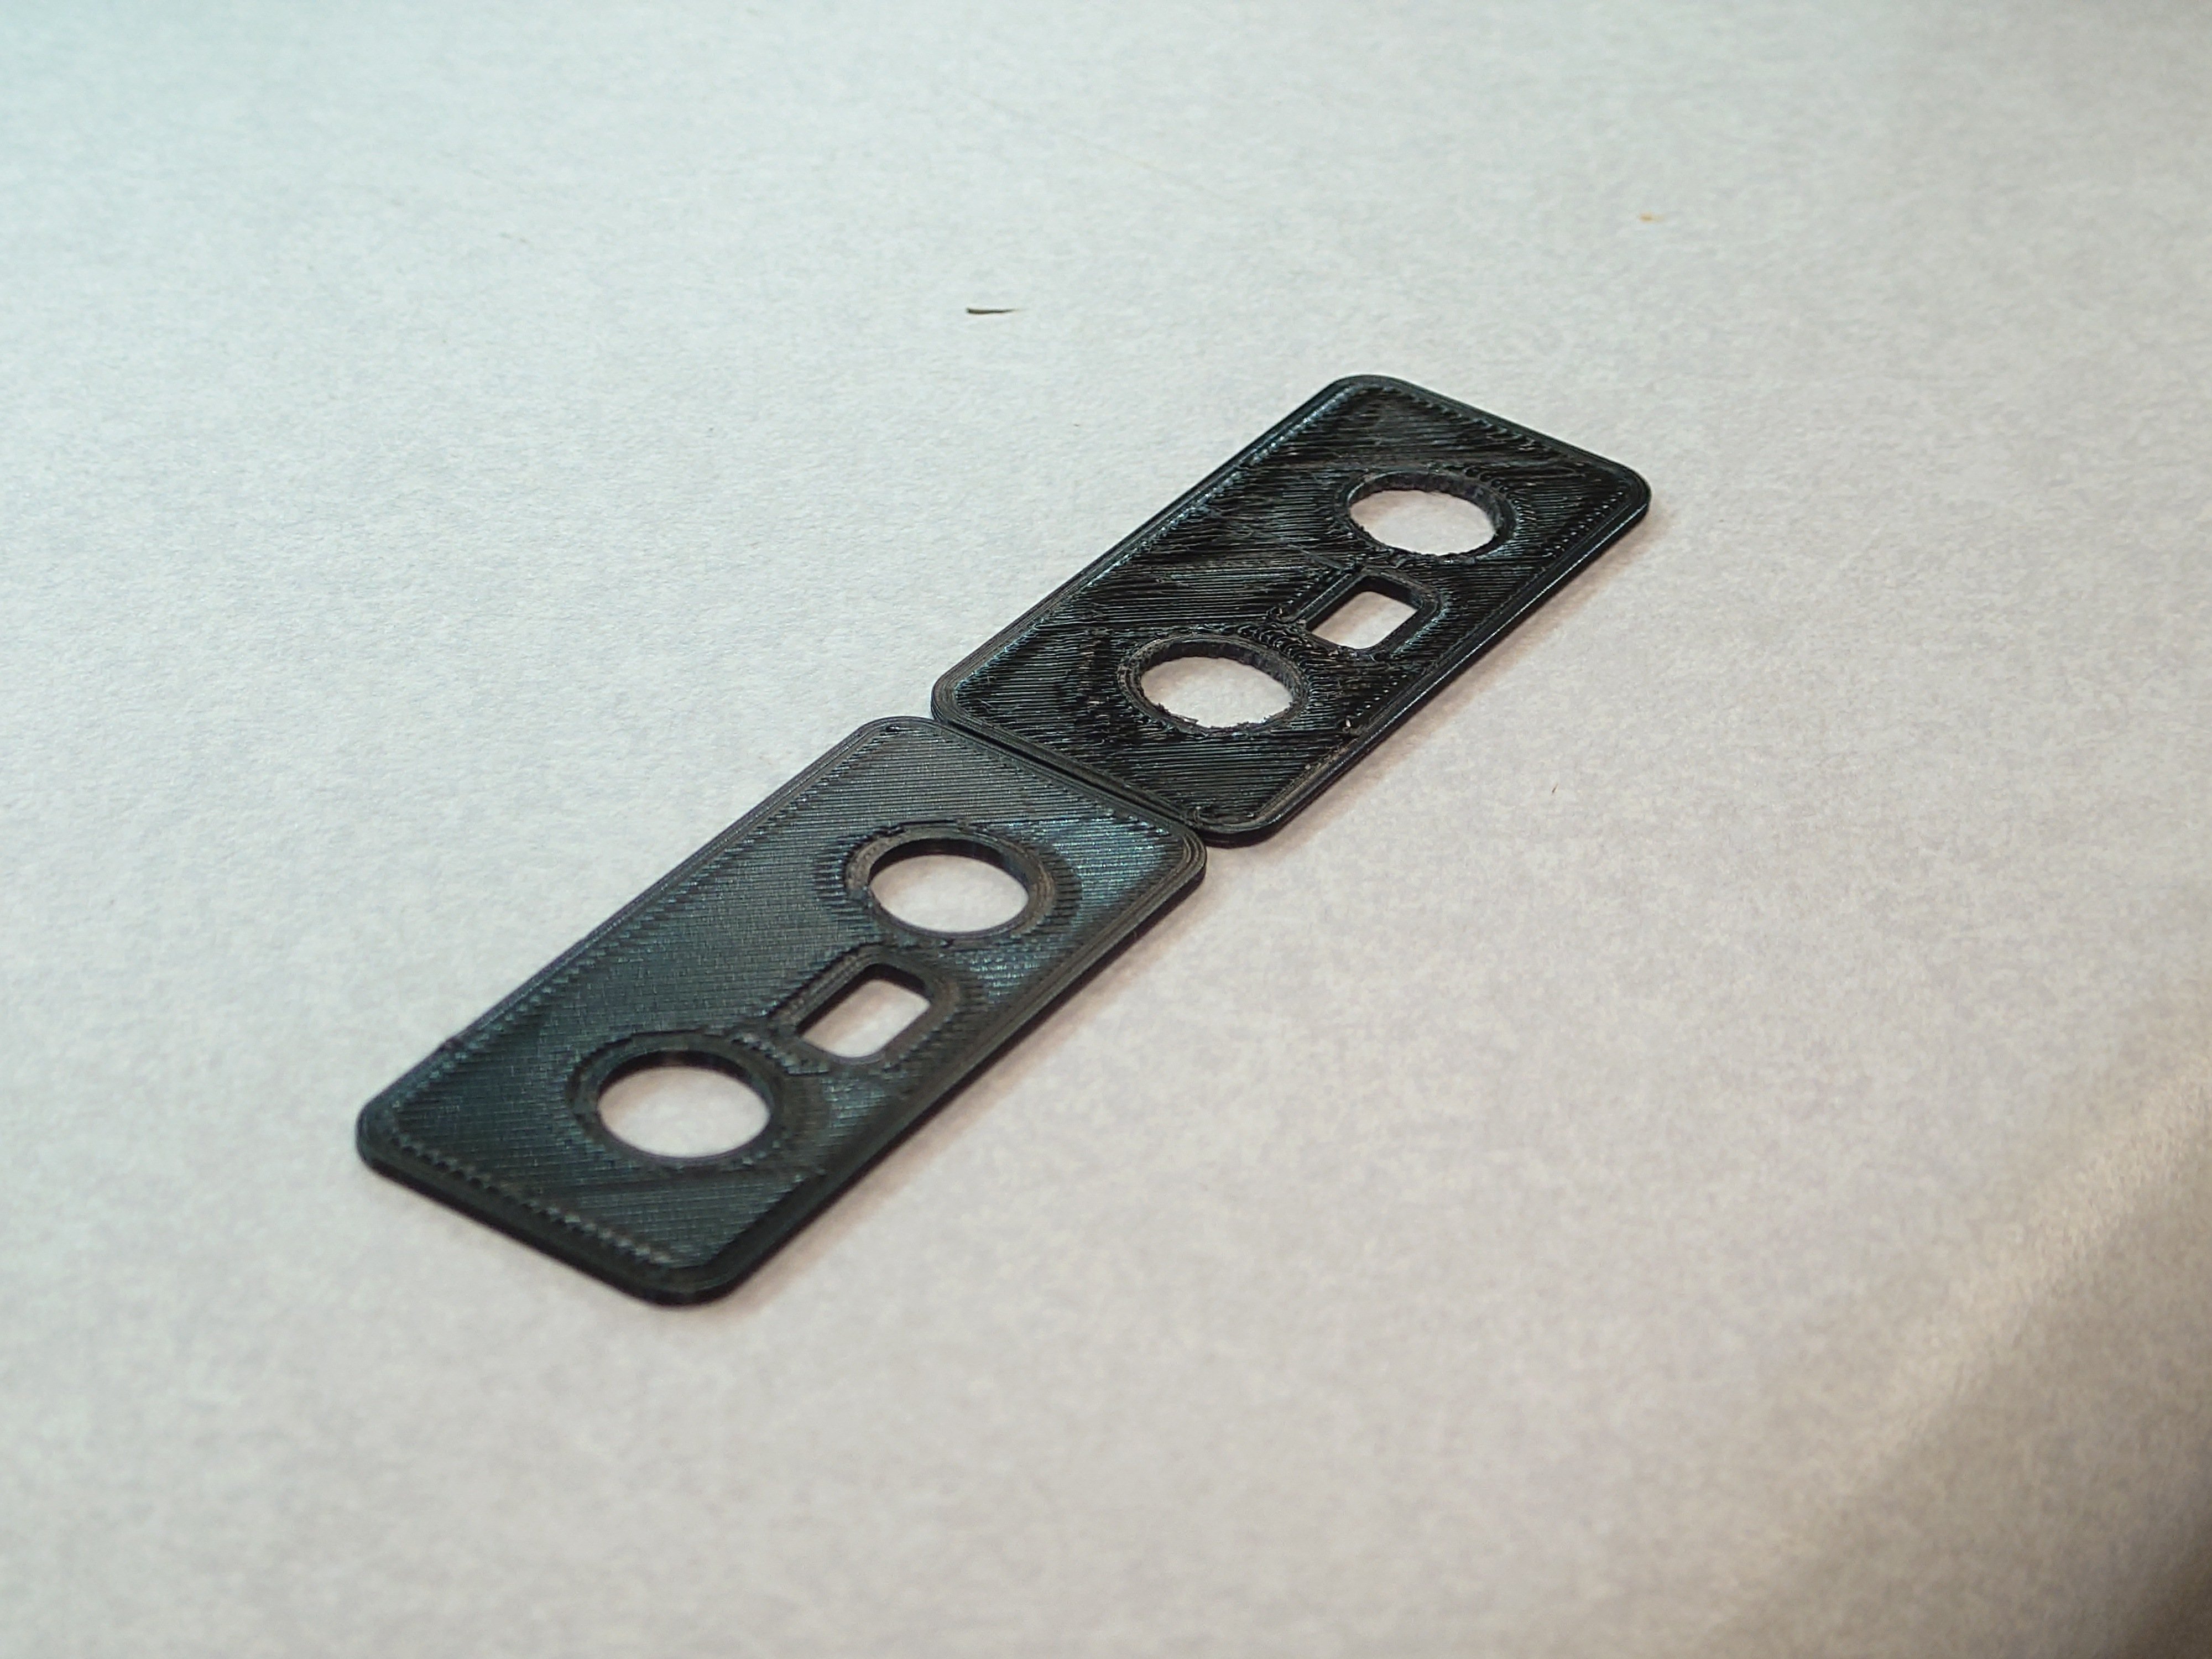
Hmm I'm out of ideas then, sorry. Still wouldn't hurt to do a single-layer test print (there are various models that put squares all around the bed) just to see how that's looking. If the issue had been confined to one side or one corner it might have been a mechanical issue, but random areas makes it a lot harder to figure out.
If I remember right, jerk settings should be rather small, like single-digits, but I think calibrating your e-steps will go a lot further for cleaning up the prints.
One other step (and of course I cannot remember what this is called) is related to calibrating the filament 'pressure' along each path. It takes a bit of work to set up but the goal is to create a profile so you get a perfectly consistent amount of filament extruded through the entire length of a path, which compensates for excess amounts at the beginning and end of each path, or too little extrusion through the middle. You might even have to compile your own firmware to enable it if there's not an option in Marlin to turn it on from the software (I was compiling my own anyway for a DIY direct-drive extruder), but it really does make a difference and it's a set-and-forget thing that you only really need to do once.