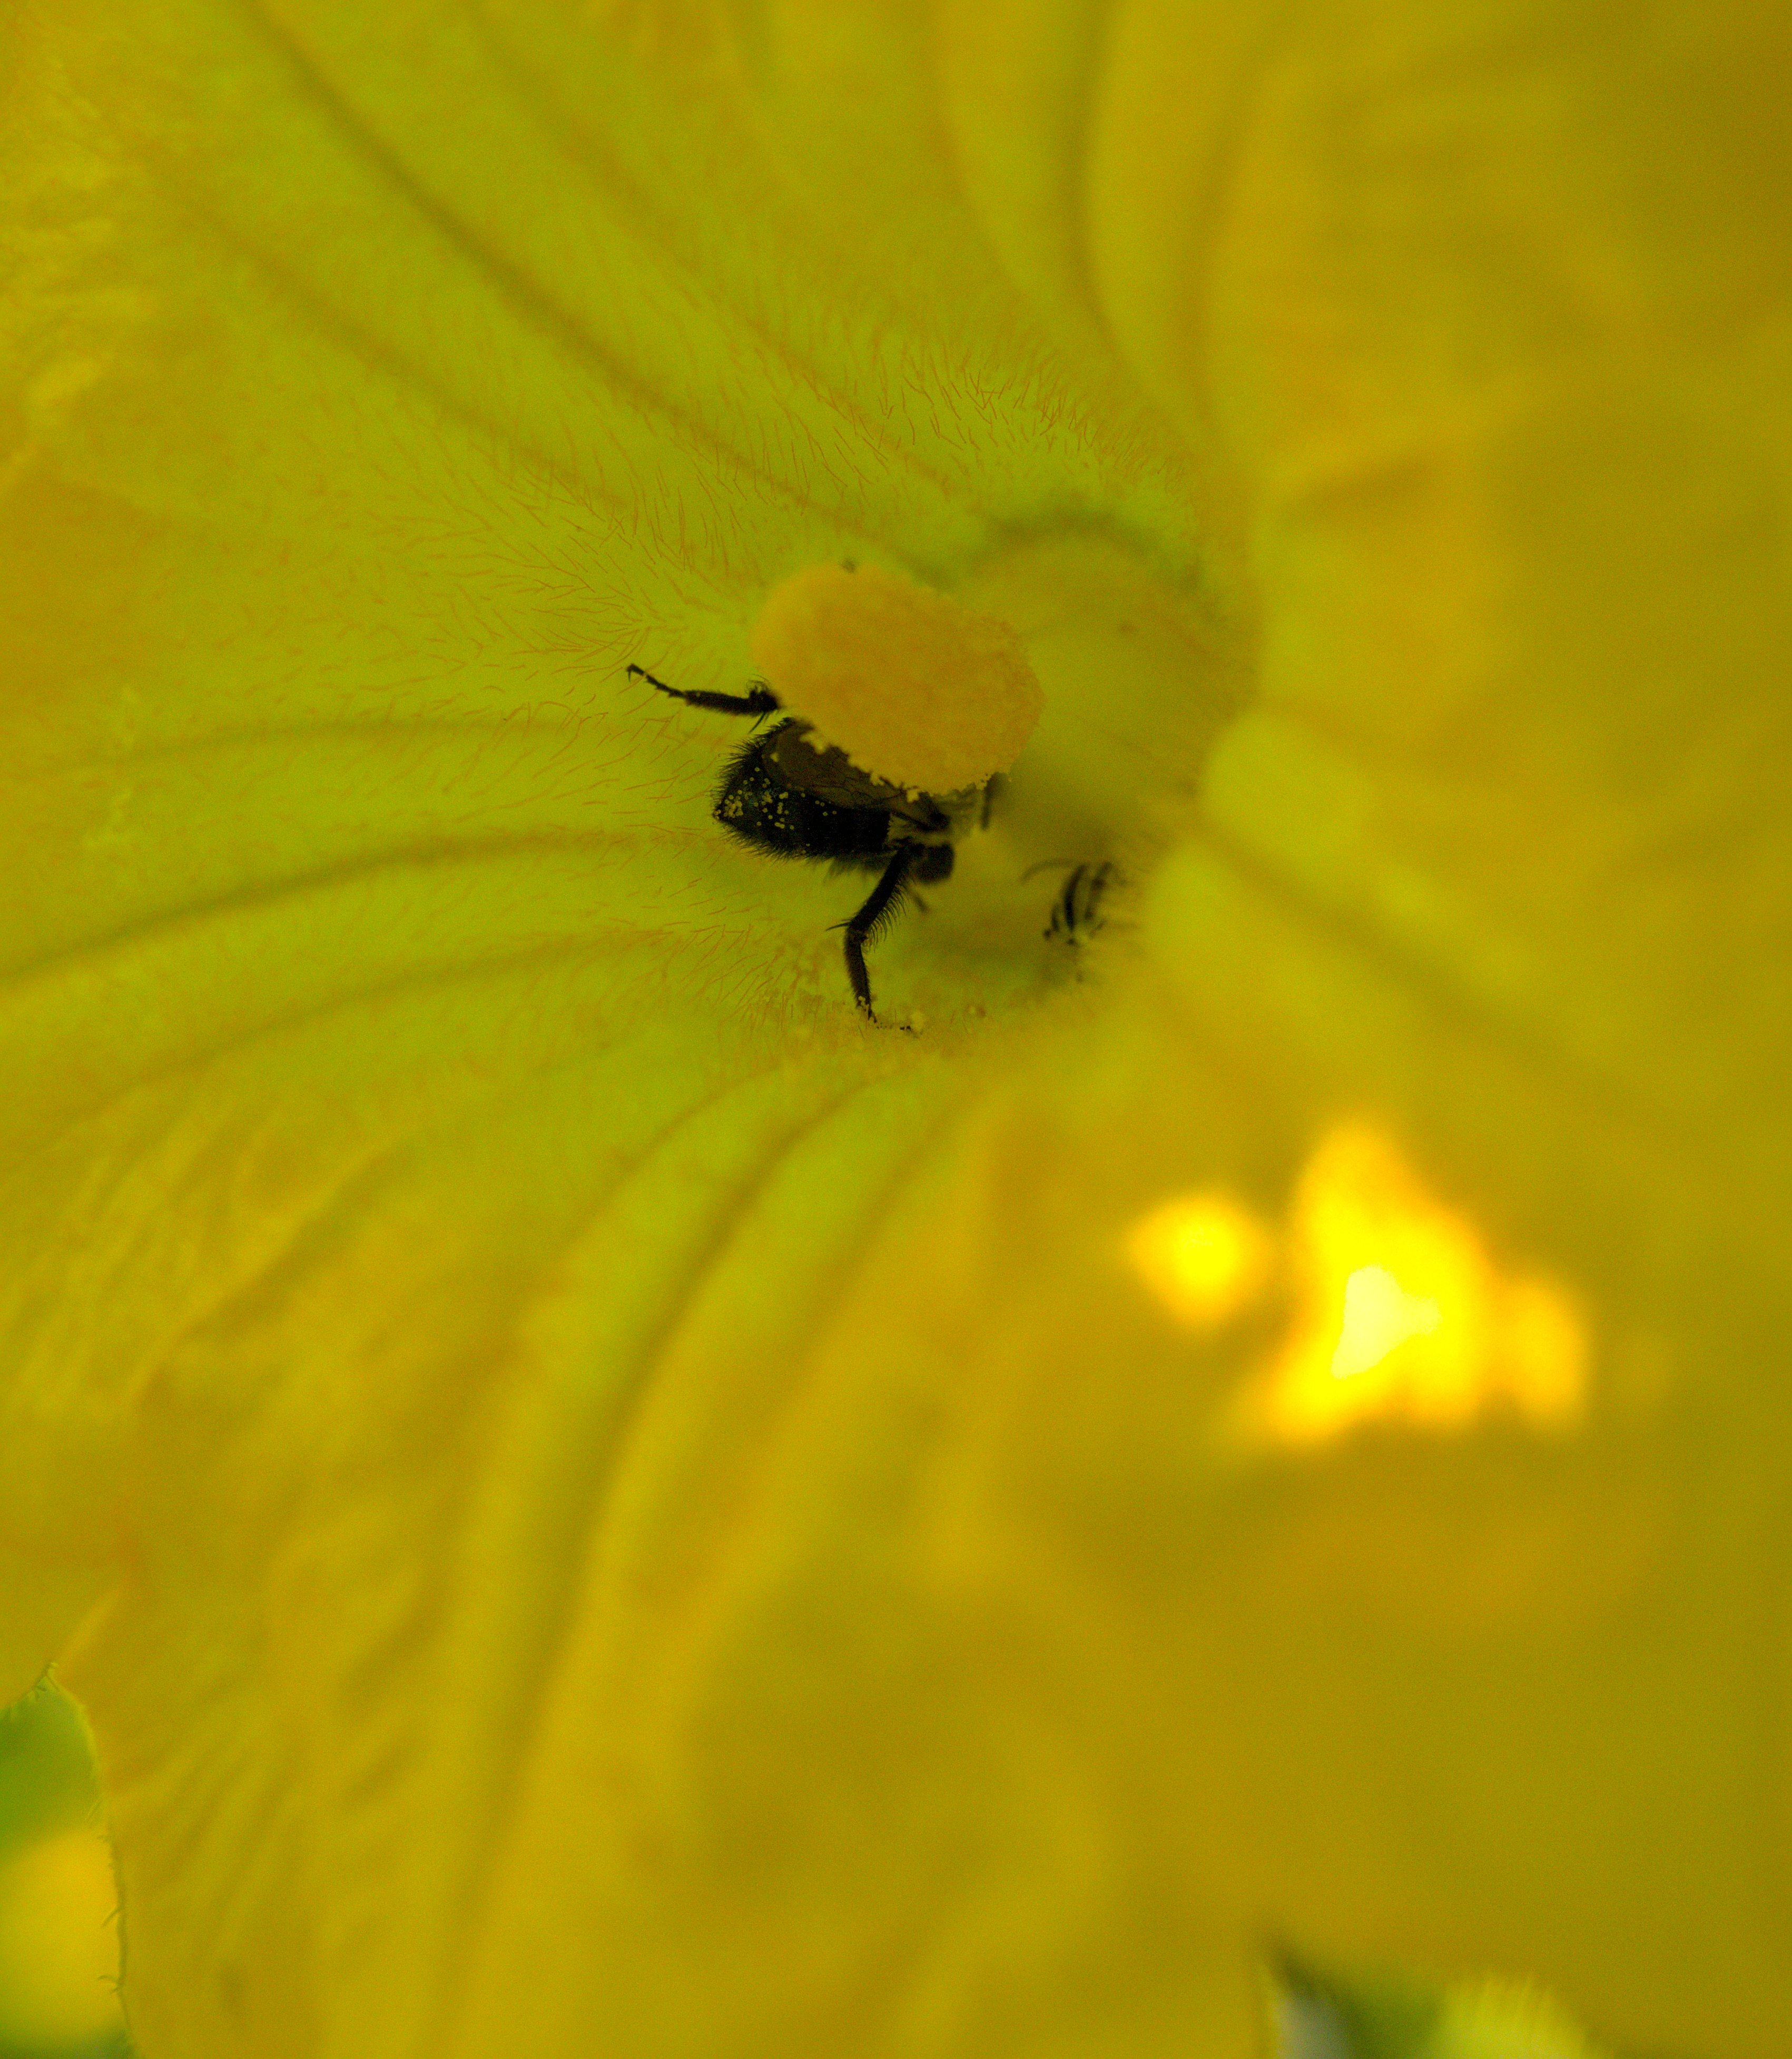
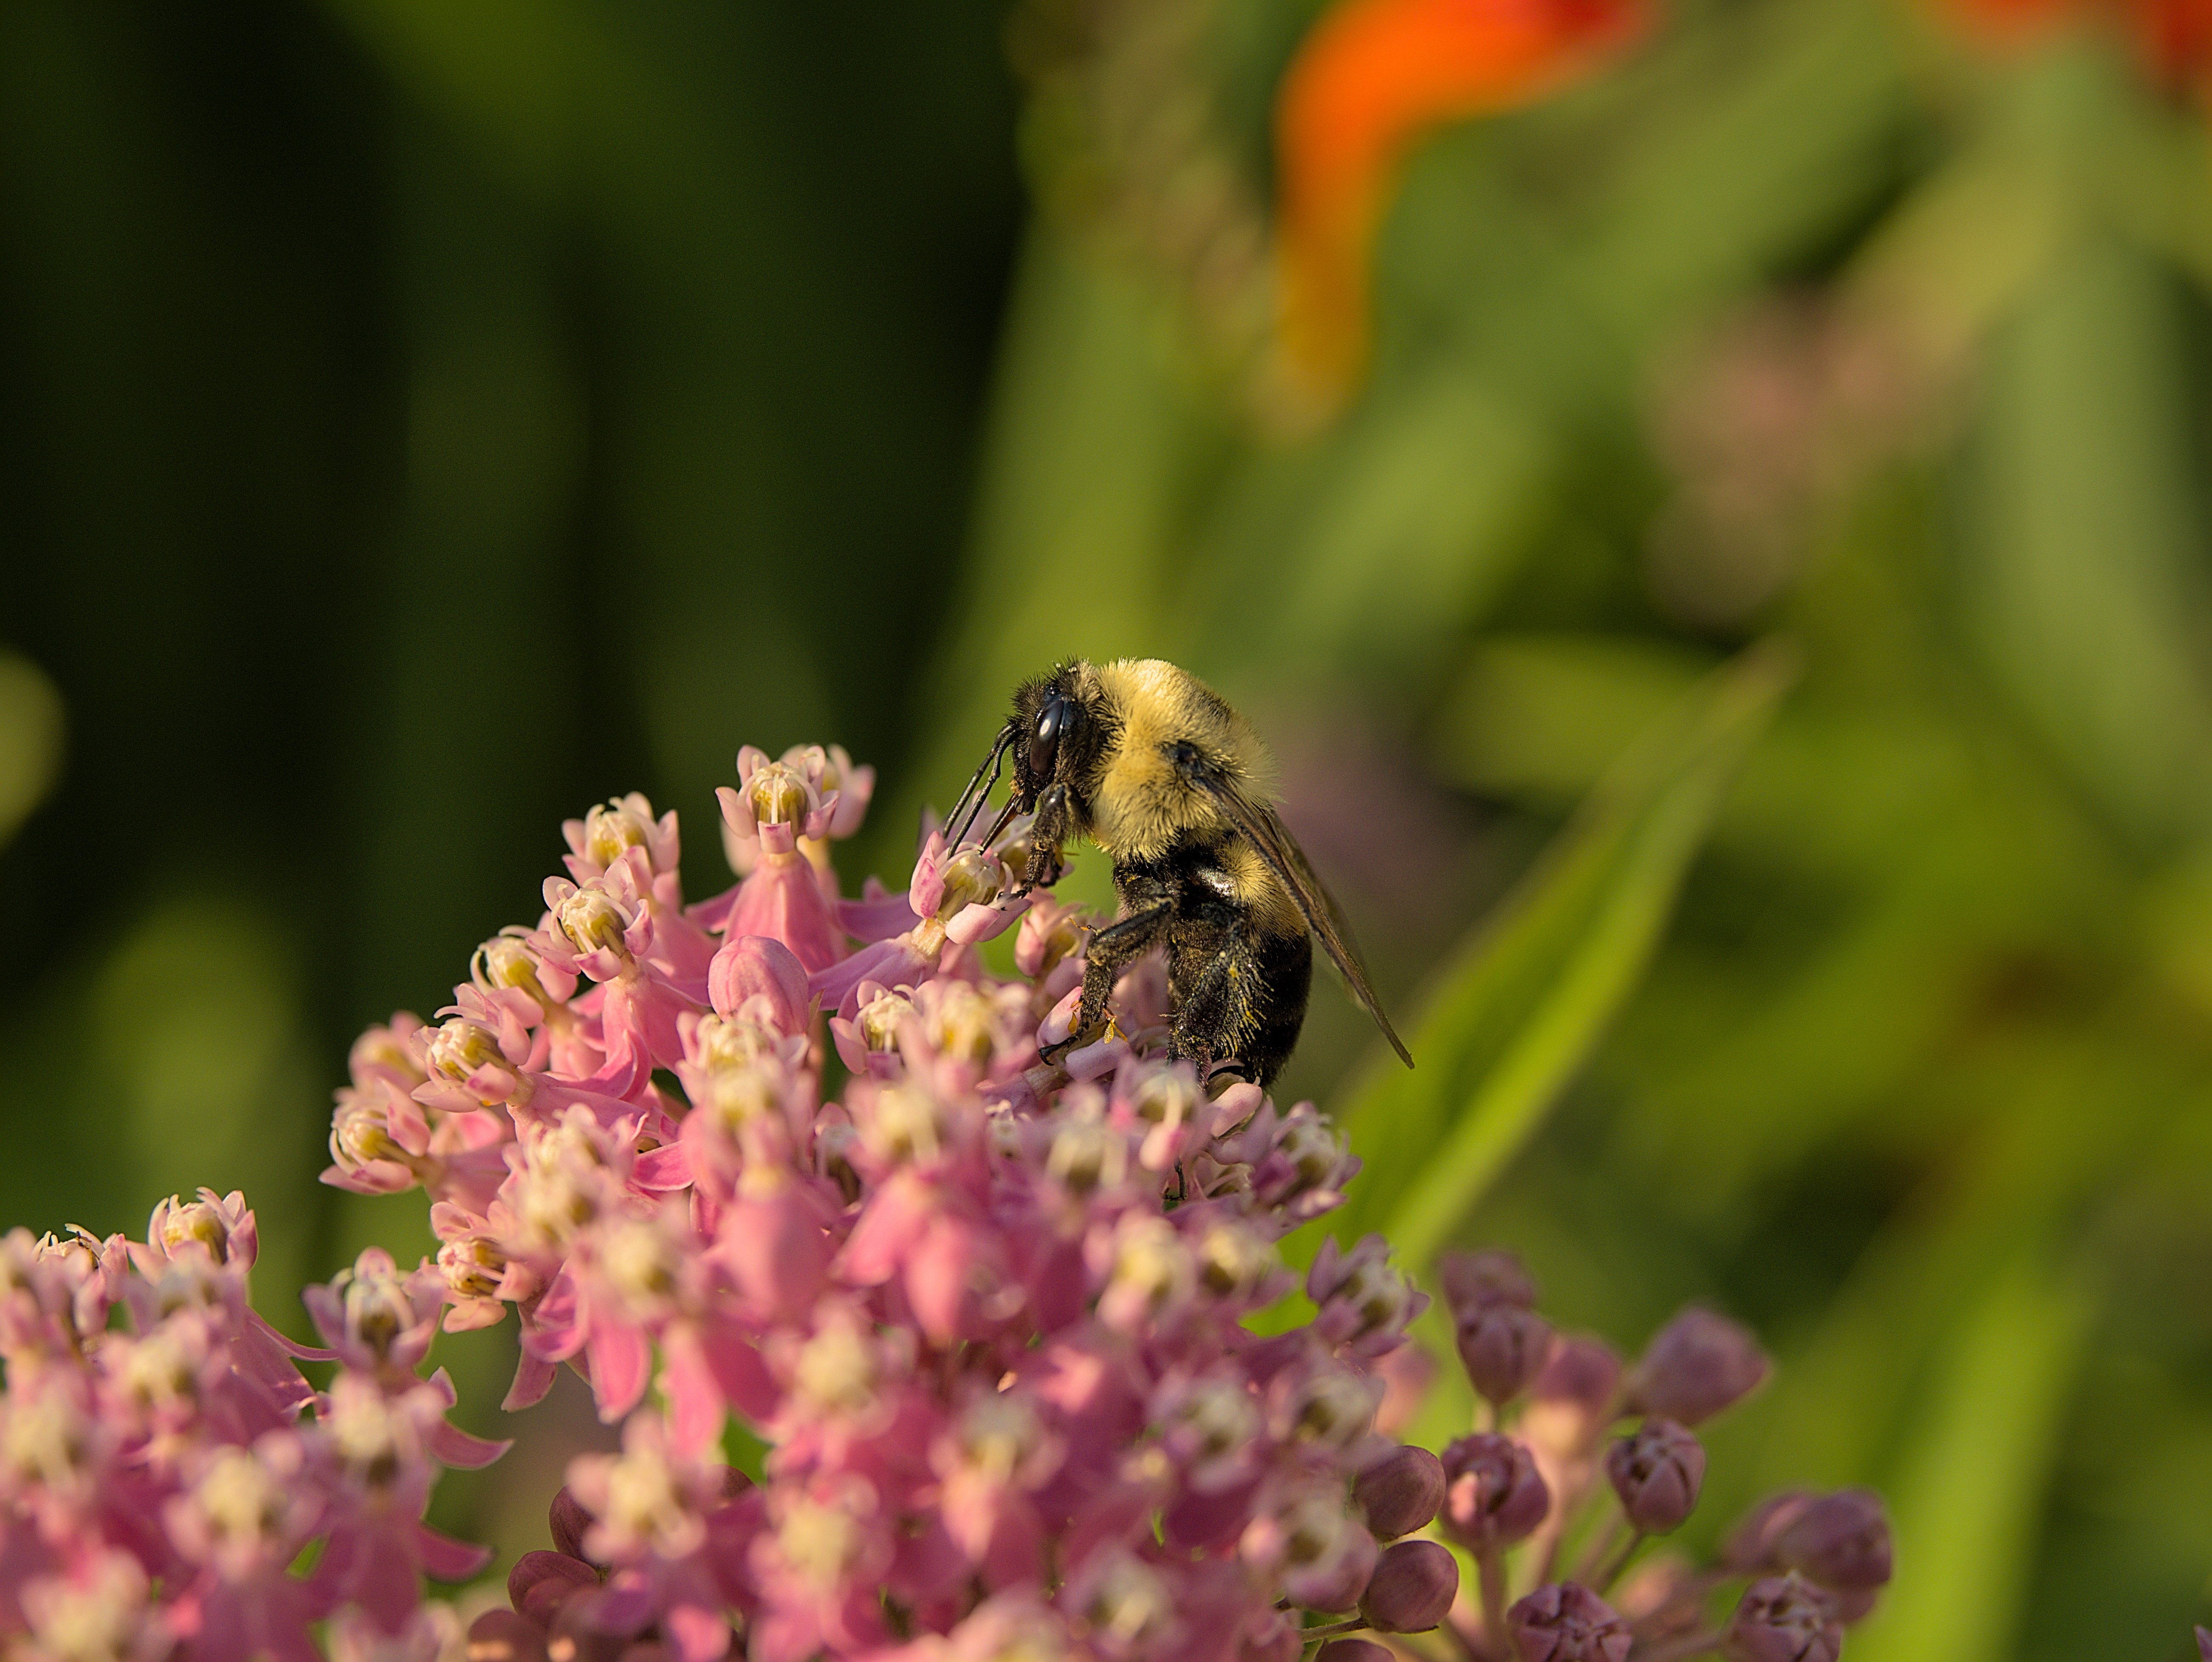
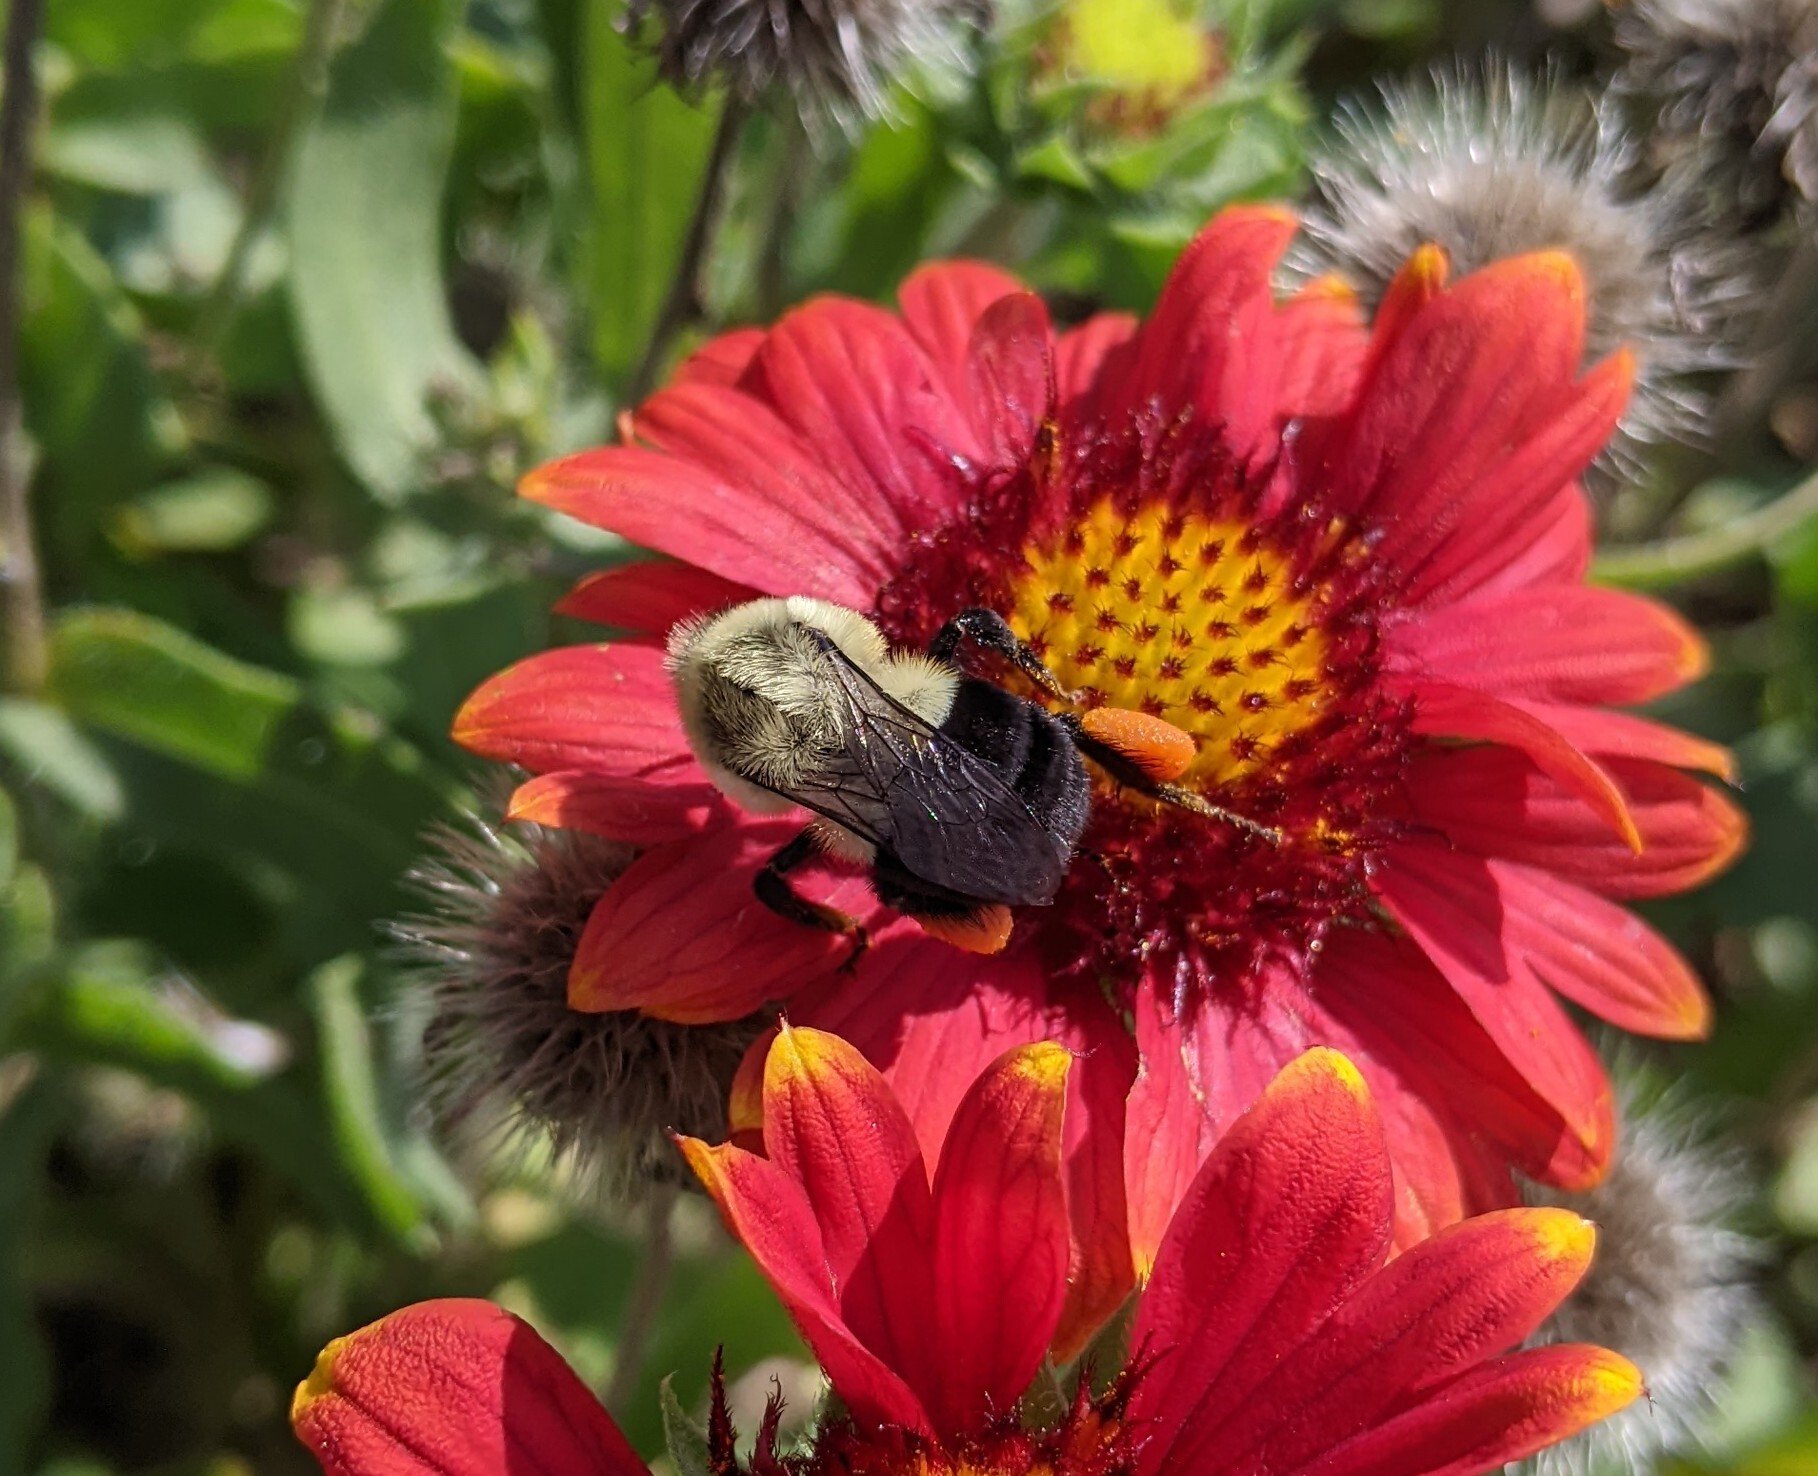
Yesterday's photo may or may not have been a hover fly. This is certainly a bee.
For joining parts, you could also consider friction welding. I'm not sure how easy it would be to fill a cavity, but bond strength would be great since you would also be the heating the original part.
Growing up I absolutely did not like classical music. Turns out it was the recording (bad micing of the orchestra) and mastering (the old "super quiet, super quiet, super quiet, briefly louder, super quirt thing). For mastering you could claim you're being true to the original performance (lots of dynamic range), but when you're listening to a live performance that's all you're doing and there's no background noise.
Turns out I do like classical music, I just really didn't like the way it was recorded and mastered back when I would be exposed to it as a kid.
Haha, I remember having the exact same reaction a while ago to OP. Tons of different media with great results.
That's sad to hear. As I said in another comment here, I migrated when Google Podcasts was killed by Google. I never experienced any playback issues with it. What podcasts apps have you tried? I wonder if they all use a common library.
I know what you mean re: customizing, having customized a few cars when I was younger.
The results do, at times, look sharper to me - but basically as soon as I got it back I said “oh crap, I should have taken some really controlled and repeatable ‘before’ shots so I could compare!”
It would be interesting to see before/after comparisons to see how strong the LPF actually is. I will have to poke around. I do mostly family photography where subjects are big relative to the pixels on the sensor, so I suspect that I won't gain that much benefit. A LPF is going to remove super fine detail that should only be visible when you're heavily zoomed/cropped. But a seed has been planted in my head...
But there is a lot NOT to love about it
My big three gripes with my MKII are:
I don't use Ethernet, but do appreciate the button feel on the A9II. I'm not aware of any other 'big' differences between the two bodies and most reviews make the two seem pretty comparable as far as actual function. IMO, a used MKI is a steal these days.
Honestly not much puts me off about the 200-600, I love the thing to death
That's good to hear! It remains on my list of possible future lenses. Maybe if the kids are still playing sports in 2-3 years.
the F4 ii came out and I pulled the trigger day 1 … probably my favourite lens … probably by a large margin
This is good to hear. I am somewhat hesitant to pull the trigger, mostly because I'm wary that it might be too long at the wide end. We're also entering winter, which means more indoor shooting. My next lens is probably going to be a 50-65 to upgrade from my 50mm FE 1.8. The 50mm FE 1.8 is cheap/small/light/reasonably fast. I am currently torn between going faster (say a 1.4) vs trying to keep size weight down (say a Sigma 50/65 2.0 or Sony's 50mm 2.5). I'm using a Pixel 3a and its camera is fine for the kids if they're relatively still or the light is good, but when in motion and in poor lighting it's hard to beat a fast lens on a 'real' camera.
Yeah, that’s a good time. It’s not long before they don’t want their picture taken, and shortly there-after they don’t want to do things with you lol! That’s when a camera club becomes worth it’s weight in gold 😀
Hopefully there's a decent amount of time before that happens, lol. That said, it is kind of nice to wander around at a park with a a camera on my own while they're doing their own activity.
Popping in to say to that I appreciate the framing on this photo and the one you posted before it. Keep up the good work!
Google podcasts was a very low feature player, but it also just worked. Antennapod almost seems like it's trying to be too many things to too many people. I'm not looking for anything fancy. Give me a list of episodes from my subscriptions and let me play them start to end without drama.
I wonder if the floor is falling out on podcasting. I've heard more than one host mention that ad revenue is down year over year by a decent margin :(
Appreciate the links. I let GitHub constrain my search by is:issue as I don't have a great understanding of their structure. Yay ado/jira...
I migrated to antennapod after Google killed their podcast app.
Antenna pod has a few persistent and annoying bug/quirks.
I also find the interface somewhat odd.
You have an inbox, which is basically a running feed of new episodes from your subscriptions. You can play those directly, remove them from your feed, or add them to a queue. You can then do the exact same thing from the queue. I would either make the inbox dumber and keep the queue or flatten the queue and inbox.
The app is also massively customizable, which is cool, but some of the customizations interact with other things. Downloading from your inbox can add a podcast to your queue. Deleting from downloads, which is a fourth area of the app, can remove them from your queue.
I do generally like the app, and also like the idea of FOSS, but I suspect there are better commercial options out there.
Very cool, post a follow up!
Esteps and extrusion multiplier are related, but different, solutions to a similar problem. Changing one value by say 10% should be the same as changing the other by 10%.
Esteps is "how far does the extruder motor have to turn to extrude some length of filament". This lets your slicer know how much plastic volume should be extruded per step of your extruder motor
Flow rate is "crap, different filaments expand/contract at different rates and have different physical characteristics like viscosity".
This is why the extrusion multiplier setting is associated to your filament profile in PrusaSlicer and all its derivatives. I use a much lower value for ASA (around 0.88 if going slower and cooler) than PETG (0.95 ish) than PLA (1.0) than TPU (1.15 if memory serves).
I'll also tweak my extrusion multiplier depending on how I'm printing. For example, right now I have an ASA print going. The printer is laying down filament at 30 mm^3/s. To do this I'm printing a bit hotter than I normally would with this filament (245 vs 230). I'm also at 0.92 EM vs my usual 0.88.
Yesterday's photo may or may not have been a hover fly. This is certainly a bee.
Pros:
Cons:
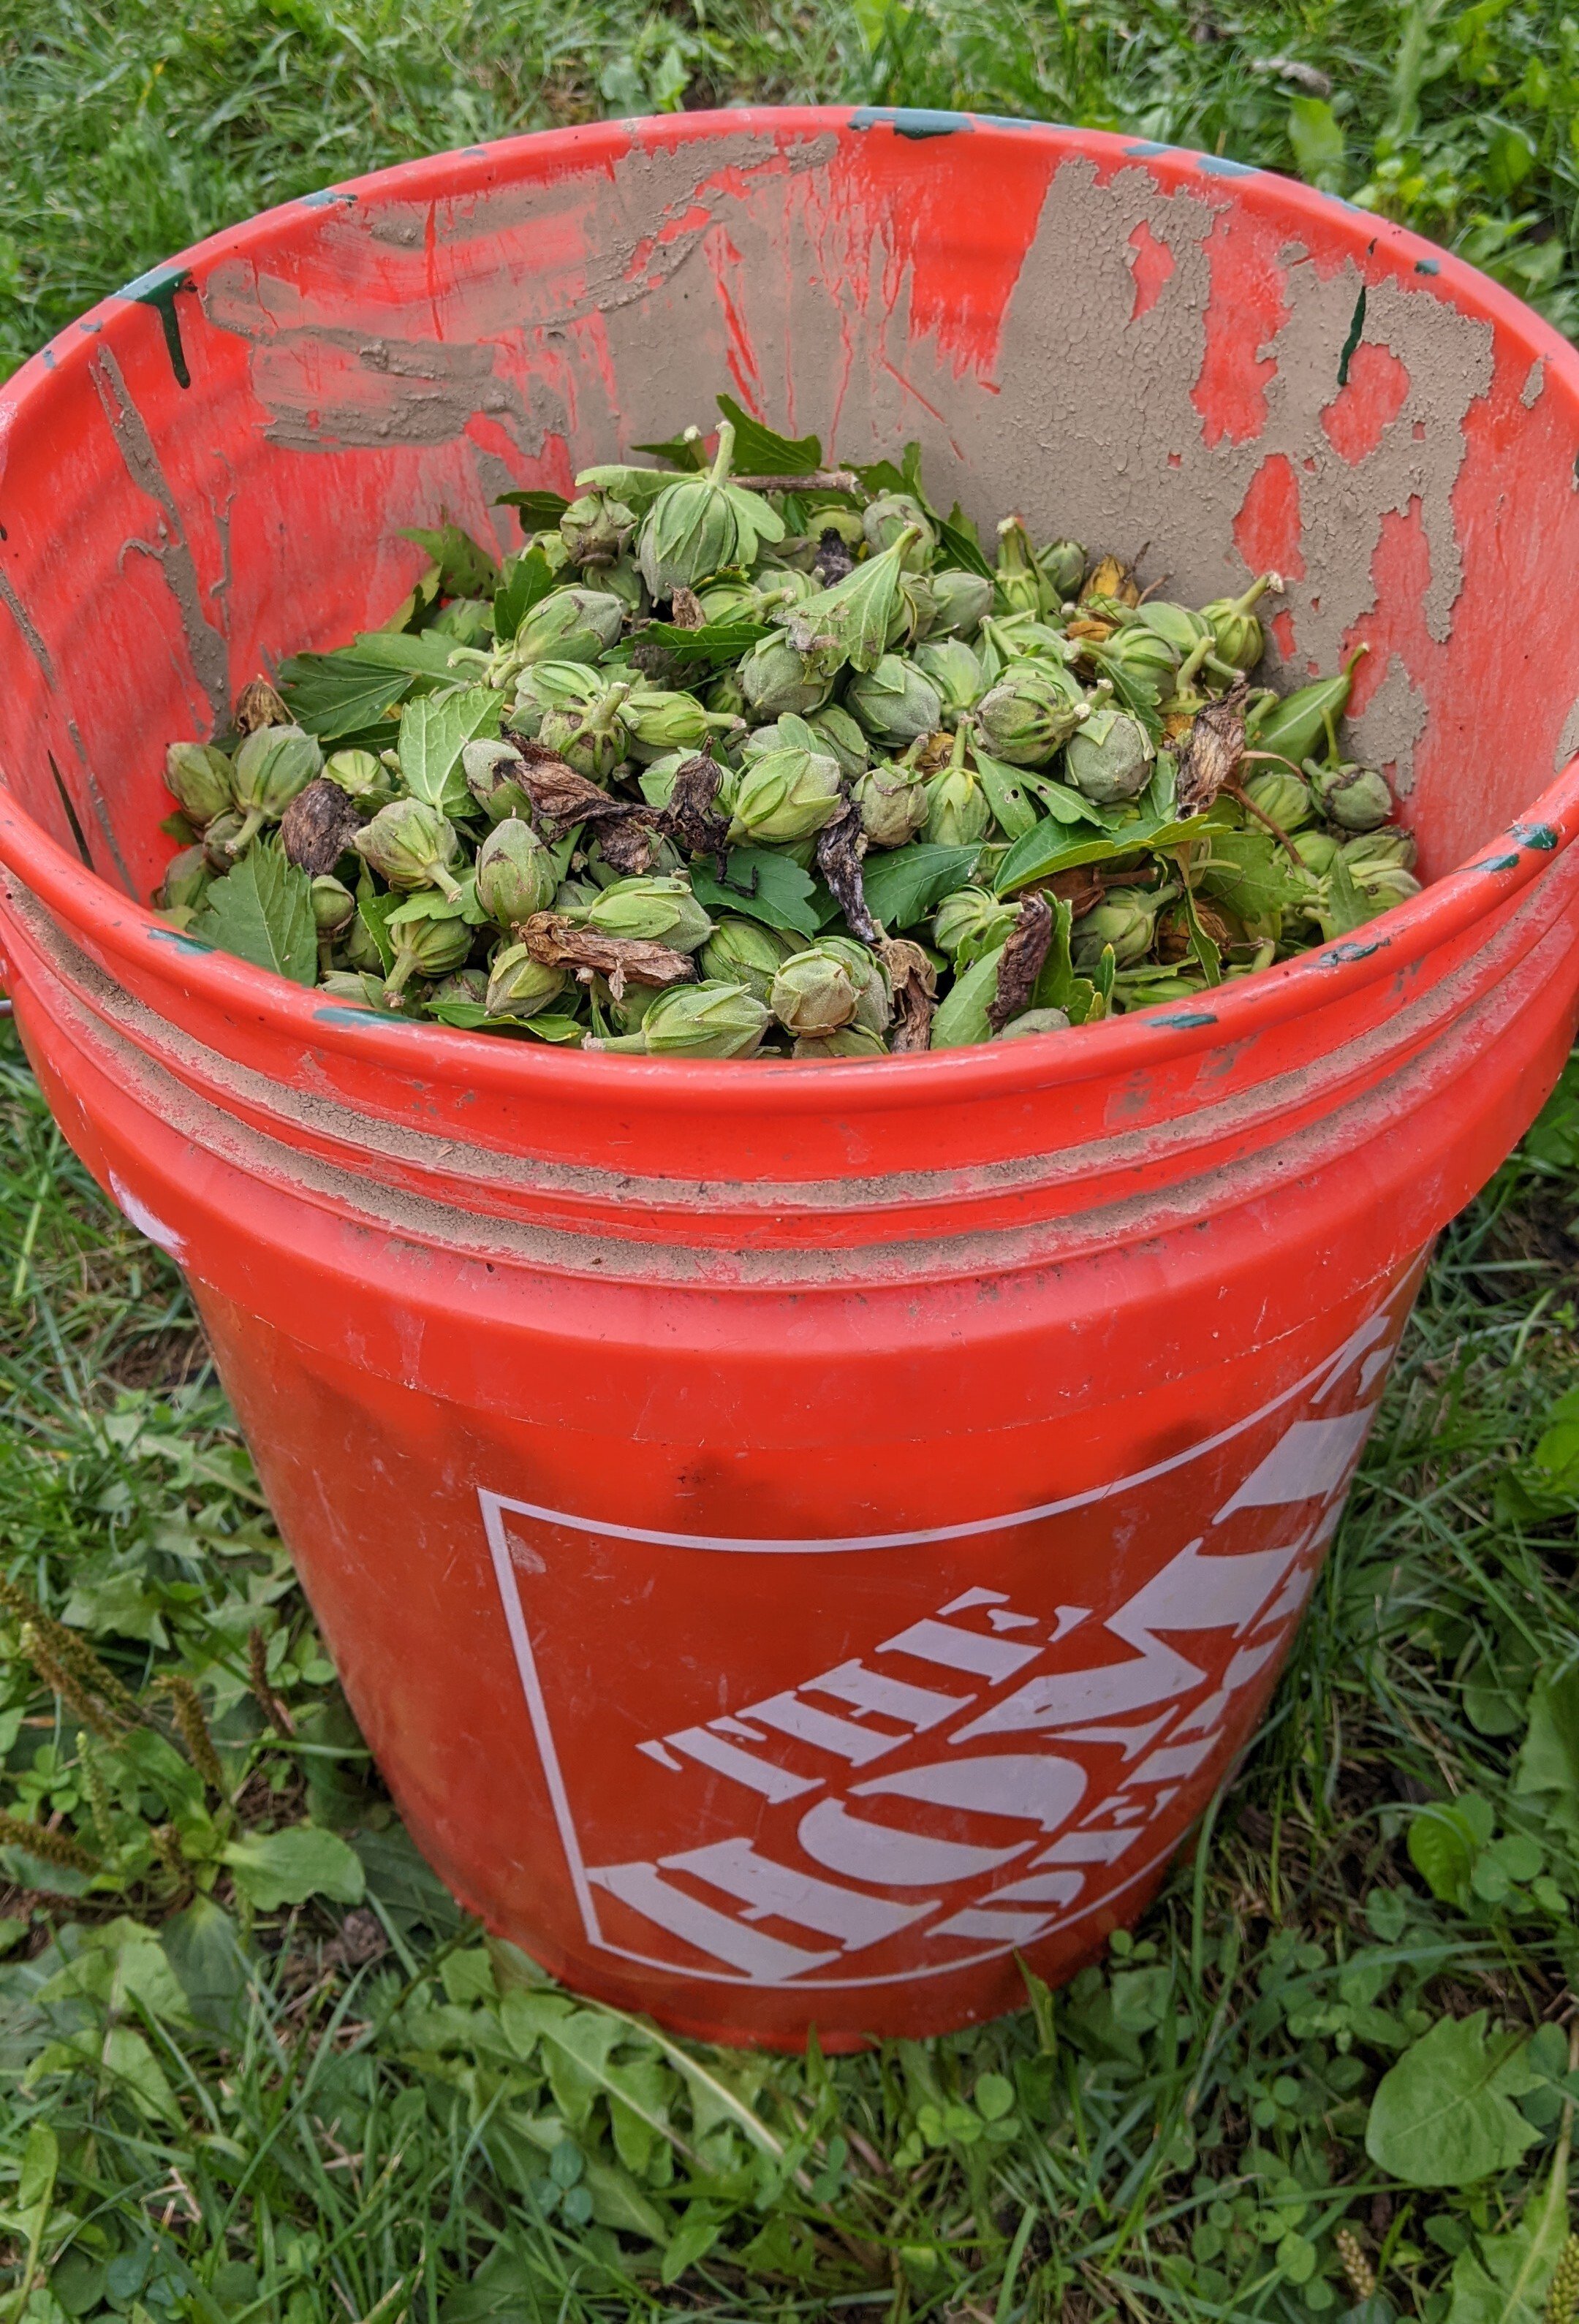
I pulled ~2 gallons of seed pods off a week prior to this picture. My wife dumped them in the compost, so no epic 5+ gallon photo 😭
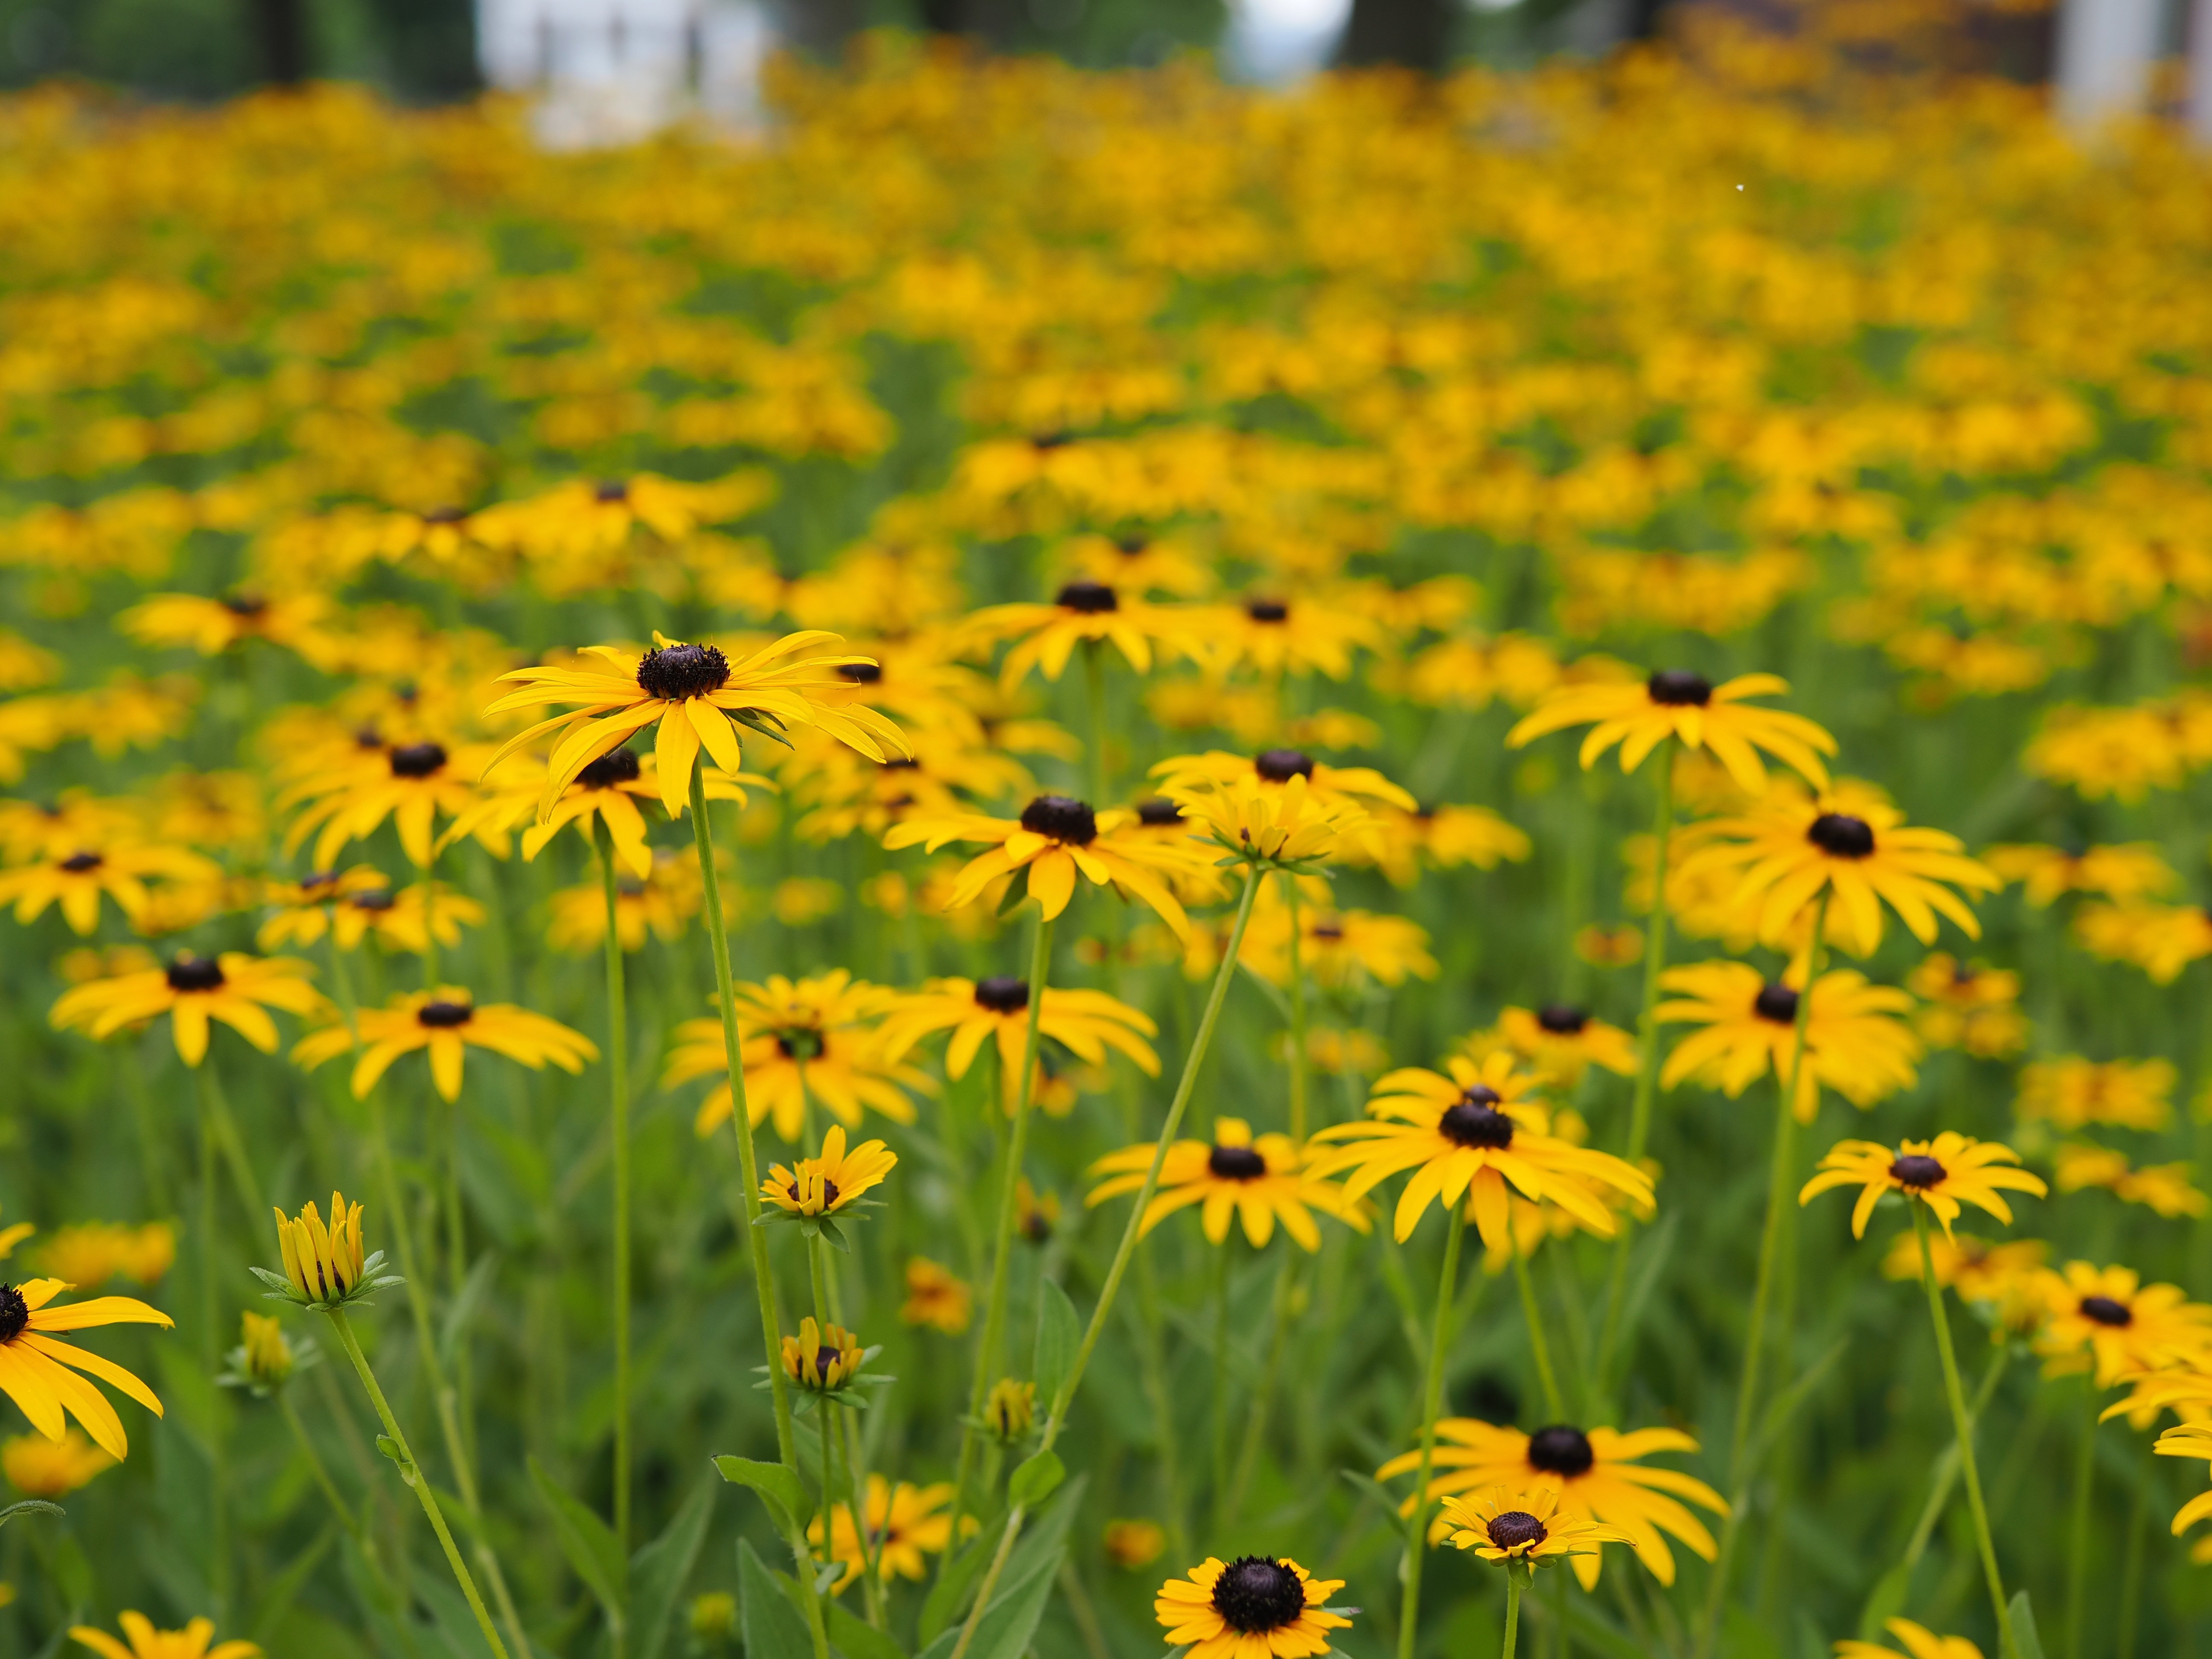
OM-1 with Oly 25 f1.2 pro @ f/2.8
I remain on the fence about this camera, but it can take some pleasing photos if you get it to focus where you want it.
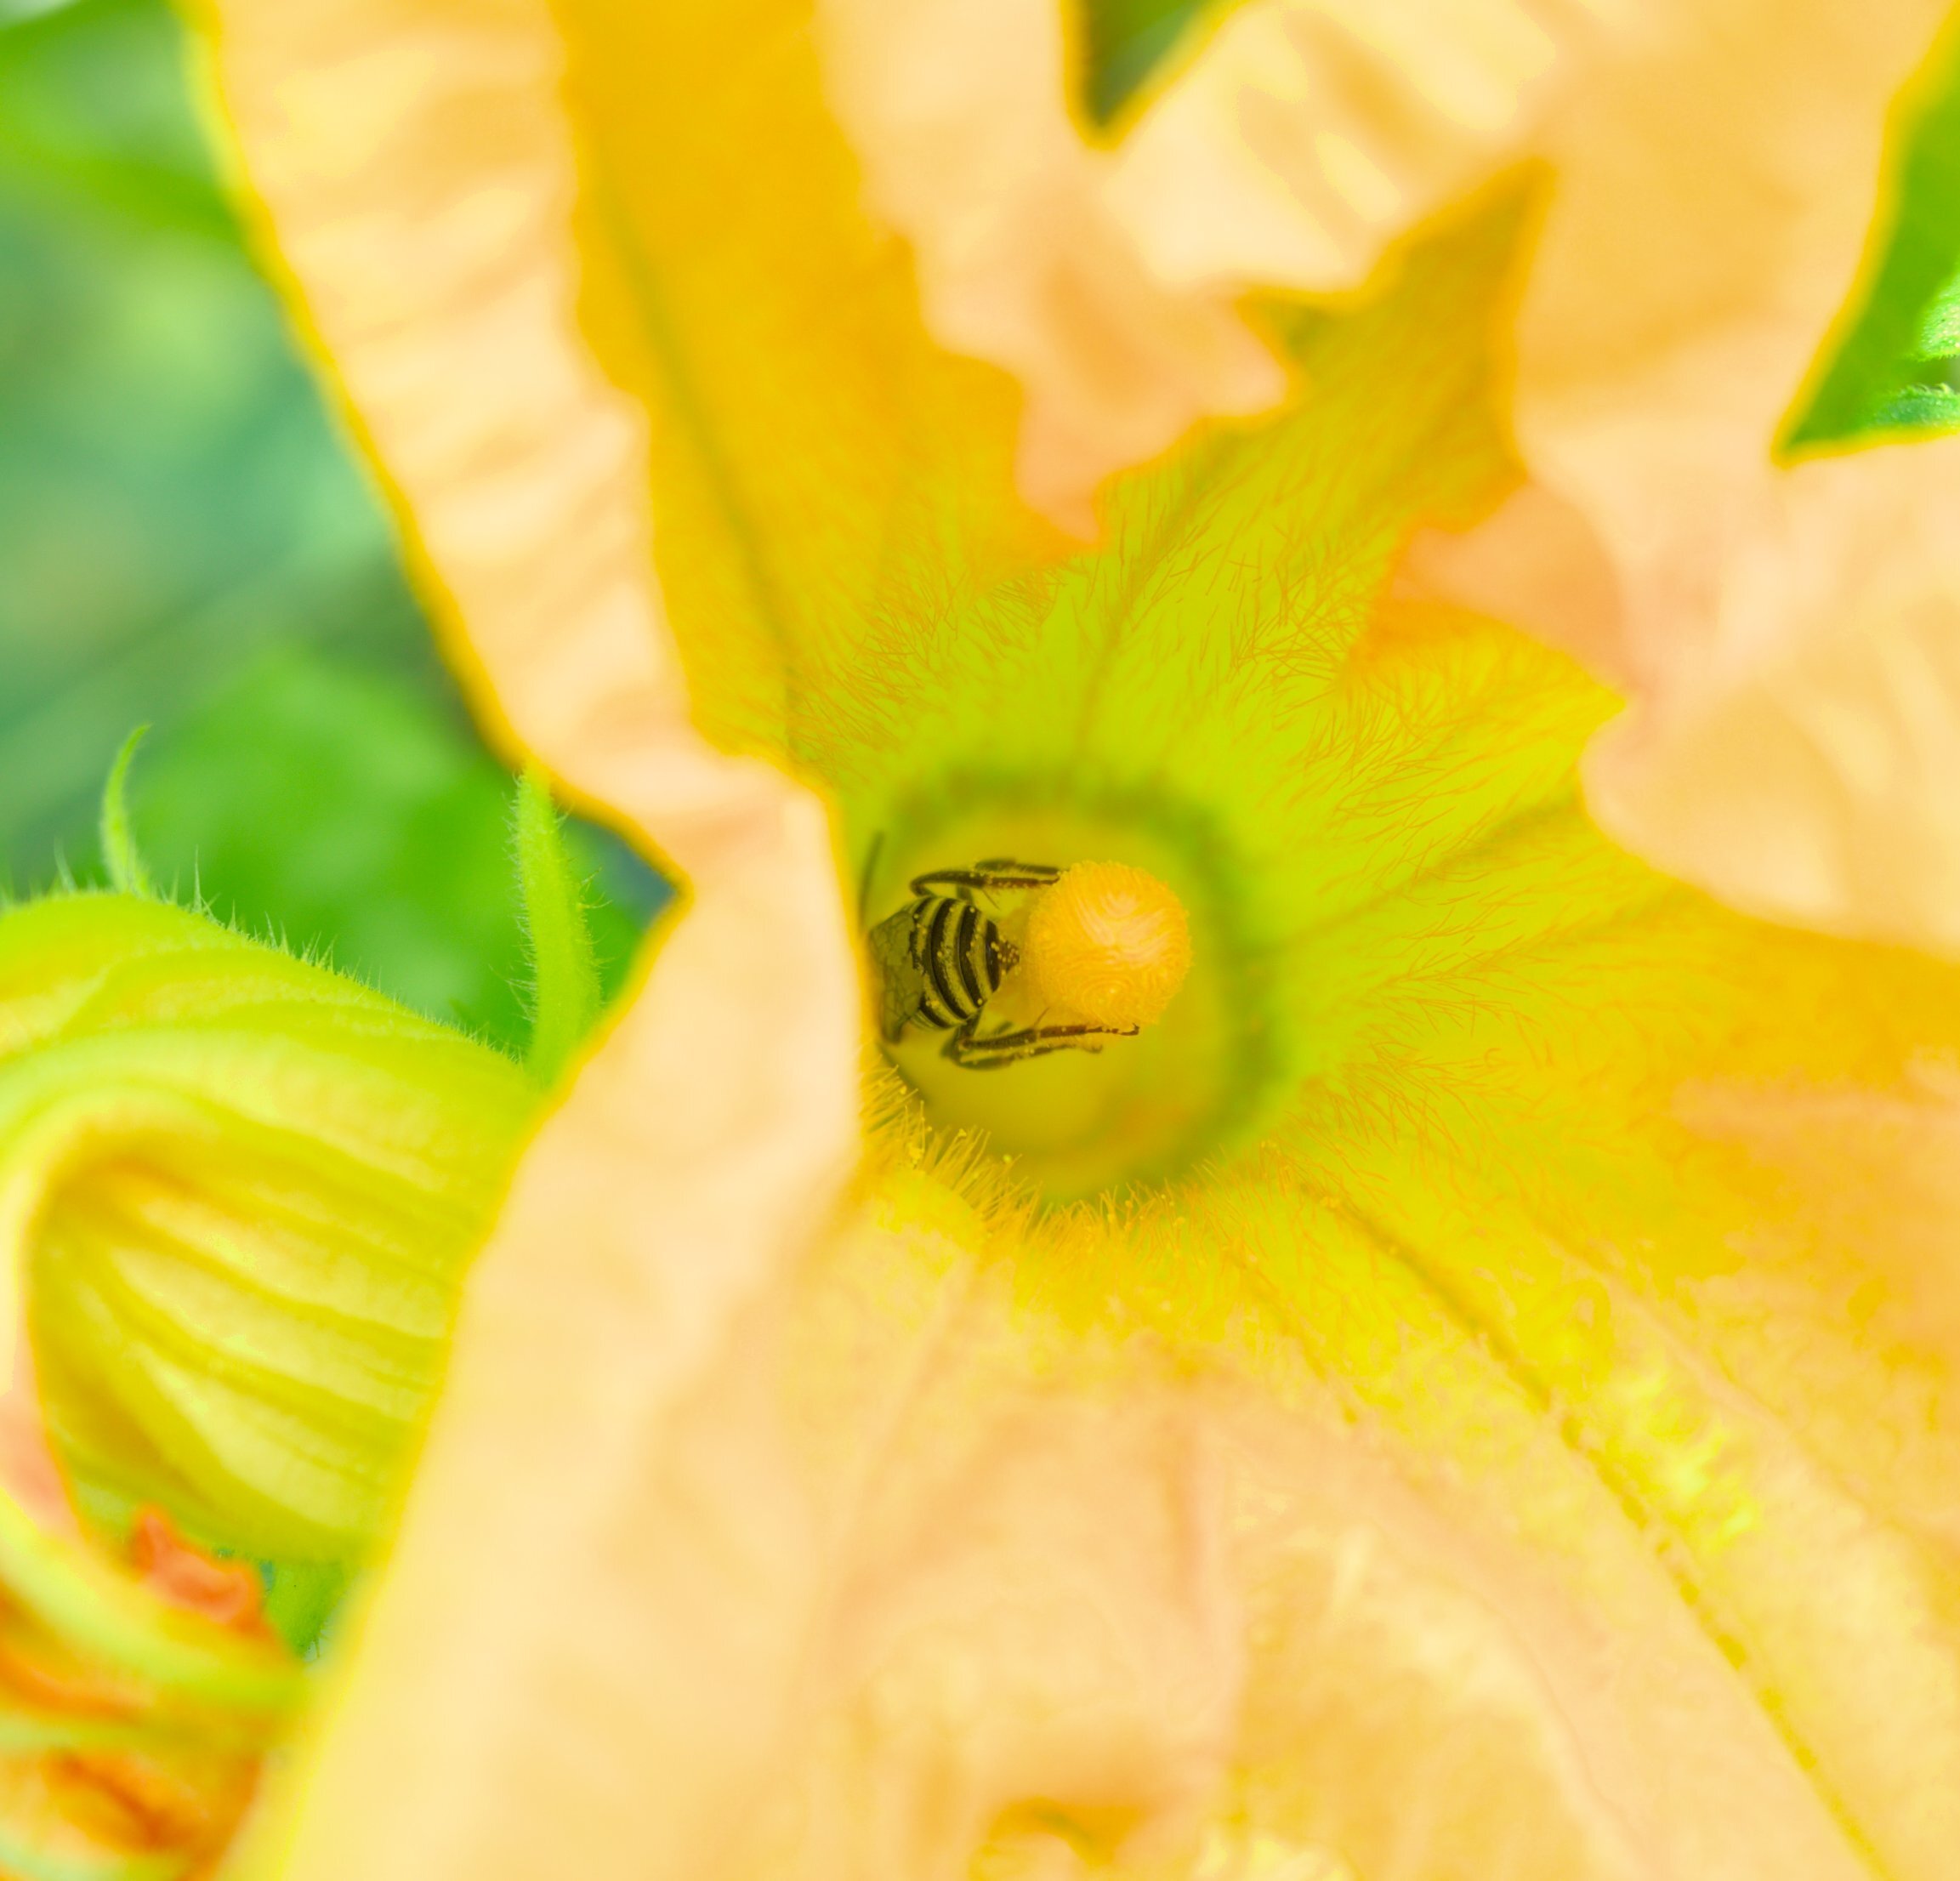
Tongue first, ready to go for it. Just like when Aragorn kisses Arwen at the end of the last OG LORT movie.


Not that big, but it would still be interesting. I pulled some honey locust from our firewood pile a few years back and incorporated it into a desk. It has a fairly boring grain pattern, but I like the color a lot.

If you look at the very bottom of the screen shot you can see that the home, search, etc buttons are cut off.
Happy to provide more info to help. I'm on a stock pixel 3a.

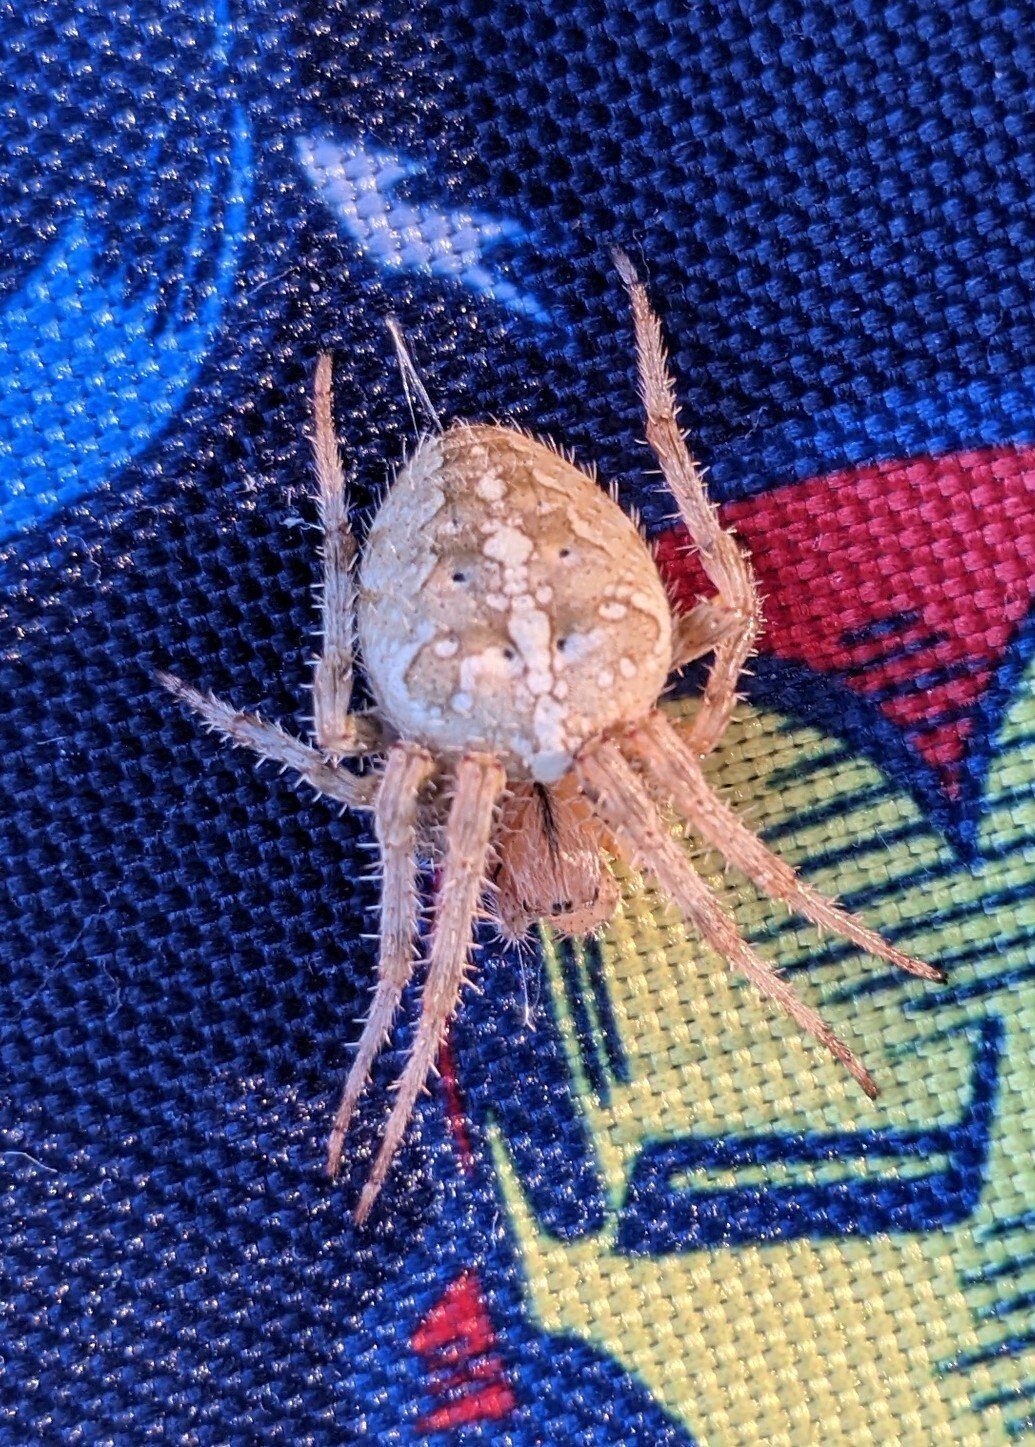
This is one of the bigger/meatier spiders we've come across so far in Michigan
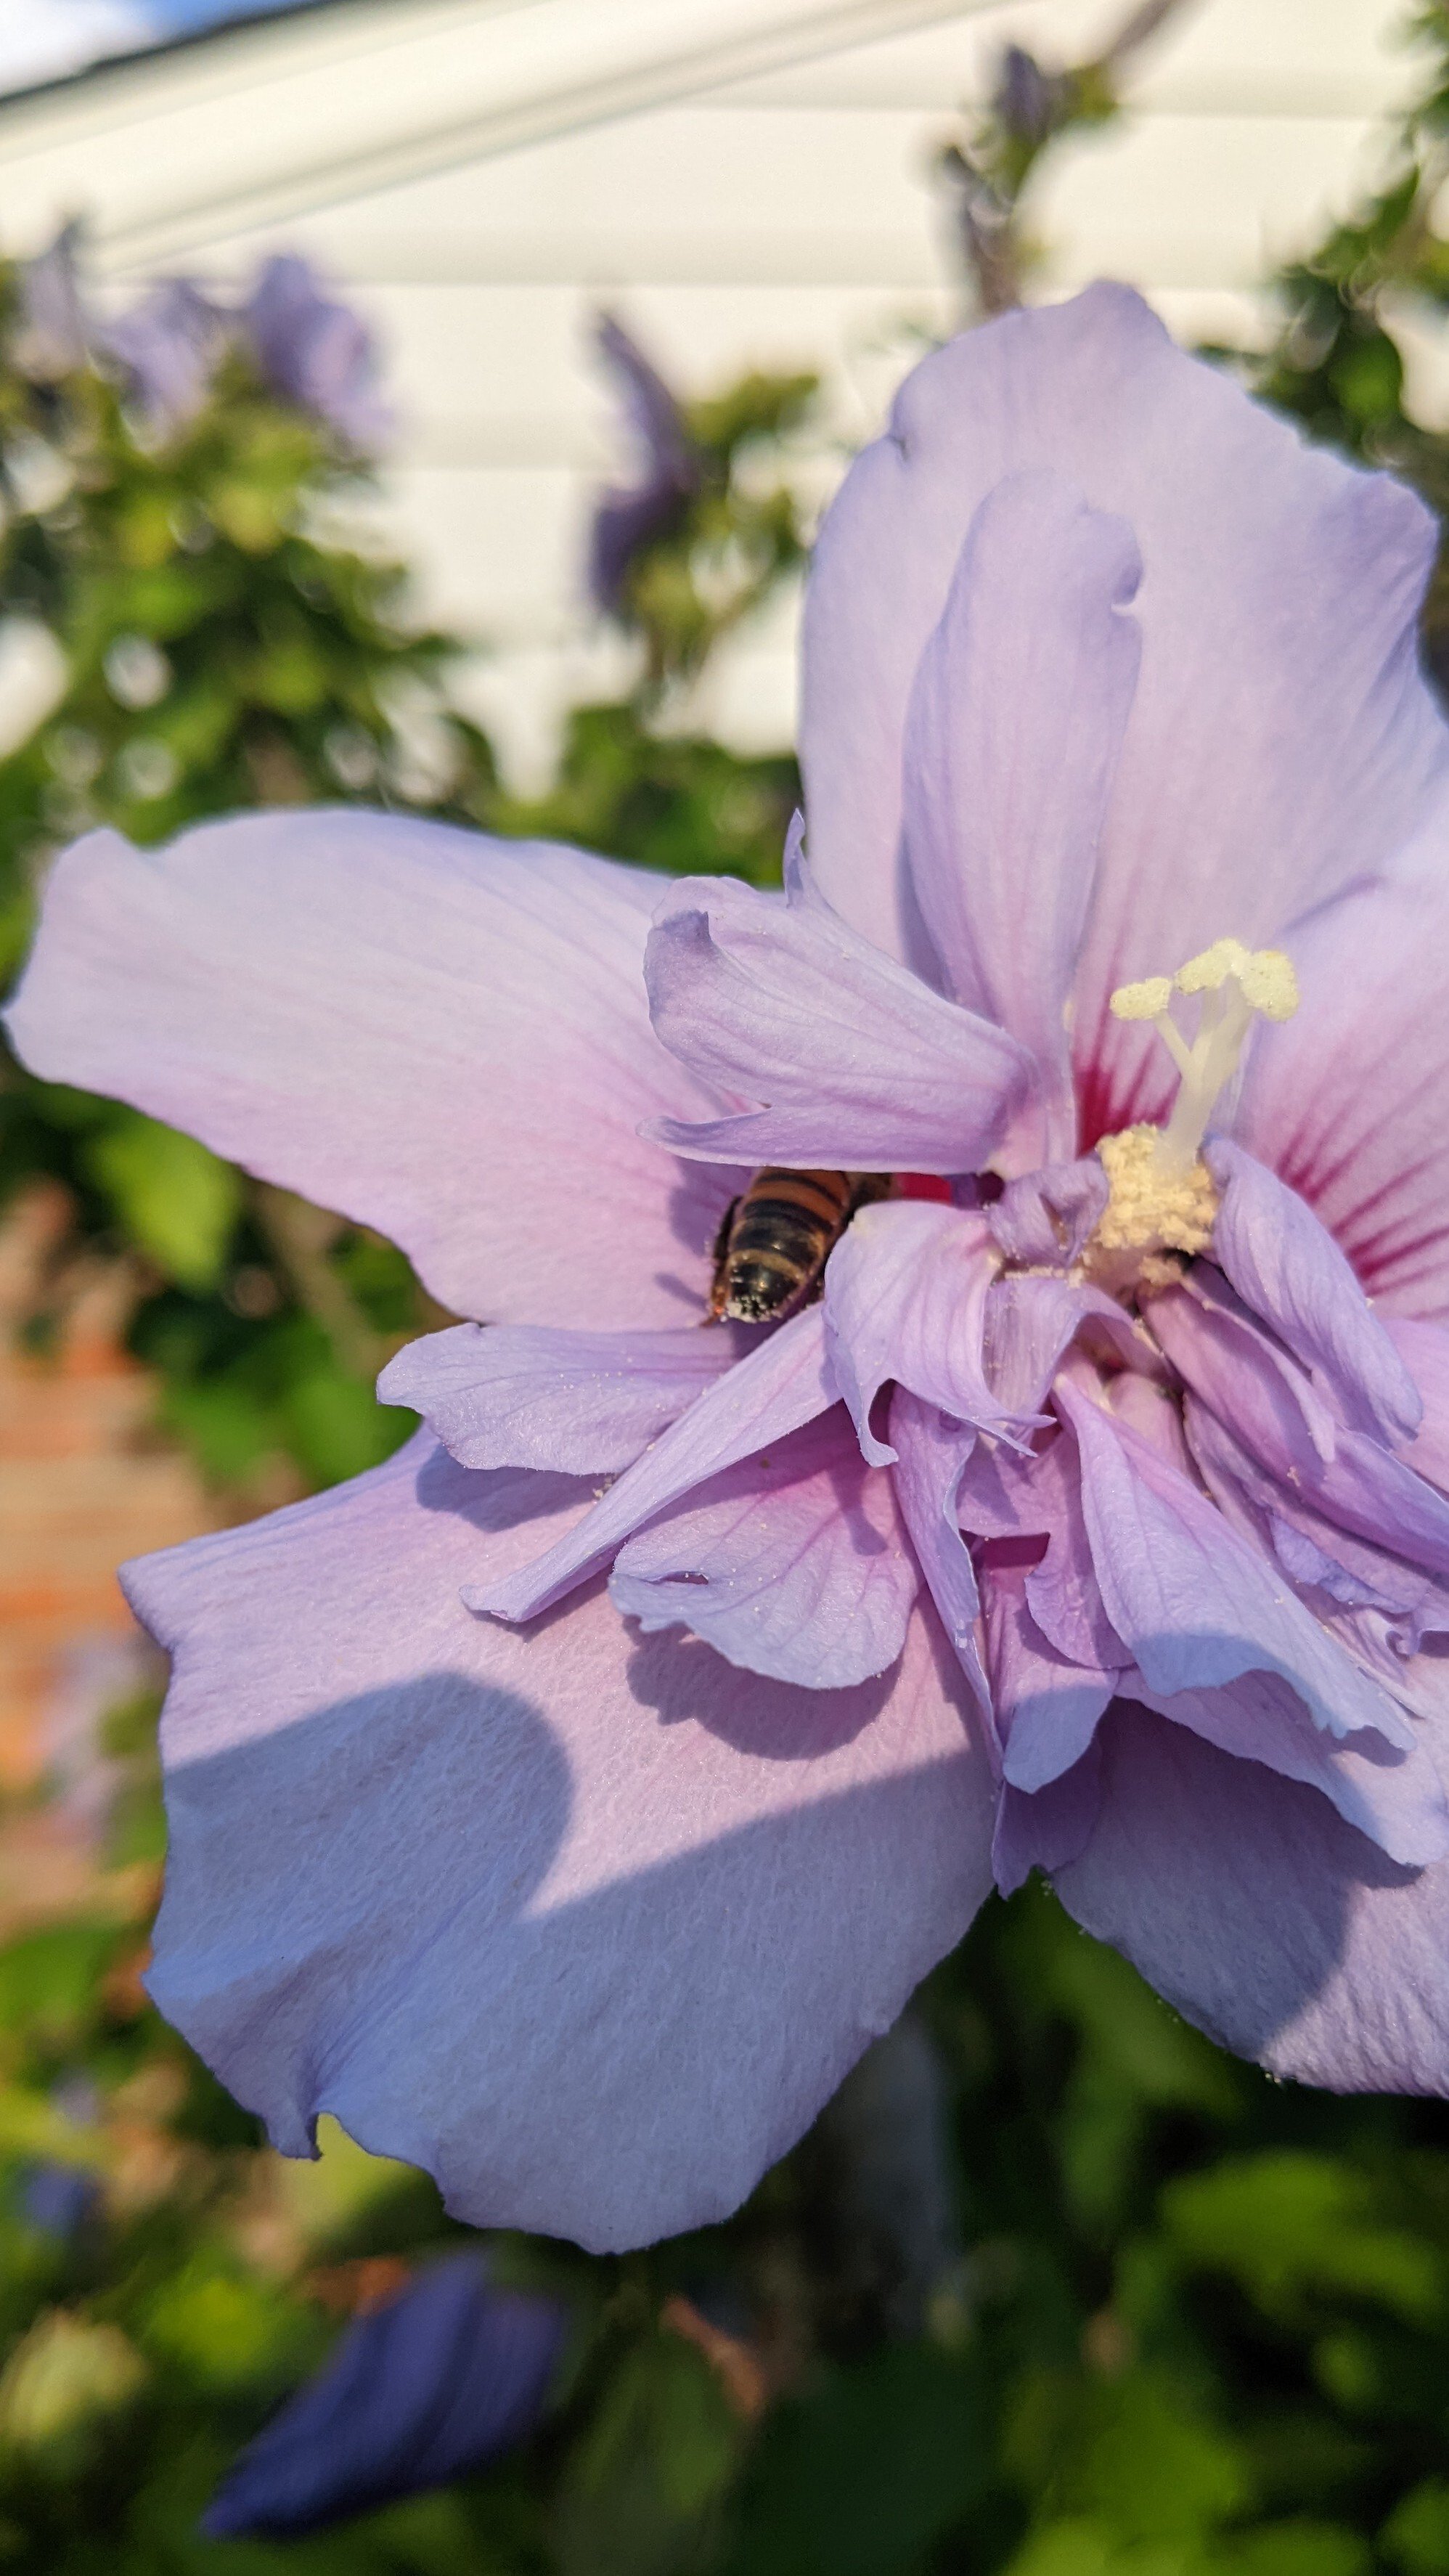
Dare I say up-bloom?
IMO it depends on your setup, goals, and the specific equipment in question.
If the EQ is scratchy, hit the pits with some kind of contact cleaner. Give them a quick lube once clean. This can be it's own rabbit hole, so I'll leave you to google/DDG/etc.