Vaporents
986 readers
1 users here now
This is for discussion on dry herb vaporizers and showing off your setups.
founded 2 years ago
MODERATORS
1
2
3

5
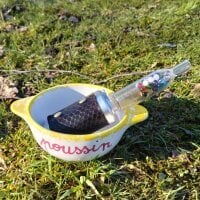
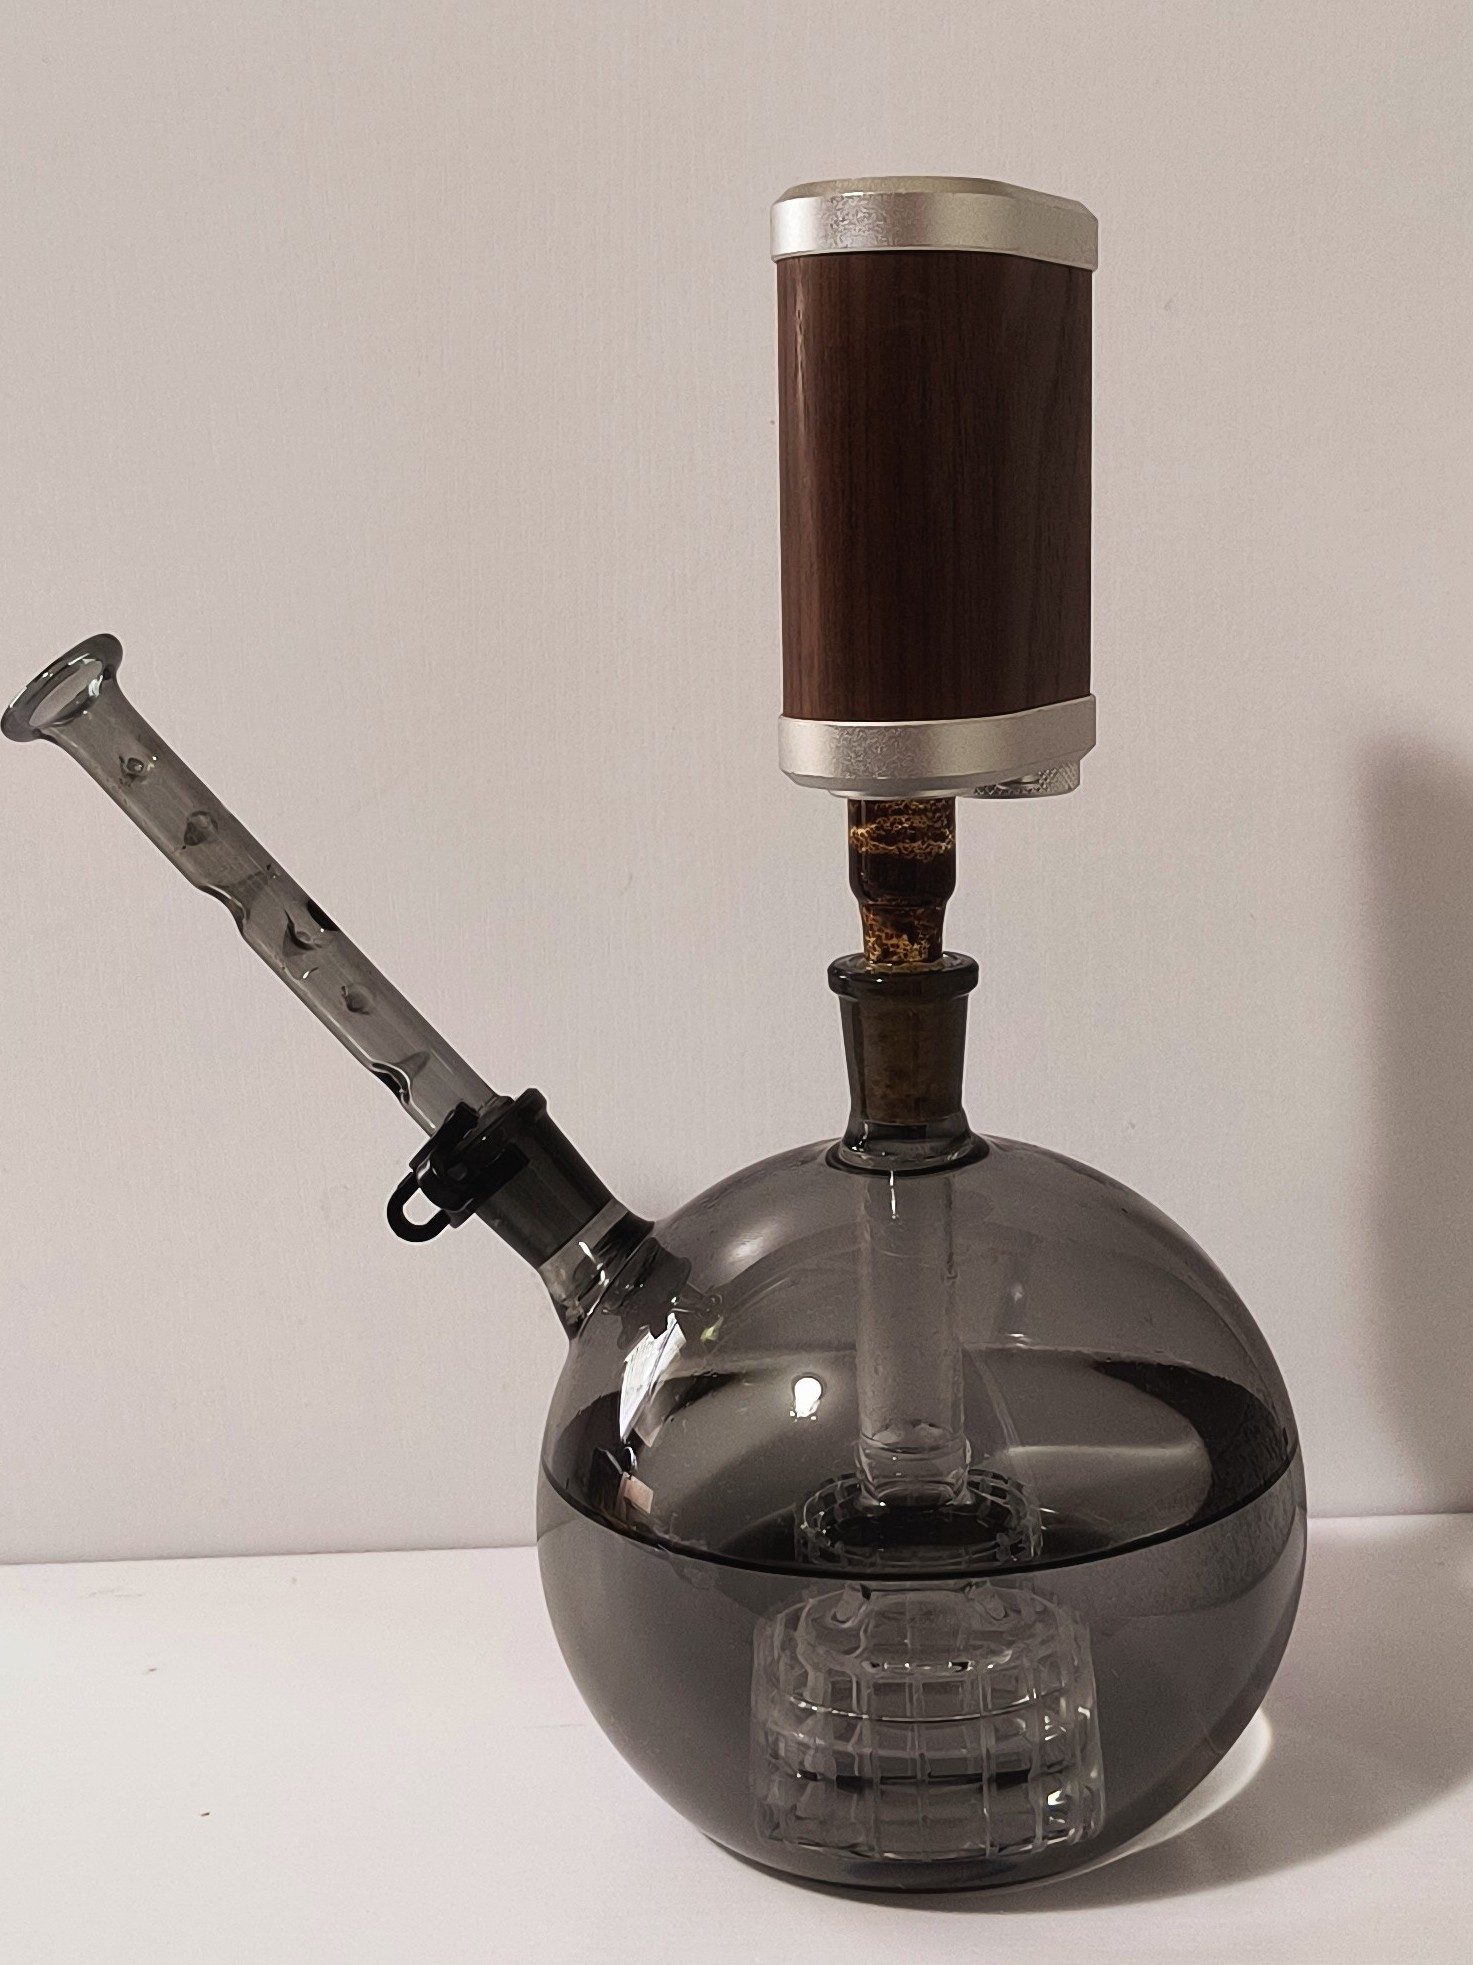
This is my first ball vape, and this thing is pretty sick :) Here's one of the shots while taking a hit:

My friend and I watched Interstellar and I cried 5 different times in the first half alone (i dont rlly like the ending but meh)

6
Hello, I'm new on the fediverse and I'm looking for people and channels to share things about dry herb vaporizers. Am I on the right place? Where are the hot spots ? :) I live in Belgium and I use to speak french, but I can deal with english :) Have a nice day!
7
8


11
5
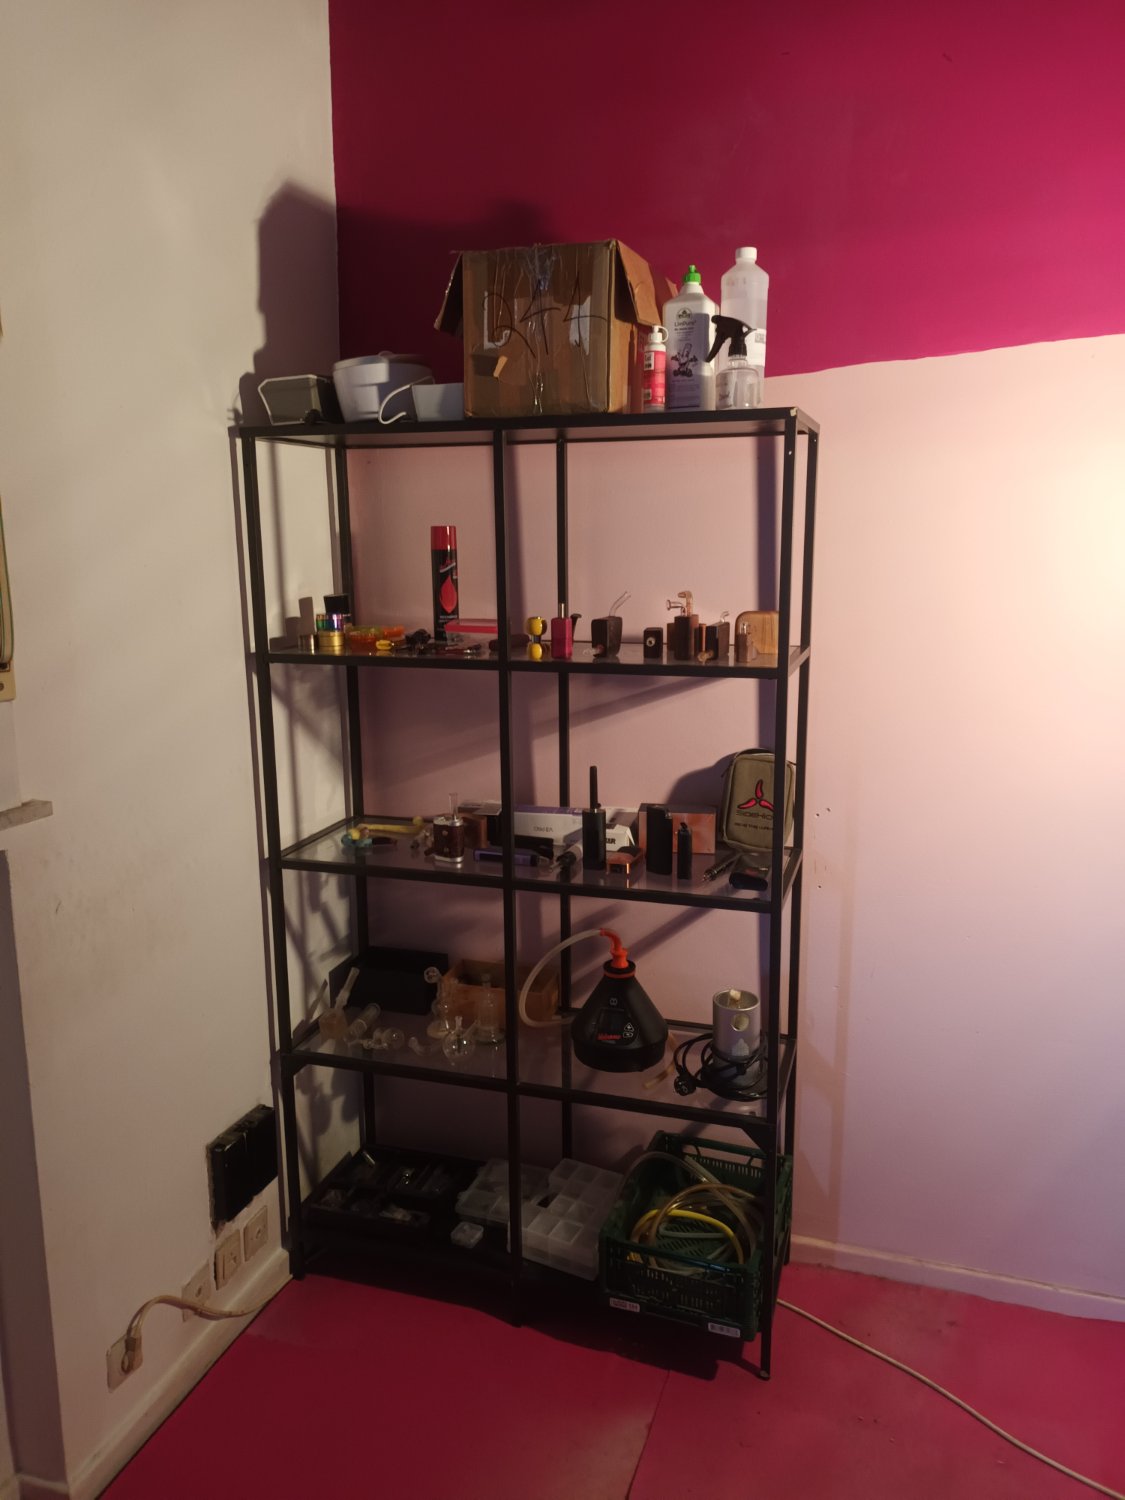
Direct draw Arizer EQ with heater balls and custom herb chamber. (More pictures inside)
(lemmy.world)
I wanted to share my current vaporizer setup with you guys.
To start, heres synthetic ruby balls over ceramic heater set to max temp.

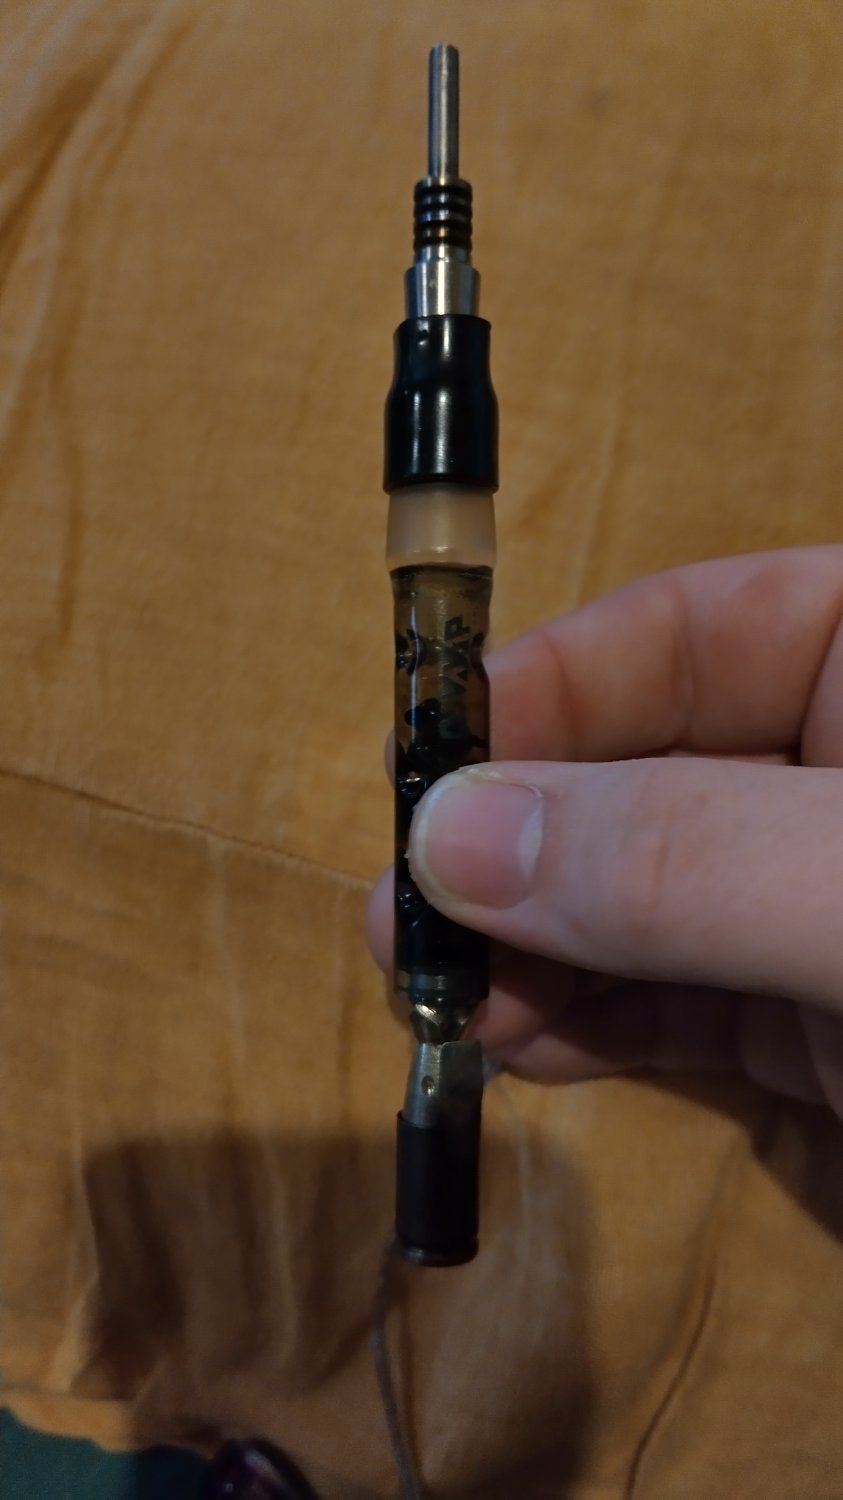
Next is a custom herb extraction chamber device made from an omega wand, modified dynavap fat mouthpiece, and diy nectar collector herb chamber.


The extraction device inserts into the EQ forming an air tight seal with glass adapter. The herb chamber sits directly above the ruby heater balls.


Finally some glass is added on top. Arizer solo stems work well.


13
14
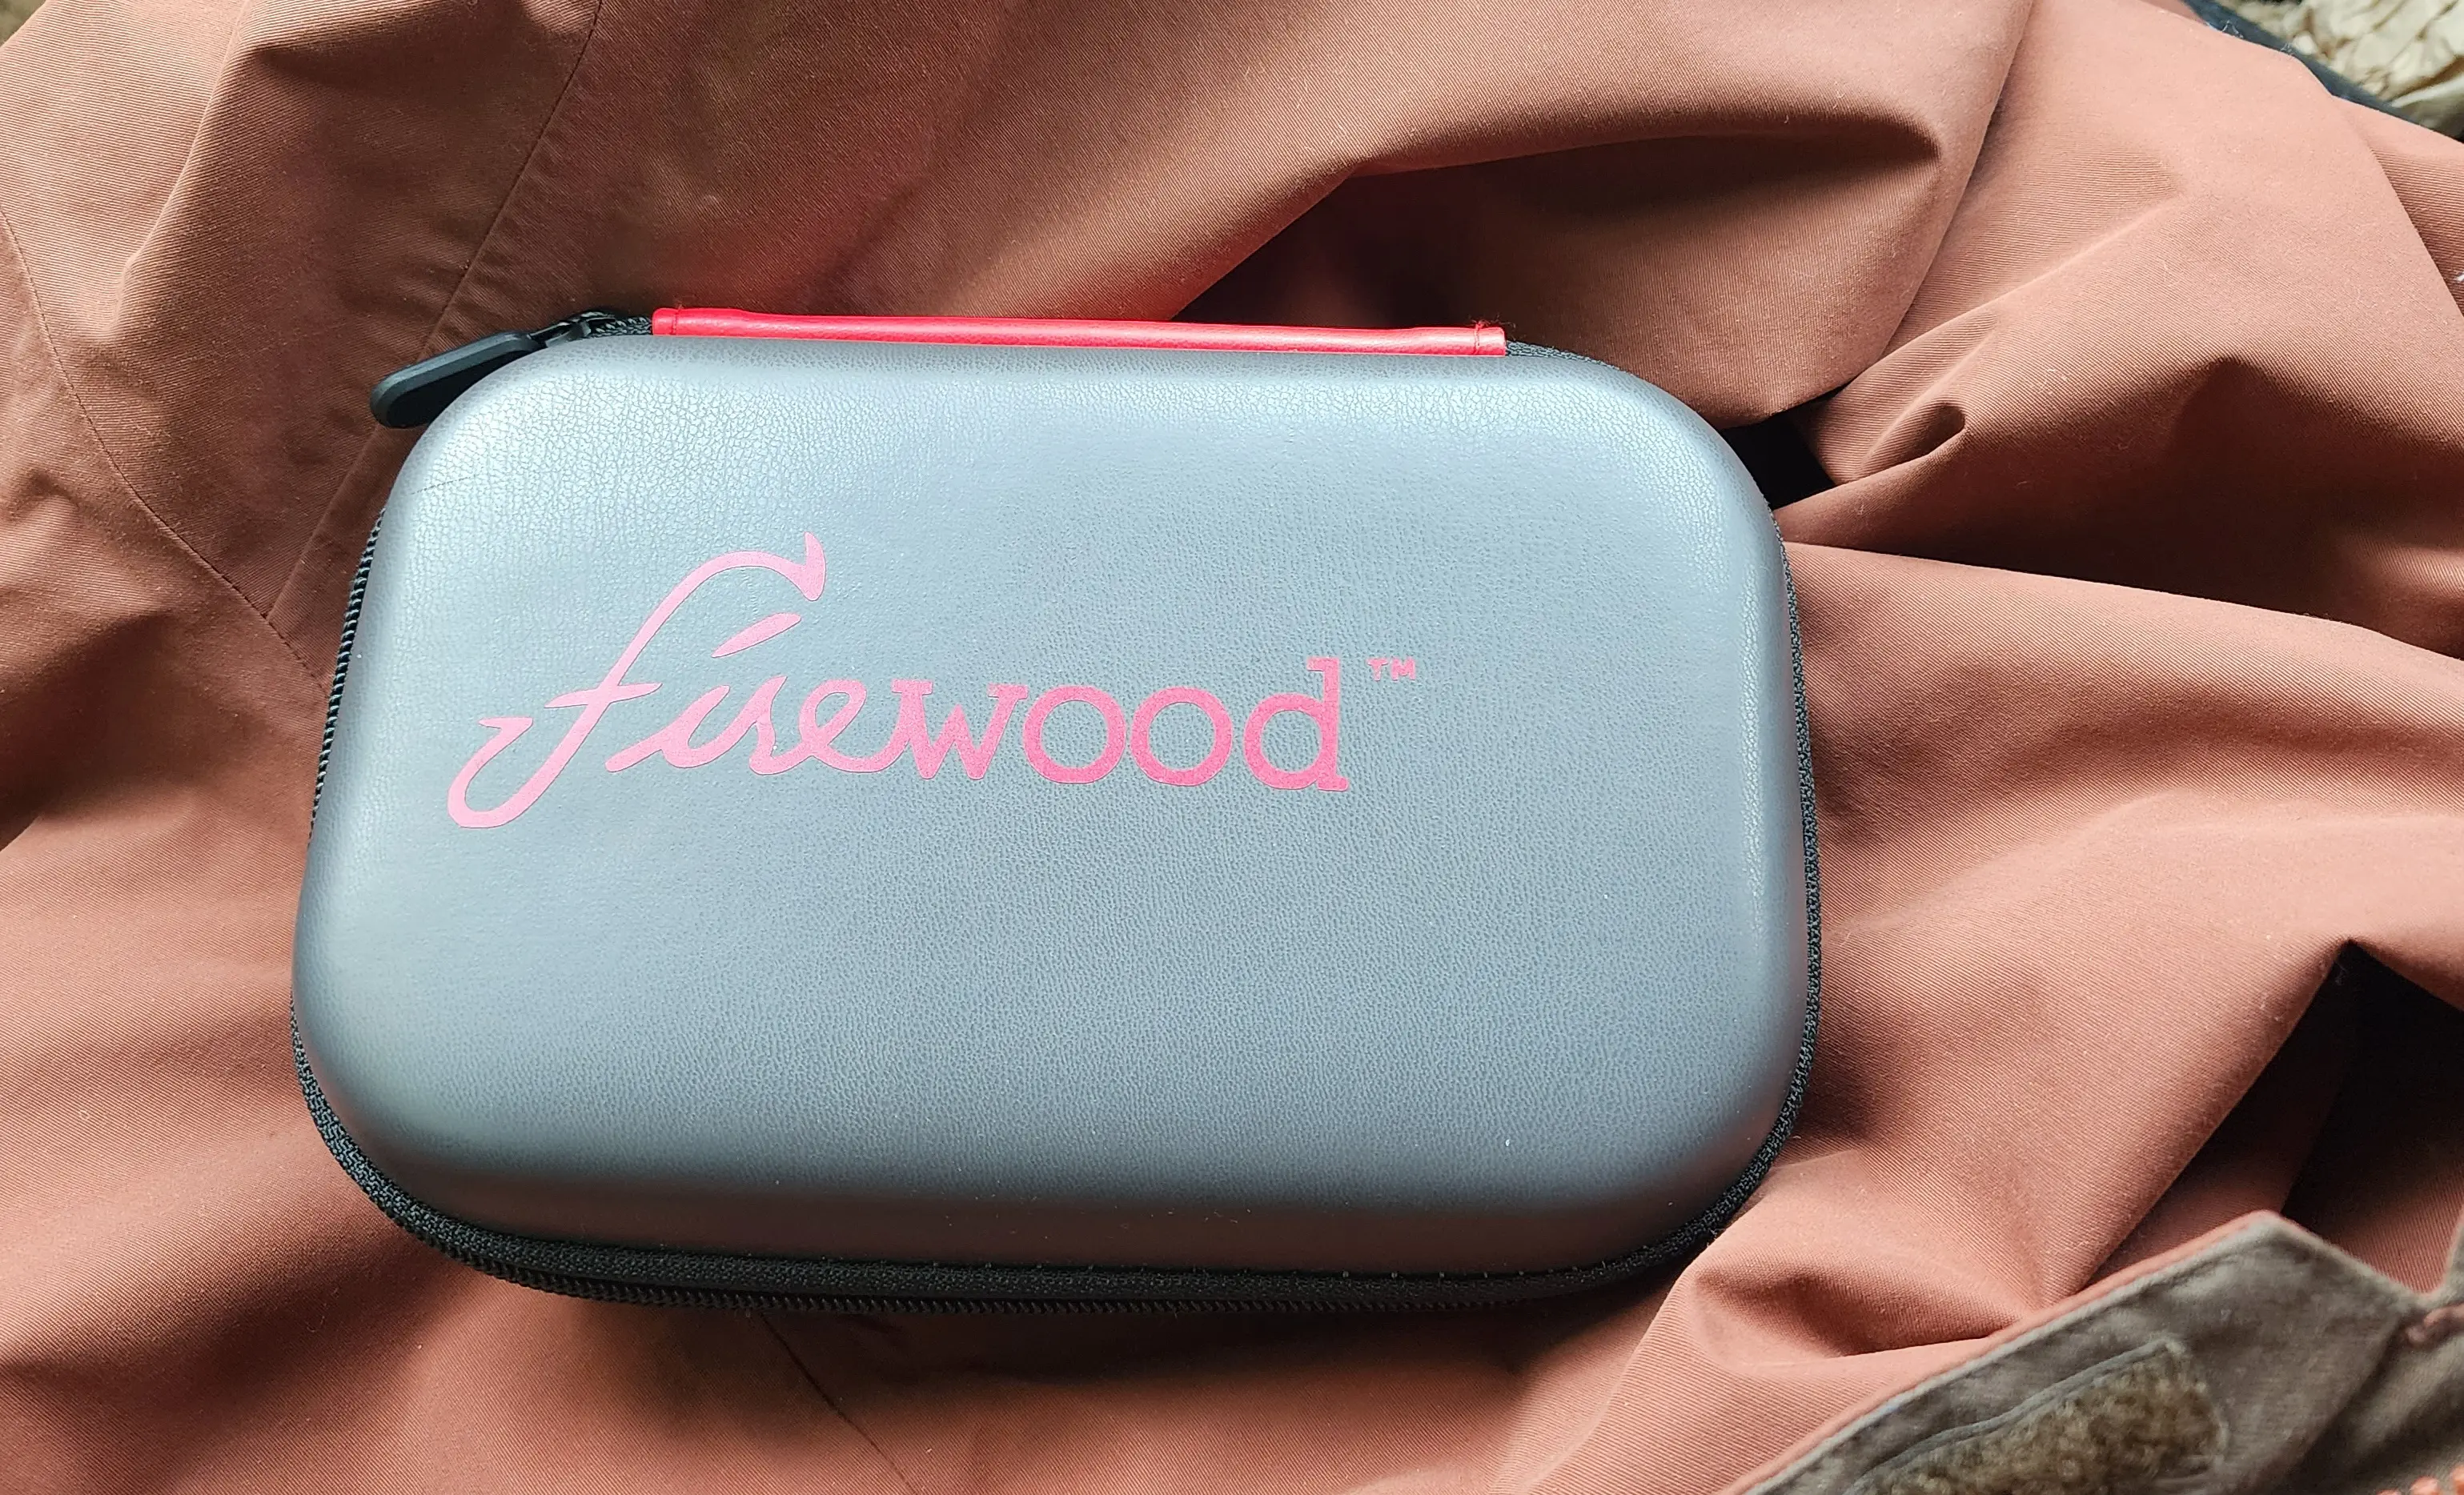
Hey so I have one of 
I've run into an issue recently where one of the cartridges that I purchased for it doesn't fit properly (the cartridge in question has a flat mouthpiece that is longer than the normal round versions, and when you screw it all the way in it doesn't line up exactly flat to allow the case to fit over it). That's disappointing. I didn't realize this would even be an issue or something that I should have to look out for. It still works (mostly), but I think I'm also getting a lot of air in the draw as well which definitely affects the quality/useability.
So, all that being said, I think I'd like to get something that's a bit better quality and possibly more universal design. I like the pocket-able design of the current model and the fact that it's discreet. So, I'd just like to know what are some of your favorite models like this or what's the next step up in quality. Thanks!
Also,
USB-C please!
15


19

21
An absolute beast of a vape. Especially considering the lack of wires which basically just lets me carry it around my apartment very easily. I love it.

23
24
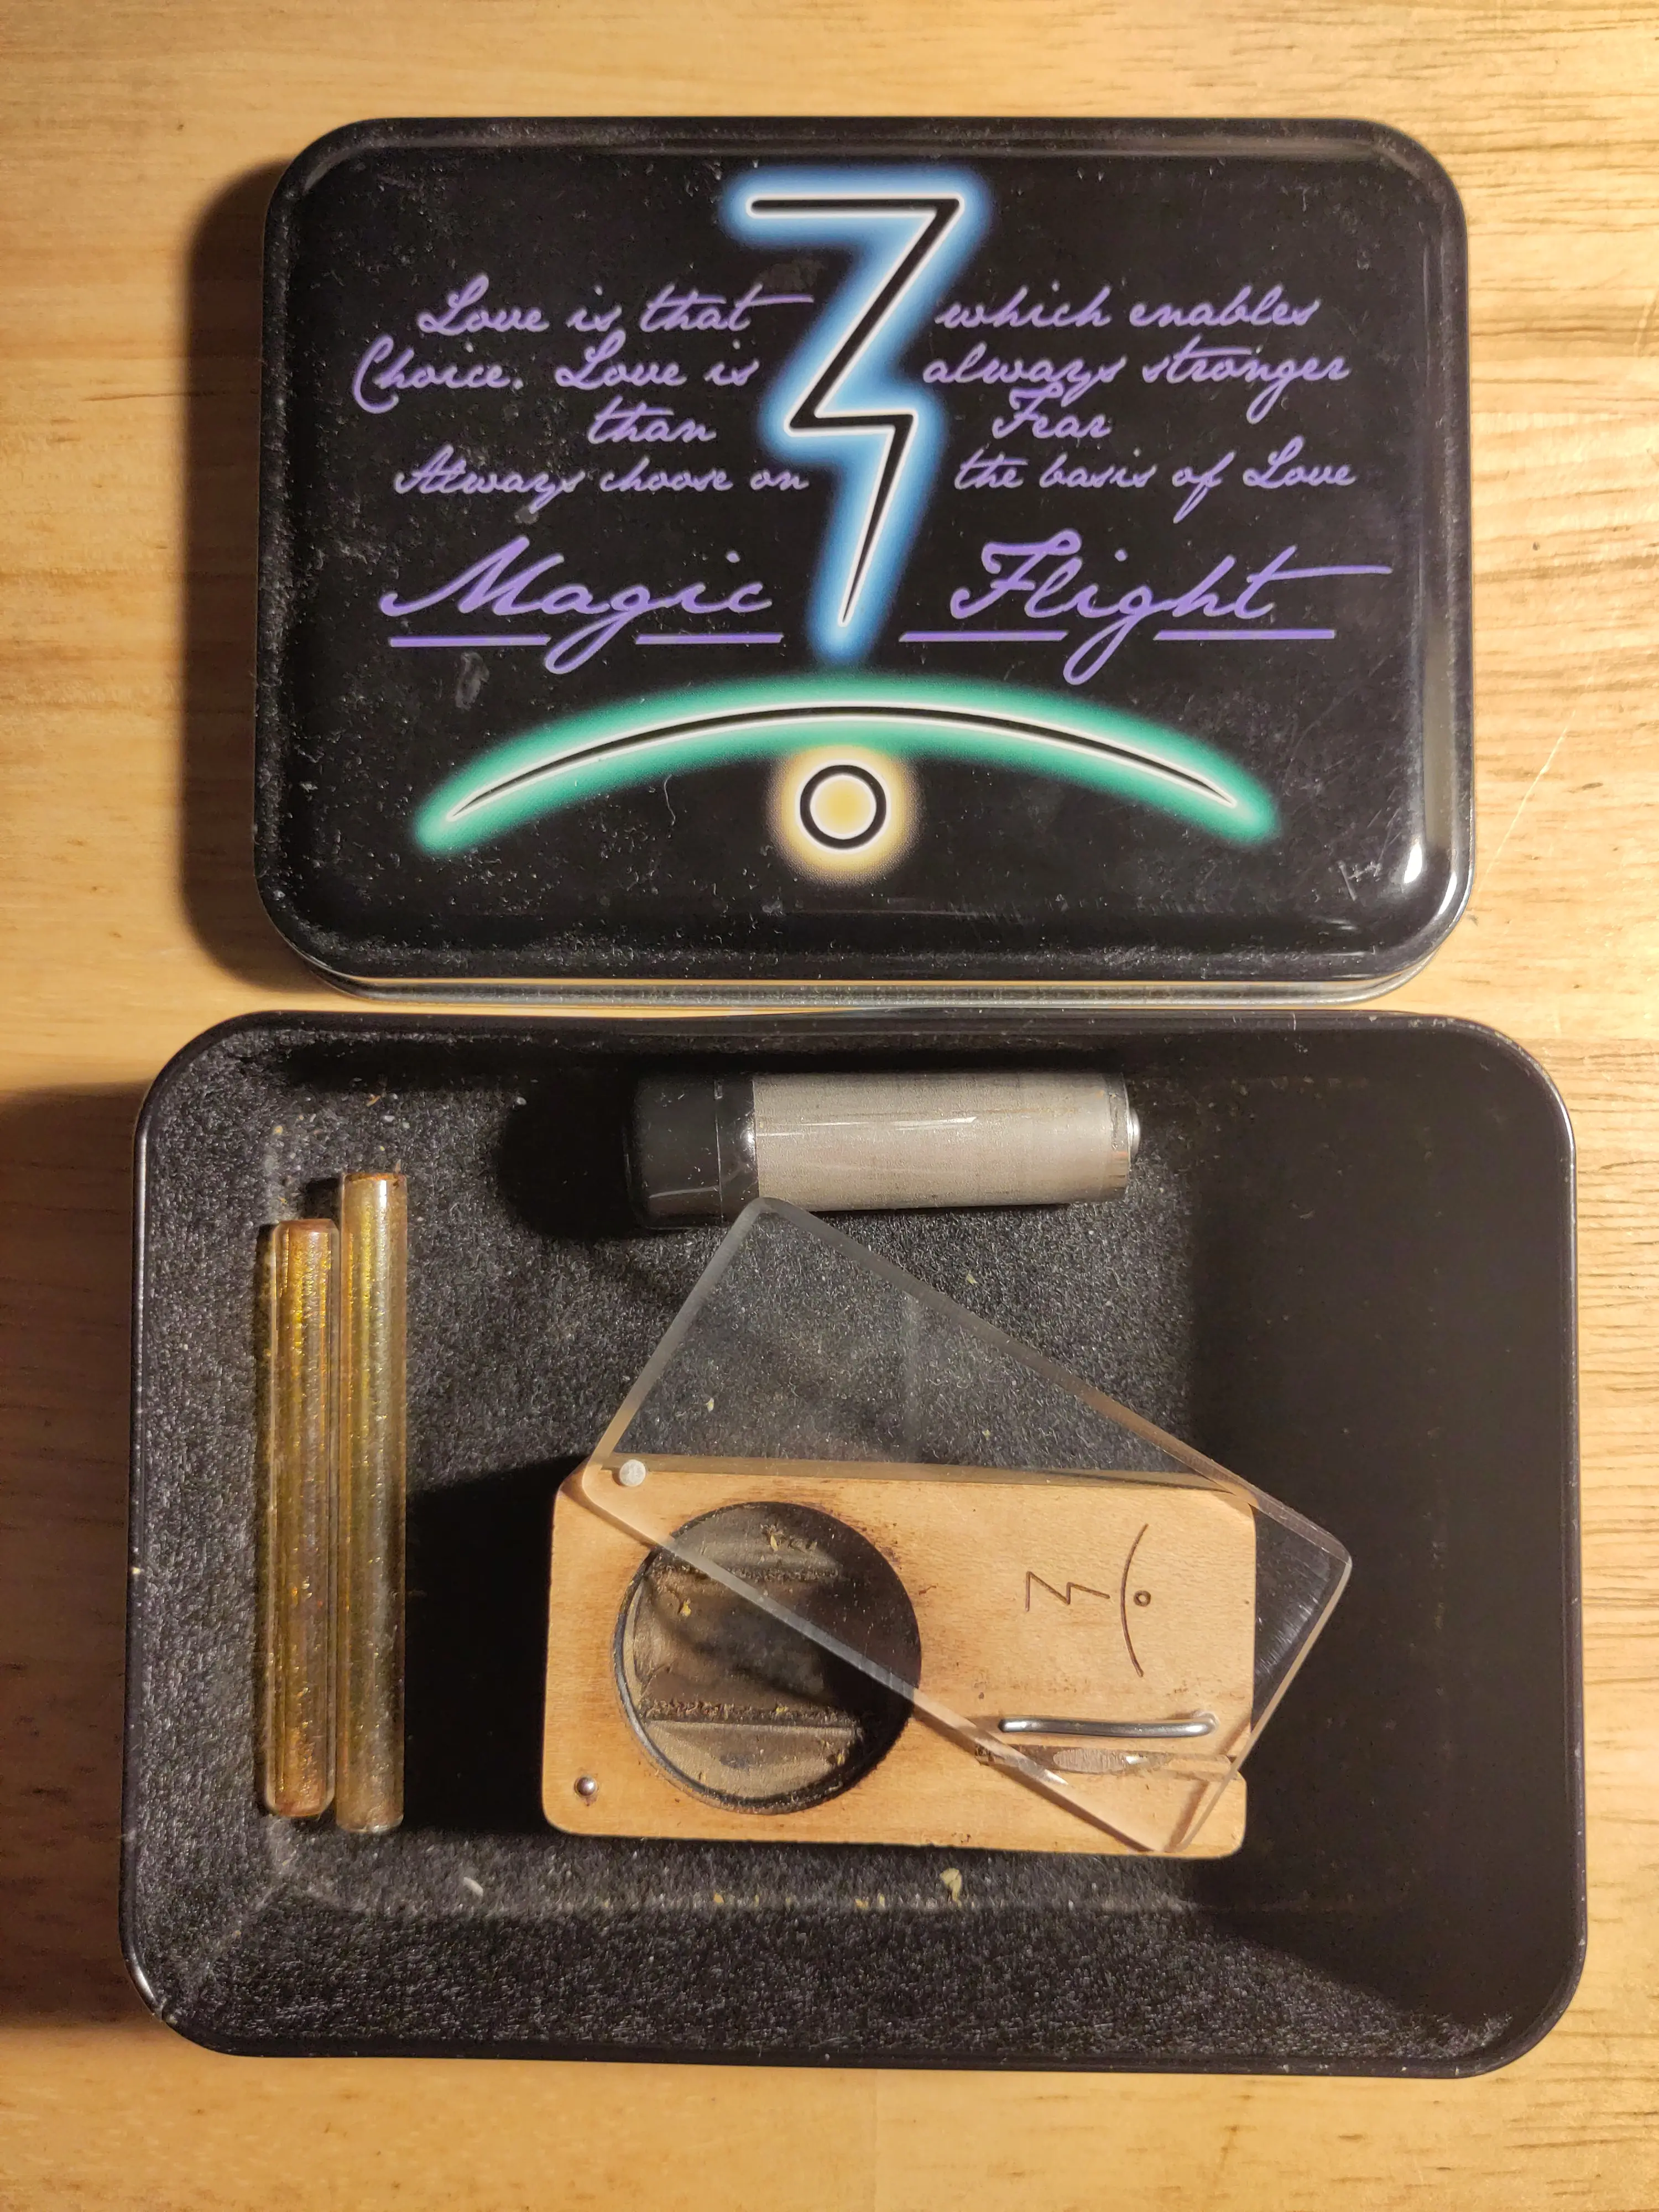
The magic flight introduced me to the world of vaping more then 10 years ago. I was traveling for work alot and it was a great companion.
Today I use the Plenty, but most of the time I just handle it like Lebowski.
25
view more: next ›