Cooking

6685 readers
3 users here now

Lemmy

Welcome to LW Cooking, a community for discussing all things related to food and cooking! We want this to be a place for members to feel safe to discuss and share everything they love about the culinary arts. Please feel free to take part and help our community grow!

Taken a nice photo of your creation? We highly encourage sharing with our friends over at [email protected].


Posts in this community must be food/cooking related and must have one of the "tags" below in the title.

We would like the use and number of tags to grow organically. For now, feel free to use a tag that isn't listed if you think it makes sense to do so. We are encouraging using tags to help organize and make browsing easier. As time goes on and users get used to tagging, we may be more strict but for now please use your best judgement. We will ask you to add a tag if you forget and we reserve the right to remove posts that aren't tagged after a time.

TAGS:

FORMAT:

[QUESTION] What are your favorite spices to use in soups?

Other Cooking Communities:

[email protected] - Lemmy.world's home for BBQ.

[email protected] - Showcasing your best culinary creations.

[email protected] - All things sous vide precision cooking.

[email protected] - Celebrating Korean cuisine!


While posting and commenting in this community, you must abide by the Lemmy.World Terms of Service: https://legal.lemmy.world/tos/

  1. Posts or comments that are homophobic, transphobic, racist, sexist, ableist, or advocating violence will be removed.
  2. Be civil: disagreements happen, but that doesn’t provide the right to personally insult others.
  3. Spam, self promotion, trolling, and bots are not allowed
  4. Shitposts and memes are allowed until they prove to be a problem.

Failure to follow these guidelines will result in your post/comment being removed and/or more severe actions. All posts and comments will be reviewed on a case-by-case basis. This means that some content that violates the rules may be allowed, while other content that does not violate the rules may be removed. The moderators retain the right to remove any content and ban users. We ask that the users report any comment or post that violates the rules, and to use critical thinking when reading, posting or commenting.

founded 2 years ago
MODERATORS
176
8
submitted 1 year ago* (last edited 1 year ago) by canthidium to c/cooking


I think everyone is picky about certain things but what is the pickiest you've seen someone be?

177


Every Thanksgiving since I was a child, I've had to make something for Thanksgiving. Typically, and I think this goes for many Americans (and presumably Canadians cause they have a similar Thanksgiving), this involves sharing the kitchen with way too many cooks. It can be difficult to know what tools you'll have in an unfamiliar kitchen, and when/if you'll be able to use the stove, oven, etc.

I'm trying to move things towards a better model, where I make the entire menu, and other people are responsible for drinks and cleanup, but there are always holdouts determined whatever particular dish they feel strongly about.

My normal approach is:

  • Insist on making the turkey. The turkey is the most common thing people mess up, and it sucks to have to choke down dry turkey.
  • Bring an insane amount of my kitchen with me. Words can't describe how frustrating it is to try to cook with only the world's dullest knives, a thermometer that starts at 160 F for "rare beef", and only a salt shaker of iodized salt.
  • Do as many "make ahead of time" or "make outside of the kitchen" dishes as possible. Sous vide sweet potatoes, salads, etc.

What are your methods for ensuring that your Thanksgiving meal doesn't suck?

P.s. My packing list for things to bring to cook at another person's house contains:

Thermometers, knives, shears, a scale, cutting boards, rimmed baking sheets, cooling racks, a vegetable peeler, a microplane, a pepper grinder, kosher salt, aprons, a big mixing bowl or two, a cake tester, a bread knife, a citrus juicer, a few Mason jars, butcher twine, a gravy separator, all the herbs and spices I'll need, a high wall saute pan, a sturdy frying pan, baking soda, baking powder, yeast, lemons, limes, butter, my sous vide circulator, heavy duty foil, and a liquid measuring cup.

Anything you think I'm missing?

178
13
submitted 1 year ago* (last edited 1 year ago) by Tenthrow to c/cooking


I whipped this up today because I am always having to look it up and figure out when I am supposed to put my turkey from the Freezer to the Fridge. I plan to pretty it up over the next few days but hopefully this will be helpful to others (me too since I am cooking a turkey for Thanksgiving and Christmas this year). I am open to suggestions too if you have any.

179
47
submitted 1 year ago* (last edited 1 year ago) by [email protected] to c/cooking


For years I was in a bi-monthly cooking group. We usually met at a friends house and would make dinner there. One night all those terrible things your mom and your aunt Sally forced on you came up.

Number 1 was Green Bean Casserole, for the uninitiated this is 1 can green beans, 1 can Campbell's cream of mushroom soup, topped with Durkee fried onions then baked. It is terrible, canned green beans are mushy and flavorless, cream of mushroom soup is also mushy and terrible with the added bonus of tasting like a salt lick. Durkee fried onions I will eat as a snack (I will hear no bad words about them, though they are also terrible in their own way. Don't start). The original recipe unsurprisingly came from Campbell's Test Kitchen as a way for working housewives to get dinner on the table with a minimum of fuss.

We talked about it (argued) and half the group thought it could be a great dish, the other half speed dialed their therapists.

The next time we met Green Bean Casserole was the main. Blanched fresh green beans were layered with crimini mushrooms simmered in cream and herbs, then topped with Asian fried shallots. It was a hit, and ended up in rotation. It is actually fantastic when made fresh.

No.2 was Fish in Aspic. No one could do anything with this, the dish just sucks.

No.3 was Fondue, which I hated as a kid then had good versions of. Porcini (Cepes) with Beaufort and sourdough, Beef loin with carmelized onions and red wine reduction, etc.

What are yours? Have you recreated any horrible dishes and made them delicious?

p.s. great aunt Beth you almost put me off Turkey for life...

ETA: I know we're supposed to tag posts, I don't see a way to do that in Voyager. Anyway, Discussion

180
18
submitted 1 year ago* (last edited 1 year ago) by [email protected] to c/cooking


Hello everyone, I'm curious about how everyone here store their recipes and organize them (and looking for ideas for me too).

At the very beginning, I started with paper recipes in a simple file organizer. Either printed or wrote by hand. But it quickly became too big, dirty, wet, and full of food stains.

I switched to following recipes on my phone when I cooked. First with a folder structure of bookmarks from my favorite websites. But it had several issues: a lot of recipes websites have crazy amount of bullsh*t writing around the recipe, and I cannot edit and adapt the recipe with my touch.

I tried a lot of android app during the years and finally converged to "whisk", now called samsung food. I liked it because it could do meal plan and grocery list automatically on top of holding the recipes. But since it was bought, it's getting worse and worse.

As my familly and friends know that I like to cook I received quite a lot of recipe books over the years, but I barely use them. Usually I read them once and copy the few interesting recipes i like in the app I am currently using.

I recently found that Nextcloud has a "cookbook" plugin. As I'm already self hosting a next cloud instance it's perfect. It looks straight to the point, with all the basic features needed and no crap around. However it's not doing meal plan and grocery list (yet ?).

As there is no automatic transfer possible between whisk and nextcloud, before I'll spend hours to transfer my recipes I wanted to hear what other people are using !

181


When I travel, I try to taste the local cuisine and love to try things that I've never had before. Recently I tried haggis, which was outstanding. I've also had hakarl (fermented shark - not really my cup of tea, but glad I tried it) and balut (surprisingly tasty).

What have you tried? Anything that caught you off guard by how tasty (or not) it was?

182
28
submitted 1 year ago* (last edited 1 year ago) by canthidium to c/cooking


Ingredients

1 head napa cabbage (4 lbs, 1.8 kg)
1½ lb sliced pork belly (or slice your own pork belly; see Notes for where to buy; do not use bacon, since it‘s too salty for this dish)

For the Broth

8-10 slices ginger (peeled and thinly sliced from a 1-inch, 2.5-cm knob)
5 cups dashi (Japanese soup stock) (use standard Awase Dashi, dashi packet or powder, or Vegan Dashi)
2 Tbsp sake
1 Tbsp soy sauce
½ tsp Diamond Crystal kosher salt

For the Dipping Sauce

1 green onion/scallion
ponzu
shichimi togarashi (Japanese seven spice) (optional, for a spicy kick)

Instructions

Before You Start: If you haven‘t made 5 cups dashi (Japanese soup stock) yet, here‘s a quick version using my favorite dashi packet. First, add 2 dashi packets to 5 cups water in a saucepan. Start cooking over medium heat. When it reaches a boil, reduce the heat to medium low and simmer for 2–3 minutes. Turn off the heat. Remove the packets from the saucepan, shake them a few times to release more flavor, then discard them. The dashi is now ready to use.

To Prepare the Ingredients

To make the soup broth, combine 5 cups dashi (Japanese soup stock), 2 Tbsp sake, 1 Tbsp soy sauce, and ½ tsp Diamond Crystal kosher salt in a measuring cup or mixing bowl. Don’t reduce the salt since the napa cabbage will release liquid during cooking and dilute the soup.

Peel and thinly slice the ginger knob into 8-10 slices ginger and set it aside.

Thinly cut 1 green onion/scallion. Put the green onion in a small serving bowl to add later to the dipping sauce.

Cut 1 head napa cabbage lengthwise into quarters. I like to cut just the white bottom half of the napa cabbage head with a sharp knife, then pull apart the leafy top half with my hands. By tearing the leaves naturally, you lose fewer leaves compared to slicing. DO NOT cut off the core from the 4 wedges yet. The core keeps the leaves attached at the root end and makes layering the pork belly much easier.

Carefully wash the leaves without detaching them from the core. Drain well. Don’t throw away any leaves that naturally come off while rinsing. We’ll use them later on.

To Make the Layers

Layer 1½ lb sliced pork belly into the napa cabbage wedges by placing one pork belly slice between each of the leaves. If the pork belly is longer than the cabbage wedge, trim the pork with kitchen shears and layer it in other parts of the cabbage. If you have extra pork belly, put an additional slice in the outer layers that have wide leaves.

Once you‘ve tucked in the pork belly slices, carefully cut off the hard cabbage cores without disturbing the layers. Cut each wedge into 4 pieces that are each about 2 to 2½ inches (5–6 cm) long, keeping the layers of cabbage and pork neatly stacked as you slice.

To Pack the Pot

Next, start packing the ingredients in a donabe or regular 10-inch pot (I used a 4.5 QT Le Creuset pot; if you‘re doubling the recipe, use two 10-inch pots or one larger pot). Start from the edge of the pot and work your way toward the center. Turn the stacks on their side so the pink and green layers are visible. Position the layers parallel to the pot‘s side so they eventually form concentric circles once the pot is packed.

I usually place the thicker cabbage leaves near the edge of the pot and the tender leaves in the center. Make sure to pack the pot tightly as the layers will become loose during cooking.

If you don’t have enough layers to pack the pot tightly, consider using a smaller pot or place other ingredients in the center. Here, I stuffed the center with the napa cabbage leaves that came off when I cut and rinsed the cabbage. You can also put enoki mushrooms or shimeji mushrooms in the center.

If you have extra layers, hold them in a deep baking dish or a container with a tall rim. You can add them to the pot later after you‘ve remove most of the cooked layers.

Insert the thinly sliced ginger between the layers.

Pour the soup broth into the pot with the cabbage and pork layers. If you are cooking at the table, bring the pot to the table. Otherwise, you can start cooking on the stove.

To Set up the Table

At each place setting, prepare a medium bowl and a small bowl for each person. To cook at the table, set it up a portable gas stove and place the pot on it.

For the dipping sauce, add ponzu, the chopped green onion/scallion, and optional shichimi togarashi (Japanese seven spice) to the small individual bowls.

To Cook and Serve

Start cooking, covered, on medium-high heat. Once boiling, skim off the foam and fat on the surface using a fine-mesh skimmer. Then, reduce the heat to medium low and cook covered until the napa cabbage is tender and the pork belly is cooked through, roughly 8–10 minutes. When the Mille-Feuille Nabe is cooked through, serve it hot. Dip in the ponzu sauce and enjoy!
183


I've been kind of curious about these for a while now. I have several teflon coated pans, but they're not so great for high heat applications, and the coating wears off after a while.

Anyone use these? Do you like yours? Do you have a brand recommendation?

184
22
submitted 1 year ago* (last edited 1 year ago) by jordanlund to c/cooking


We're going to be in Seattle for Thanksgiving and our son and his wife are headed to Singapore, so we're doing up an early Thanksgiving tomorrow!

For me, it's less about turkey and more about carb-loading. :) So we're starting with three loaves of bread:

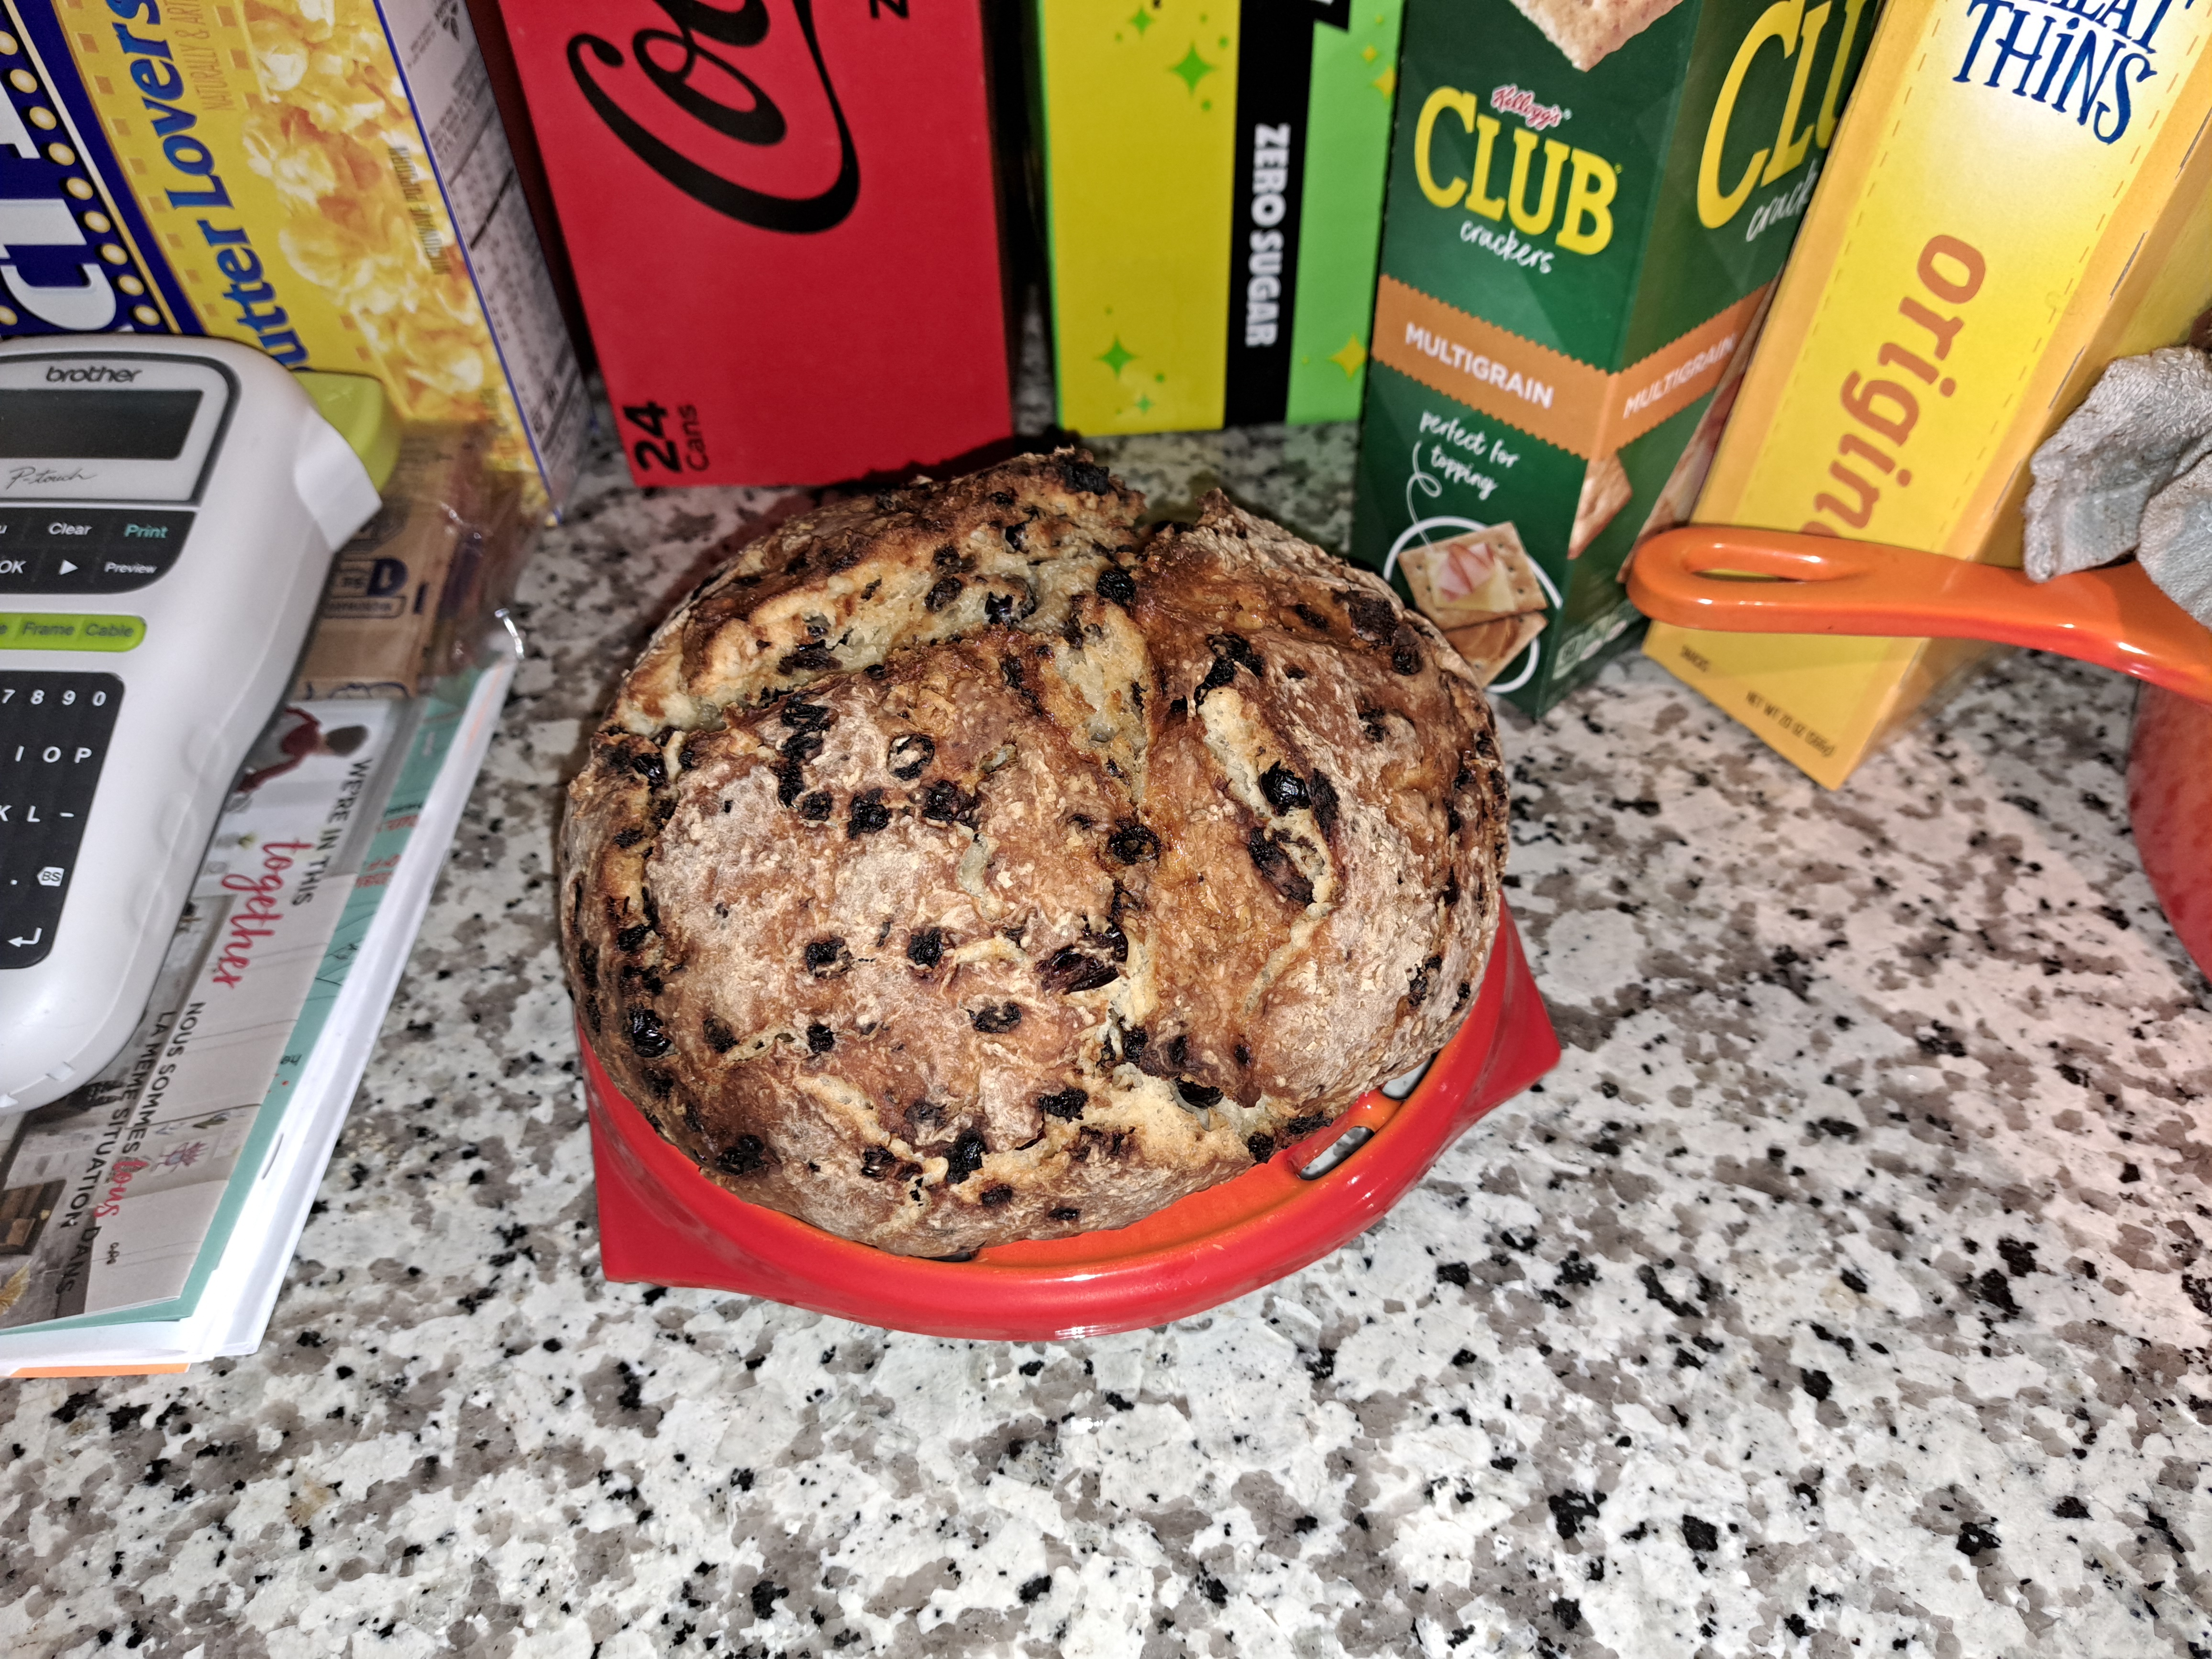
Irish Soda Bread with Black Currants and Cranberries:

Ingredients
4 cups [480g+, see note!] flour
1 tsp baking soda
1 tsp salt
1 cup [150g] dried currants (see note)
1 3/4 Cup [14ounces / 415ml] buttermilk
1-2 pats of butter (optional)

Instructions

Soak dried fruit in cold water for 30 minutes and drain. Failing to do this will allow them to soak the moisture from the dough leaving it tough and chewy.

Sift dry ingredients into a large bowl.

Add dried currants and mix with a wooden spoon.

Add the buttermilk and mix with a wooden spoon until it forms a sticky dough. If the dough is overly sticky, add a little more flour.

Knead dough a few times in the mixing bowl or on a floured surface until it forms a round loaf. It will start out sticky and crumbly but after you knead it a few times, the dough will come together.

Shape dough into a round and place in a Dutch oven with a lid.

Cut two criss-cross slices into the top of the bread with a knife (see photo above). Brush the leftover buttermilk over the top of the bread.

Bake covered for 30 minutes at 425F/215C and then about 15 minutes uncovered. The bread is done when golden brown and the internal temp is 180F/82C.

Let bread cool on a wire rack. Place a couple pats of butter over the bread and let them melt as the bread cools.

Notes

If you weigh ingredients start with 480g of flour and add more as needed. If you use buttermilk, you should be fine with 480g of flour and 415ml of buttermilk. A few more sprinkles of flour might be needed as you knead it. If you use milk + vinegar instead of buttermilk, start with half of the milk and add more as needed.

If you use a buttermilk alternative, I've found that real buttermilk works the best in this recipe and with the amount of flour indicated. If you use a buttermilk alternative (e.g. milk + vinegar), you'll likely need less of it. Start with half of what's listed in the recipe and add more a little at a time. If you add too much milk and the dough is too sticky, add a little more flour.

Buttermilk alternative, mix 1 tablespoon of lemon juice or distilled white vinegar with 1 3/4 cup fresh 2% milk and let it sit for about 15 minutes. Or thin yogurt or sour cream with some milk until you have 1 3/4 cup.

In place of dried currants you can use raisins, dried cranberries, etc. Or make it plain. I used 1/2 currants, 1/2 cranberries.

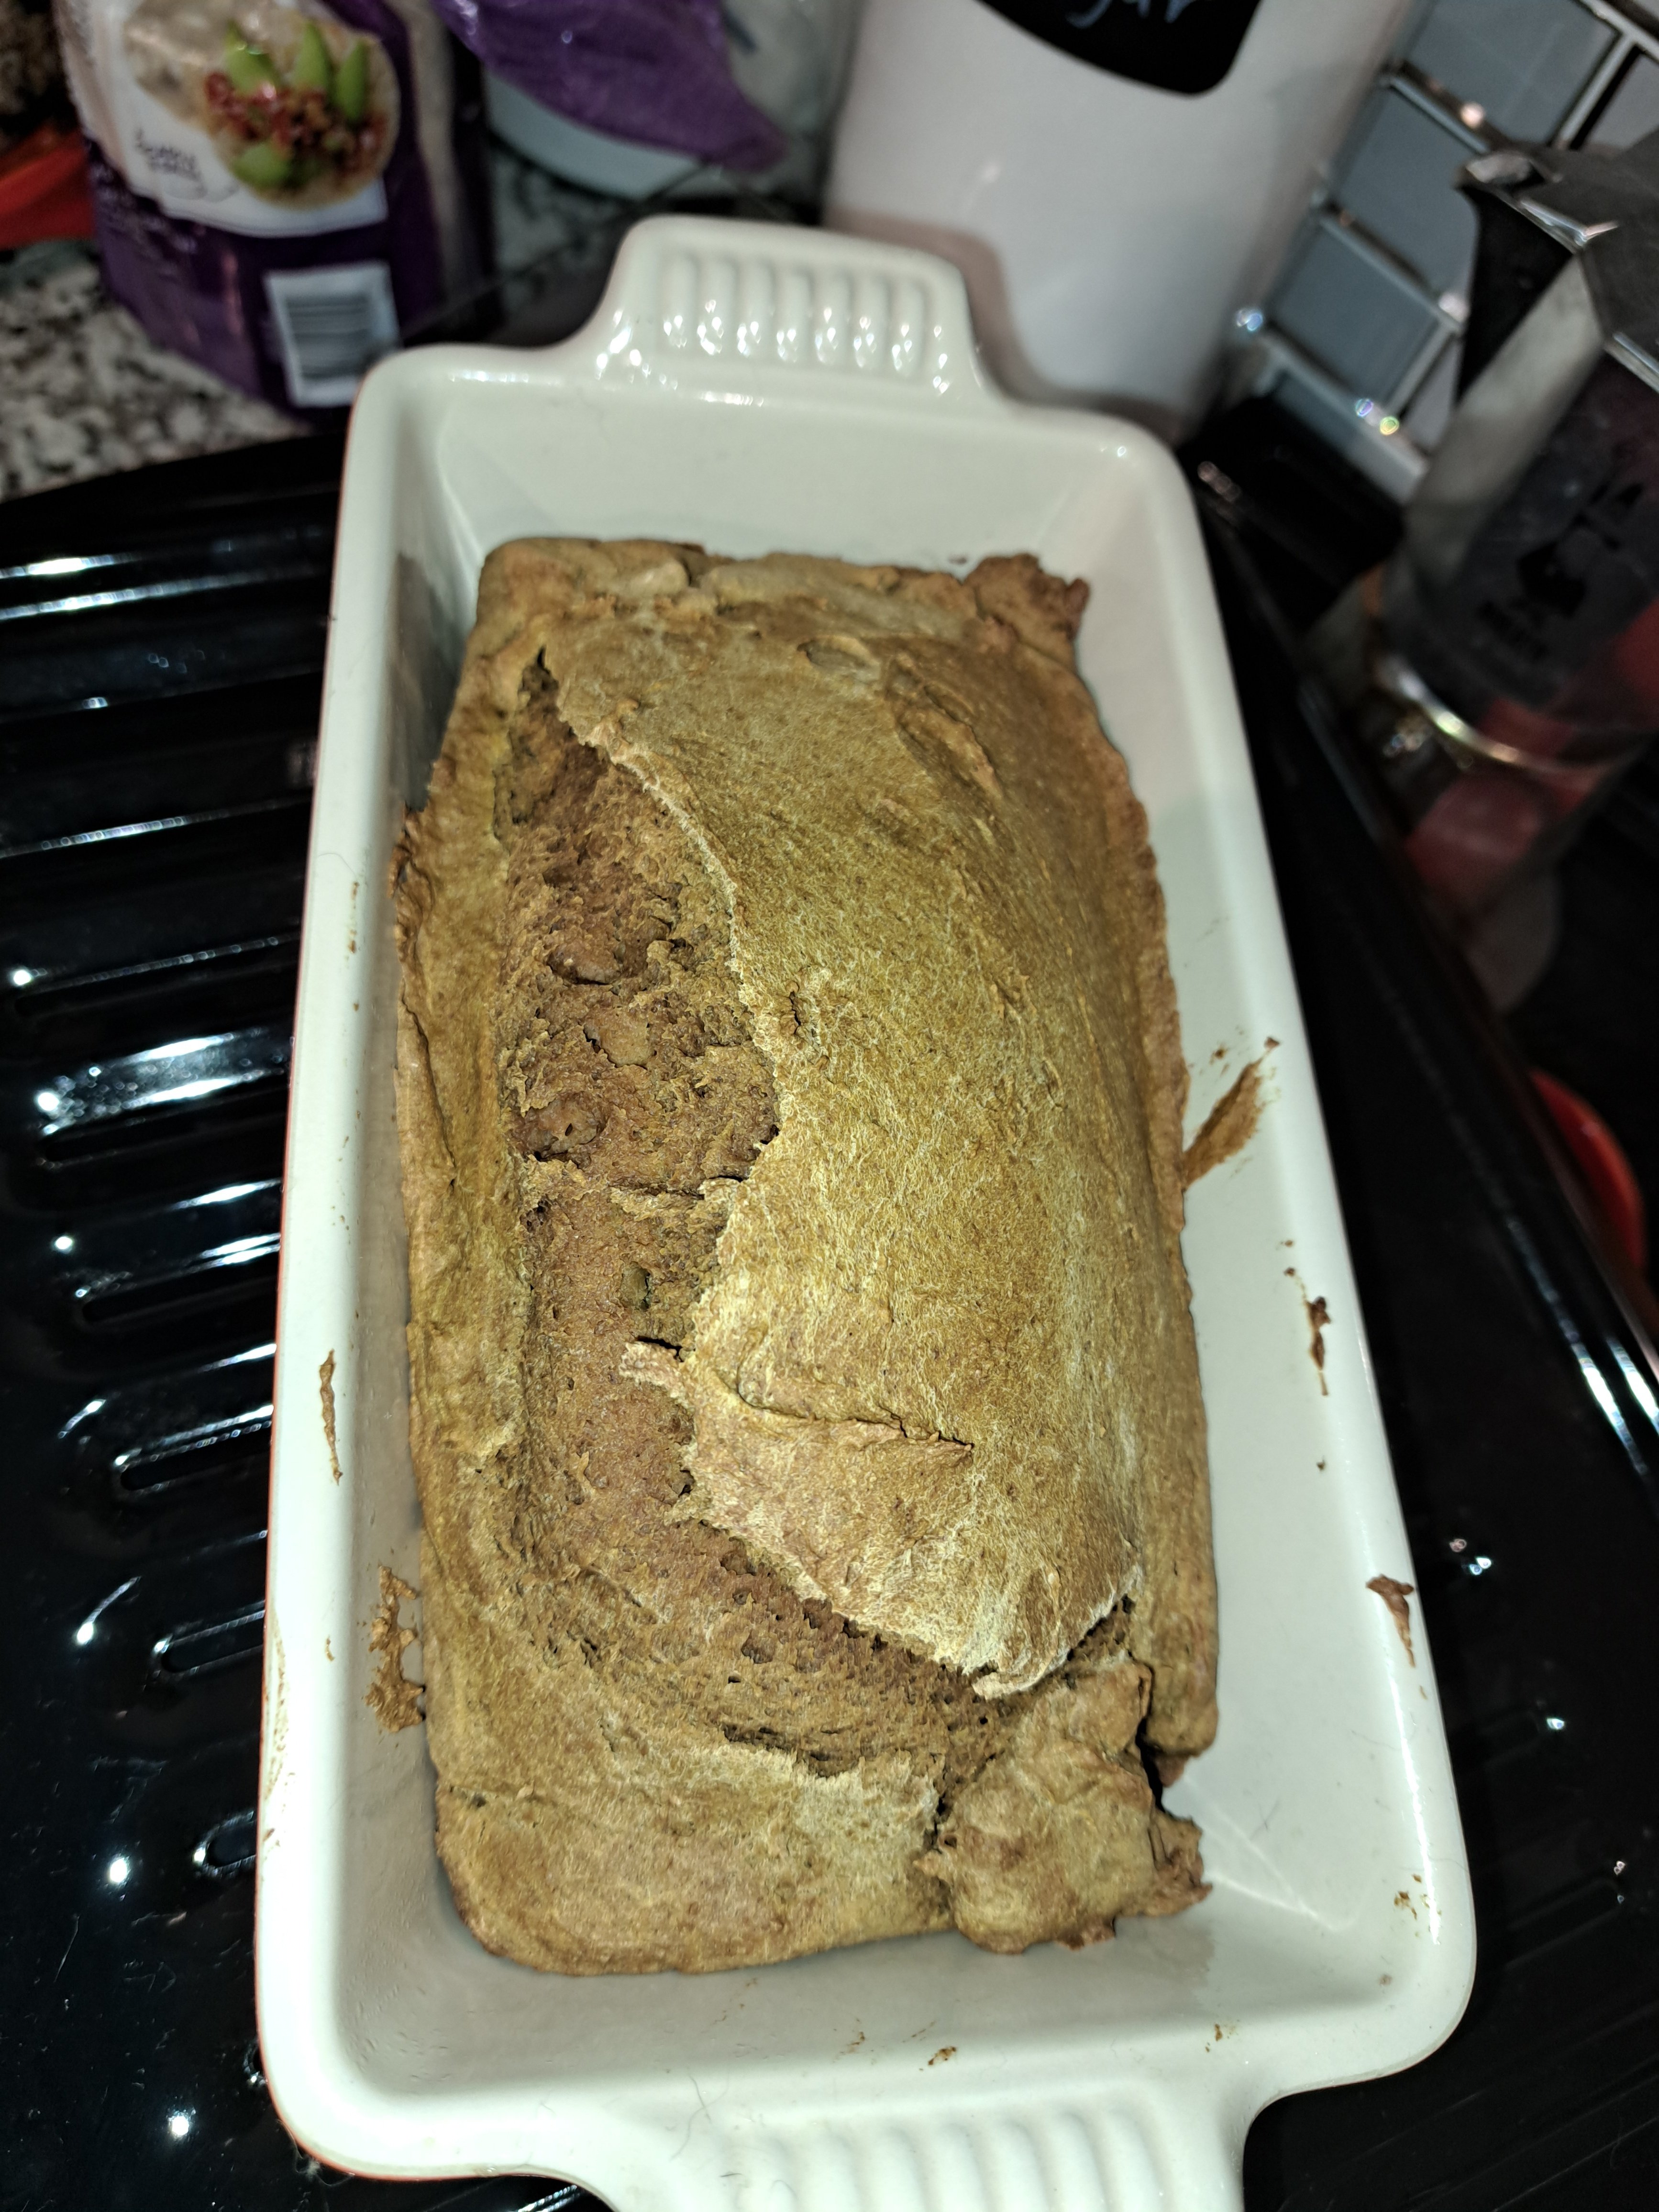
Bourbon Spiked Pumpkin Bread

INGREDIENTS
1 cup pumpkin puree
150 grams brown sugar (about ¾ cup)
¼ cup plain Greek yogurt
2 tablespoons melted butter, unsalted
1 generous tablespoon bourbon
1 tsp vanilla extract
1 egg
94 grams all-purpose flour (about ¾ cup)
94 grams while whole-wheat flour (about ¾ cup)
1 tsp baking soda
2 tsp pumpkin pie spice
Pinch salt

INSTRUCTIONS

Preheat oven to 350F and coat loaf pan with baking spray.

Place pumpkin puree, brown sugar, and melted butter in mixer and mix on high until well combined. Add in Greek yogurt, bourbon, vanilla extract, and egg. Mix until combined.

(I may have accidentally doubled the bourbon)

In a separate bowl, combine flours, baking soda, pumpkin pie spice, and salt.

Slowly add dry ingredients into the wet ingredients while mixer is on medium-low speed. Mix just until combined, but avoid over-mixing. Batter should be slightly thick.

Pour batter into prepared pan and bake for 40-50 minutes, or until toothpick comes out clean.

Allow to cool, then slice and enjoy!

NOTES

For 1/12 of recipe: 127 calories, 1 g saturated fat, 23 g carbohydrate, 2 g fiber, 10 g sugar, 3 g protein

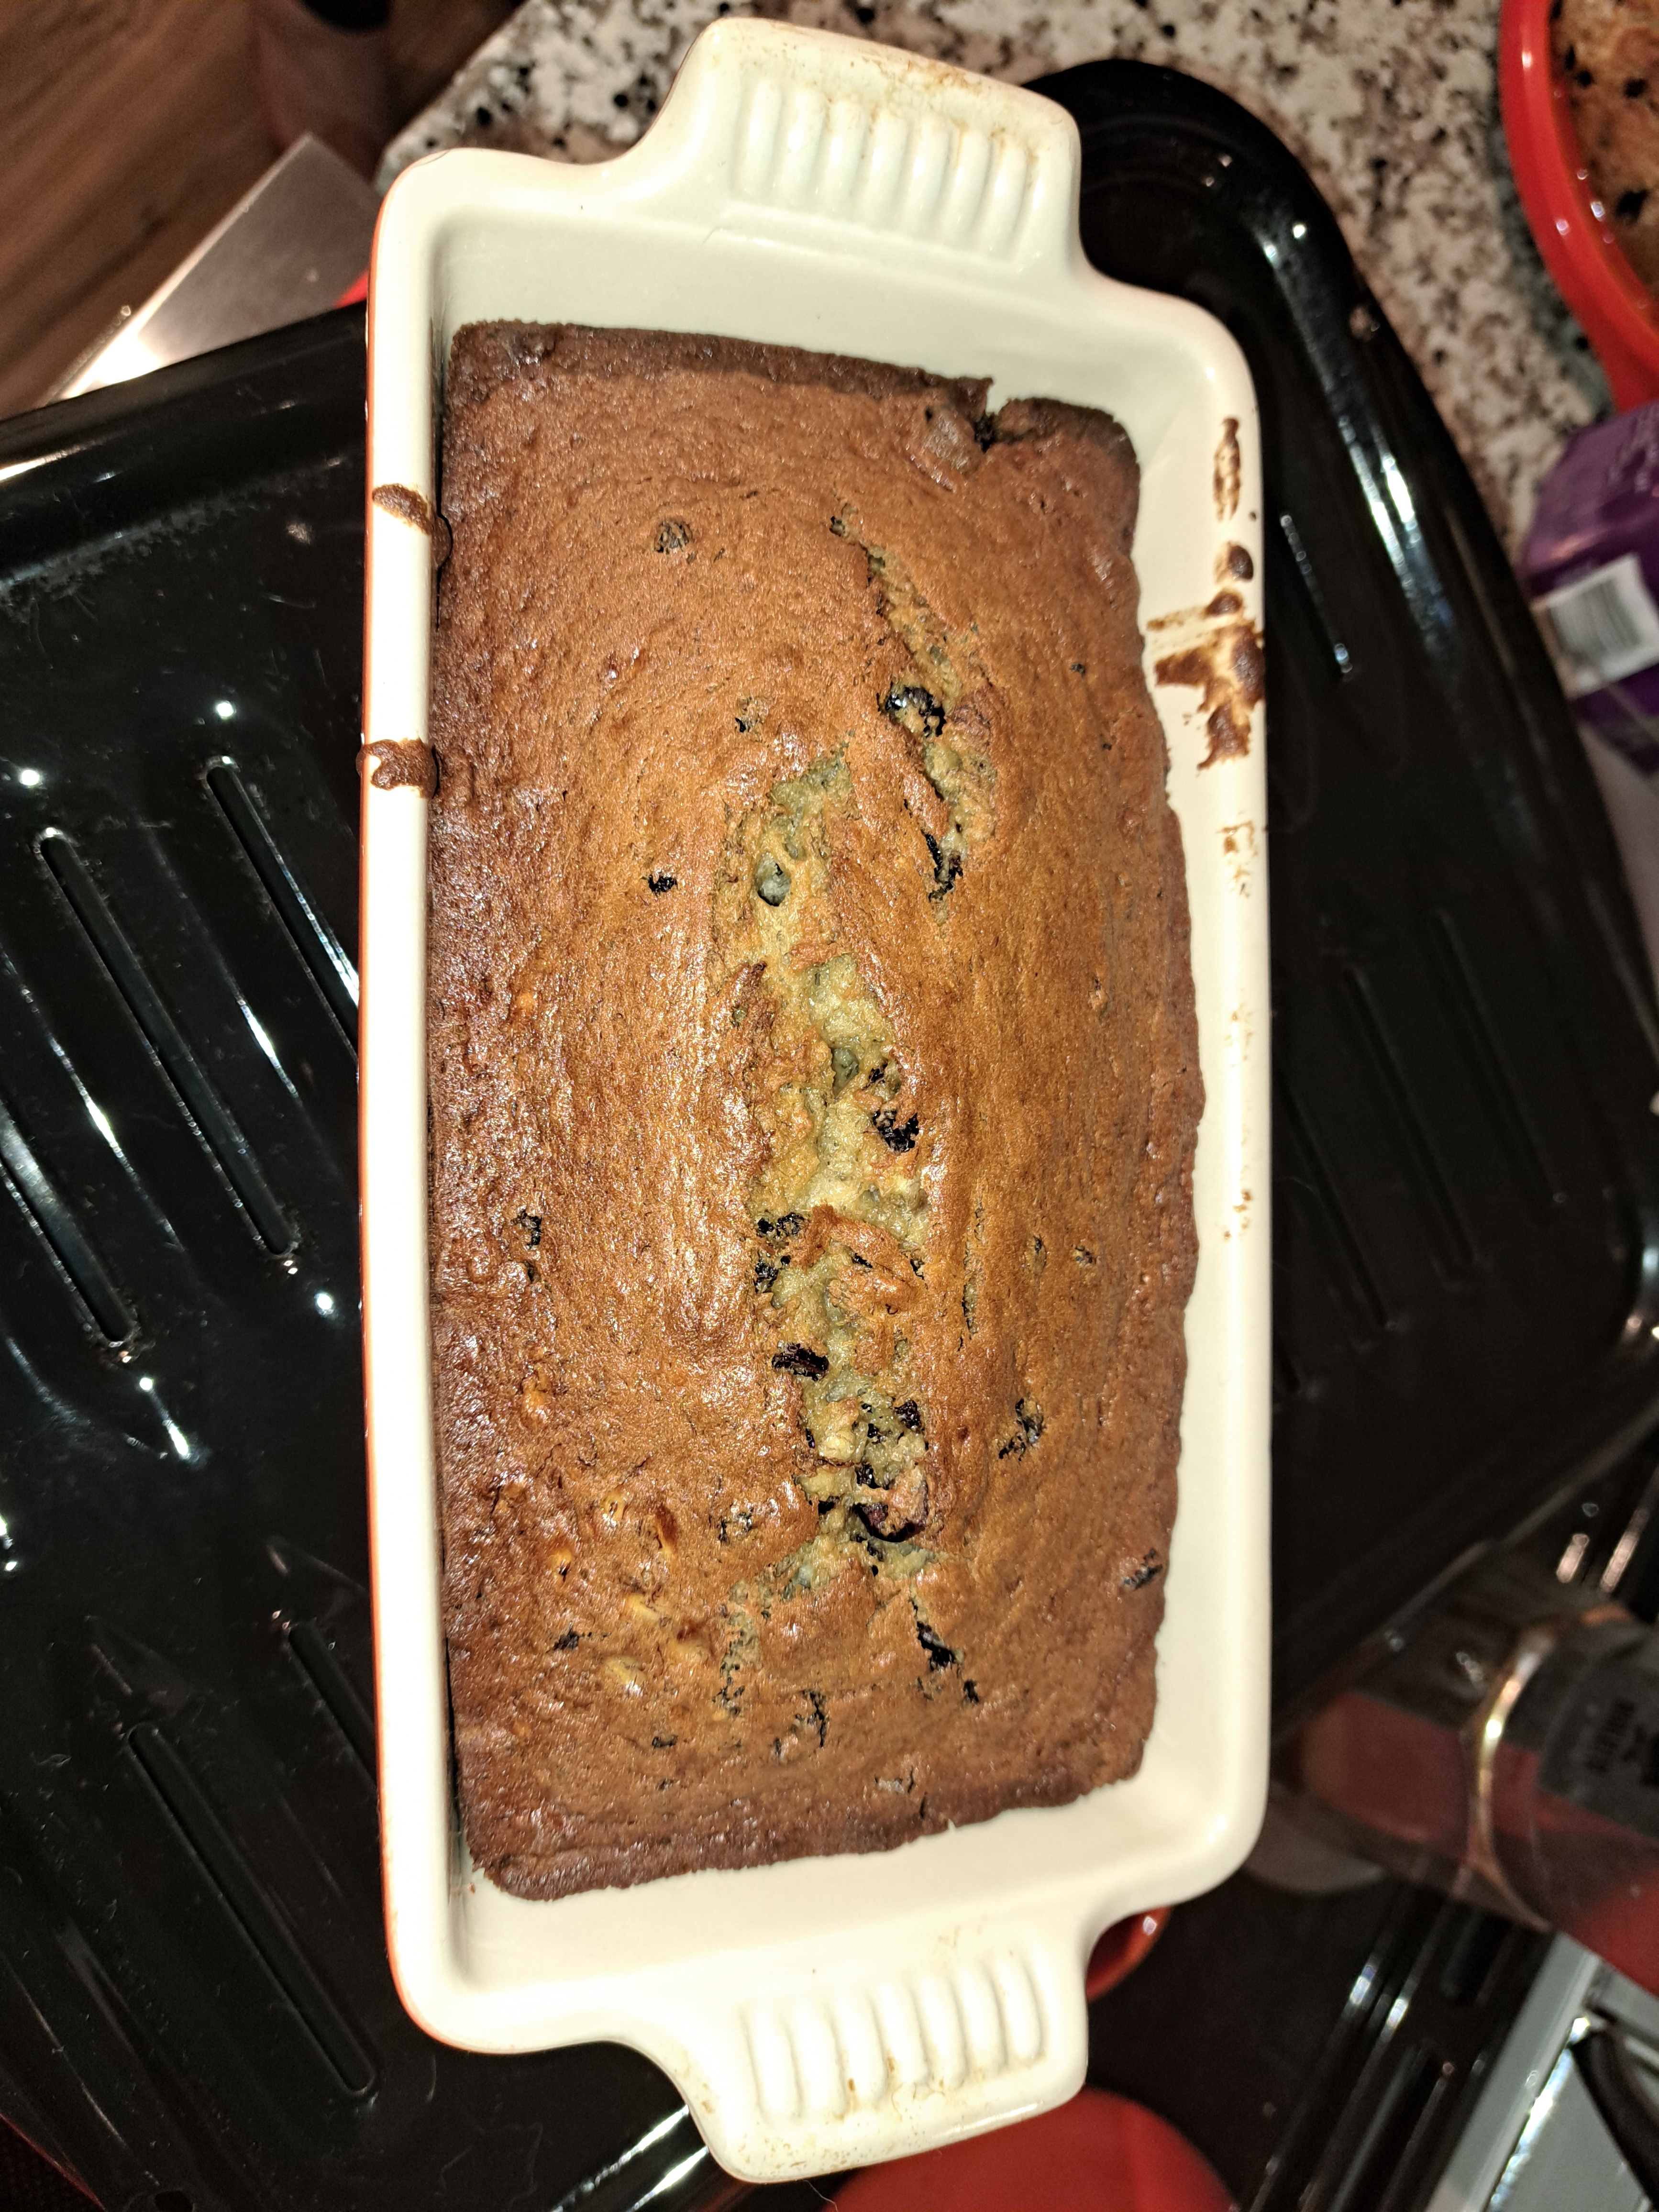
Black Currant Banana Bread:

INGREDIENTS
3 ripe bananas
60g melted butter (1/4 cup or 1/2 a stick)
150g sugar (2/3 cup)
200g unbleached flour (1 1/4 cups)
1/4 teaspoon salt
1 egg, beaten
1 teaspoon baking soda
150g of fresh or frozen blackcurrants (without defreezing before use) (1 1/2 cups)

Instructions:

If you buy bananas that are not quite ripe enough, place them in a paper bag on your kitchen counter for a week. Bananas release a gas called ethylene which aids in ripening. Contain that gas, and they will ripen faster.

Preheat oven to 350°F (180°C)

Mash the bananas in a bowl

Add the egg and butter

Put all the dry ingredients together into a fine mesh sieve or sifter and sift into the bowl

Mix well with a wooden spoon

Bake in a buttered loaf pan until a toothpick stuck into the bread comes out clean, 55 to 60 minutes.

Slice and serve.

185
31
submitted 1 year ago* (last edited 1 year ago) by canthidium to c/cooking


Ingredients

3 pounds russet potatoes
10 hard boiled eggs peeled and chopped
2 cups mayonnaise
1/2 cup pickle relish or chop whole pickles if you like
4 tablespoon yellow mustard
3 tablespoons fresh chopped dill
2 teaspoon paprika
Salt and pepper to taste
Optional: 1 can sliced black olives (I like olives in my potato salad, but this is not necessary at all)

Directions

Cut the potatoes into 1/2" cubes and place them in a large stockpot (I leave the skins on for a little texture). Fill the pot with cold water until the potatoes are completely covered by 1 inch of water. Set the pot over high heat and bring to a boil. Once boiling, add 1 tablespoon of salt and cook the potatoes for 13 to 15 minutes, until fork tender. 

Meanwhile, chop the hard boiled eggs, pickles if you are not using pre-made relish, and dill

Set out a large mixing bowl. Combine the mayonnaise, pickles/relish, mustard, dill, and paprika in the bowl. Mix until smooth.

Once the potatoes are fork tender, drain off the water.  It’s OK if the potatoes are soft and crumbly, this will add the texture of the potato salad. Place the warm potato chunks into the dressing, followed by the chopped hard-boiled eggs. Gently fold the potato salad together.  You can also mash some of the potatoes if you like.  I mash about half of it.  Then taste and salt and pepper as needed.

Cover the potato salad and refrigerate for at least 4 hours.
186
187


Hello all,

Wanted to gauge interest in having weekly pinned, themed discussion posts. For example, every Monday, have an AskCulinary post where you can ask cooking-related questions. Or every Wednesday, a post about favorite utensils/appliances. Looking to get some feedback as well as ideas for themes you'd like to see. Please share in the comments. If there's enough interest, we'll pick from the most upvote suggestions. Thanks and see you in the comments!

188


I was watching Mythical Kitchen's Last Meal series and caught the episode with Padma Lakshmi, and it got me thinking. I'm a big fan of hers. Her story is super interesting and she has this great balance of classy and elegant, while still being very relatable to all levels of cooking. I very much enjoyed her Taste the Nation series because she not only highlights different cultures' food, but their way of life and how food is such a big part of culture. I think it's easy to write her off because she's beautiful as well as having been a model, but she is incredibly knowledgeable about cooking and she understands the cultural connections to food I love to learn about. I'm Korean myself, and food and eating infiltrates so many aspects of socializing and I think it's super interesting how that applies to other cultures.

I like that there are so many now and food from all around the world gets a spotlight in many different avenues nowadays. Food is one of the few things that connects us as a species and there are amazing dishes that many people will never get to experience in person, so it's great to me that dishes can be showcased on a global scale.

So who are your favorites? Or do you dislike the concept? Also, if you have any food related YouTube channels you enjoy, please share! A few of my current favs are Maanchi, Mythical Kitchen, Sorted Food, JOLLY, and Korean Englishman.

189
22
submitted 1 year ago* (last edited 1 year ago) by jordanlund to c/cooking


Well, it's that time of year again, and the #1 thing people ask me for is the pecan topped sweet potatoes that I completely stole from America's Test Kitchen.

For a more intense molasses flavor, use dark brown sugar in place of light brown sugar.

Serves 10 to 12

Sweet Potatoes

• 8 tablespoons (1 stick) unsalted butter, cut into 1-inch chunks

• 5 pounds sweet potatoes (about 8 medium), peeled and cut into 1-inch cubes

• 1 cup packed light brown sugar

• 1 1/2 teaspoons salt

• 1/2 teaspoon ground black pepper

• 1/2 cup water

Pecan Topping

• 2 cups pecan halves

• 1/2 cup packed light brown sugar

• 1 egg white, lightly beaten

• 1/8 teaspoon salt

• Pinch cayenne pepper

• Pinch ground cumin

Directions

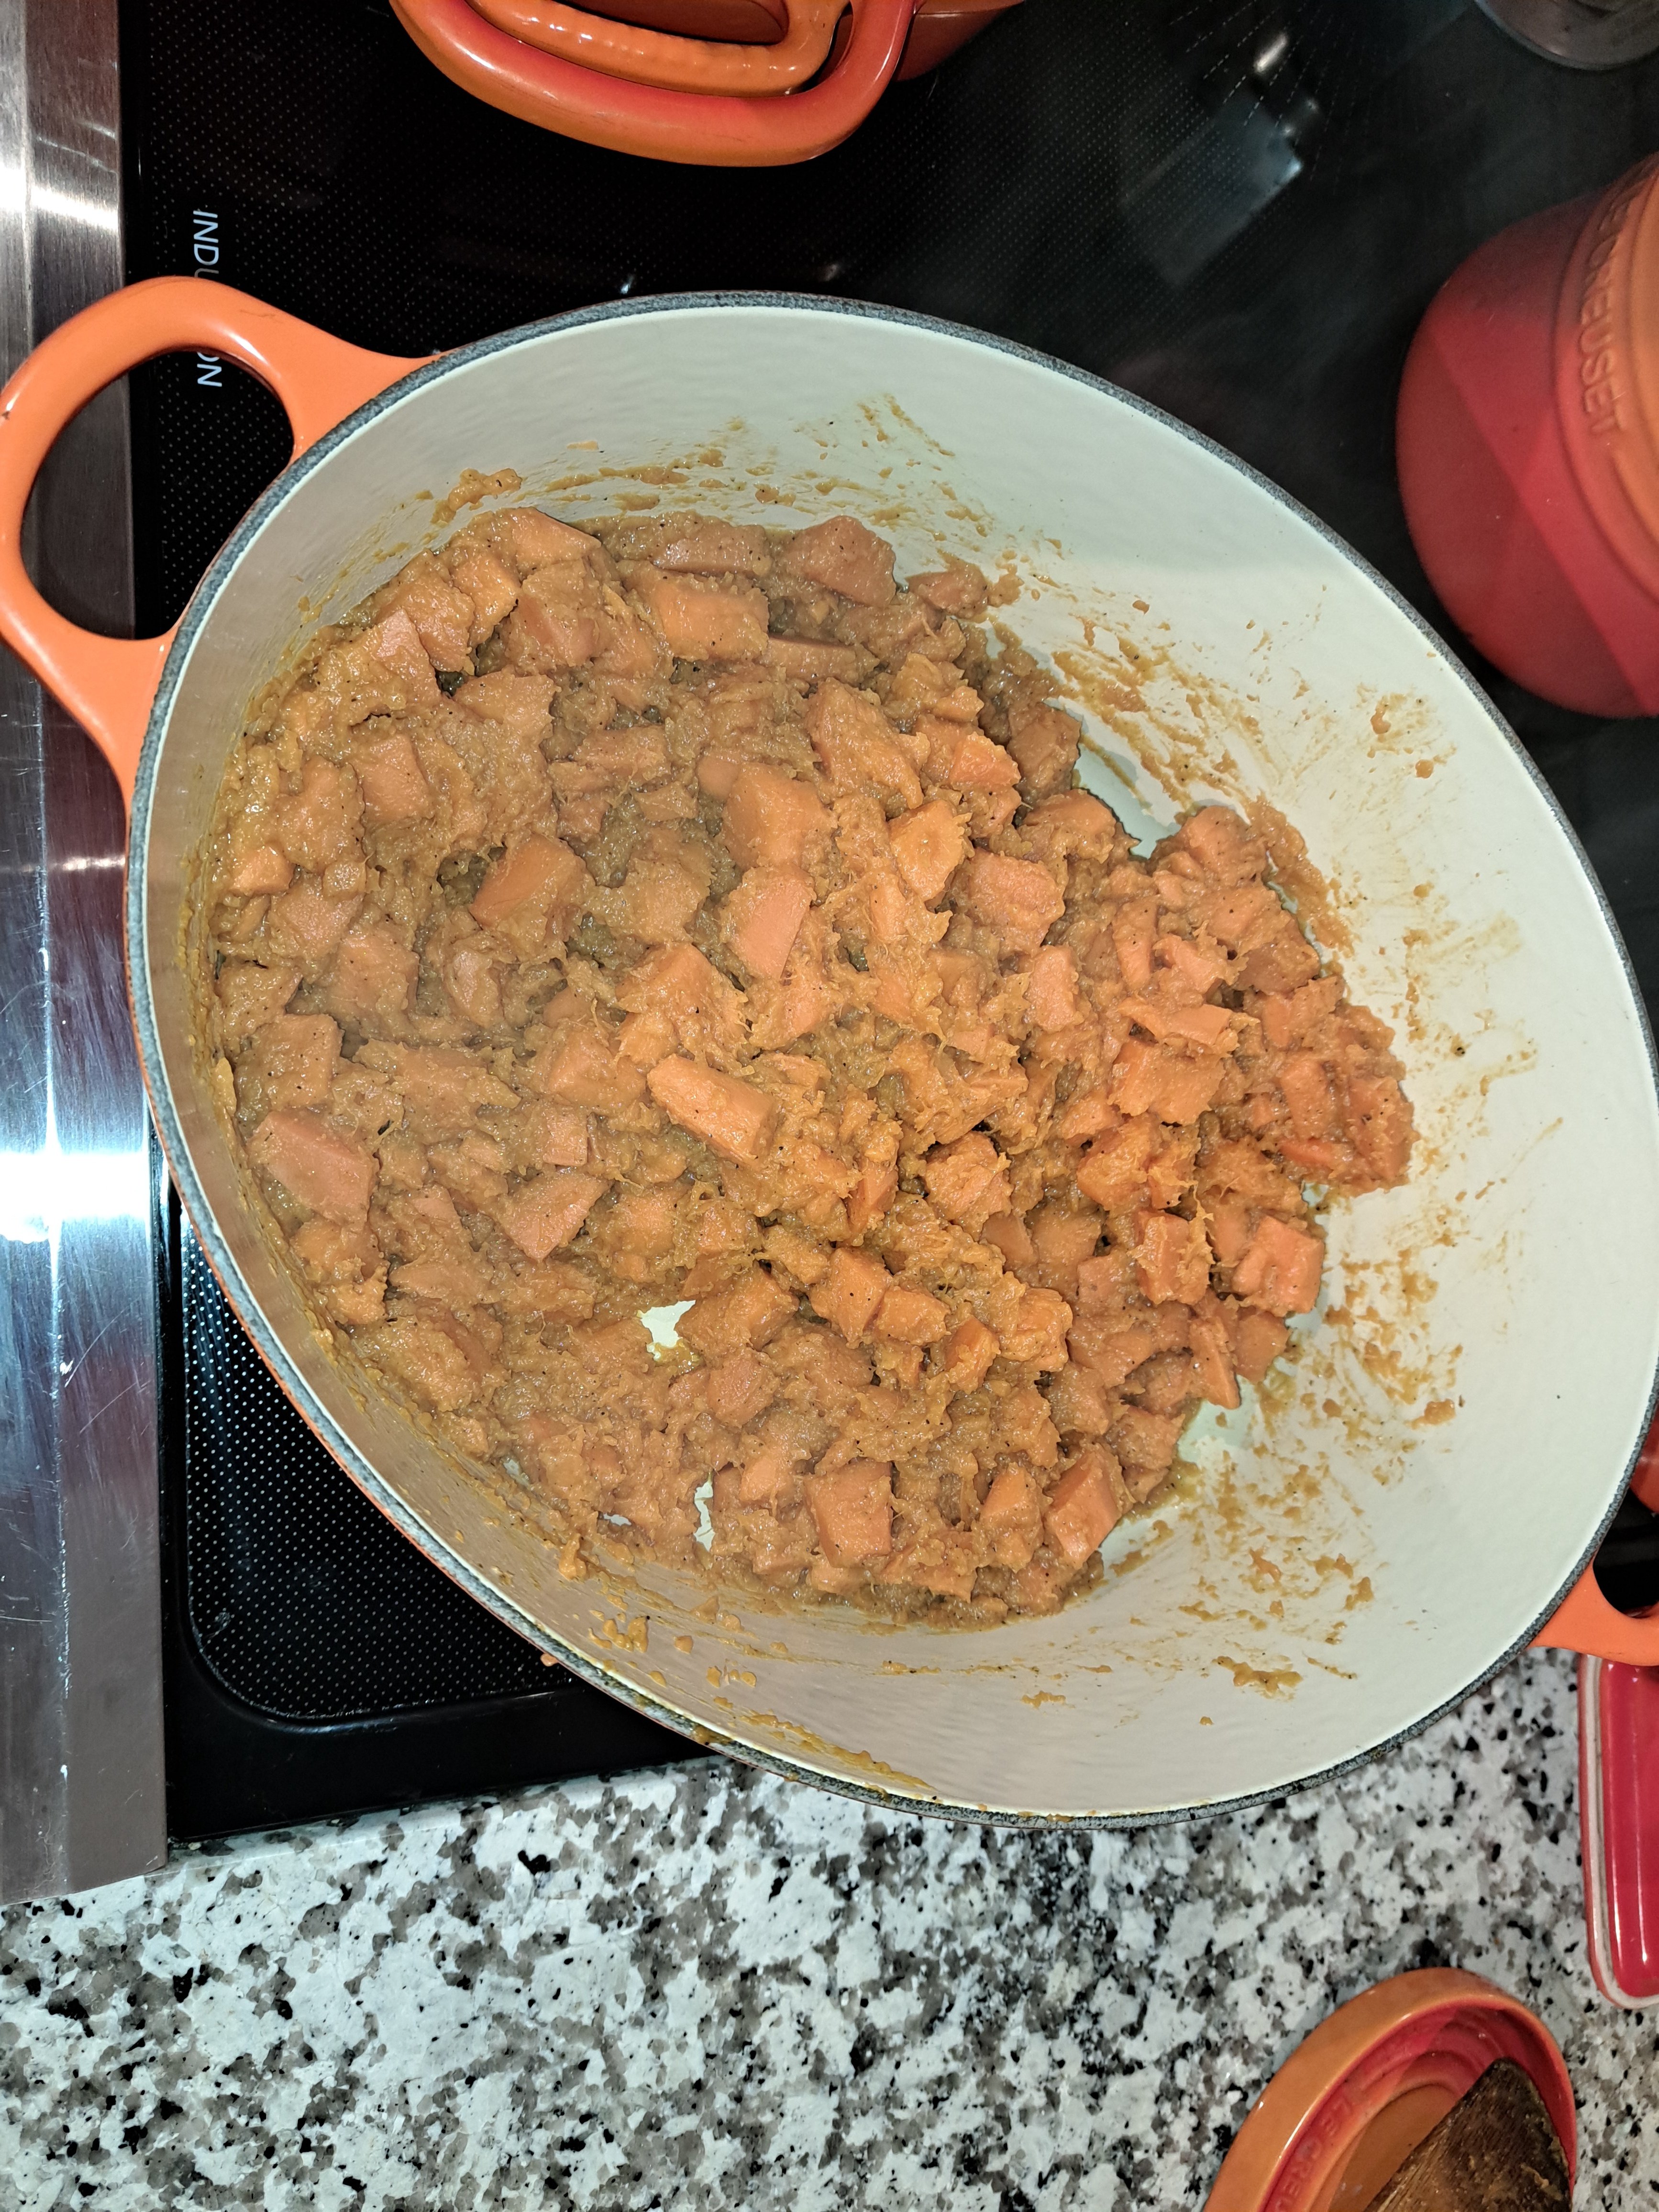
  1. FOR THE SWEET POTATOES: Melt the butter in a large Dutch oven over medium-high heat. Add the sweet potatoes, brown sugar, salt, pepper, and water; bring to a simmer. Reduce the heat to medium-low, cover, and cook, stirring often, until the sweet potatoes are tender (a paring knife can be slipped into and out of the center of the potatoes with very little resistance), 45 to 60 minutes.

  2. When the sweet potatoes are tender, remove the lid and bring the sauce to a rapid simmer over medium-high heat. Continue to simmer until the sauce has reduced to a glaze, 7 to 10 minutes.

  1. FOR THE TOPPING: Meanwhile, mix all the ingredients for the topping together in a medium bowl; set aside.

  2. Adjust an oven rack to the middle position and heat the oven to 450 degrees. Pour the potato mixture into a 13 by 9-inch baking dish (or a shallow casserole dish of similar size). Spread the topping over the potatoes. Bake until the pecans are toasted and crisp, 10 to 15 minutes. Serve immediately.

Variation

CANDIED SWEET POTATO CASSEROLE WITH TOASTED MARSHMALLOW TOPPING

Follow the recipe for Candied Sweet Potato Casserole, substituting 4 cups mini marshmallows for the pecan topping. Bake until the marshmallows are crisp and golden, about 5 minutes.

190
34
submitted 1 year ago by canthidium to c/cooking


This is an older recipe that became a favorite that I still make every now and then. Remembered it, so thought I'd share.


Ingredients

1 whole large onion
1 whole pork shoulder ("pork butt"), 5 to 7 pounds
salt and freshly ground black pepper
1 11-ounce can chipotle peppers in adobo sauce
2 cans Dr Pepper
2 tbsp. brown sugar

Directions

    Preheat the oven to 300 degrees. Peel the onion and cut it into wedges. Lay them in the bottom of a large dutch oven. Generously salt and pepper the pork roast, then set it on top of the onions in the pan. Pour the can of chipotle peppers over the pork (include the sauce.) Pour in both cans of Dr Pepper. Add brown sugar to the juice and stir in. 
    
Place lid tightly on pot, then set pot in the oven. Cook for at least six hours, turning roast two or three times during the cooking process. Check meat after six hours; it should be absolutely falling apart (use two forks to test.) If it's not falling apart, return to the oven for another hour. 
    
Remove meat from pot and place on a cutting board or other work surface. Use two forks to shred meat, discarding large pieces of fat. Strain as much of the fat off the top of the cooking liquid as you can and discard it. Return the shredded meat to the cooking liquid, and keep warm until ready to serve. (You can also refrigerate the meat and liquid separately, then remove hardened fat once it's cold. Then heat up the liquid on the stovetop and return the meat to the liquid to warm up.
   
Serve on warm flour tortillas or hamburger buns. Top with shredded lettuce, diced tomatoes, grated cheese, avocado slices, salsa, and whatever else you'd like.
191
37
[RECIPE] Siu Mai (Shu Mai) (thewoksoflife.com)
submitted 1 year ago by canthidium to c/cooking


Ingredients For the filling:

3 small dried shiitake mushrooms (or 1-2 large)
1/2 cup hot water
8 ounces peeled and deveined shrimp (any size)
4 teaspoon teaspoons sugar (divided)
1/8 teaspoon baking soda
2 tablespoons water
1 pound ground pork
1 tablespoon cornstarch
1 tablespoon Shaoxing wine
1 teaspoon salt
1/4 teaspoon white pepper powder
1 tablespoon neutral oil
1 tablespoon oyster sauce
1/2 teaspoon sesame oil

For assembling the siu mai:

24 thin Hong-Kong-style round dumpling wrappers (or thin Hong-Kong-style square wonton wrappers)
2 tablespoons very finely minced carrot
chili garlic sauce or chili oil (for serving)

Instructions

Make the filling:

Soak the shiitake mushrooms in the hot water for 2 hours (or overnight) until fully rehydrated. Squeeze any excess water out of the mushrooms. Trim away any tough stems, and very finely chop the mushrooms—you should have about ¼ cup.
Add the shrimp to a medium bowl, and toss them with 1 teaspoon of the sugar, the baking soda, and the 2 tablespoons of water. Set aside for 15 minutes, then rinse the shrimp in a colander under running water until the water runs clear. Drain.
Meanwhile, to the bowl of a stand mixer fitted with the paddle attachment (or just a large bowl, if mixing by hand), add the ground pork, the remaining tablespoon sugar, the cornstarch, Shaoxing wine, salt, and white pepper. Mix on medium-low speed for 5 minutes, or until the mixture resembles a paste that sticks to the sides of the bowl. (Alternatively, mix vigorously in one direction with a pair of chopsticks by hand for 10 to 15 minutes until you get the same result.)
Scrape down the sides of the bowl, add the shrimp, and beat on low speed for 2 minutes. Increase the speed to medium and beat until the shrimp is well incorporated into the pork, another 2 minutes. (If mixing by hand, roughly chop the shrimp, add them to the pork, and mix in one direction for 10 minutes.)
Add the chopped mushrooms, the neutral oil, oyster sauce, and sesame oil. Mix on medium speed for 1 minute (or by hand for 2 to 3 minutes).

Assemble the siu mai:

Line a bamboo steamer with perforated parchment paper, damp cheesecloth, or thin cabbage leaves. Take one wrapper and place a tablespoon of filling in the middle. Squeeze the sides of the wrapper up around the edges of the filling to create an open-topped pocket. Use a butter knife to continue filling the wrapper until it’s stuffed to the top with filling, and then scrape the top flat. If using square wrappers, fold over any excess wrapper and squeeze the wrappers to the sides of the siu mai.
Continue until you’ve assembled all the siu mai, transferring them to the lined steamer basket as you go, placed 1 inch apart. (Place any siu mai that don’t fit in the steamer on a parchment-lined plate or sheet pan to cook in later batches or freeze.) Top the center of each siu mai with a small amount of the minced carrot.

Steam:

Fill a wok with enough water to submerge the bottom rim of your bamboo steamer by ½ inch (you may need to add more boiling water during steaming to keep the water at this level). Bring the water to a simmer over medium-high heat. Place the covered steamer in the wok and steam each batch over medium heat for 9 minutes. Serve with the chili oil or chili garlic sauce.

Notes

Recipe makes about 2 dozen siu mai. Nutrition info is for one serving, or about 3 siu mai. Nutrition info does not include chili garlic sauce or chili oil condiment.
192
193


Hello all,

Thanks for being patient with us during this “merging” process. We think this is the best thing for us short term and will help us grow in the long run. And according to the vote results, it seems most of you agree. So since we anticipate more types of posts here in !Cooking, we have updated the rules as well as instituted a tagging system that should help keep posts organized and easier to find what you’re looking for. Lemmy doesn’t currently have tags built-in so adding post type tags to the title is the next best option we have.

You’ll find a list of approved tags in the sidebar as well as the text copied below. For now, while we are in the early stages, we want to be very lenient with what tags are used. We have a few ready to go but we expect there to be more that come up organically, so for now use your best judgement and if something doesn’t fit, make your own. We will be adding to the sidebar as time goes on until we have a small but useful list. Please also familiarize yourself with the rules and other information there.

Again, thanks so much for your help and feedback during this process and taking part in this community. We look forward to talking with you all in the comments!


Posts in this community must be food/cooking related and must have one of the "tags" below in the title.

We would like the use and number of tags to grow organically. For now, feel free to use a tag that isn't listed if you think it makes sense to do so. We are encouraging using tags to help organize and make browsing easier. As time goes on and users get used to tagging, we may be more strict but for now please use your best judgement. We will ask you to add a tag if you forget and we reserve the right to remove posts that aren't tagged after a time.

TAGS:

  • [QUESTION] - For questions about cooking.
  • [RECIPE} - Share a recipe of your own, or link one.
  • [MEME] - Food related meme or funny post.
  • [DISCUSSION] - For general culinary discussion.

FORMAT:

[QUESTION] What are your favorite spices to use in soups?
194


For recipes, questions, and all other general culinary discussion, please sub to [email protected].


Hello everyone,

We're calling it. The vote posts in Cooking, AskCulinary, Food, and Recipes are all overwhelmingly in support of OPTION 1 so we're moving forward with that decision.

So what does this mean?

  • [email protected], [email protected], and [email protected] will all be locked until such time the user-base is large enough to support them. A pinned post will be in each community pointing everyone to !Cooking.
  • !Cooking will be the place to be for all general cooking discussion, questions about cooking, and sharing recipes, so we are asking users of the other communities to sub if they aren't already.
  • Mods will stay assigned to the other communities and we will periodically revisit to discuss reopening them. We are confident Lemmy as a whole will continue growing and we will be able to see every niche community thriving.
  • The more niche communities such as BBQ, FoodPorn, SousVide, and KoreanFood will continue as they are, but we encourage posting in them as well as Cooking whenever relevant.
  • The sidebar to !Cooking will be updated to reflect the changes as well as new rules for posting to help organize the different types of posts.

Thank you everyone for voting and taking part in this change. Any questions, please comment below and we will do our best to answer. Also, if you have any additional feedback, please let us know below as well.

195
41
submitted 1 year ago* (last edited 1 year ago) by canthidium to c/cooking


Ingredients

1 Tablespoon butter
1 medium onion, diced
6 cloves garlic, minced
3 cups chicken broth (better than bouillon is great)
1 can/box cream of mushroom or cream of chicken soup
7-8 medium sized russet potatoes, peeled and chopped into 1 inch cubes (about 2.5 pounds of potatoes)
1 1/2 teaspoons salt (or more/less to taste)
black pepper to taste (I like a lot of pepper)
1 cup milk
1 tablespoon flour
2 cups shredded cheese (I used sharp cheddar and gruyere)

Garnish

Green Onions or Chives (I used parsley as I didn't have either)
Sour Cream

Optional

I always add some MSG and I put in about 2TBSP of soy sauce and 2TBSP of seasoned gochujang.  Gives it a nice kick and boost in flavor that I love.

Directions

Add butter to the Instant Pot and turn on the sauté button. Once butter is melted, add in the onions and cook for 3-4 minutes until soft. Add in the garlic and cook for one additional minute until fragrant, stirring constantly so that garlic does not burn.

Add the chicken broth, cream of mushroom/chicken soup, potatoes, salt, and pepper to the pot, and stir well.  Cook over manual high pressure for 10 minutes, then quick release the pressure.

Meanwhile, stir together the milk and flour in a small bowl to create a slurry. Set aside.

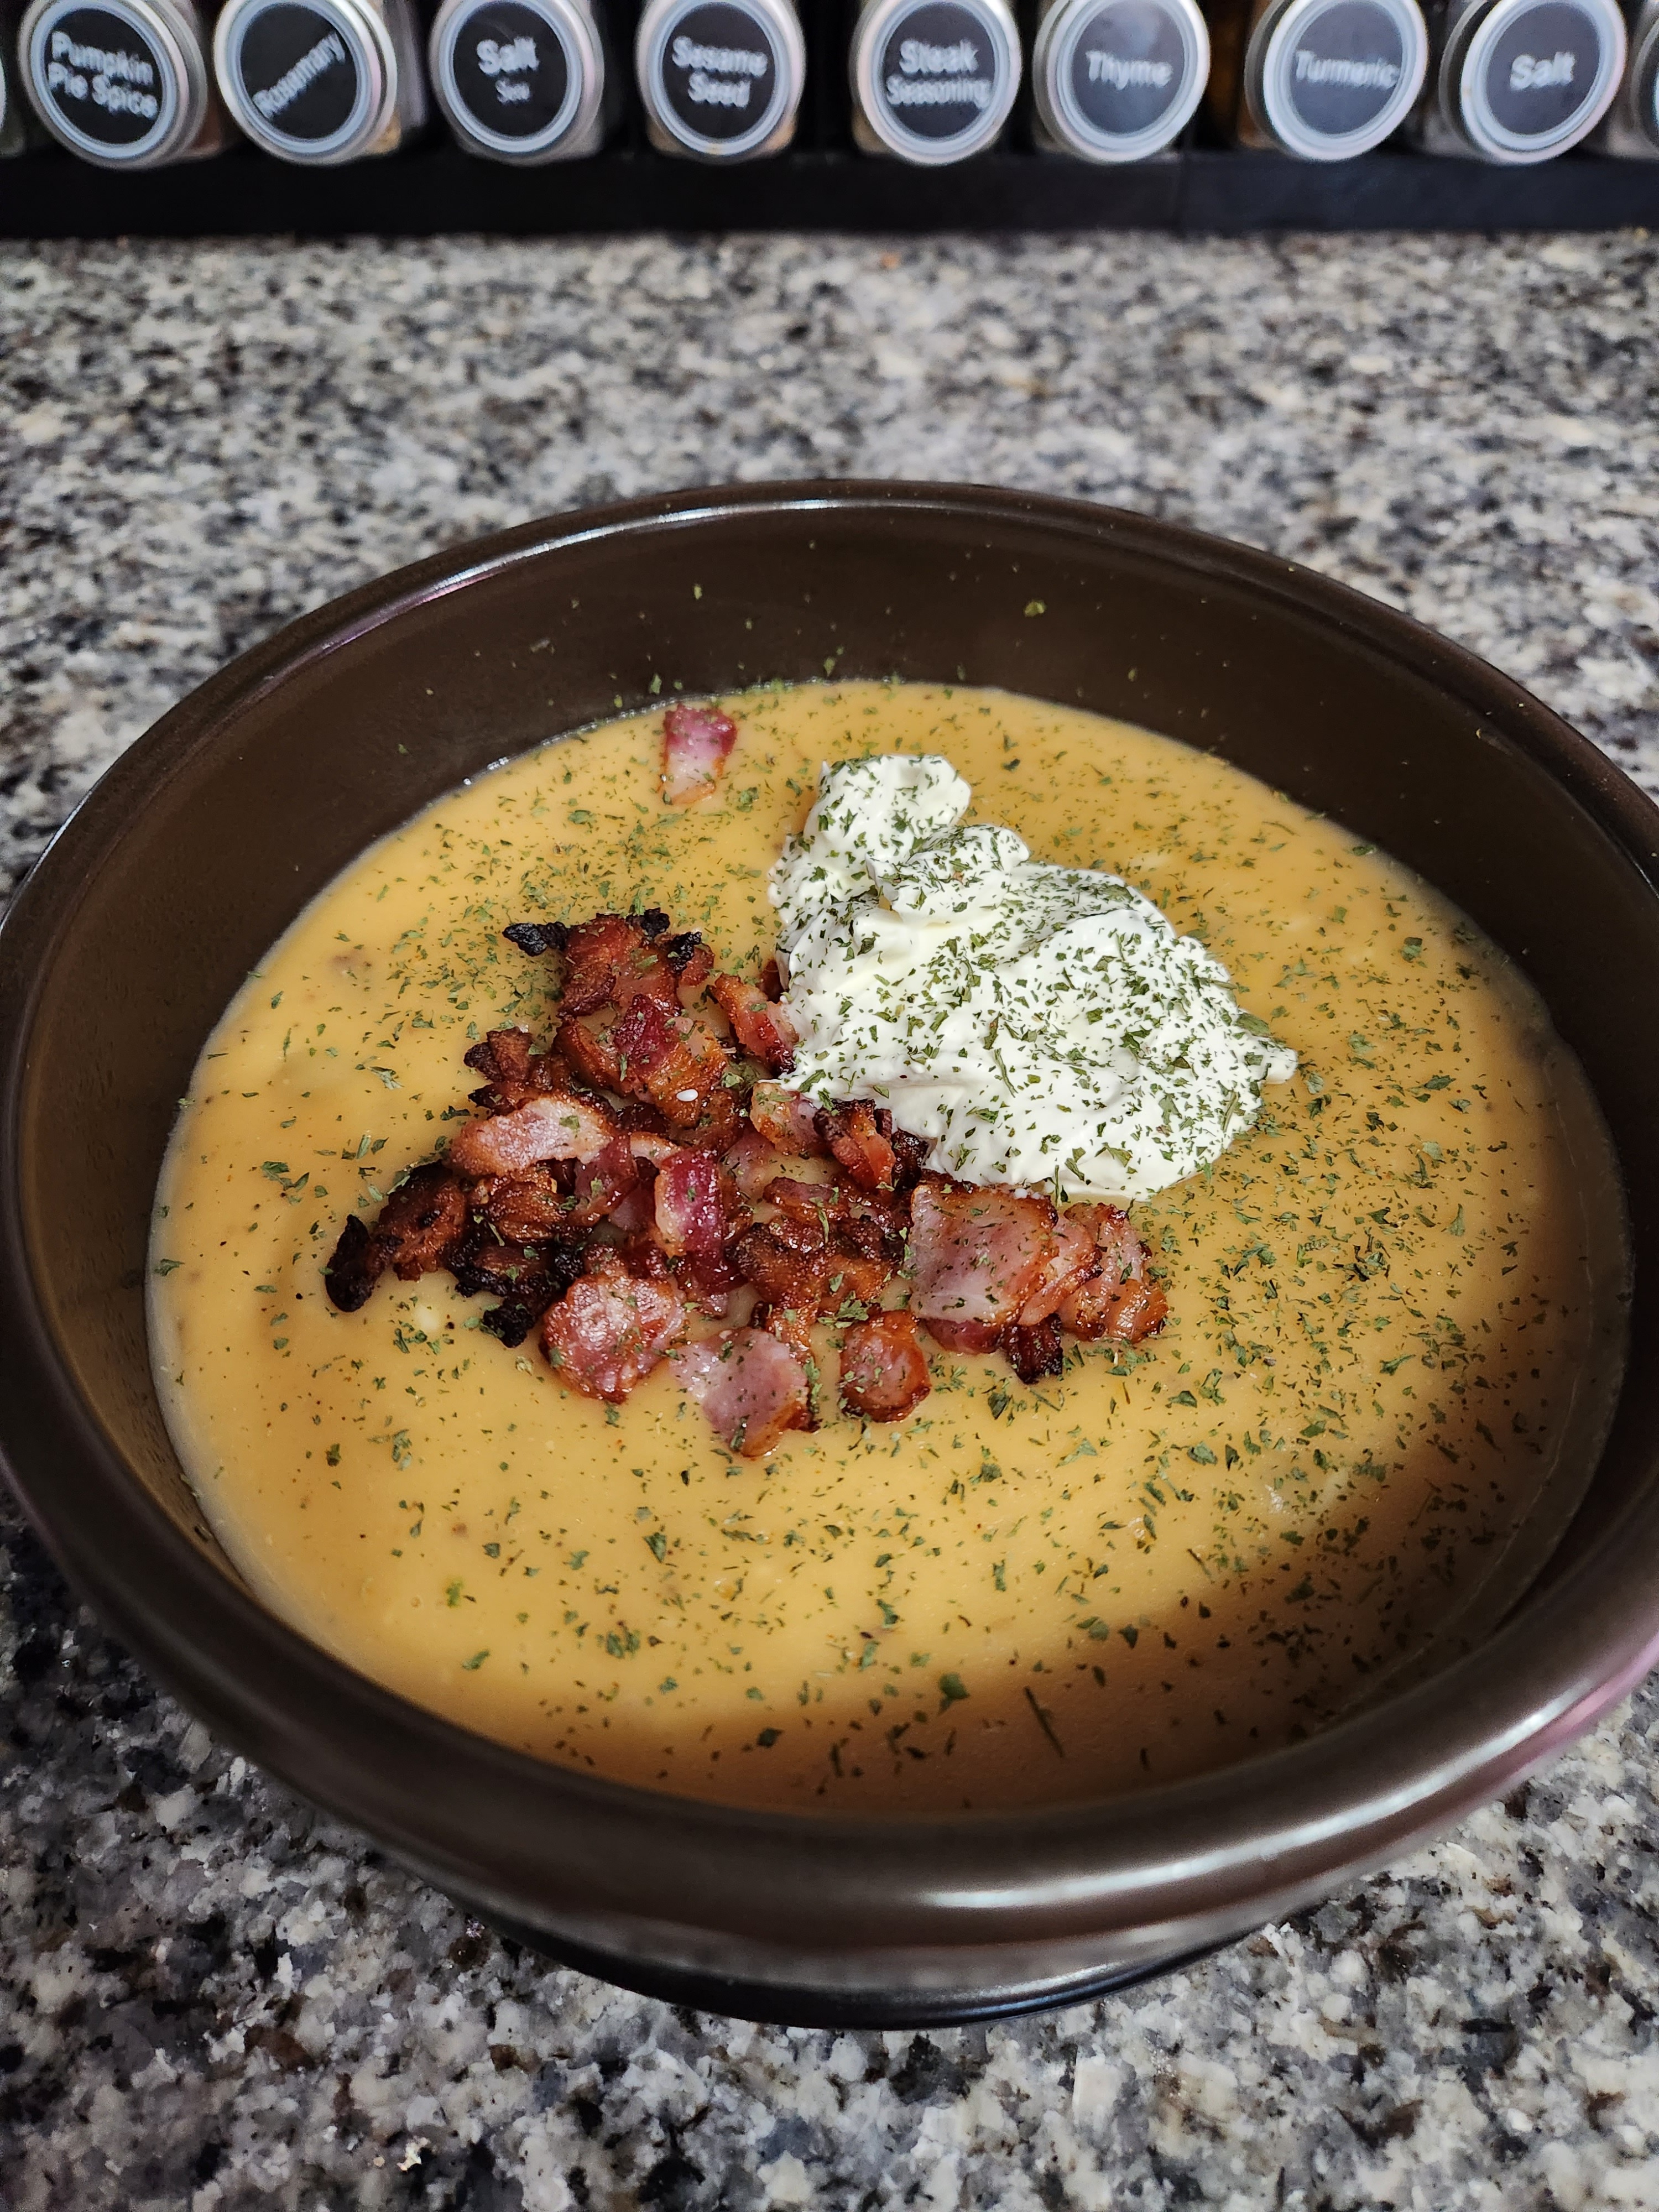
Once the steam has completely released and the pin has dropped on the lid, open the lid and stir in the slurry. (I also used an immersion blender to smooth out some of the chunks as well.  I like a good mix).  Turn the pot to sauté and cook the soup for 4-5 minutes, until thickened. Stir in the 2 cups of cheddar cheese and stir until melted. Serve garnished with chopped bacon, green onions, and sour cream. Enjoy!
196


Hello again,

After getting some feedback on what we should do to help our culinary communities growth in the form of a potential "merger", we have some options and would like each community to vote on the next step. This ballot will be posted and pinned on !recipes, !food, !cooking, and !askculinary, as those are the communities we're looking to combine. Below are comments corresponding to each vote decision.

Please vote by upvoting one of the comments below. Downvotes will be ignored. This post will be left up for a week or until consensus is decided.


Additional info:

If option 1 or 2 get picked, [email protected] will be a catch-all so to help organize, we will be implementing tagging posts. Since Lemmy does not have built in tagging yet, we will be requiring posts to be tagged in the title. For example a post title could be:

[RECIPE] Beef Stroganoff

or

[QUESTION] If you had to eat only one culture's cuisine for the rest of your life, what would you choose?

The community sidebar will have a list of all approved tags and we will be tweaking this as we go along. Tagging may be implemented on some communities regardless of merging or not.

No matter which direction we go, the other more niche communities such as !bbq, !sousvide, and !koreanfood will be left as they are, though we encourage users to post in both !cooking as well as the more niche communities. (We are looking into possible automating this, but there are some obstacles to think about. If this becomes a possibility, we will pin a post to discuss this further) This should limit the amount of duplicate posts and if users still feel there are too many duplicates in their feeds, they can unsub from the niche community and still see the same content, that is if everyone takes part in posting to all relevant communities.

!FoodPorn will remain it's own thing as a showcase of food photos. The mods of that community will have final say on what gets posted there. Food photos are still encouraged in all other communities, but additional information may be needed depending on what community it is. See sidebars of each for content rules.

197
49
submitted 1 year ago* (last edited 1 year ago) by fujiwood to c/cooking


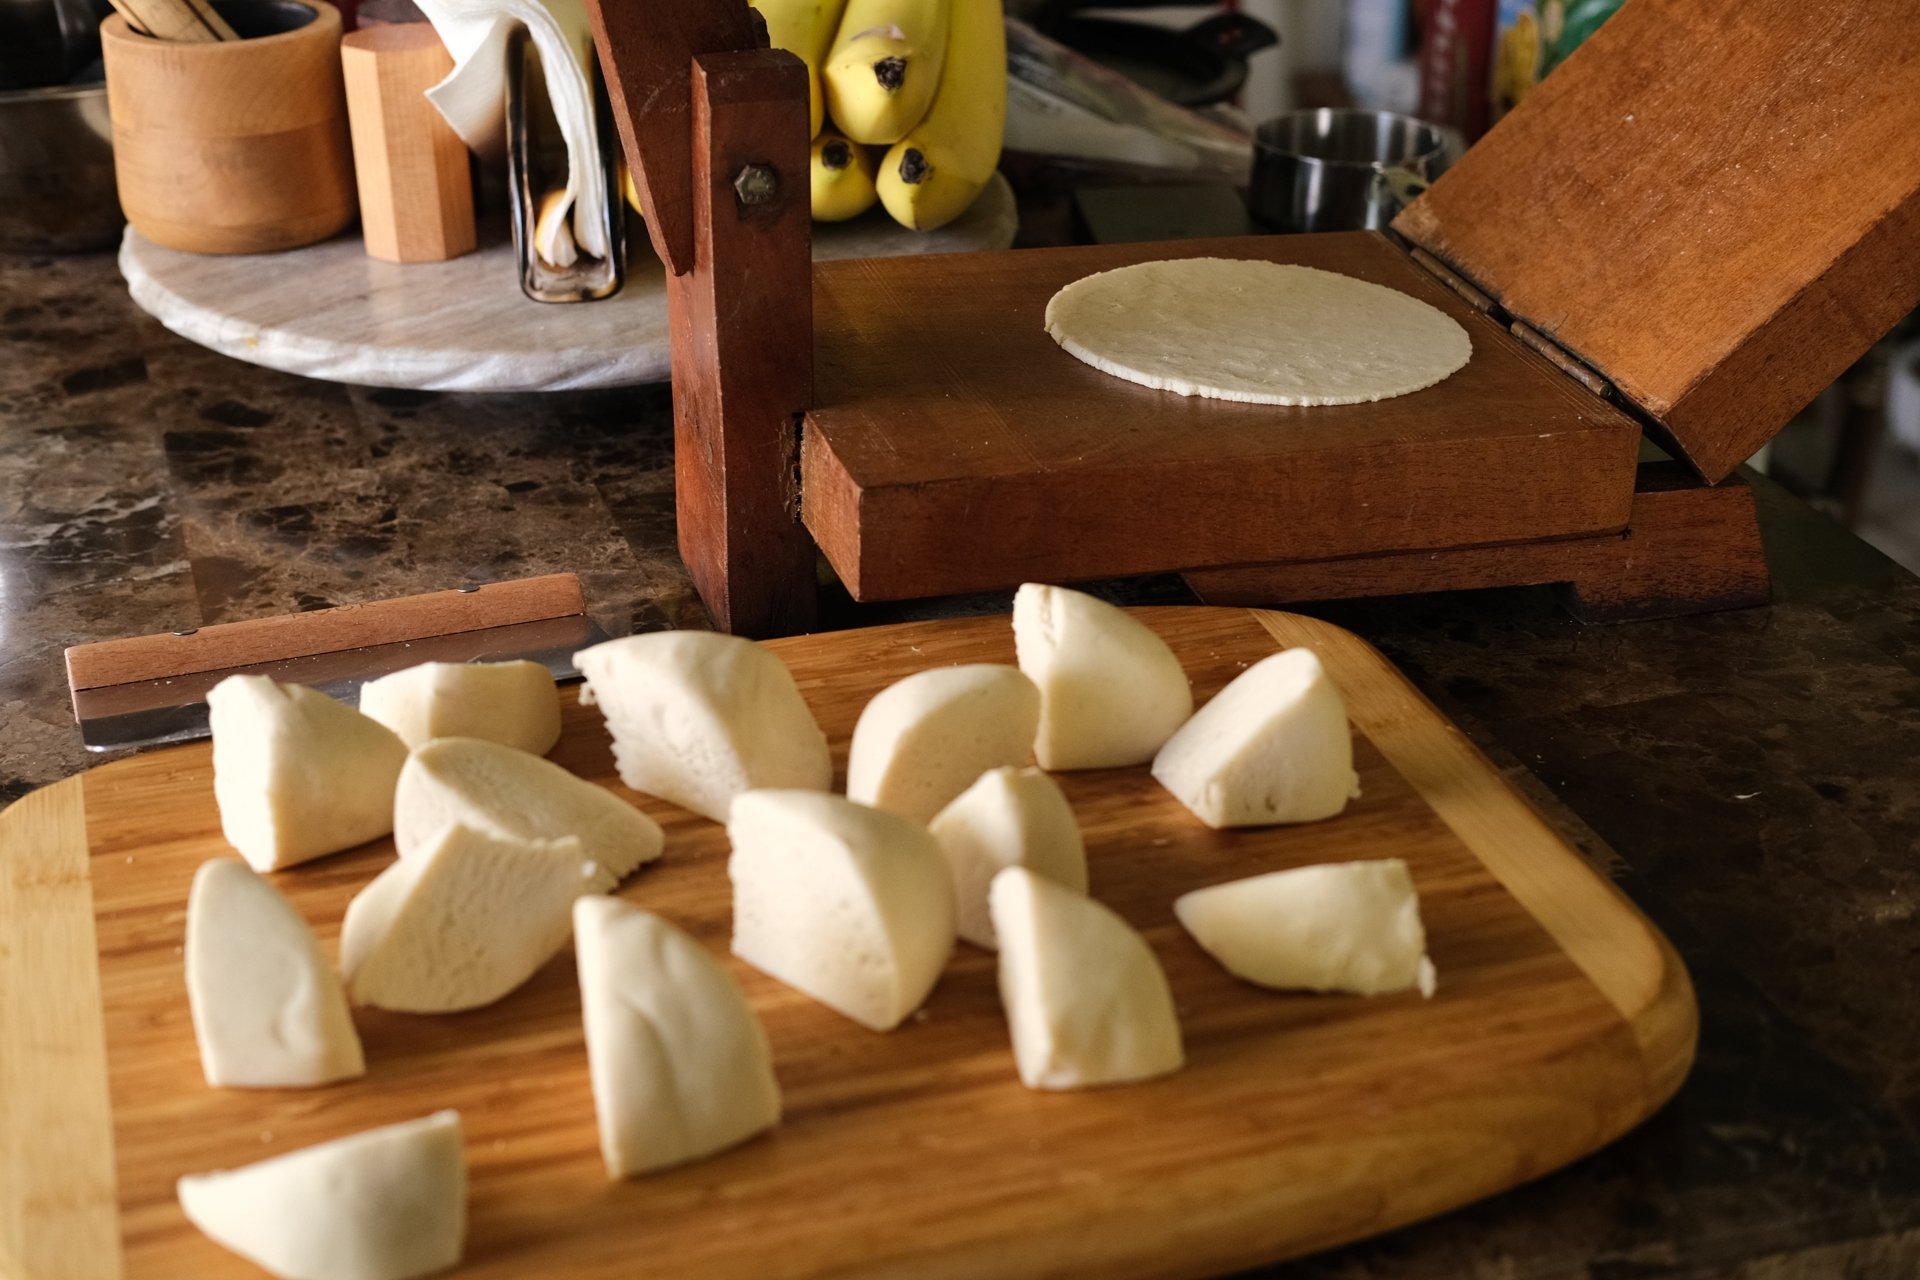
I say home cooked because with prepackaged masa it's literally "add water" to prepare. It doesn't take very long to make but since the flavor of the mass produced masa is very similar to some premade corn tortillas I usually only make them when I'm out of premade tortillas. In my opinion azul masa does have a better flavor, so I wonder if a less refined masa or even homemade masa may have better flavor.

198


I found this article pretty interesting… it seems to contradict the current cooking zeitgeist

199


Came across this channel recently. Chris Young is the creator of the Joule Sous Vide stick as well as the Combustion thermometer line. He's going some really interesting, science-based, cooking videos, so thought I'd share.

200


It's split pea or ham and potato for me.

In my mind, soup is just a technique that's really about the stock. This is just me suggesting that you all should adopt traditional French cooking technique.

For me, it's saving old chicken scraps and certain veggies and then cooking them until they are mush in water. Grocery store rotisserie chicken skin, bones, and juice; carrots, onions, celery, garlic. Anything getting past it's prime. No brassicas though. I'll throw a t bone in there, but while really good beef broth is amazing, good beef bones cost as much as real beef.

Clam juice or shrimp/crab/lobster shells sauteed in butter with water (or the aforementioned stock...) Is also awesome.

Once you've got that, just put anything in it. That's good soup.

Make sure that you put the correct amount of salt in it. If there's no salt, stock tastes terrible.

view more: ‹ prev next ›