1
Blender
2853 readers
29 users here now
A community for users of the awesome, open source, free, animation, modeling, procedural generating, sculpting, texturing, compositing, and rendering software; Blender.
Rules:
- Be nice
- Constructive Criticism only
- If a render is photo realistic, please provide a wireframe or clay render
founded 2 years ago
MODERATORS
2
3
Hi, guys! 👋🏼 When I try to switch to Material preview in Blender my program crashes!
Who knows what can I do with it? 🤔
4
Hi all, I wanted to show some snippets of a project I'm working on. Something I'm calling GuitarNodes, a Geometry Nodes setup for making a procedurally customizable guitar that's easy to animate in Blender.
Here's a brief showcase of the features I've put into it:
Modular Parts
With Menu Switch nodes, it's easy to have swappable parts for the guitar. I've only (crudely) modeled one set at the time, but it's easy to see how a user could keep individual parts in separate collections to switch through. I also plan to make a second (crude) set to alternate between
Body
- Simply choose what body mesh you want
- Can be translated and rotated with gizmos
Headstock
- Choose desired headstock
- Origin for object is at the nut so that it attaches directly to fretboard
Tuning Pegs
- Note that there is a difference between L and R pegs
- Follows an adjustable guide mesh to stick to headstock
- Guide mesh can have individual rows of points(pegs) spaced apart more/less in X direction with gizmos
- Can switch between a guide mesh and curve, where the curve is for in-line pegs
- I don't have the line nodes done yet but it'll behave similarly
- String ends can be adjusted in normal Z direction to match custom peg height
- Can switch between a guide mesh and curve, where the curve is for in-line pegs
- Guide mesh can have individual rows of points(pegs) spaced apart more/less in X direction with gizmos
Output Jack
- Can be rotated, follows a guide empty and faces the normal of the guitar body
- Could also be modular if that's a detail you want to have
Tone Knobs
- Follows a guide curve that resamples to fit number of knobs
- You can edit this curve shape in order to arrange the knobs to your liking
- Will also be modular, such that you can change all of the knobs
Bridge
- Also modular
- Bridge can be moved in Y direction across the body with gizmo
- String ends can be adjusted in Z direction to match custom bridge height with gizmo
Saddle
- Automatically connects strings to bridge
- Also modular
- Can be rotated with gizmo
Neck and Fretboard
- Uses profile curves at nut, 12th fret, and end of fretboard
- Adjustable fret count
- Frets are spaced formulaically
- Minimal UI
- Shows measurement of string scale and the fretboard
Strings
- Adjustable count
- Adjustable gauges
- Tuning-based frequency oscillation in X direction (menu switch)
- Flip string order for left/right handed
- Adjustable oscillation intensity for varied strumming
- Adjustable fretted note values per string
- As the fretted note gets higher, the center of string oscillation moves accordingly
- As the fretted note gets higher, the oscillation frequency increases accordingly
Next plans (v0.8ish - 1.0):
- Adding Z-dimension to oscillation for more realism
- Add per-fret string translation that slightly increases string frequency for bending
- Custom guitar body, drawn with grease pencil (shoutout to Joey C for the inspiration!)
- I need help getting the points which the Tone Knobs instance at: they currently do not rotate to point the Z in the normal direction of the body. Instead, they all seem to match the first point's Z direction only. I want each point to recognize the normal of the nearest faces it's stuck to
- Adding a moveable pickguard whose Z-axis points in the body's normal direction
- Probably going to use a guide empty
- Might also implement custom designs with grease pencil
- Adjustable Z-direction with gizmo
- Player UI
- Shows chord chart for finger placements based on the current lowest fretted note
- Outlier high fretted notes will be shown next to the chart
- Shows chord chart for finger placements based on the current lowest fretted note
Further out plans
- Simulation nodes for strings, so that you can have oscillation decay over time
- Simulation nodes that interact with a plectrum object, so they can be literally strummed (probably gonna need a bit of help, too!)
- Better procedural materials
- Is it possible to use a For Each Element zone to change string material based on its position/diameter (i.e. thicker strings are wound)
- How much of this requires knowledge of handling UVs through geo nodes?
- Simulation nodes for painting custom materials on guitar (or just a good setup for other users to vertex paint it)
- Possible driver UI that changes a lot of these values, so that you don't have to go into the nodes to change things
- Want to implement a tablature-style tracker
- Automatically keys the string fret values to match the song's rhythm, accounting for framerate
- Implement a whammy bar that affects strings
- Any other feedback that I like enough to implement myself

5
6
7
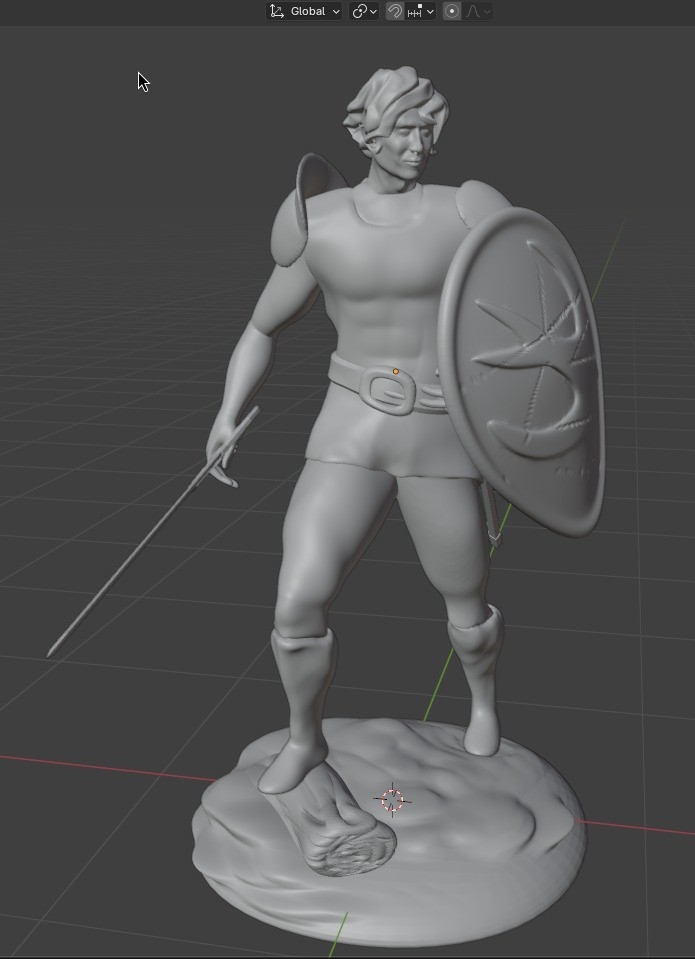
Just a little project to reacquaint myself with sculpting after some time away from Blender. I'm pretty proud with how this one turned out.

8
To be honest, I'm incredibly pleased with the result. I spent half a day with the overall structure, and in general learning how to blender, and another half with actual sculpting. I made many mistakes and had to go back. I even messed-up in the end. This is too heavy I believe, and the topology is terrible because I wasn't constantly re-meshing (I wasn't paying much attention to the tutorial)
9
10

12
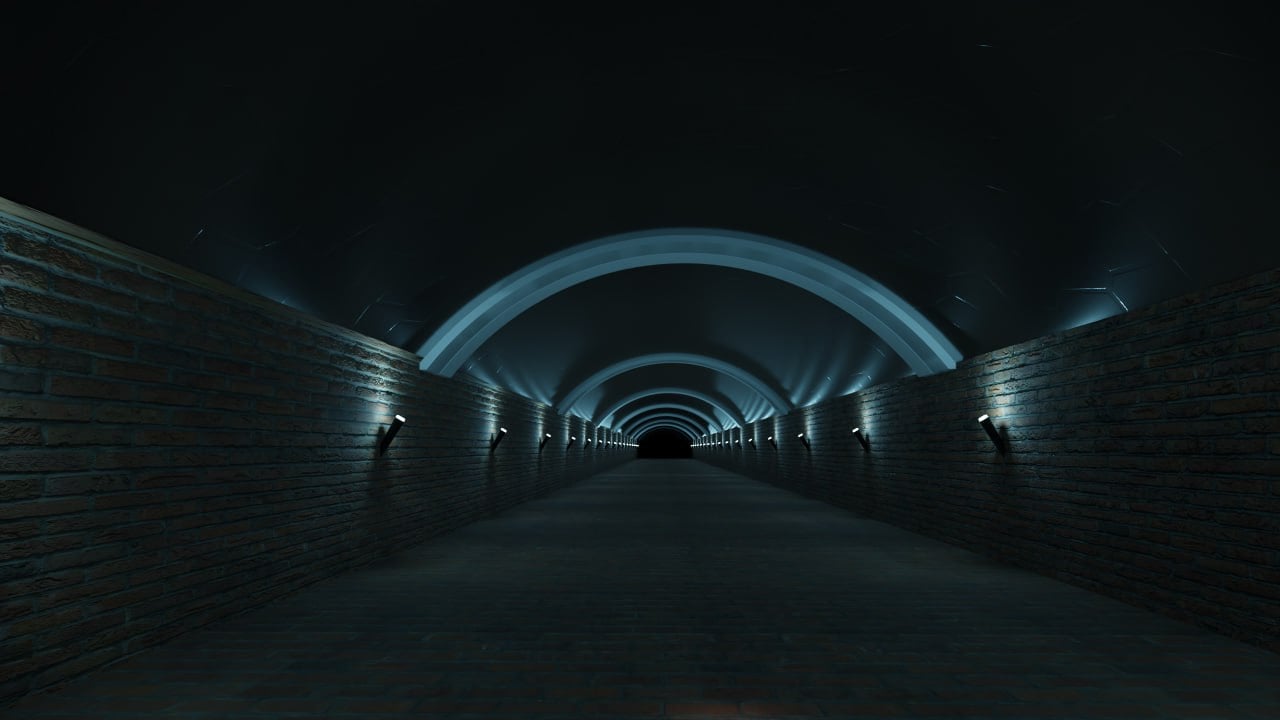
Just started a course from CGboost, I've learned quite a bit. I've been obsessed with adaptive subdivision, making displacements in the shader editor is so addictive NGL.
13
So you want to learn Blender? Read this.
11 months ago, I posted this: I wanted to get into 3D-printing, so I figured I'd dust off my old CAD modeling skills and learn Blender as well, because while they're not the same, the two are somewhat related, and both are useful for 3D-printing. And I always wanted to get into Blender anyway, because I always felt this is a tool I should know and add to my belt.
So I taught myself FreeCAD. That was easy, I knew CAD before. But of course, like everything that looks easy, it took me months to get really good at it 🙂
And with the models I made in FreeCAD, I taught myself 3D-printing. That also took a good long while. And crucially, the need to get better at 3D-printing is what drove me to get better at FreeCAD, because to get the models I wanted to print, I needed to know how to model them.
And then I hit a roadblock: I needed to make a really complex model in FreeCAD - a special shoe if you're wondering - and I couldn't. I mean I could, but it was exceedingly painful and it ended up looking very edgy and blocky, because FreeCAD isn't all that great at letting you control complex lofts.
SolidWorks could have done it much better, but I want to stick with FOSS software and FreeCAD just won't cut this one. I did learn a lot more about FreeCAD trying to model the shoe mind you, so it wasn't for nothing. But ultimately I was unhappy with the FreeCAD shoe.
I knew there was only one tool that could do what I wanted: Blender.
So I took the plunge.
And it was hard!
So the shoe was my first Blender model. Not exactly an easy tutorial... But here's the clincher: I needed it.
11 months ago when I started learning FreeCAD, I tried learning Blender alongside it and I went nowhere. I tried following tutorials, got bored stiff and gave up. I tried modeling something on my desk and I gave up because I'm not interested in pencils or scotch tape dispensers. Very quickly, I concentrated on FreeCAD - which did what I needed to do - and gave up on Blender altogether.
But here, I need those special shoes. I'm interested in 3D-printing them, it's a fun project and Blender is the tool I really need. Just like getting better at 3D-printing drove me to get better at FreeCAD, the need to print this shoe drove me to get better at Blender.
In short, you need a purpose! You won't learn something with as steep a learning curve as Blender without a purpose.
Am I good at it? No.
Am I fast? Hell no.
Do I know it well? Not a tenth of one percent of it.
But here's the thing: I'm good enough with Blender that I now naturally turn to it for certain jobs. For instance, I needed to illustrate something for someone yesterday and I automatically reached for Blender. And while I was modeling what I wanted to illustrate, I automatically reached for the right tools and used the right methodology.
That's the mark of a tool you've internalized: Blender is now part of my toolbelt, and that's what I wanted all along.
So as a newly-minted Blenderer, here's my advice if you want to learn it:
-
Find a purpose. A real purpose! Don't make it up. Whether it's learning something for your job or moving forward in your pet project, you need Blender to serve a true need you have.
If you don't truly need it, you won't keep at it and get over the steep beginning of the learning curve. Without a real purpose, my advice is, don't even bother.
-
Forget all tutorials but one: the donut tutorial part 1 and 2.
The problem with tutorials is, they pretty much all assume you know some Blender, or they're too fast, or they're just not very good from an educational point of view. The donut tutorial is VERY good and it starts you from absolute zero slowly and correctly.
Once you know how to drive blender, you'll be able to get useful information out the other parts of the donut tutorial if you want, or other tutorials even if they're not great. But for the love of all that's holy, use the beginning of the donut tutorial to get going.
-
Forget keyboard shortcuts.
Honestly, this must be the singlemost common mistake in most tutorials. They all tell you "type Ctrl-this, Shift-Alt-that. Numpad-something" and the shortcuts all do something the tutorial wants you to do, but they totally fail to show you why you should be doing this.
Force yourself to use the menus: just by hunting for the things you want in the menus, you'll organically grasp the structure of the menus, why the thing you need is there and not somewhere else, and you'll get a much deeper understanding of how this whole thing works.The shortcuts don't give you that insight.
Don't worry, you'll end up using the shortcuts too eventually, when you're tired of clicking the same sub-sub-submenu item for the millionth time. But you'll know what the shortcut cuts short, which is surprisingly important.
-
Check which version of Blender you use and dismiss tutorials or tips you find online that don't pertain to that version, or that are too old.
Blender evolves constantly, and most of what you'll find online don't really apply directly to newer versions anymore. You can waste a lot of time realizing that this menu item that someone is refering to doesn't exist anymore or has moved someplace else. It's silly really, but that's an easy trap to fall into.
-
Do the drudgery. Yes, sometimes it's a PITA to move thousands of invidual vertices or clean up faces manually. And more often than not, if you feel a need to do something in a smarter way, chances are someone else did too before you and there's a clever tool for that you'll probably find easily online. But when you do the drudgery, you build up muscle memory and reflexes. So at least at the beginning, don't shy away from low-level editing.
So that's my advice to get into Blender. It's not an easy tool to learn but it's an important one, and that's how I got into it. Hopefully you'll find my limited experience worth your while.

14
15
16
20
Blender Proposal: Collaborate with other projects to create a new 3D interchange format
(blender.community)
17
44
New to blender, really liking the cycles renderer and modifiers. (Using "Warp" modifier here)
(lemmy.blahaj.zone)
I'm trying to learn blender for making tandril studio-like animations (the UI animations usually published by Microsoft when announcing something new like here with Copilot).
I know that's a big goal, but I still wanna do it...

18
19
20
21
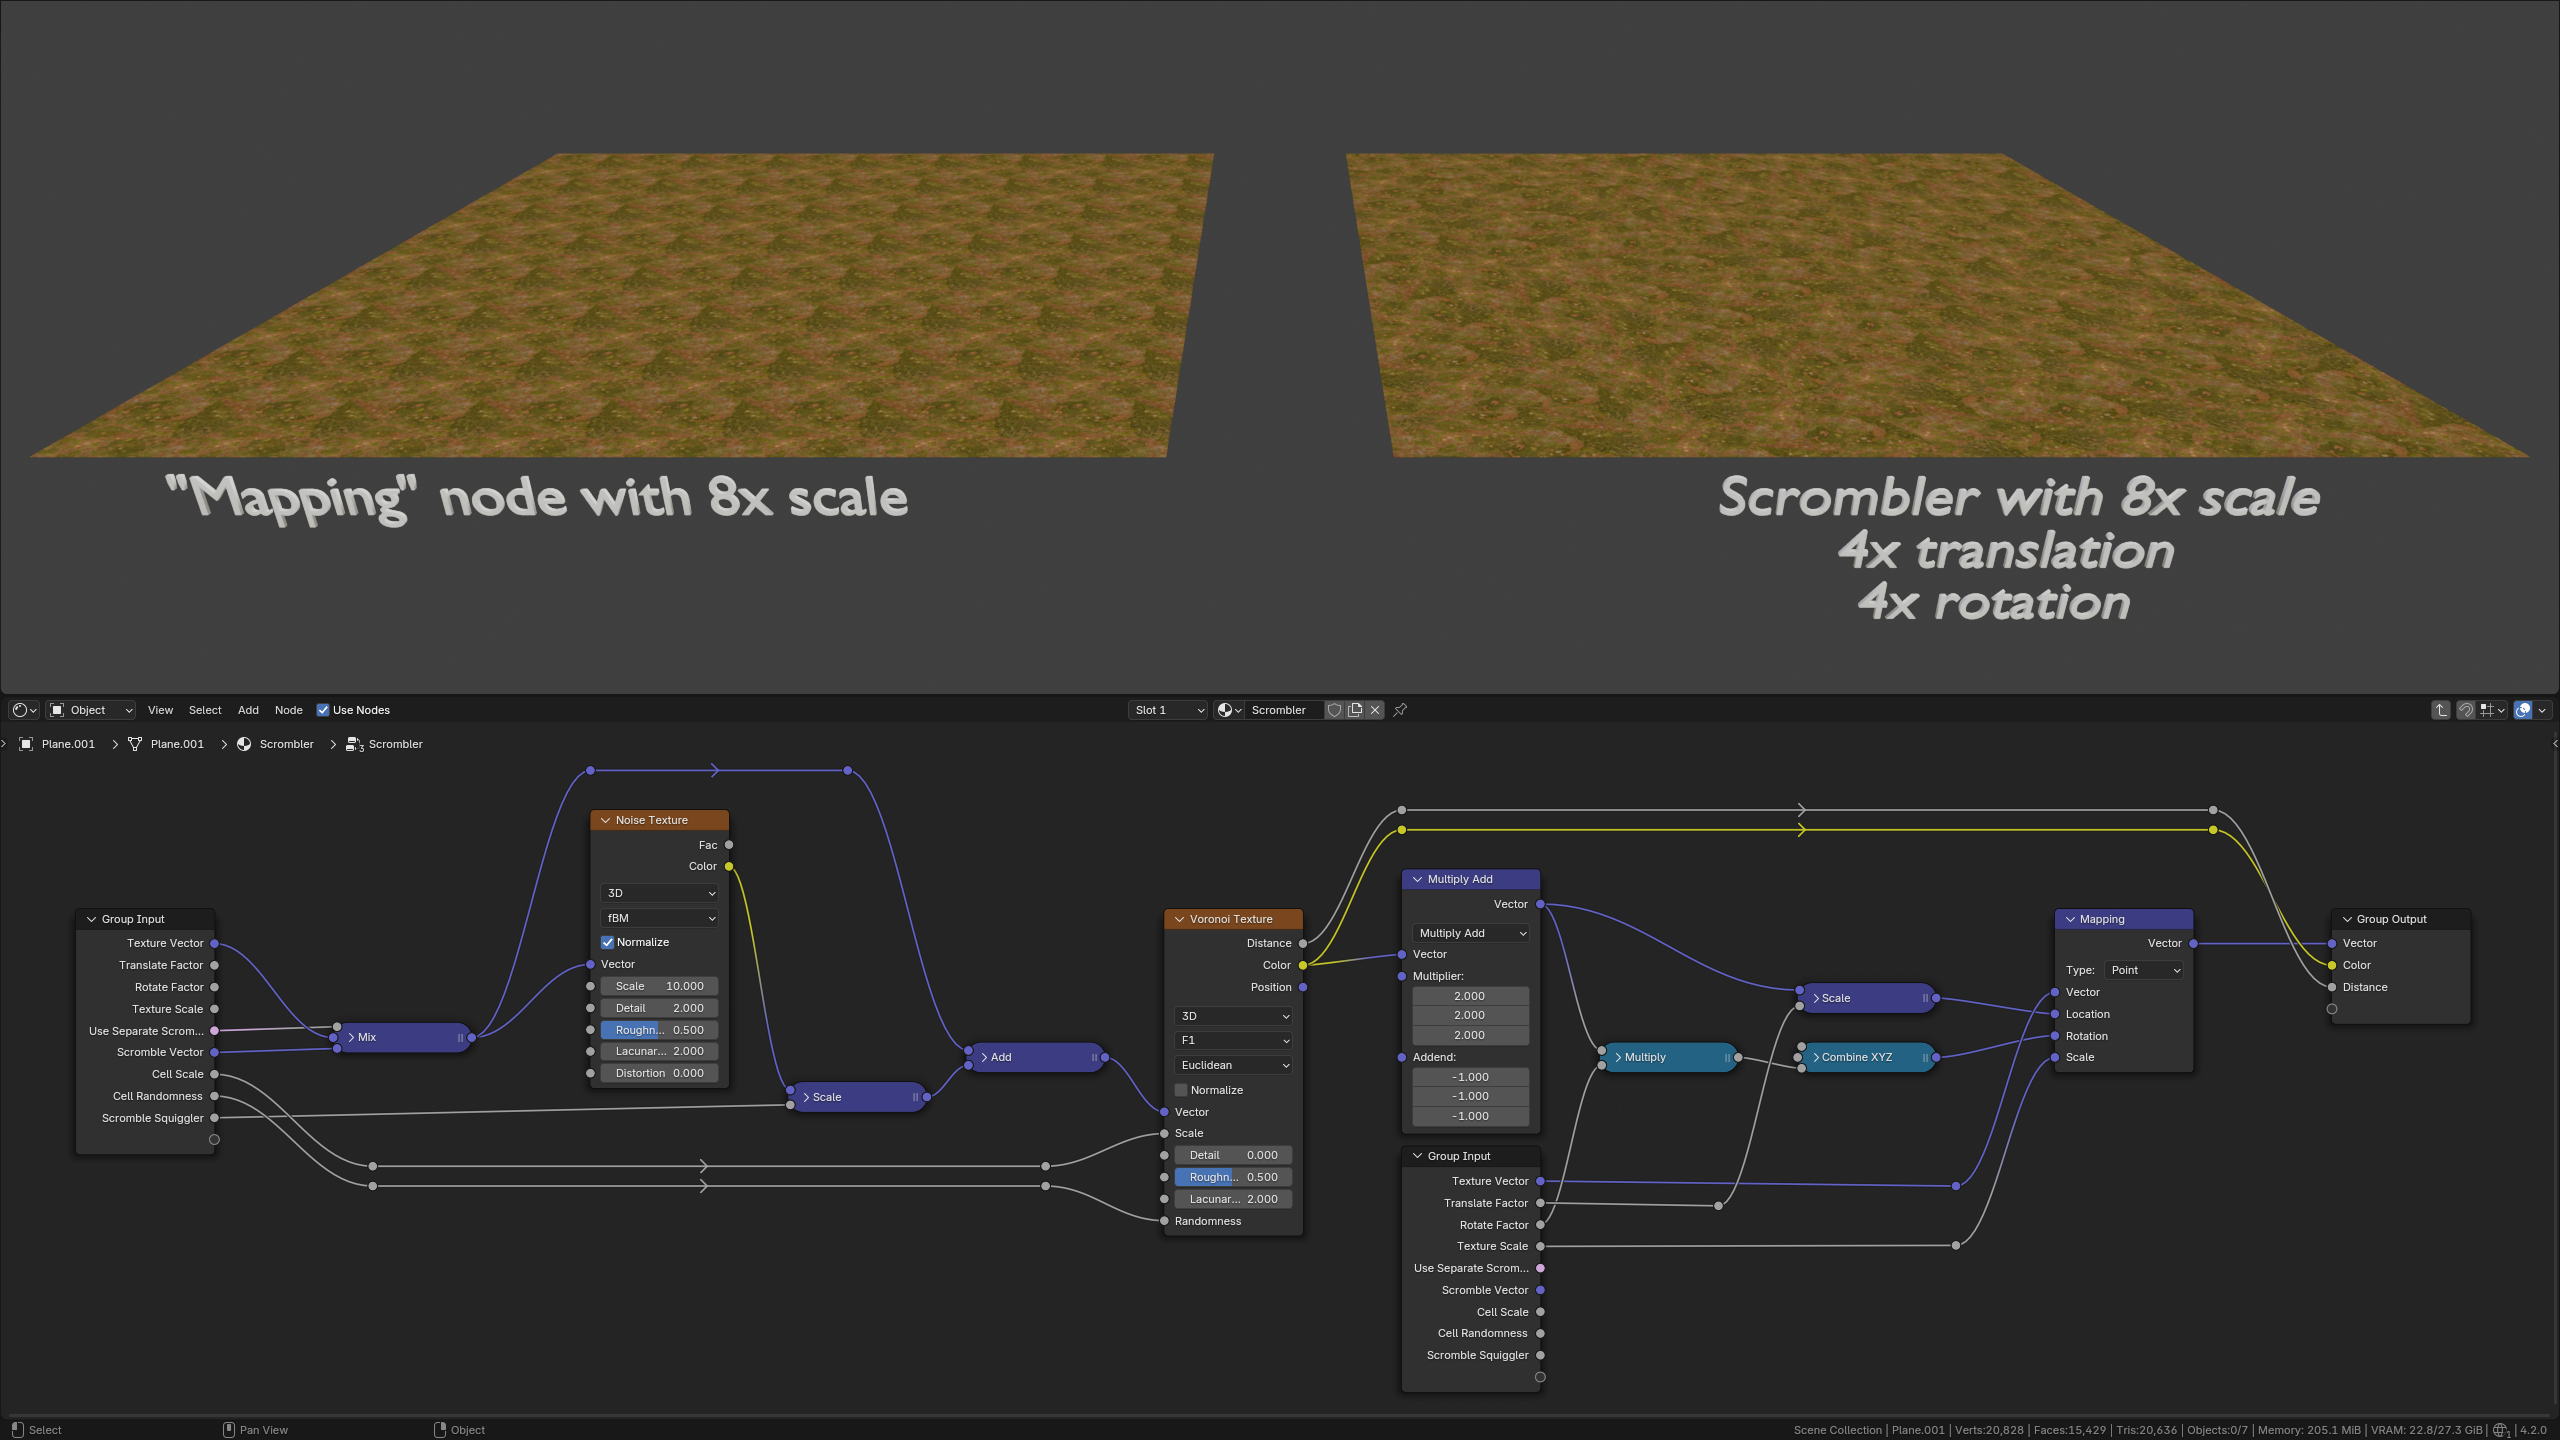
This is a simple shader node group that breaks up the visual repetition of tiled textures. It uses a Voronoi texture's cell colors to apply a random translation and/or rotation to an image texture's vector input to produce an irregular pattern.
I primarily made it for landscape materials. The cells' borders are still sharp, so certain materials, like bricks, wood, or fabric, will not look good.

23
24
25
view more: next ›