bistdunarrisch

joined 11 months ago
[–] bistdunarrisch 2 points 2 weeks ago

Absolutely stunning image! Thanks for sharing

124
submitted 1 month ago* (last edited 1 month ago) by bistdunarrisch to c/pics
 

Shoot with a Samyang 135mm lens and a Fuji X-T5.

[–] bistdunarrisch 3 points 1 month ago

Also we were quite surprised how bright the nebula is. We didn't thought to get that much signal with 15min exposure time. Even more so as our camera is not infrared modified.


This is a first test to shoot NGC 7293 with a 135mm lens. Sadly we could only gather 15 min exposure time as the time frame for shooting this nebula is super short and we had a lot of clouds. Hopefully we have better conditions next year. But this test makes us hopeful to get a decent image with our equipment.

  • Samyang 135mm
  • Fuji X-T5
  • dual narrowband filter
  • Star Adventurer 2i
  • 29 * 30s
  • stacked in Siril
  • BXT, NXT, SXT
  • final editing in PS
[–] bistdunarrisch 1 points 2 months ago (1 children)

Interesting, how much power does the laser have to need to be able to burn the paint?

[–] bistdunarrisch 2 points 2 months ago (1 children)

Haha, the board won‘t win any prices for sure. But for a first try I‘m still very happy.

[–] bistdunarrisch 2 points 2 months ago
[–] bistdunarrisch 3 points 2 months ago

I used this code as the base and changed it slightly so the pump has a safety time out and can be controlled via PWM.

In newer projects I use code from Espressif however because it works with Matter and Threads.

[–] bistdunarrisch 6 points 2 months ago

Yes exactly. It checks the weather forecast however so it doesn’t water when it‘s raining. This way I don’t have to refill the canister too often. A better way would be to attach moisture sensors to the plants, but I don’t like having to change batteries constantly. This is a very simple solution but it works for me.

[–] bistdunarrisch 7 points 2 months ago

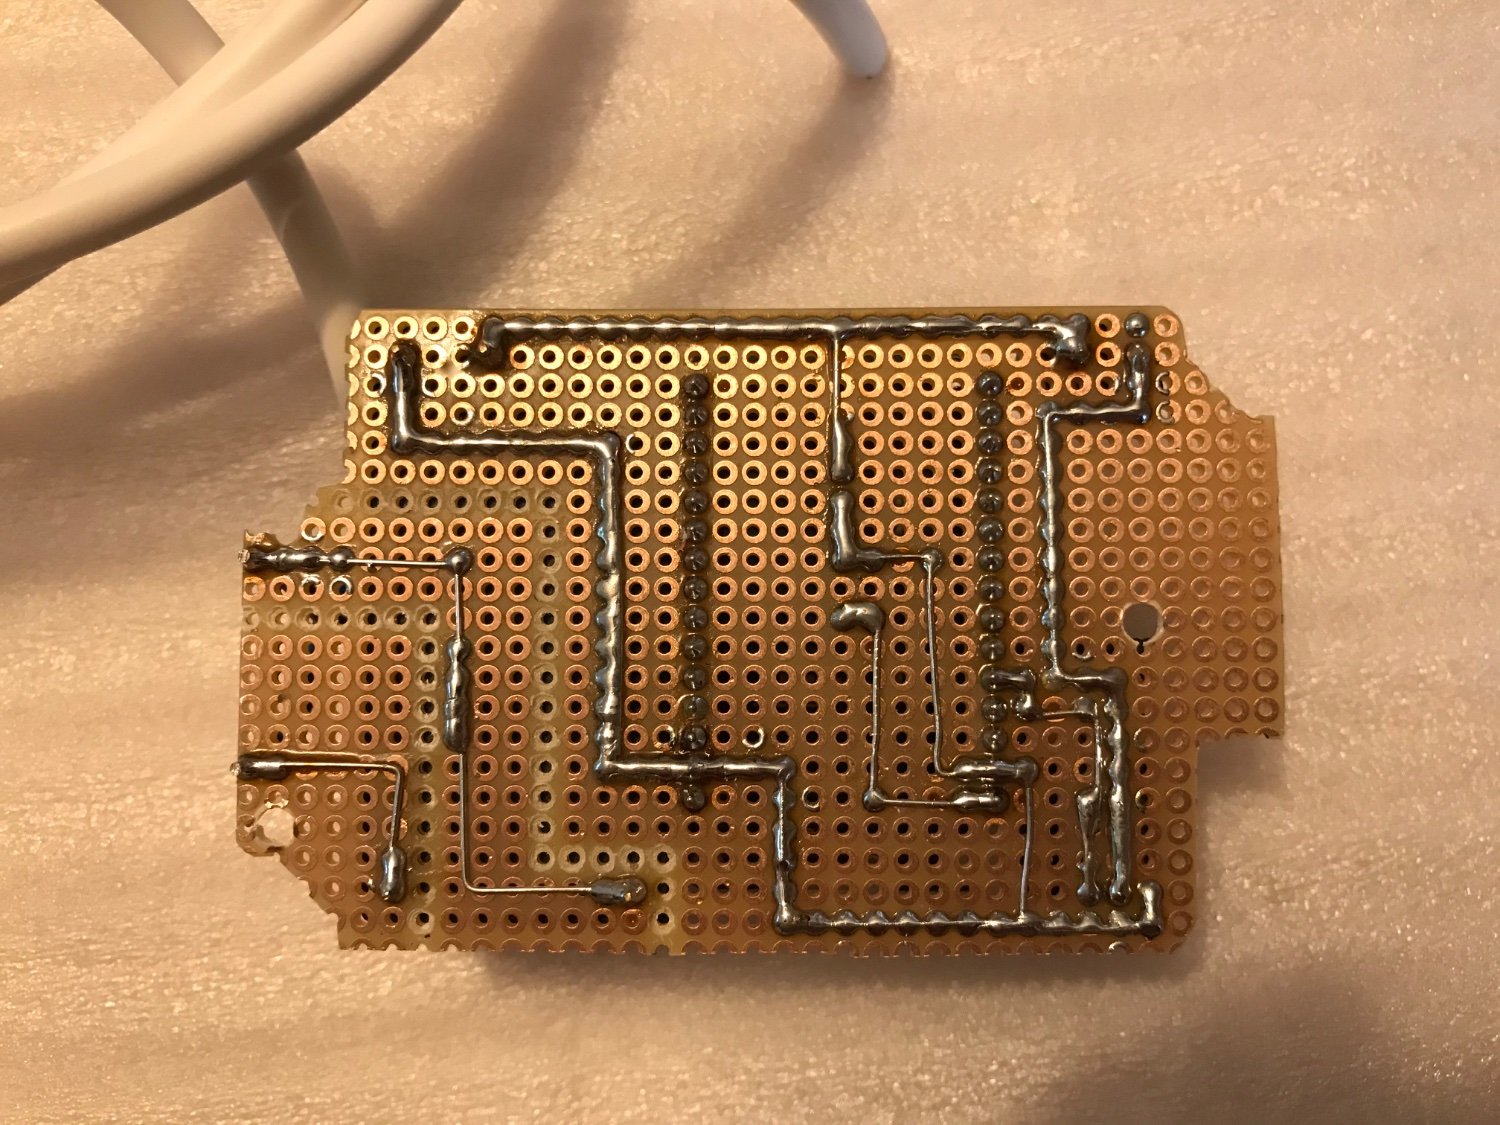
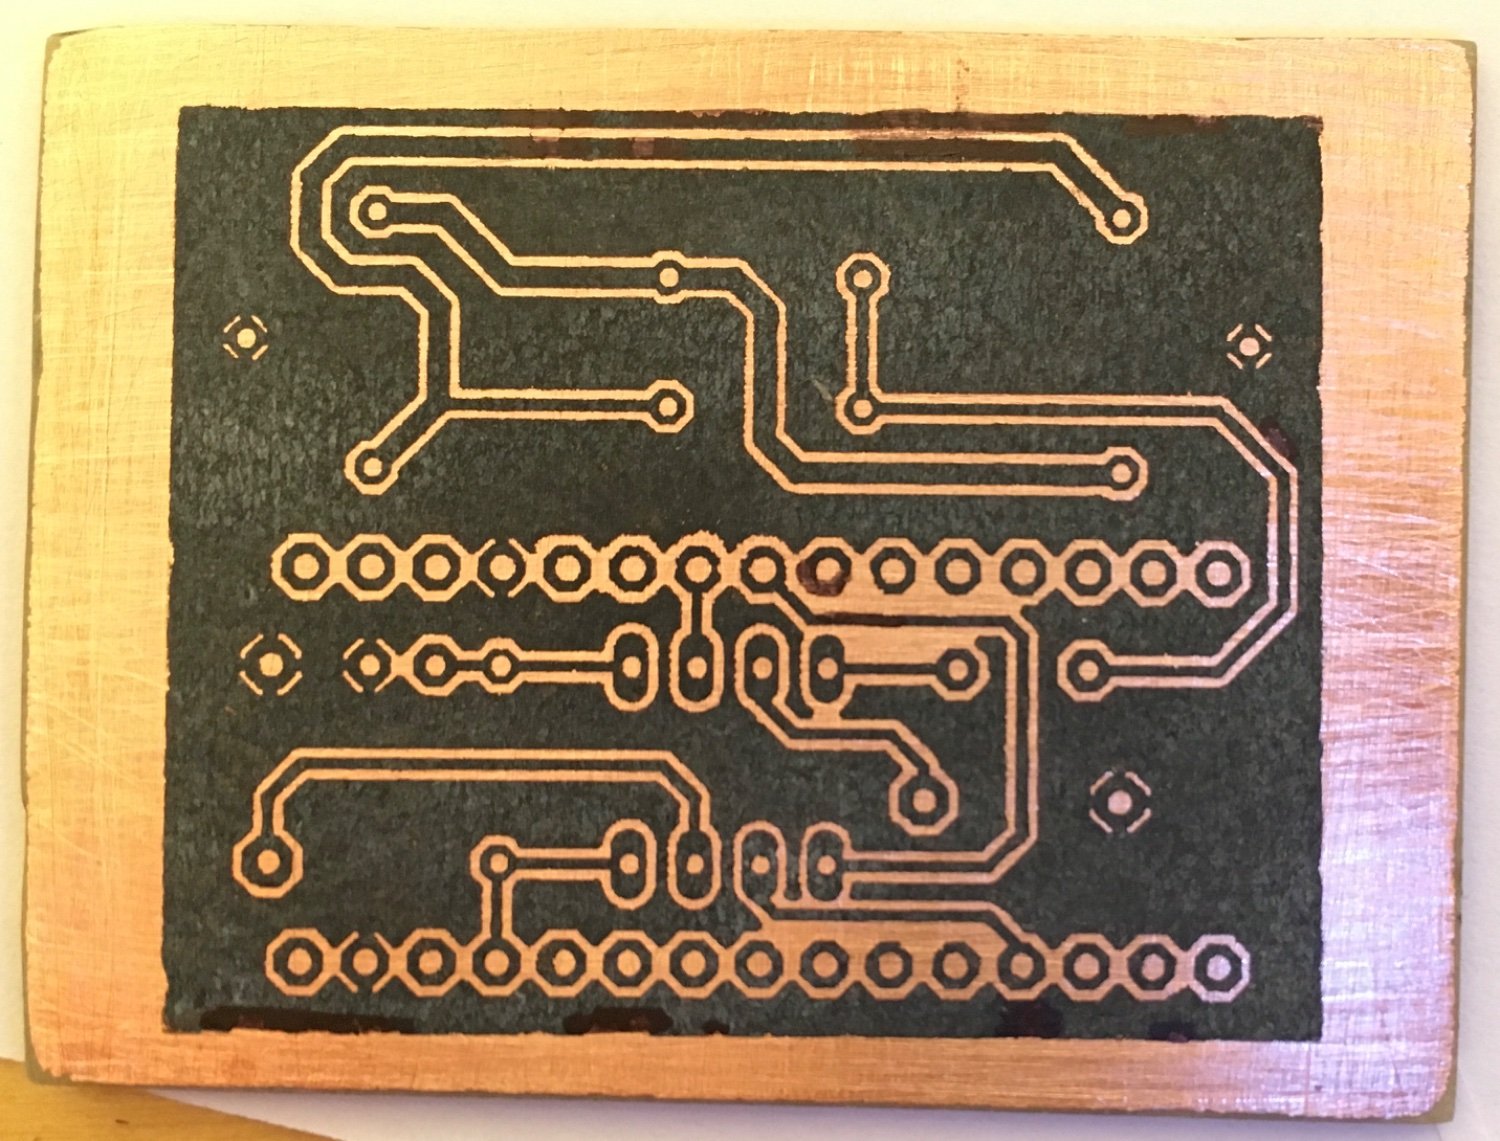
I just printed the design on a glossy paper and used an iron to transfer the toner from the paper onto the pcb (last image). The toner protects the underlying copper in the etching process, so only the free copper gets etched away. I used Na2S2O8 for etching.

[–] bistdunarrisch 4 points 2 months ago

Yes UV is so much nicer, I also use this method now when I‘m not ordering online.


cross-posted from: https://lemmy.world/post/21224914

As I don‘t have a water outlet on my balcony I use a water tank and a pump for watering my strawberries. I developed a controller for the pump which runs natively on Apple Homekit but I‘d like to change it to Matter and Threads in the future.


cross-posted from: https://lemmy.world/post/21224914

As I don‘t have a water outlet on my balcony I use a water tank and a pump for watering my strawberries. I developed a controller for the pump which runs natively on Apple Homekit but I‘d like to change it to Matter and Threads in the future.


As I don‘t have a water outlet on my balcony I use a water tank and a pump for watering my strawberries. I developed a controller for the pump which runs natively on Apple Homekit but I‘d like to change it to Matter and Threads in the future.


cross-posted from: https://lemmy.world/post/21224425

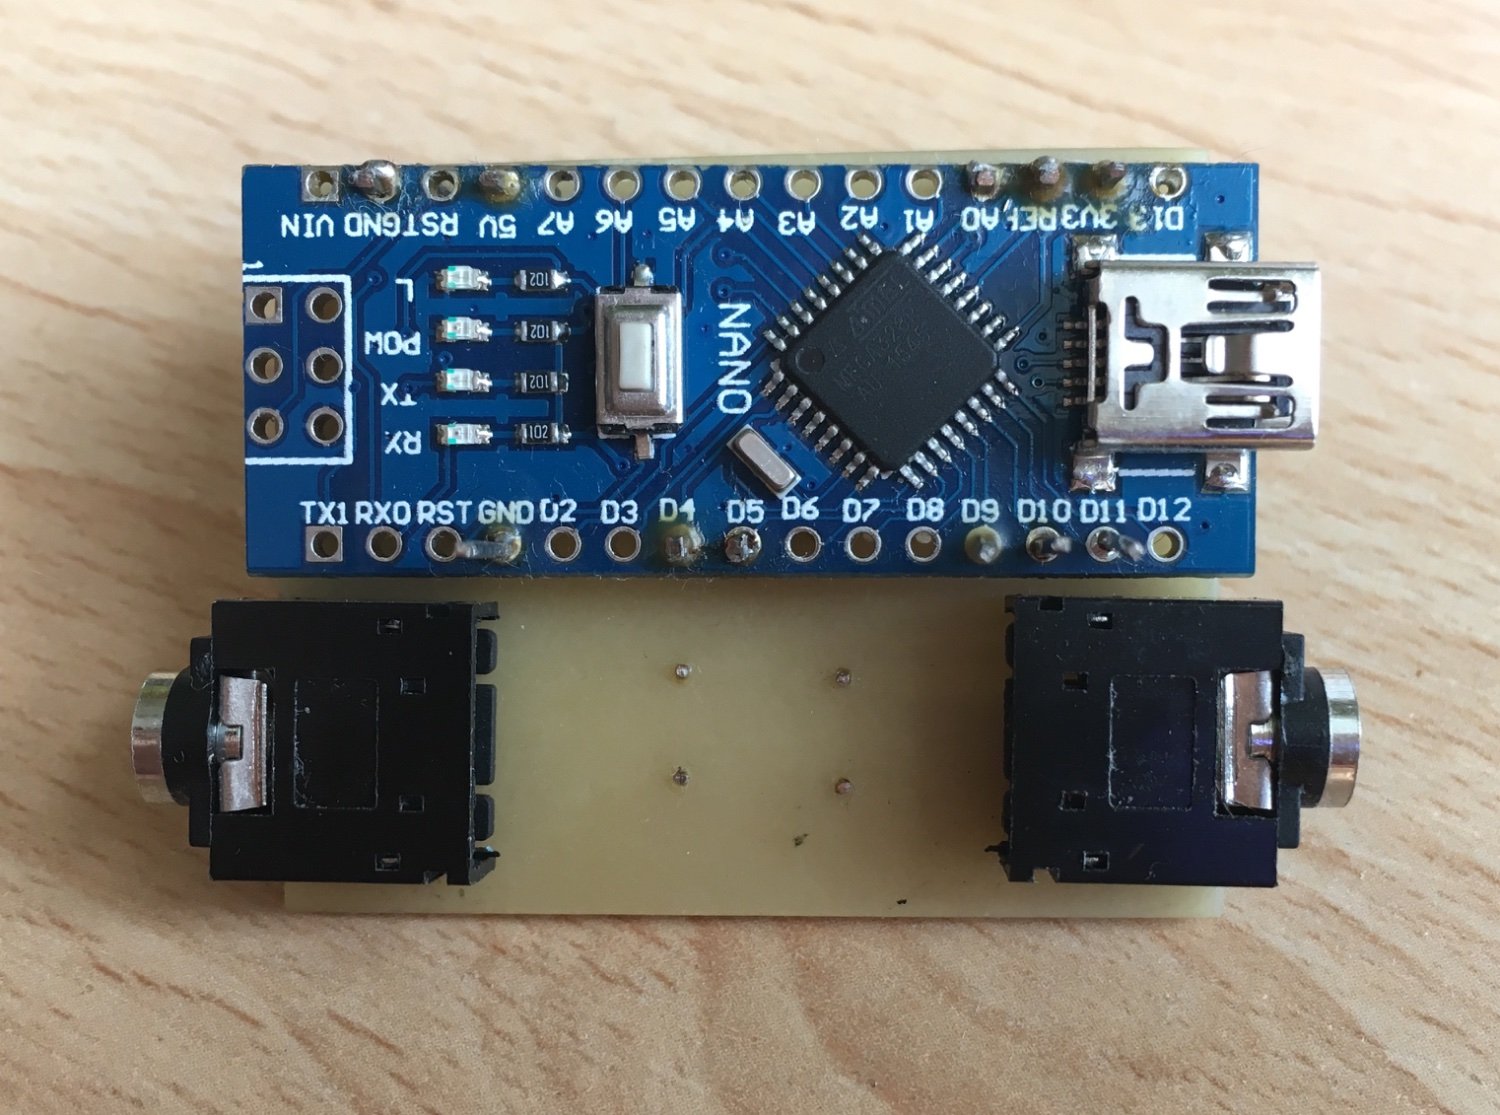
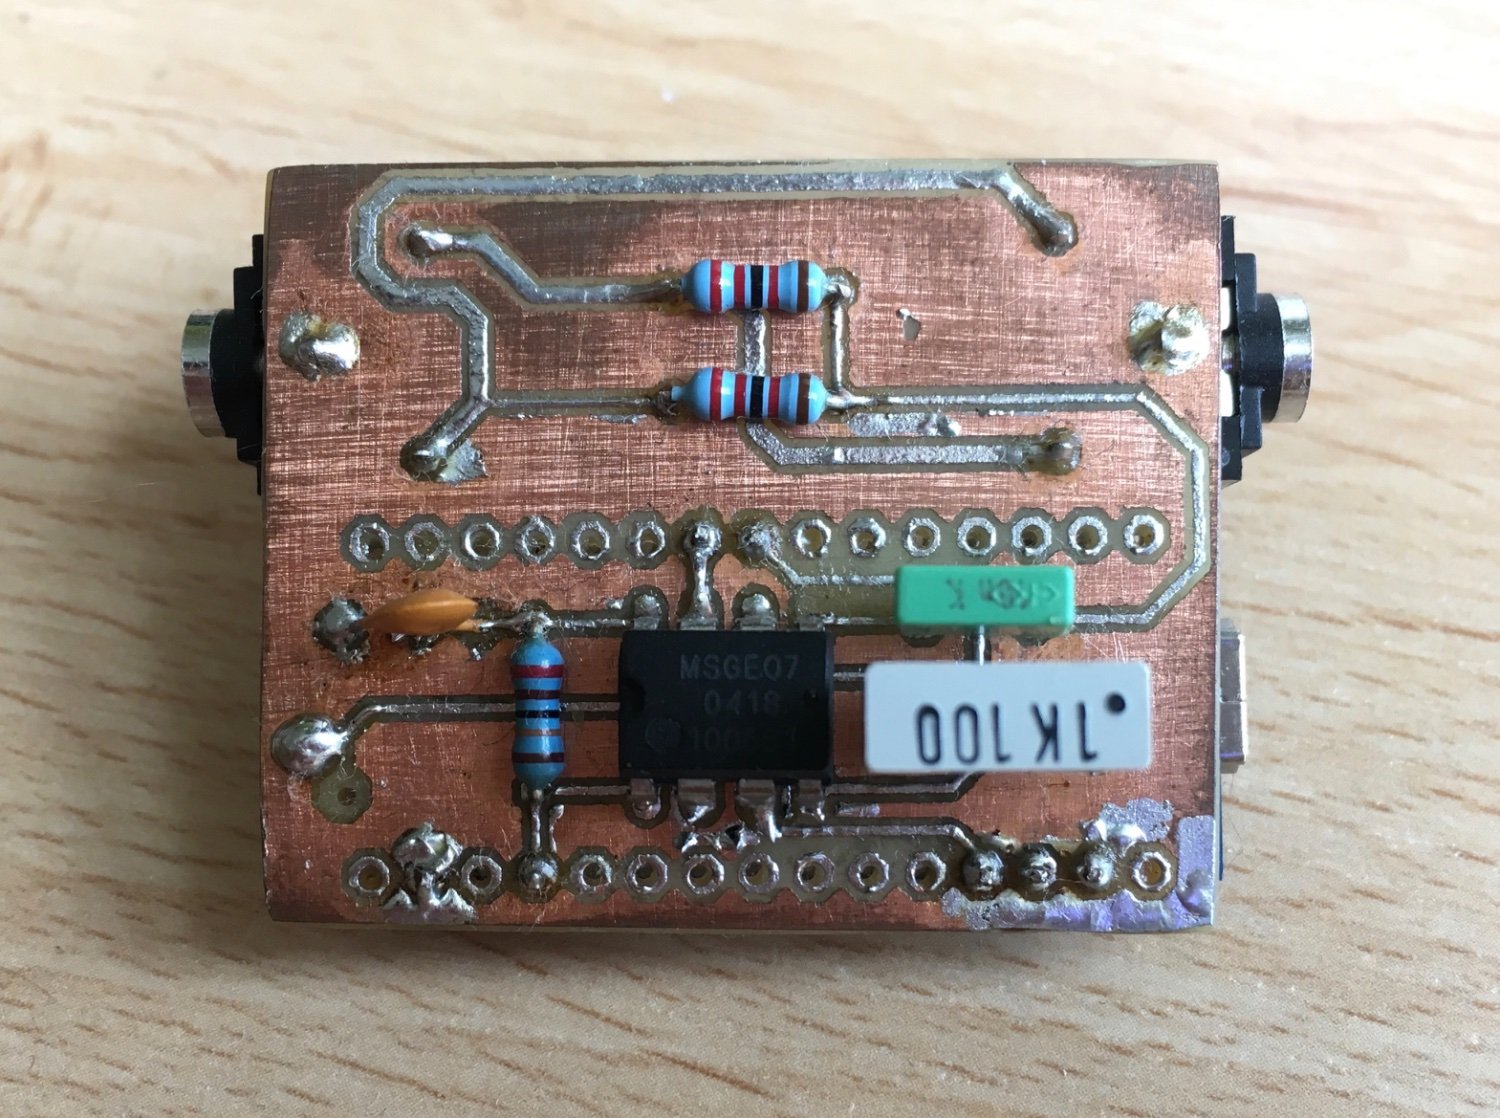
This was my first try developing my own pcb with the toner transfer method. I did this project many years back but it works perfectly to this day.

It filters an audio signal and drives led strips so they pulsate to the beat of a song.


This was my first try developing my own pcb with the toner transfer method. I did this project many years back but it works perfectly to this day.

It filters an audio signal and drives led strips so they pulsate to the beat of a song.


Got another shot at C/2023 A3.

  • Samyang 135mm f2.0
  • Fuji X-T5
  • 603 x 5s
  • ISO 400
  • Stacked, streched in Siril
  • combined stars, comet and foreground in Photoshop
[–] bistdunarrisch 1 points 2 months ago* (last edited 2 months ago) (1 children)

Ah ok, so I assumed you registered all your light frames onto your stars as your stars look very sharp. And that’s the normal way for every astro image you would normally do. A comet however moves so fast that its position changes even in the short time frame were you took the images.

So after registering all the images with the stars pattern you want to make a second registration were you mark the position of the comet on the first frame and on the last frame. With that now all images are aligned onto the comet and now the stars appear to move in the background. As your stars look so sharp I assumed you didn’t make the second registration. In DSS there is a comet mode for that but I haven’t worked with that so I can’t tell you about the workflow with that program.

Hope that helped in any way!

[–] bistdunarrisch 1 points 2 months ago (3 children)

I do not have much experience with DSS, as far as I know the result should be very similar. „Lights“ is the term for a single exposure. The technique is basically the same no matter which software you use.

But if you have Siril specific questions feel free to drop any questions :)

[–] bistdunarrisch 1 points 2 months ago (5 children)

It‘s hard to tell from your image, bit it appears you can even get a bit more details if you register your lights onto the comet itself and then stack all the images. I used Siril for the two step registration process.

But nice image nonetheless!
68
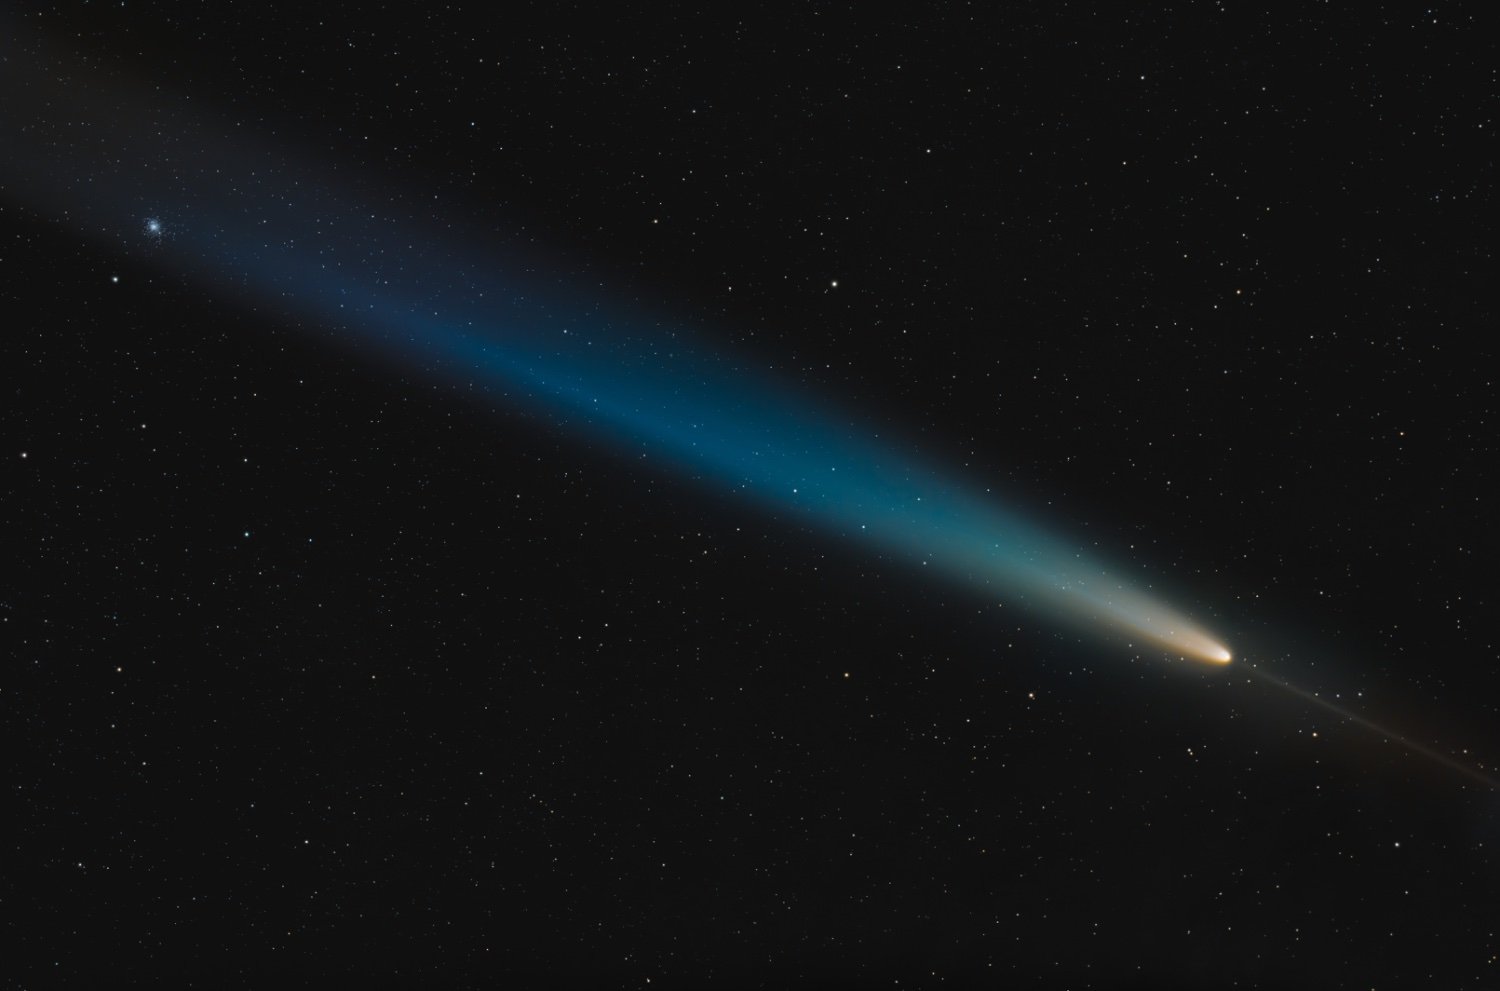
C/2023 A3 & M5 (lemmy.world)
submitted 2 months ago* (last edited 2 months ago) by bistdunarrisch to c/astrophotography
 

We got extremely lucky and got a tiny window of cloudless sky in an never ending sequence of cloudy nights. Also the conditions were a nightmare with severe light pollution and lights shining directly at our equipment.

  • Samyang 135mm f2.0
  • Fuji X-T5
  • 158 x 5s
  • ISO 125
  • @f2.8

And maybe somebody here can explain to us what the ionized gas is that 'shoots out‘ in front of the comet?

Also do the colours seem to be correct? We tried our best at background extraction and maintaining the true colour, but the raw data was of poor quality. From images of other comets the dust tails normally seems to have a yellow/orange colour and only the plasma tail is blue.

Edit: found the answer to the Anti-tail. It shows the trail of dust were the comet has traveled, which appears to come out at the opposing side because of earths angle relative to the comet and sun.

61
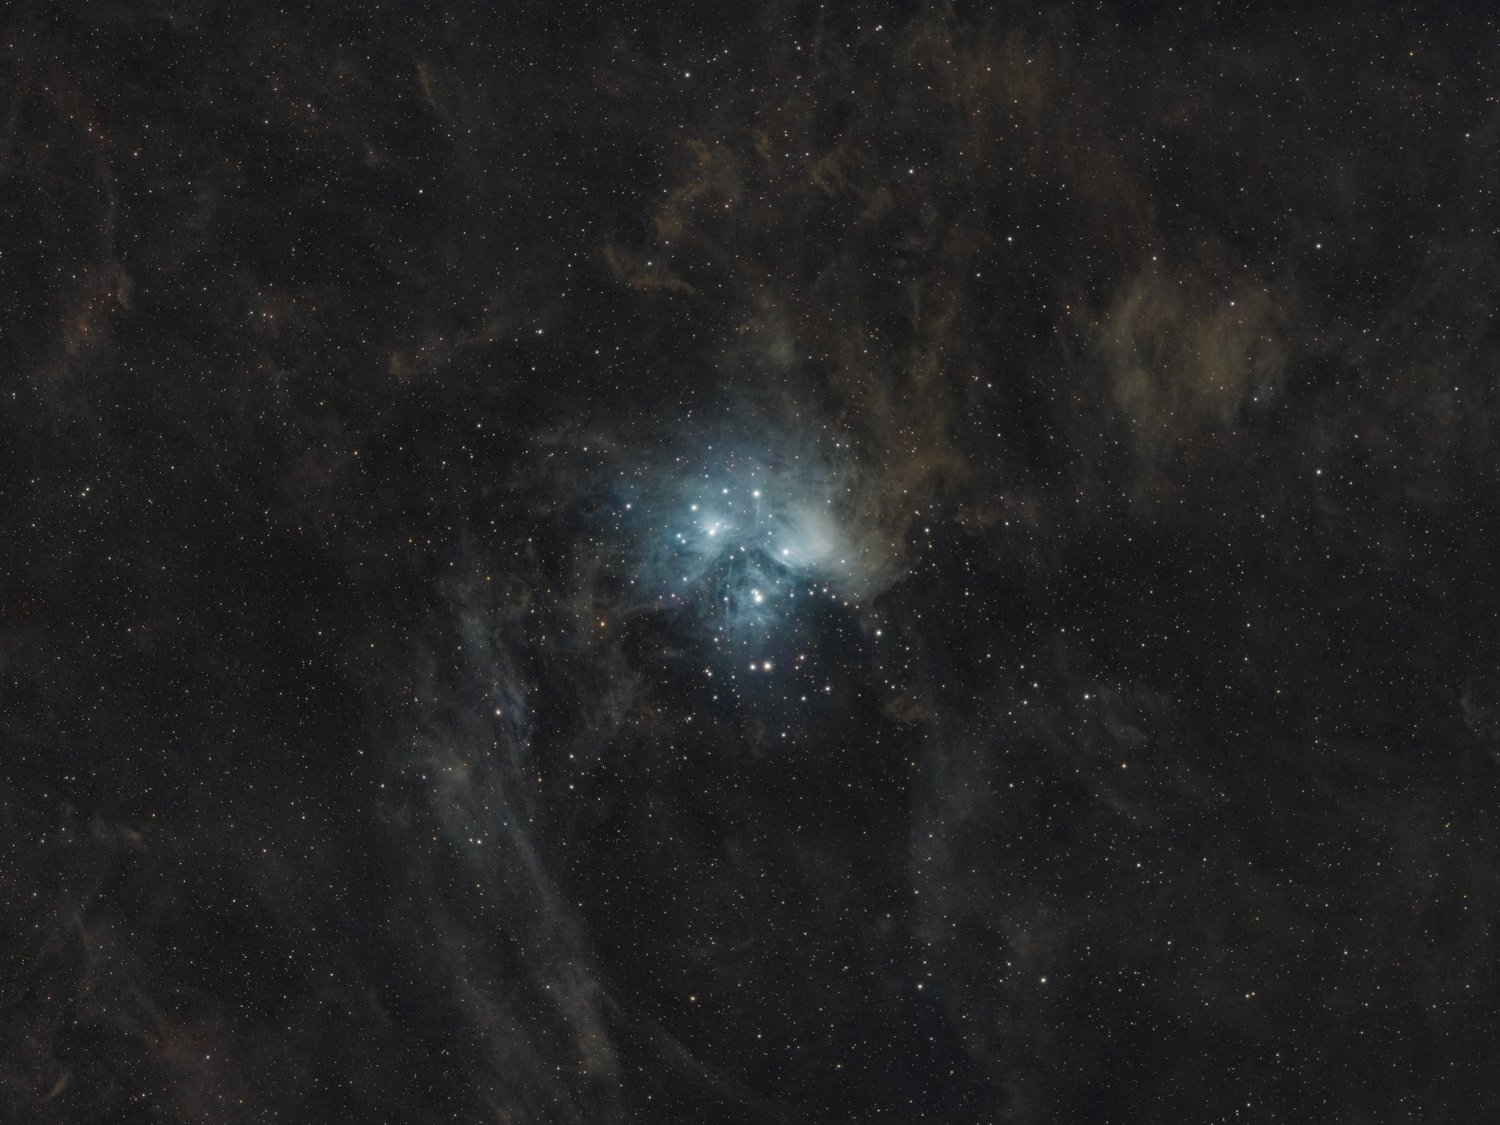
M45 Pleiades (lemmy.world)
 

Equipment:

  • Samyang 135mm f2.0 lens
  • Fuji X-T5 (unmodified)
  • Star Adventurer 2i

Images:

  • 220 x 60s
  • ISO 400

Processing:

  • stacked in Siril
  • remove green noise
  • background extraction
  • BlurXTerminator
  • NoiseXTerminator (0.5)
  • GHST
  • final editing and recomposition in Photoshop

More details: https://telescopius.com/pictures/view/202996/deep_sky/ngc-1456/pleiades/by-maxi_franzi

54
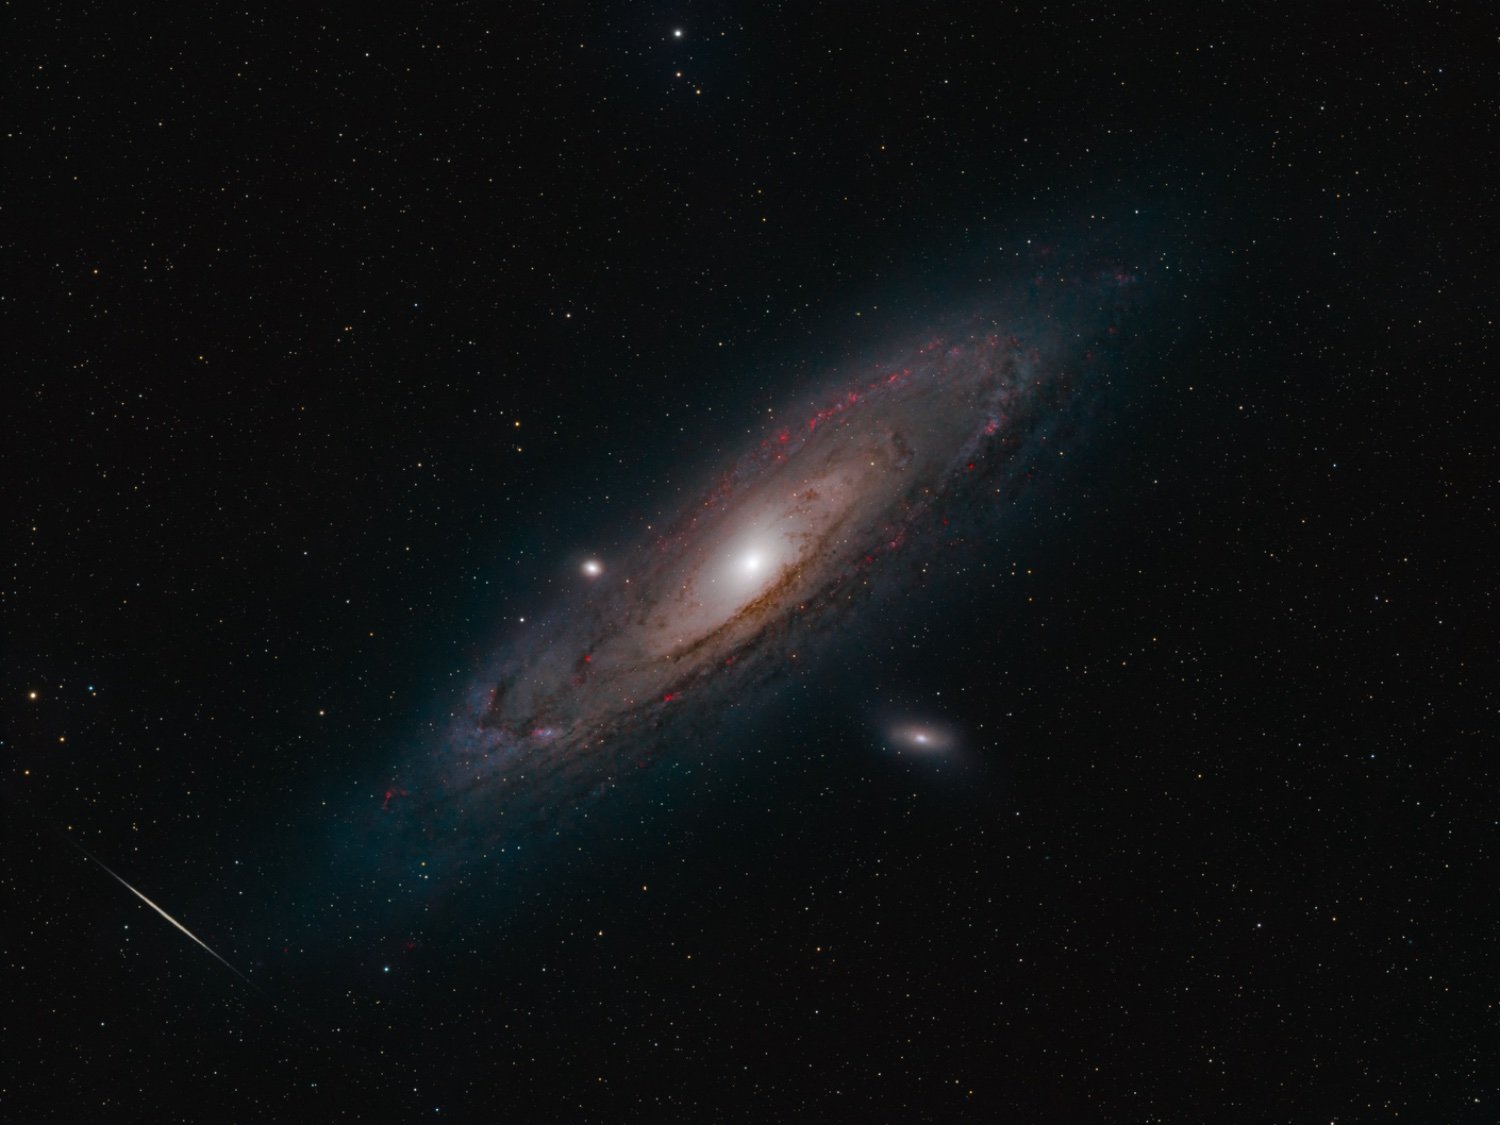
M31 Andromeda (lemmy.world)
 

We really struggled to combine RGB with Ha. For our first try at continuum subtraction however we are very pleased.

Equipment:

  • Samyang 135mm f2.0 lens
  • Fuji X-T5 (unmodified)
  • Star Adventurer 2i
  • STC duo narrowband filter

Images:

  • 288x 60s RGB
  • 592x 60s narrowband

Processing:

  • stacked in Siril
  • remove green noise
  • background extraction
  • star removal on both rgb and Ha
  • continuum subtraction with Pixelmath in Siril
  • adding Ha to RGB with Pixelmath
  • BlurXTerminator
  • NoiseXTerminator (0.5)
  • GHST
  • final editing and recomposition in Photoshop

Full resolution and more details: https://telescopius.com/pictures/view/202859/deep_sky/ngc-206/m31-andromeda/by-maxi_franzi

view more: next ›