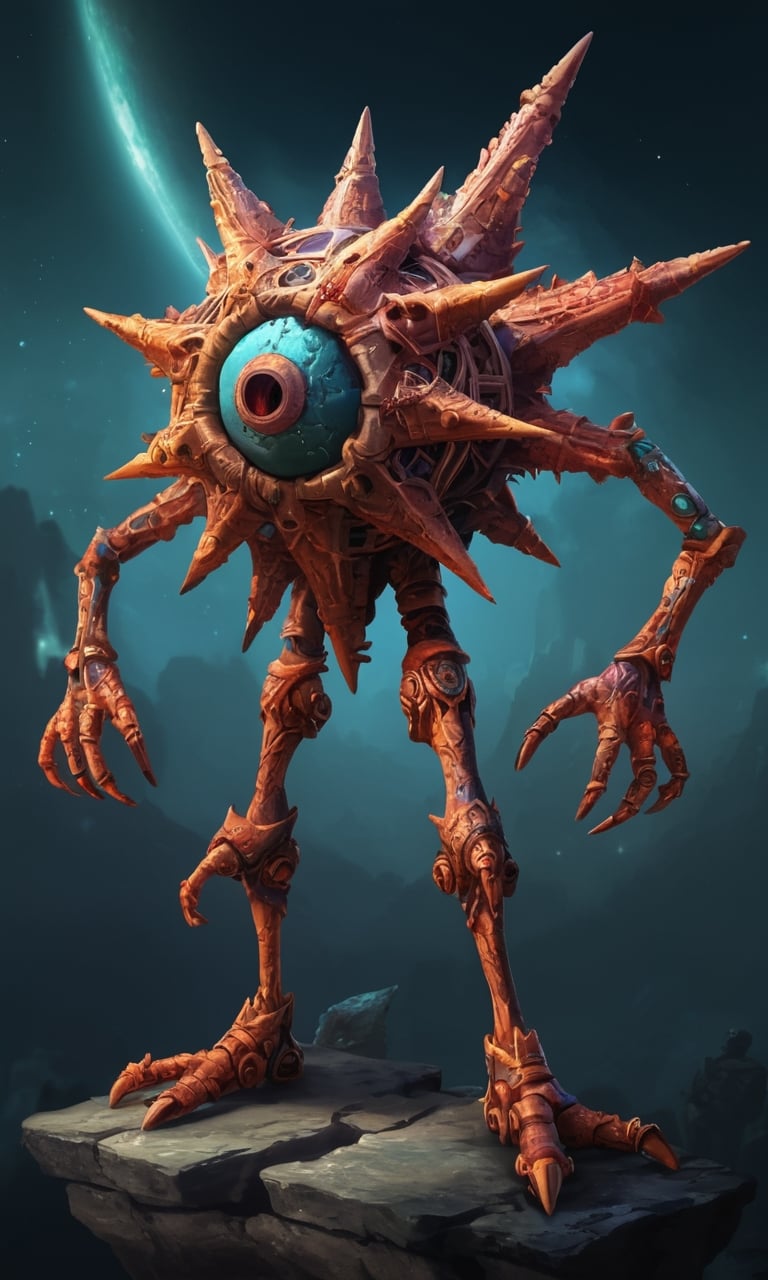
AI Generated Images
Community for AI image generation. Any models are allowed. Creativity is valuable! It is recommended to post the model used for reference, but not a rule.
No explicit violence, gore, or nudity.
This is not a NSFW community although exceptions are sometimes made. Any NSFW posts must be marked as NSFW and may be removed at any moderator's discretion. Any suggestive imagery may be removed at any time.
Refer to https://lemmynsfw.com/ for any NSFW imagery.
No misconduct: Harassment, Abuse or assault, Bullying, Illegal activity, Discrimination, Racism, Trolling, Bigotry.
AI Generated Videos are allowed under the same rules. Photosensitivity warning required for any flashing videos.
To embed images type:
“”
Follow all sh.itjust.works rules.
Community Challenge Past Entries
Related communities:
- [email protected]
Useful general AI discussion - [email protected]
Photo-realistic AI images - [email protected] Stable Diffusion Art
- [email protected] Stable Diffusion Anime Art
- [email protected] AI art generated through bots
- [email protected]
NSFW weird and surreal images - [email protected]
NSFW AI generated porn
view the rest of the comments

Youcann install and run Stable Diffusion on your PC locally. Just did that. Now I have to learn how to improve the results. They're all a bit weird looking :)
The first nonobvious thing I hit with Stable Diffusion is that you'll tend to do better if you generate images in the resolution that the thing was trained at.
So for the current SDXL models, 1024x1024, if you have the VRAM to manage that.
If you want higher-res images, make a lower one and then use the upscalers (I recommend the Ultimate SD Upscaler extension, which can process a large image in chunks to reduce VRAM requirements). Extensions are great, can automatically download and install them from the Automatic1111 Web UI, in the Extensions tab. There are a few must-have ones.
If you want lower-res images, then make a larger one, and crop it.
It's apparently possible to use some lower resolutions, but they need to be precise numbers to avoid issues. I'm not familiar with the technical reasons for this.
Second non-obvious thing that I ran into when starting out is that the first terms in the prompt text tend to...well, set the overall image. Then the later ones refine it. So if you want to have a woman wearing jewelry, you probably want "woman" at the beginning and "jewelry" later.
A few other tips:
The images on civitai.com show the prompt text used to generate them. This can be helpful in learning to replicate effects.
There's an extension, "Clip Interrogator" that will, to a certain degree, "reverse" an image to prompt text in the img2img tab. This can also be useful to figure out what Stable Diffusion thinks are terms that contribute to the given image.
NSFW stuff. The current basic Stable Diffusion model is trained specifically to make it hard to generate NSFW images. If -- like me and a number of other people -- you'd like to be able to do so, various people have put together models that are trained to do so based on the base Stable Diffusion model, which you can find under the "nsfw" tag. You'll want to click the "filter" button on the right side and restrict models to "SDXL 1.0" if you have the VRAM to use that model, so you can get stuff based on 1024x1024; there are lots of models based on older Stable Diffusion models.
Proximity of terms in the input prompt does matter.
Commas in the prompt do not matter, though they're nice for making it obvious to a human where things split up.
The prompt is not case-sensitive. You can use capitals or lowercase, and it won't matter.
Some things that I thought would not work -- like replicating artist styles -- SD is just amazing at. Or adding "mood" to a scene, like saying "happy" or "scary" or the like.
Some things that I thought would be really easy -- like convincing SD to shade an image using cross-hatching -- are not doable. Definitely a learning process involved.
There's an extension called "Regional Prompter" that lets one break up an image into chunks, and have terms apply to only part of it. Useful if you want, say, one object in one part of it, and for that object to be pink or something, and then another object in another part of the thing to be blue.
Outpainting and inpainting are powerful techniques, but require specific models capable of dealing with them. You can basically remove part of an image, and then regenerate it using a prompt that you specify; with the current software, this (and the above regional prompting that I mention) are some of the few ways to get decent control over specific sections of the image.
Thanks for the in depth response! I kinda missed it and only just noticed.
I've tried a few refined models by now and those noticeably improve my results, but sadly I haven't managed to get SDXL models to optimize and/or get them working yet (running it with Olive on AMD).
I tried to do that, somewhere between installing python, fit, bash, chocolatey, stable diffusion itself, the model, etc.
On the very last step, where I was waiting for it to say "running in 127.003" or w/e I got an error message that it somehow couldn't access my GPU (maybe because it's internal?). It gave me a command argument to place, --skip- cuda-test or something like that but I have no idea where to put it.
It definitely can be installed and used on the PC but isn't as simple as just installing from an .exe, there are a lot of moving parts