ErgoMechKeyboards

5948 readers
2 users here now

Ergonomic, split and other weird keyboards

Rules

Keep it ergo

Posts must be of/about keyboards that have a clear delineation between the left and right halves of the keyboard, column stagger, or both. This includes one-handed (one half doesn't exist, what clearer delineation is that!?)

i.e. no regular non-split¹ row-stagger and no non-split¹ ortholinear²

¹ split meaning a separation of the halves, whether fixed in place or entirely separate, both are fine.
² ortholinear meaning keys layed out in a grid

No Spam

No excessive posting/"shilling" for commercial purposes. Vendors are permitted to promote their products/services but keep it to a minimum and use the [vendor] flair. Posts that appear to be marketing without being transparent about it will be removed.

No Buy/Sell/Trade

This subreddit is not a marketplace, please post on r/mechmarket or other relevant marketplace.

Some useful links

founded 2 years ago
MODERATORS
26
27
21
Flippable PCBs (self.ergomechkeyboards)
submitted 5 months ago by 0laura to c/ergomechkeyboards


I'm trying to make myself a little Sweep clone with Ergogen. I'm following the amazing flatfootfox guide, but the guide doesn't talk about how to make a board flippable. I also watched the Ban Vallack videos and he kinda mentioned it but it didn't really go in depth. Are there some resources on what to keep in mind when making a board flippable/repositories for flippable footprints?

28


It's summer and it's hot.

Prime Day wasn't that great.

Things are a little weird.

So, we're having a Basically OK Sale in support of just being basically OK!

Get 15% off any order of $100 or more with checkout code YES-I-AM-BASICALLY-OK. Sale ends at midnight, July 31st.

Our keyboards are a bit more than Basically OK, of course. They're premium builds with gorgeous acrylic-coated resin cases, silky smooth trackballs and hot-swappable switches, with options like full wireless support, cool screens, scroll wheels, and RGB. (Haptic support is coming, too!)

Full Dactyl Manuform Builds (both wired and wireless)

DIY Dactyl Manuform Build Kit

Resin Dactyl Manuform Case Prints

PLA Dactyl Manuform Case Prints

If you'd like to try a Dactyl Manuform case on for size, we sell "sizing prints" of our C stock keyboard cases so you can actually try a case in hand to gauge how it feels.

Sizing Prints

And feel free to reach out if you have questions!

Cheers!

Andy @ Wylderbuilds

29
11
submitted 5 months ago* (last edited 5 months ago) by thpoll to c/ergomechkeyboards


I created a short video on how to use the Latin extended/supplement characters (æ,ã,š,ß,ç, etc...) and how to pick other alternatives (sent via Unicode). High res version here: https://youtu.be/3h96KhmJhUs?si=rHAo-_tkZzZIPiie

30


My first ergo mech keyboard was a ZSA Moonlander which I got a little over a year ago. I love it. However, I am now being asked to come into the office more often and am looking at getting something similar, but more portable.

I was looking at the ZSA Voyager since the split keeb, low profile form factor, and columnar layout seem to check a lot of boxes, but I can't tell if I can go cut out that many keys/rows. Mostly concerned about losing the bottom row where I often hit CTRL, and losing out on the 3 thumbcluster buttons I always use.

Questions I have are:

  1. Is it easy to switch from keyboard layouts that have dedicated ctrl keys, vs long pressing?

  2. If this is used for an office setup where the keyboard is going to basically be straddling my laptop keyboard, do folks often just dance between the split keyboard to the laptop keyboard for those extra keys or muscle memory chords?

  3. Are there low profile split type keyboards I should be considering?

  4. If I like U4Ts, what type of switches should I be looking at for low profile tactiles but not too thocky and loud?

31


I'm looking for "fat"? keycaps similar to what Matias uses for Esc, Ctrl, Option, Cmd and Space keys on their ErgoPro.
What search term should I use to find similar keycaps? I've tried "tall", "fat", "oversized", "big", etc., but I only find extra wide (in the X direction) or extra tall (in the Z direction) rather than in the Y direction.
Any help welcome.

32


Discovered it yesterday in another thread.

This video looks amazing: https://www.youtube.com/watch?v=1aLmO97Y2Is

I had a look at the long-term review thread but couldn't find any comment for this one, so maybe this thread will be more successful?

33


I guess for me the biggest difference compared to a Charybdis is that it's a professional product.

I love the Charybdis as a project, but due to the price, I would rather go for something that can resist the test of time.

34
22
submitted 5 months ago* (last edited 5 months ago) by [email protected] to c/ergomechkeyboards


Using previous advice here I managed to assemble a piantor and soldered the microcontroller on the pcb directly and I have to say that for a complete beginner that was very challenging.

I've gotten 5 pairs of PCBs and I kind of destroyed one pair but I am still trying to assemble at least another keyboard so I have a backup as I reckon it would take me a few days to be able to be proficient again on a non ortholinear keyboard now.

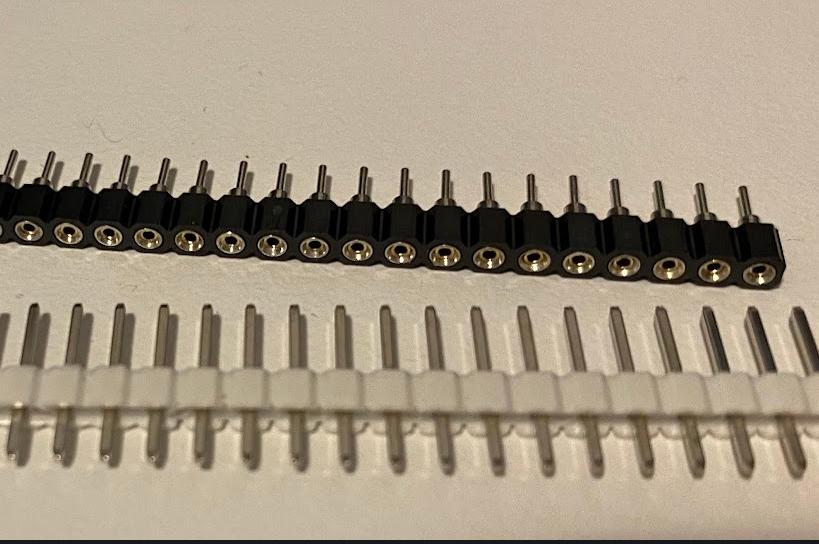
So I decided to try to use the female pin headers to be able to remove the microcontroller if I ever need to in case it dies or something of the sort.

I had the regular pin headers already and I know I can remove the pins from the white strip so I was going to solder them into the pcb while attached to the female and cut the extra length they'd have.

I got this specific female ones from Aliexpress https://www.aliexpress.com/item/1005005053790061.html I got the ones named "1x40P Female Tin"

When they arrived however, I ended up noticing that the regular pin headers I have do not fit the female ones. I have no idea what to search for to buy just the pins and what dimensions I'd need to get them, can anyone please advise me on what's the name of the loose pins and which ones should I buy please.

Thanks in advance, thanks to this community I have a working kb now :)

35
115
submitted 5 months ago* (last edited 5 months ago) by thpoll to c/ergomechkeyboards


I created this keyboard with the goal of having a display in each key. It has 72 keys and each key has a 72x40 px OLED display. They keys can change according to language and layout. Also displaying shortcut icons is possible :)

36


1137 days later it's finally here!!

37


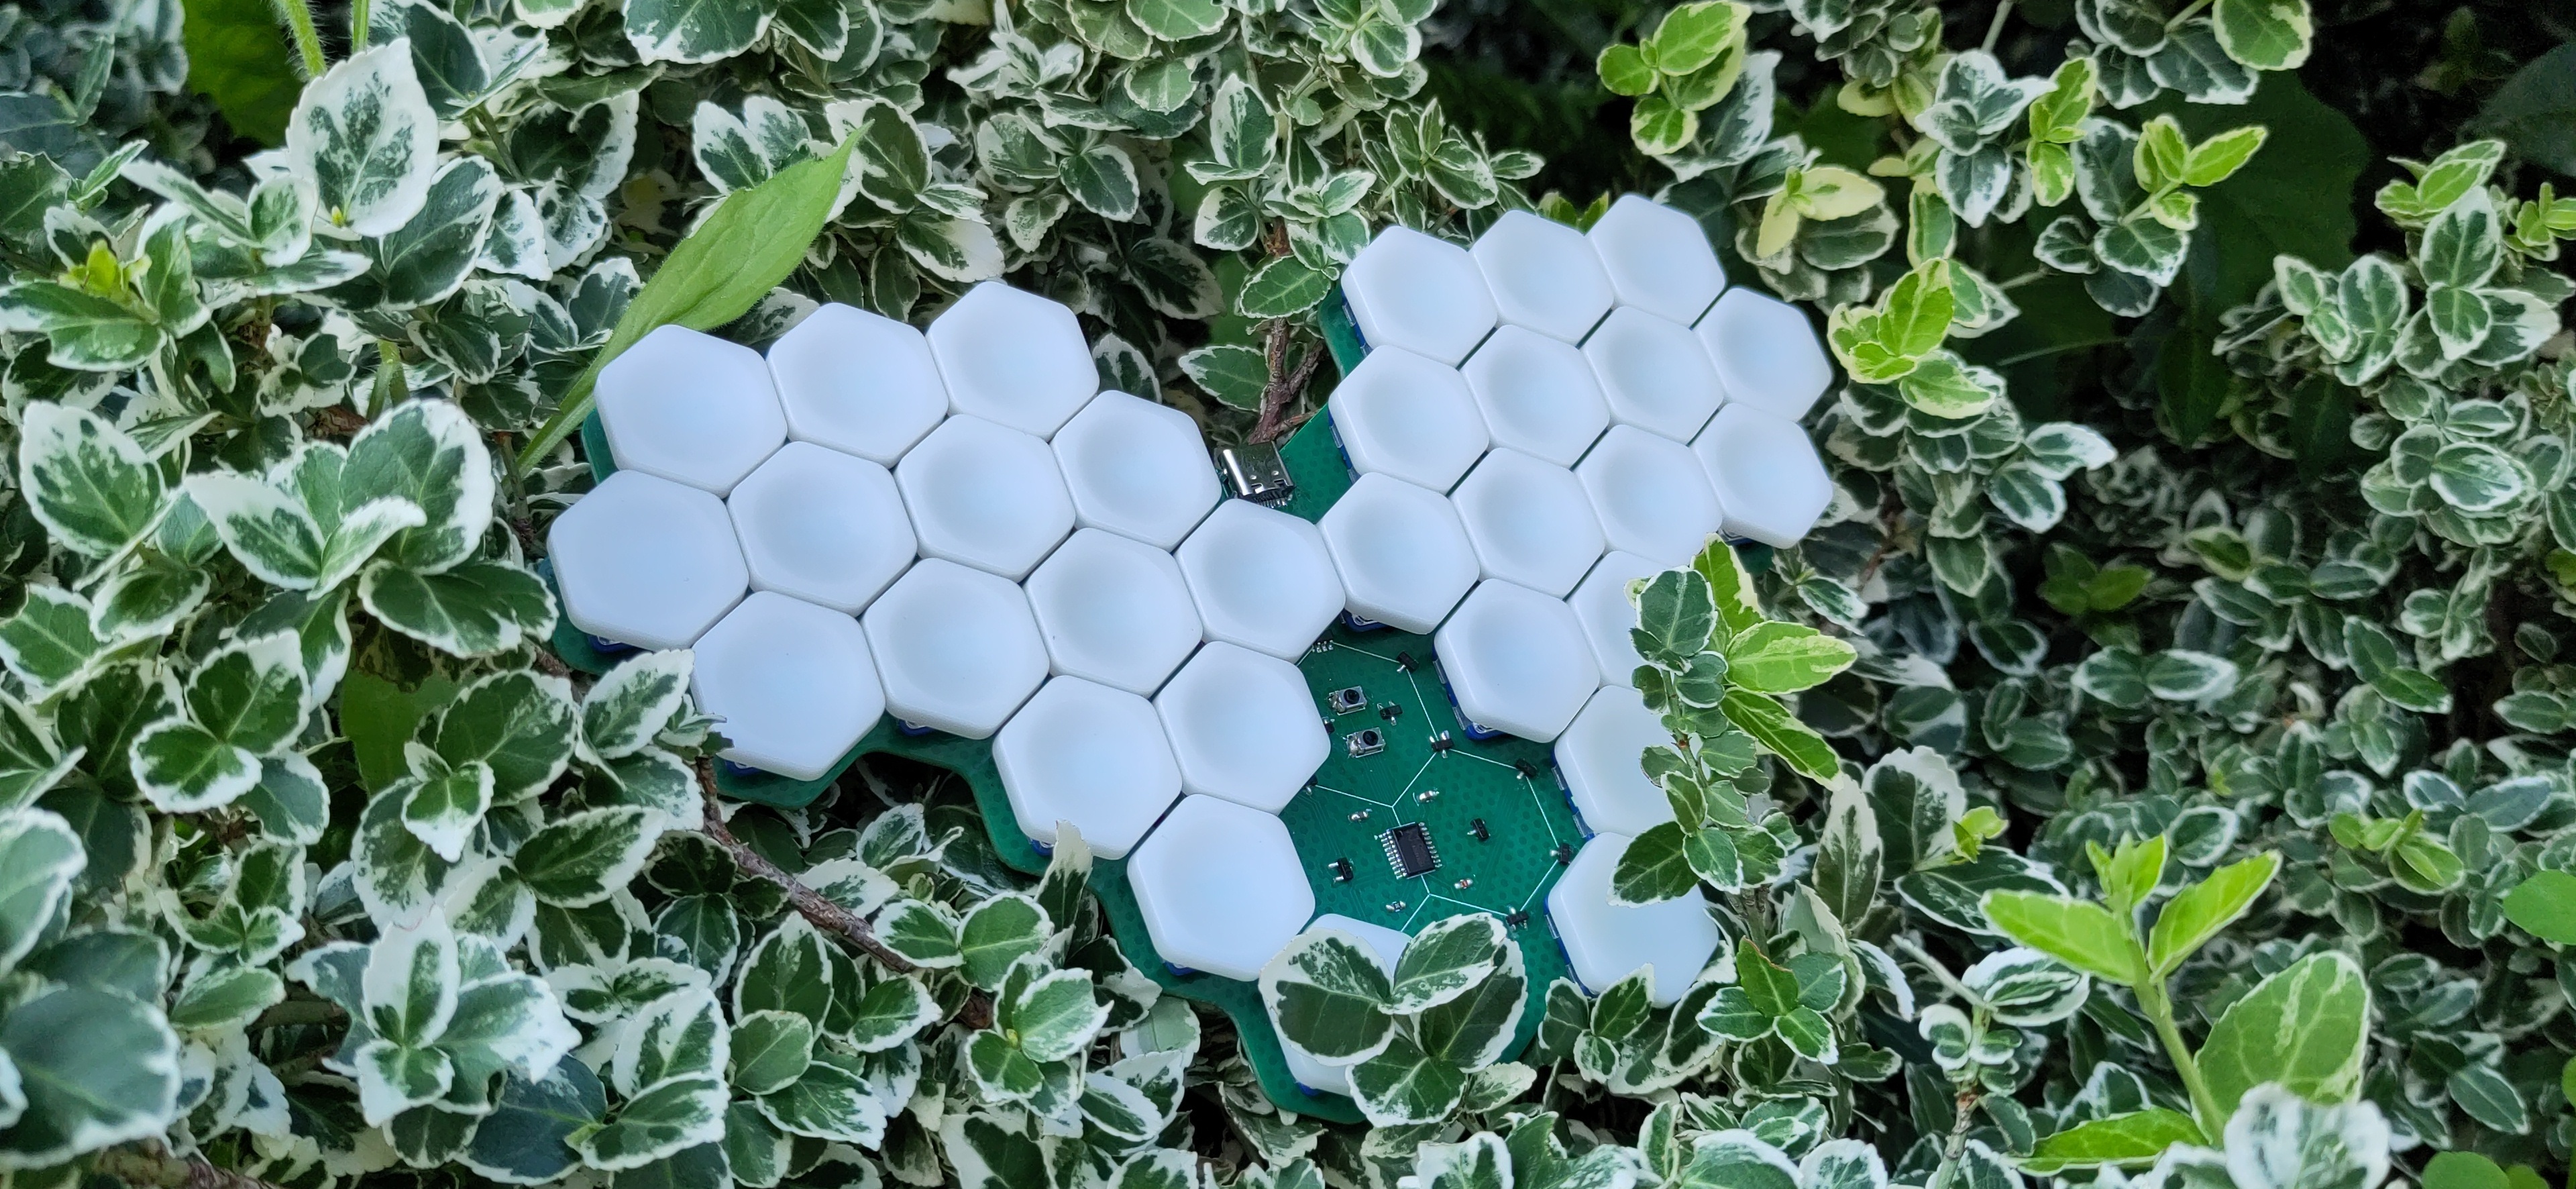
I designed a small 30% keyboard based on hexagonal keycaps. The source files can be found on github. It runs the FAK firmware.
38


I am living in Germany and I need some Keycaps, which are not expensive. They don't need to be special, they just need to... work.

39


If you have been using an ergonomic mechanical keyboard for more than year, let us know which keyboard it is, and whether you plan to keep to keep using it for at least another year or if there's another keyboard you are considering trying instead.

40
41


Hello all,

After trying to find good choc v1 compatible keycaps, I found some STLs on GitHub for some Chicago Stenographer ones.

My 3D printer is just an A1 mini (can only print PLA and PETG - maybe TPU?). Do you think it’s a good idea to use PLA for keycaps?

Have MBKs right now on my Chocofi but was hoping for something more sculpted to get a little less fat finger typing.

I know most people order Nylon SLS prints from online but since I already have a 3D printer I was hoping to avoid that.

Bad idea?

42
 
 
43
44


Hey there everyone, I'm currently building a Lily58Pro, So far things have been going great, I'm at the point now where I need to flash the firmware, This is totally new territory for me and I'm hoping the community here can shed some light on a few concerns of mine.

The kit I ordered came with 2x 0xCB Helios controllers, Which appear to be RP2040 based. The official build guild is using ATmega32U4's.

The firmware page from the site I got my kit from just links to a single .uf2 file, I'm probably overthinking this whole thing but shouldn't there be a left and a right side? Or do I just put the controllers into bootloader mode and throw the uf2 file on each one like a regular Raspberry Pi? Or do I need to flash these with QMK? Just a little confused, and probably vastly overthinking this.

45


I’m joining the split keyboard group by building a piantor. I have the pcbs already and they’re lead free coated and I will use lead free solder on the components.

I’m a bit worried though as I used a borrowed split and I noticed I keep touching the soldering in the microcontroller quite a bit and the build I was going for was a bare one where we just put rubber feet directly in the pcb so there’s no case or anything.

I tend to rub my eyes and bite my nails quite a bit during the day. I was wondering if it’s safe enough on lead free solder or if this is something I should completely avoid.

Any suggestions in case I should avoid it entirely. I reckon the worst place would be the top of the pcb maybe I can use some hot glue where the solder is but I have no idea if it’s hard to pull it off later if I need to review/resolder.

This is my first project and I haven’t done anything like this before, so even the flux I’m kind of unaware how to clean, solder comes with it right, do I need to wipe it somehow or use isopropyl alcohol and wipe with maybe a paper towel?

Sorry about being a complete noob. I searched around but most people are concerned about the lead solder not lead free like me.

46
 
 
  • Mekanisk Klippe case in Ultramarine
  • cinereus he PCB with assembly by JLC
  • FR4 plate in JLC Blue (missing Ultramarine’s hint of green)
  • Gateron Melodic switches
  • MTNU Susu keycaps
  • running Vial firmware
  • a BIG thanks to Noah Kiser’s PCB design videos and JLC’s PCB fab and assembly services
47
103
Nocturnal Rufous (lemmy.world)
submitted 7 months ago by pixelprimer to c/ergomechkeyboards


Less keys = better right?

48
49
50


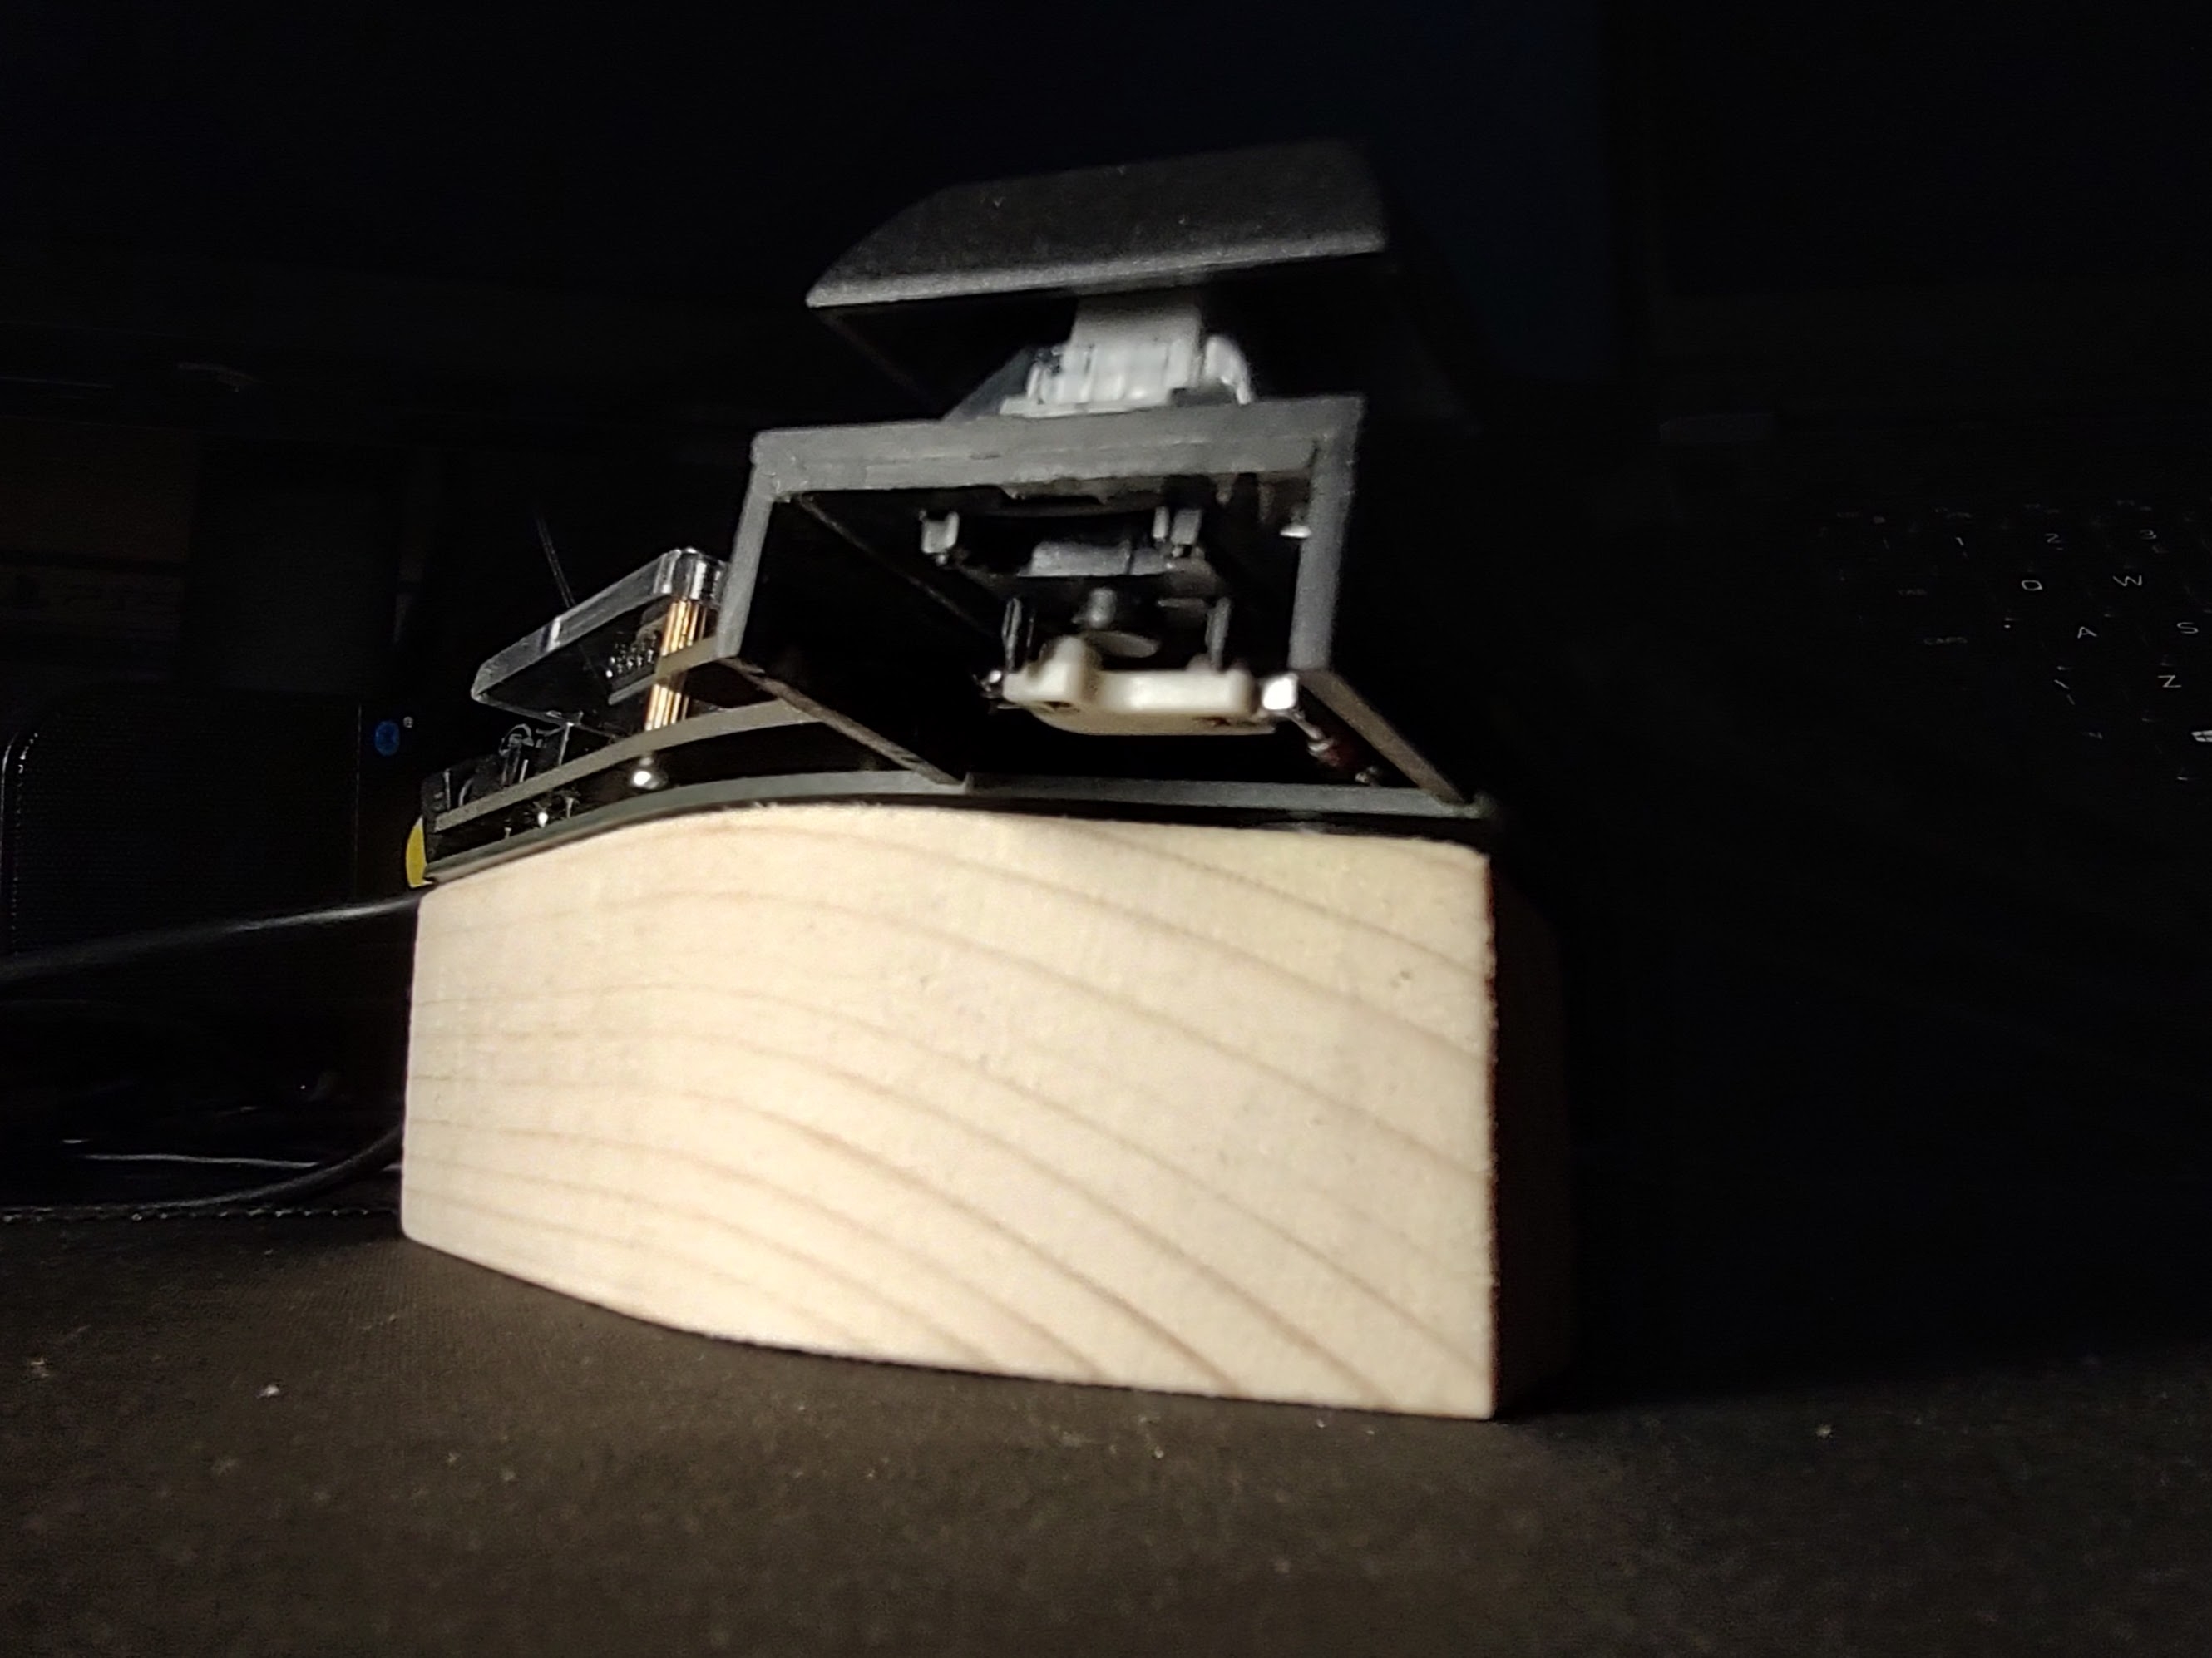
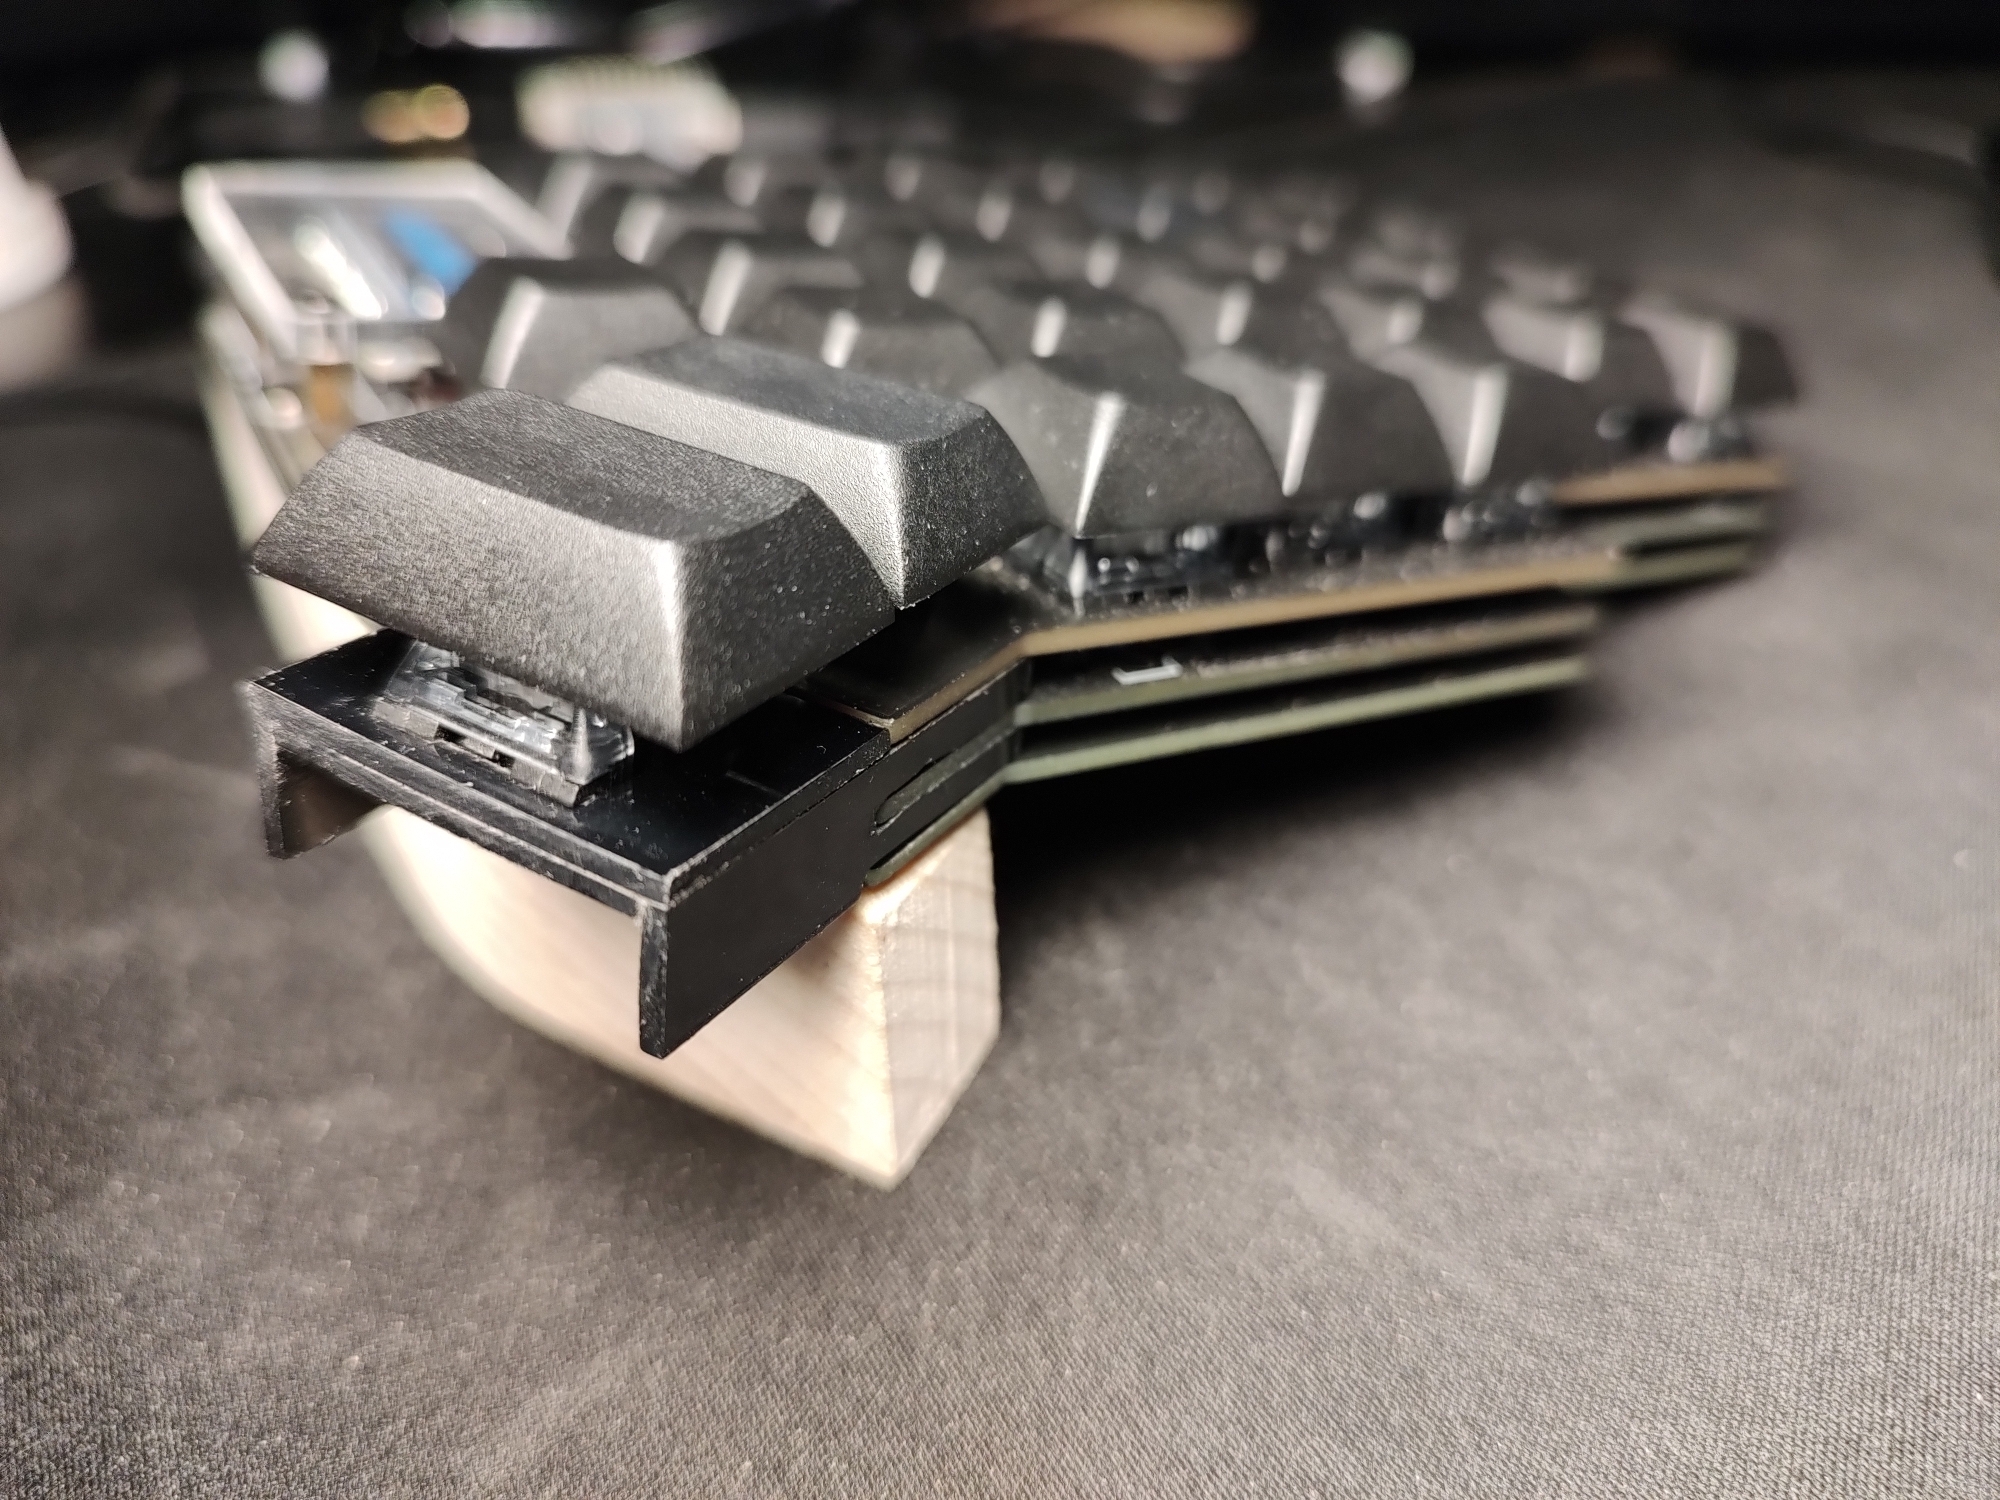
Sorry for the crap photos - I just wanted to share these extra keys I added to my Lily58.

I noticed there was a gap in the matrix so I tacked a spare hot-swap socket to the pads on the back of the PCB. That worked with minimal modification to my QMK set-up. I couldn't really use it dangling off some wires so I set out to make an extension that would slot in and be retained by one of the standoffs. I don't have a laser cutter or 3D printer so I just hacked these out of a sheet of ABS plastic following a printed template and glued them up. They're nice and solid and line up really well, despite being rather rough around some of the edges.

I'm finding the 1.5U keys a bit confusing at the moment, swapping them out for 1U keys makes it a bit easier to home my thumbs. These are certainly much easier to access than the outermost keys on the lower row or the keys below the display. I'm thinking they need to be called Lily Pads.

view more: ‹ prev next ›