3D Printing

4527 readers
43 users here now

For everyhting 3D printing related.

Please be excellent to each other :)

Icon by Freepik, Banner photo by Thiago Medeiros Araujo

founded 4 years ago
MODERATORS
1
24
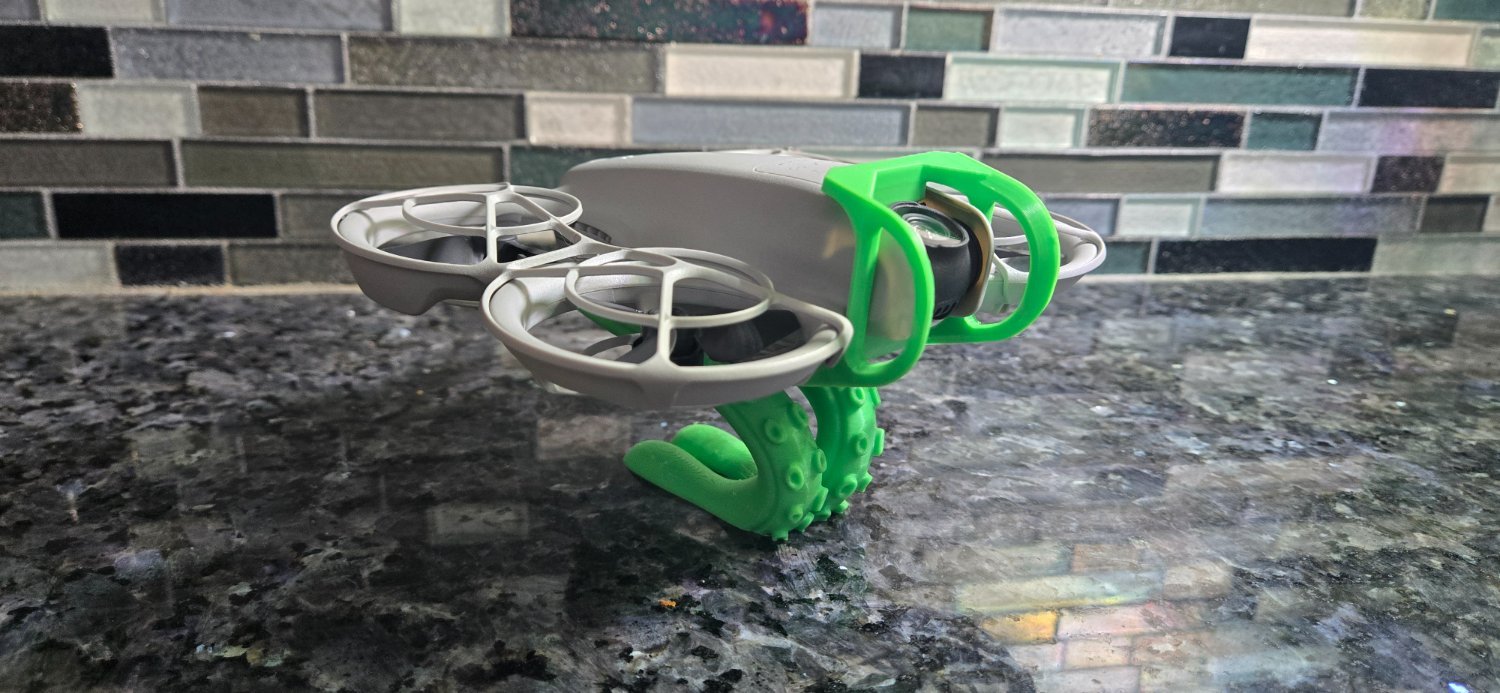
Drone Accessories (lemmy.world)
submitted 18 hours ago by Cyb3r_D3rp to c/[email protected]
 
 
2


Okay, this is an update of my first method using regular paper to splice filaments that I posted last week. It was okay, but it did require cleaning the splice because some paper stuck to it.

Somewhiteguy suggested in this comment that baking paper might yield better results. And boy! does it ever!

I've been thinking about trying this the entire week. Finally I got me a roll of the cheapest baking paper I could find at the supermarket while doing the groceries for the weekend and gave it a shot.

It is SO MUCH BETTER!

And here, just to prove it, I filmed myself doing a splice in real-time (sorry for the harsh light and the flickering, I filmed this under neon light in the lab).

Less than 3 minutes from start to finish if you ignore me fumbling with my cellphone to film this. No cleanup, perfect splice, and the roll of baking paper cost me a dollar and will last me a lifetime!

I genuinely thing this is the cleanest, cheapest, easiest splicing method that doesn't wastes bits of PTFE tubing at each splice.

3
4
5
6


cross-posted from: https://lemmy.world/post/24358989

Looks like Bambu is getting more enshittified. I am so glad I didn't let my recent frustration at my clumsiness with my Prusa steer me into Bambu-land.

7
35
submitted 1 week ago* (last edited 1 week ago) by [email protected] to c/[email protected]


Here's a method I've developed to splice filaments almost to perfection without any tools. It's basically the Teflon tube method for cheapskates who don't want to buy Teflon tubing 🙂

First of all, prepare a 2" x 2" (50mm x 50mm) -ish piece of white paper and a straighten a piece of filament that will serve as a mandrel:

Roll up the paper into a tube around the piece of straightened filament as tight as you can. The hard bit is to start rolling: the paper needs to be really snug against the filament to start with.

Once it's started right, it's easy. Roll it up all the way nice and flat. The bit of filament inside should fit inside the tube with quite a lot of friction if you did it right:

You can also wet it a few times with your tongue and it will stay in one piece without holding it. Ex-smoker's habits die hard 🙂

Cut the ends of the filaments to splice together with a sharp bevel:

Carefully thread the ends into the paper tube so they meet halfway:

They should go in with some force but they should slide smoothly. If you feel any roughness, you've snagged the paper inside and it won't work, so you should start over.

Heat up the center of the tube at 250C to 260C while ramming the filaments into each other firmly, but not so firmly as to collapse the paper tube, until you feel them "go" and melt into one another:

I use a SMD rework station because you can apply heat as much as you want and the paper only browns a bit, even if you overdo it grossly. It takes about 30 seconds for the heat to diffuse through the paper and for the filaments to melt fully. It's doable with a lighter too while pushing the filaments together with one hand, but it's less convenient of course.

Then unwrap the paper: some paper should stay stuck to the splice:

Clean up the splice by running a sharp knife along the splice all around. It's pretty quick, the paper isn't terminally fused to the filament:

Voila: perfect splice!

And here, seen under a microscope:

8
23
submitted 1 week ago* (last edited 1 week ago) by [email protected] to c/[email protected]


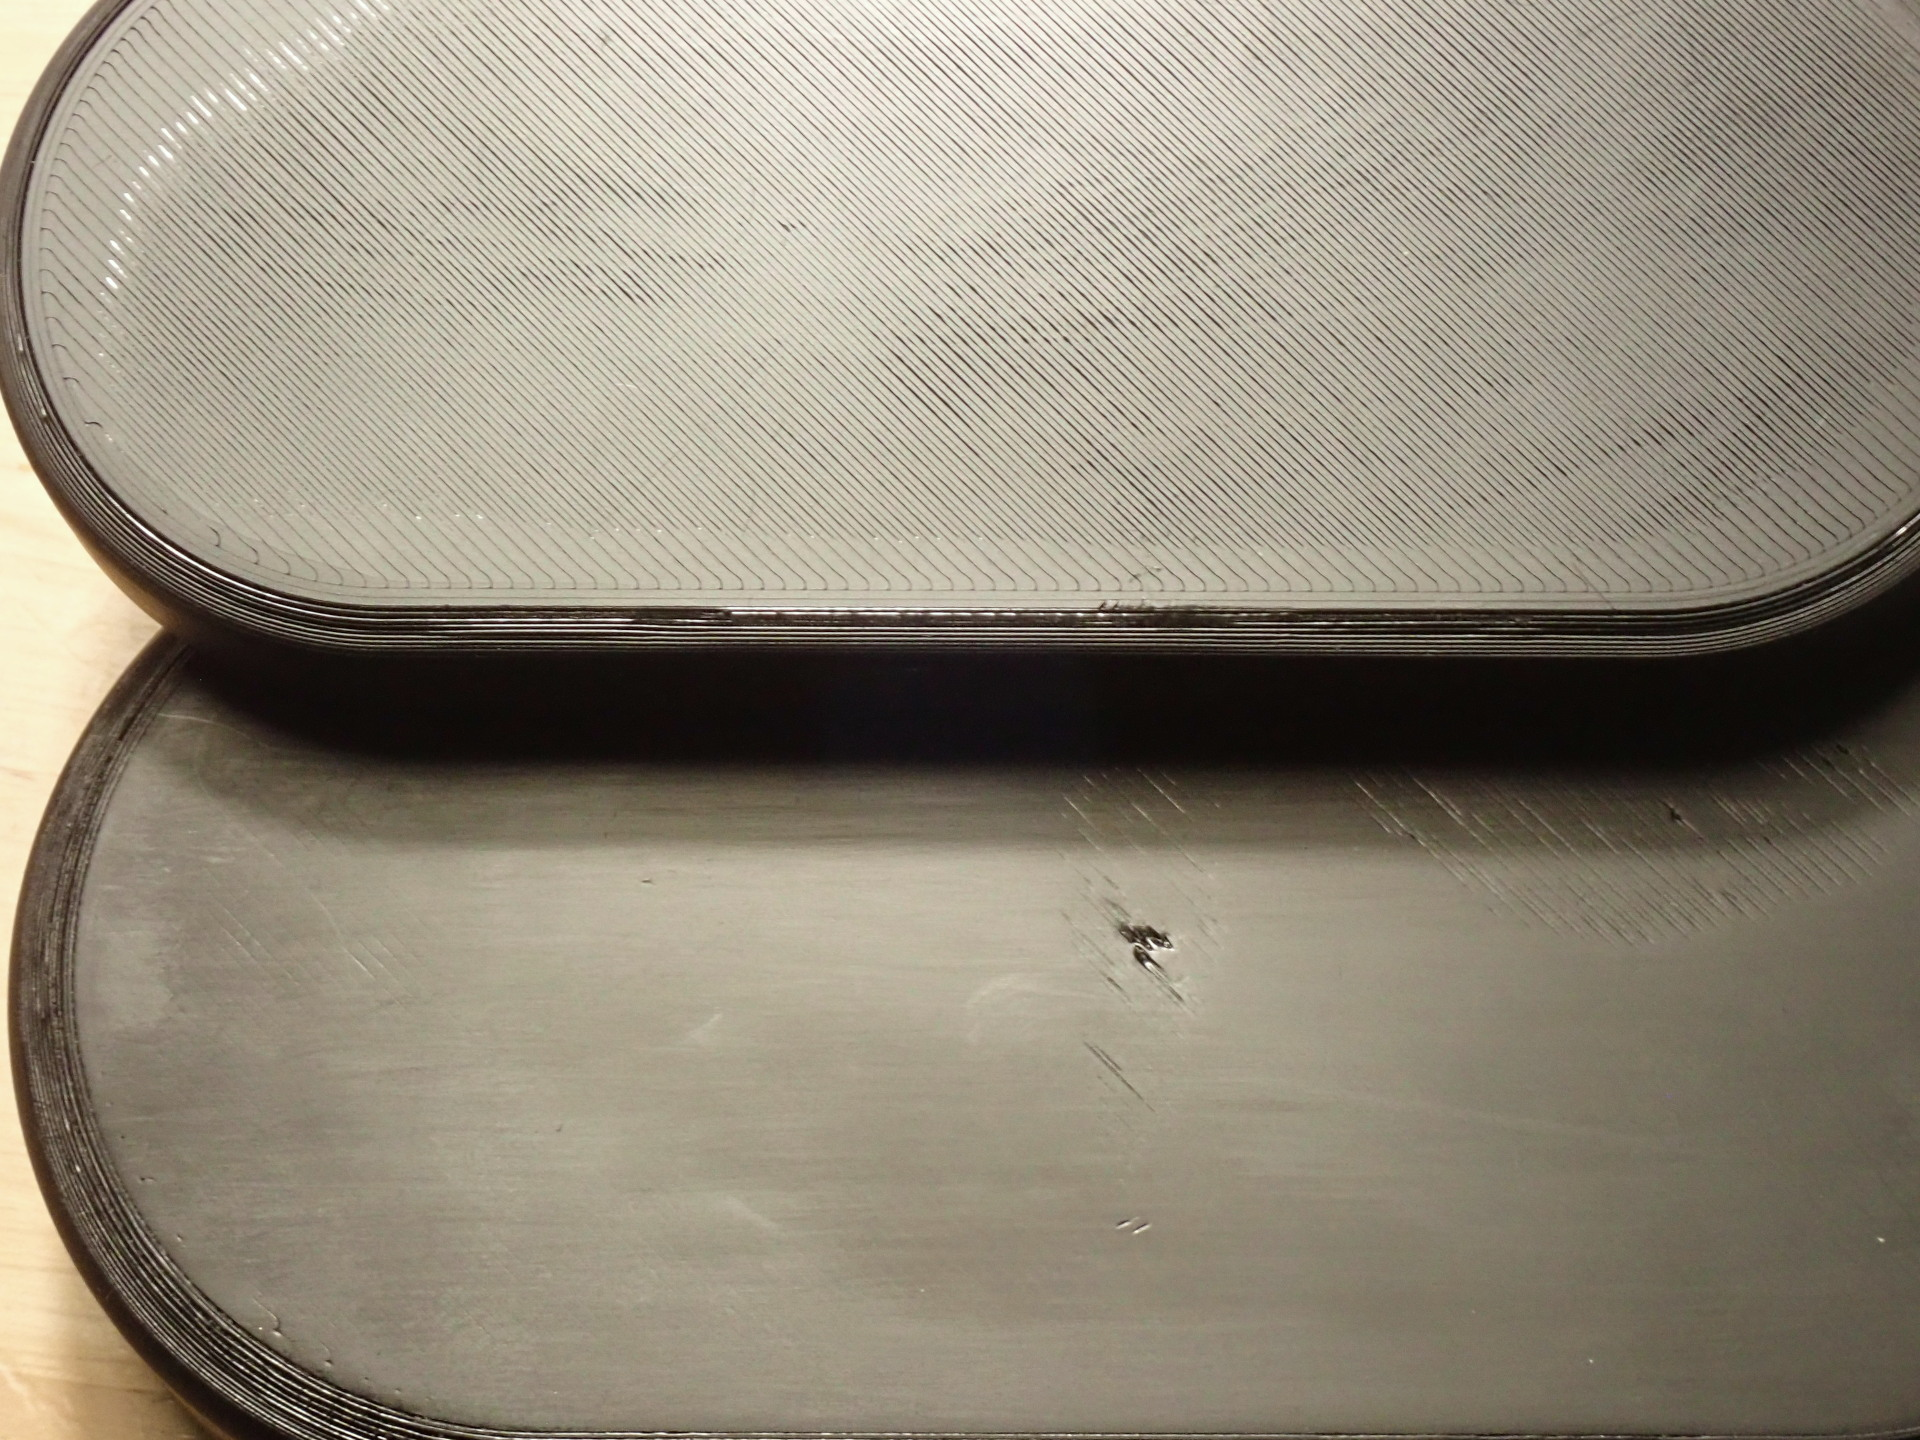
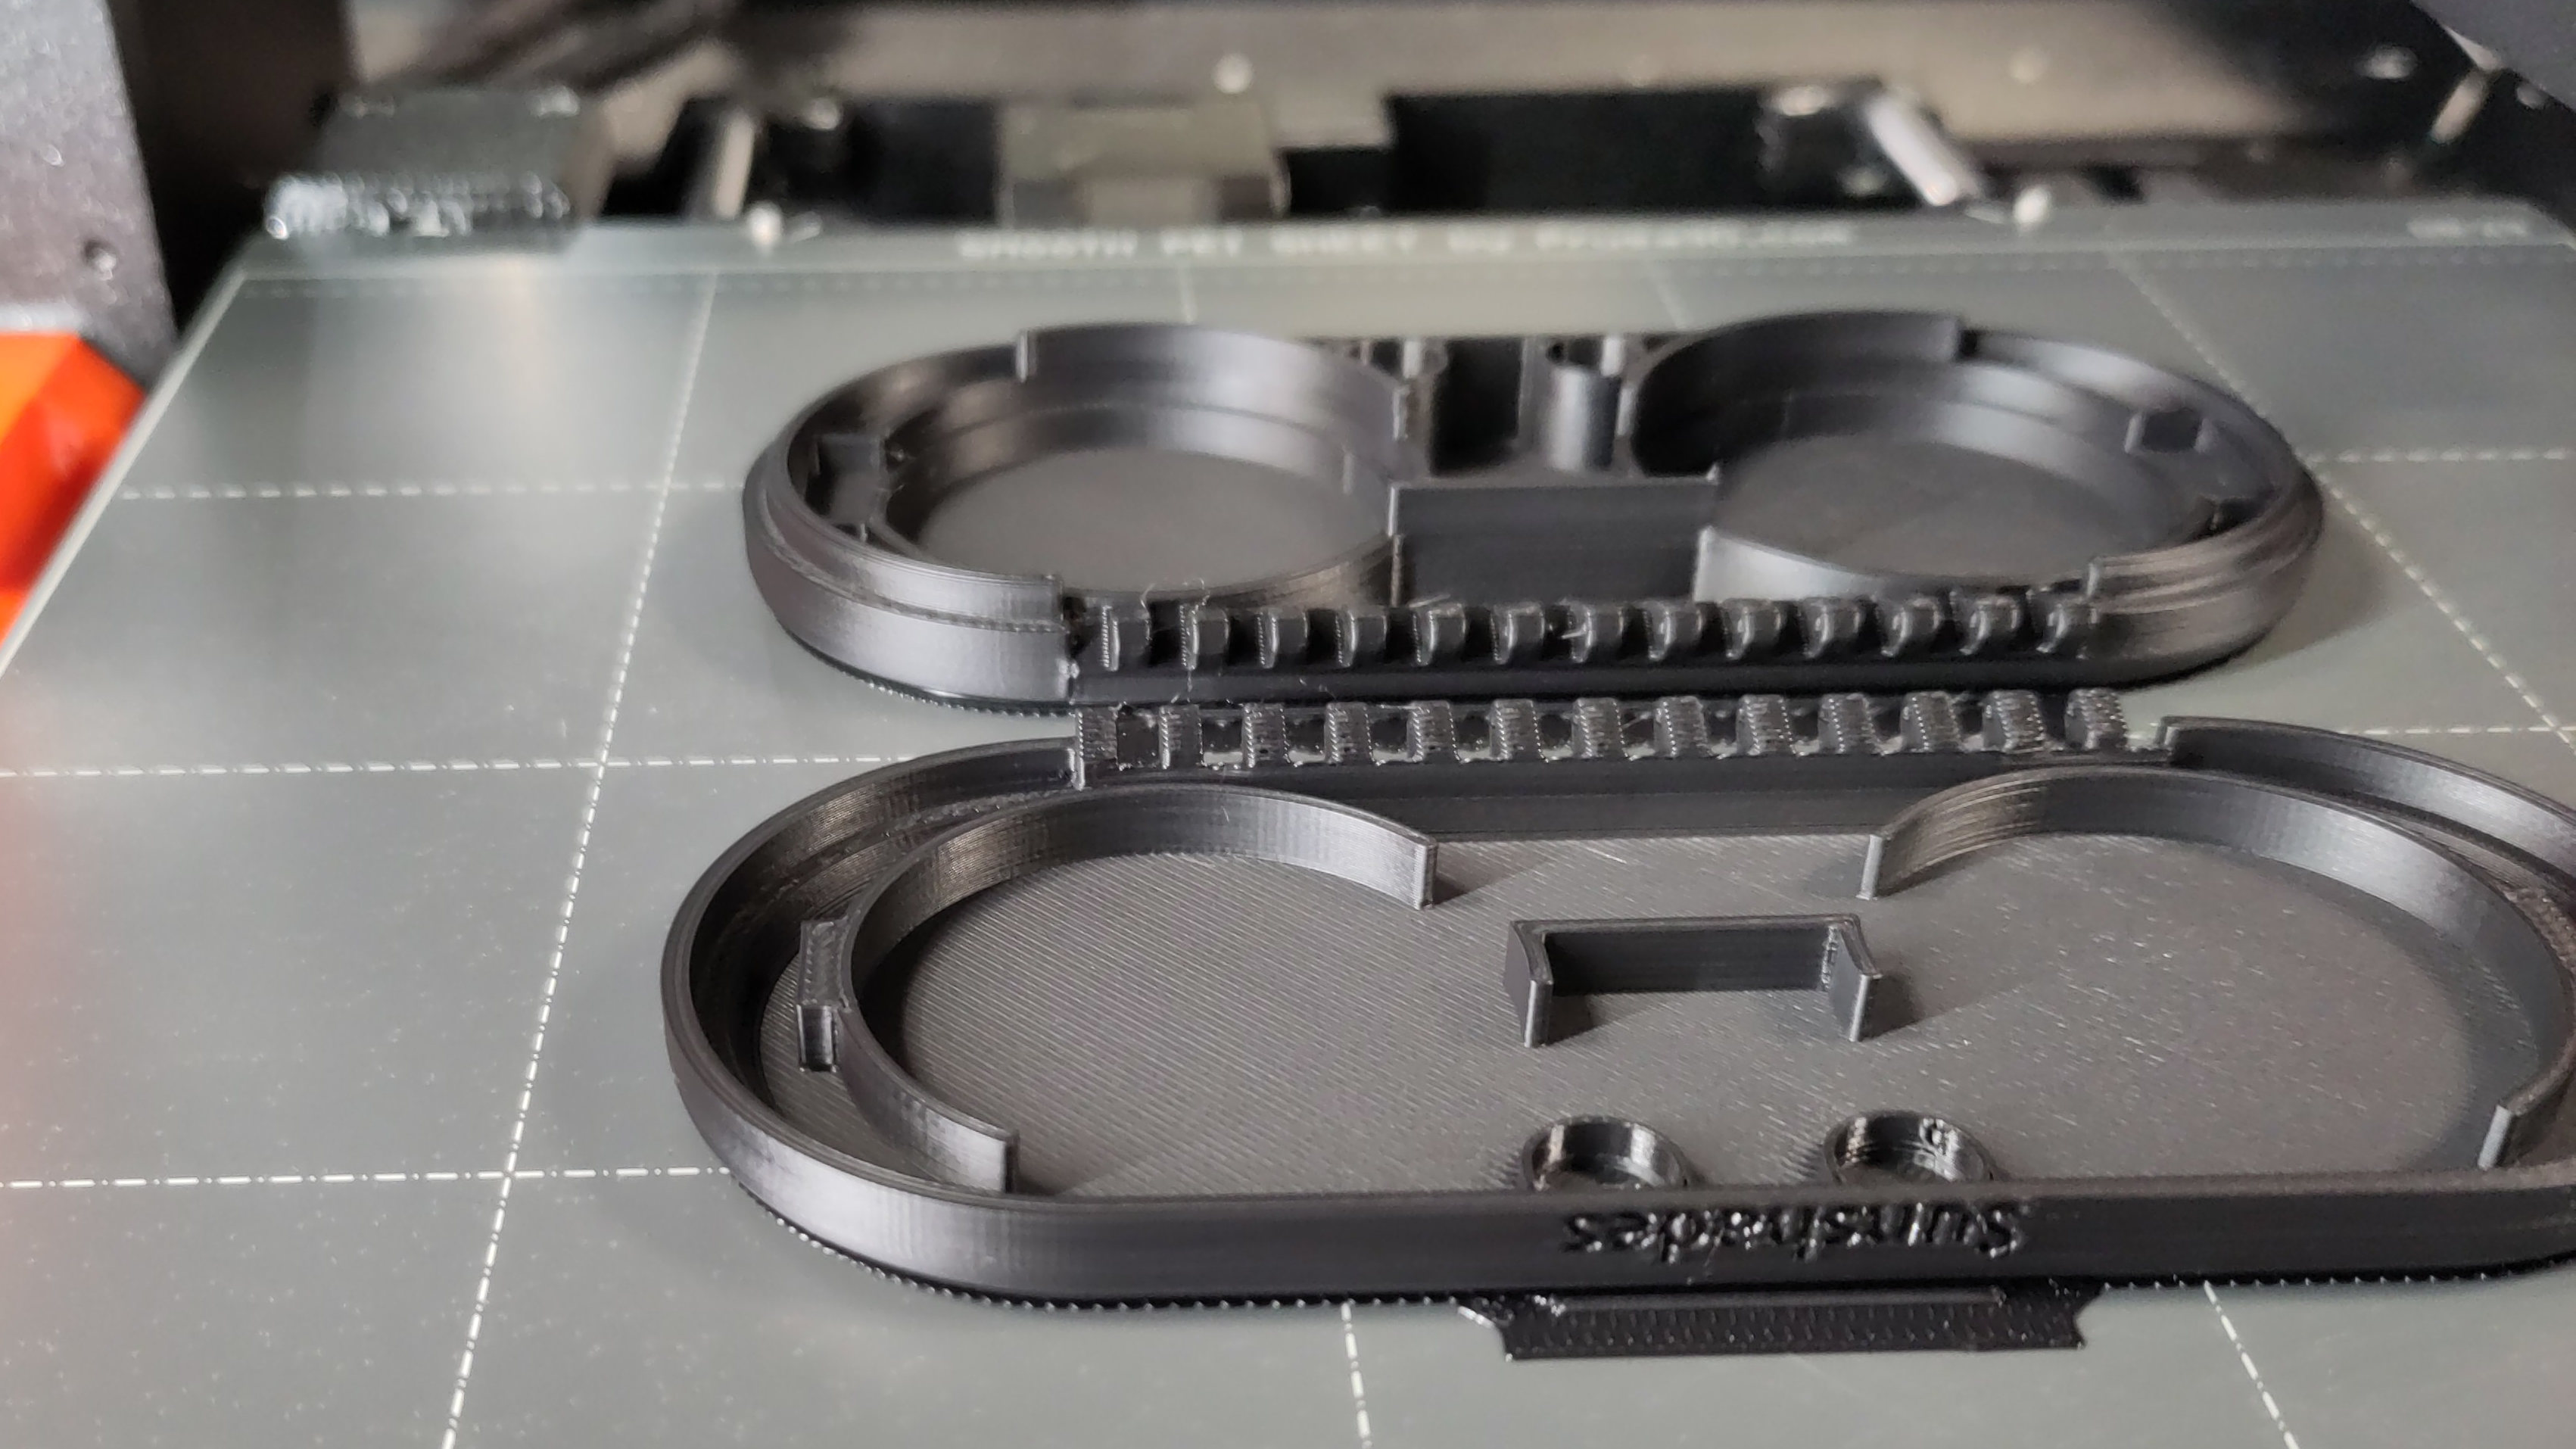
Today I printed another one of this box. It's made of two half-shells that are printed with the outer face down on the bed.

The print went fine, but I'm not sure why, one of the half-shells had a whole area where the surface was really bad, with the criss-cross pattern all distorted, and even a single hole in the middle a good few layers deep. it was perfectly attached to the bed, and the print is otherwise perfect and functional. It just looks like crap.

Not wanting to spend another 2 hours reprinting it and wasting a working part, I figured I'd try chemically-polishing the heck out of it with acetone to improve its appearance a bit. Nothing to lose after all...

So lightly sanded the whole surface with 400-grit sandpaper and a block of wood to get rid of the most egregious defects, then I went to town on it with a clean microfiber cloth mounted on a straight edge and soaked with acetone.

I probably wiped the surface with the drenched microfiber cloth 15 times - up, down and sideways alternatively - until the surface looked okay. Not great, it was full of streaks, but better than the original misprinted surface.

I wasn't super-satisfied but I figured I couldn't make it any better. So I moved it aside to let it dry. As I grabbed it, I lightly touched it with my thumbnail, which left a a long, very visible shiny line. And I realized the PLA was so saturated with acetone that, although it looked dry, it has gone really soft.

So grabbed a few paper towels and started scrubbing the surface dry, nice and regular, again up and down and sideways: the plastic started becoming shinier and shiner. The PLA was so soft the paper tower was acting as a soft sandpaper!

I kept at it until the PLA dried up and hardened again and nothing more was happening. And the result is the surface at the bottom of the photograph. It still has a hole in it - I just can't get that defect out - and you can still see some bad leftover criss-cross lines on the right that run too deep to remove entirely, but otherwise it is quite smooth.

Compared to the normal unpolished surface at the top (which came out of the printer good), it's not bad really. Also, I took the picture under harsh light to show as many surface defects as possible. But under ordinary lighting, the horizontal polishing lines aren't even visible. It's really smooth-looking.

I bet I could bring it out even shinier if I did another acetone soak and used a dry microfiber cloth for a final polish. But it's just a utility box and it'll get scratched up in my backback soon enough anyway, so there's no point.

I'm mentioning this interesting chemical polishing method - I mean soaking the part soft, letting it dry then polishing dry - because I've never done it and it looks really promising. You might want to give it a spin.

9


And more strangely, does it suddenly go bad?

I printed this pair of glasses with a roll of ugly bright green PLA I use to print prototypes or silly things with - because, well, it's ugly - at the last minute to go to a party where the idea is to not look too serious.

But it took me three tries: the nose bridge readily broke off the first print without even trying very hard, and one hinge split in the middle before I could even drive a pin through it. I was really careful with this third print and I managed to complete the assembly and leave to go to the venue.

But it's really weird: this roll of PLA had been in the printer's room for at least 2 years, I and others have printed a million things with it without any problems as recently as last week - including multiple iterations of these glasses - and today the prints feel "dry", or less "waxy" that other PLA parts when I file them smooth, and they're really brittle.

Also, it's winter and here up north, it gets really dry in the winter - like 15% humidity - so I'm pretty sure the material is quite dry.

What gives? Any idea?

10


My company ordered a 0.4mm ObXidian nozzle for our Prusa Mk4 printer. We ordered it because someone wanted to print something with abrasive carbon-fiber-reinforced filament.

It's mounted now and It's the same diameter as the stock nozzle we've been using so far. Since I had to run a print and the bgcode file was made for 0.4mm, I just ran the print with plain old PLA.

And... wow! The difference in quality is staggering. Particularly on vertical walls: they're so smooth and shiny, it's incredible. And the top surfaces are so much nicer and smoother than with the regular nozzle. I printed that particular print several times before and while it wasn't bad, it's never been that good.

I didn't realize the nozzle impacted the quality of the print that much.

11


I found a bunch of super-cheap kids sunglasses at the airport for my 3D-printed clip-on shades. No more concerns about UV damage 🙂

You can download the model here.

12
10
submitted 1 month ago* (last edited 1 month ago) by [email protected] to c/[email protected]


So, I redrew my custom shoe model in Blender because FreeCAD just can't create geometrically-correct, smooth, complex 3D surfaces like a shoe. This one looks much better

The entire mesh in Blender is error-free. When I export it as an .OBJ file, PrusaSlicer imports it without any problems (well, it's not oriented correctly but that's easily fixed).

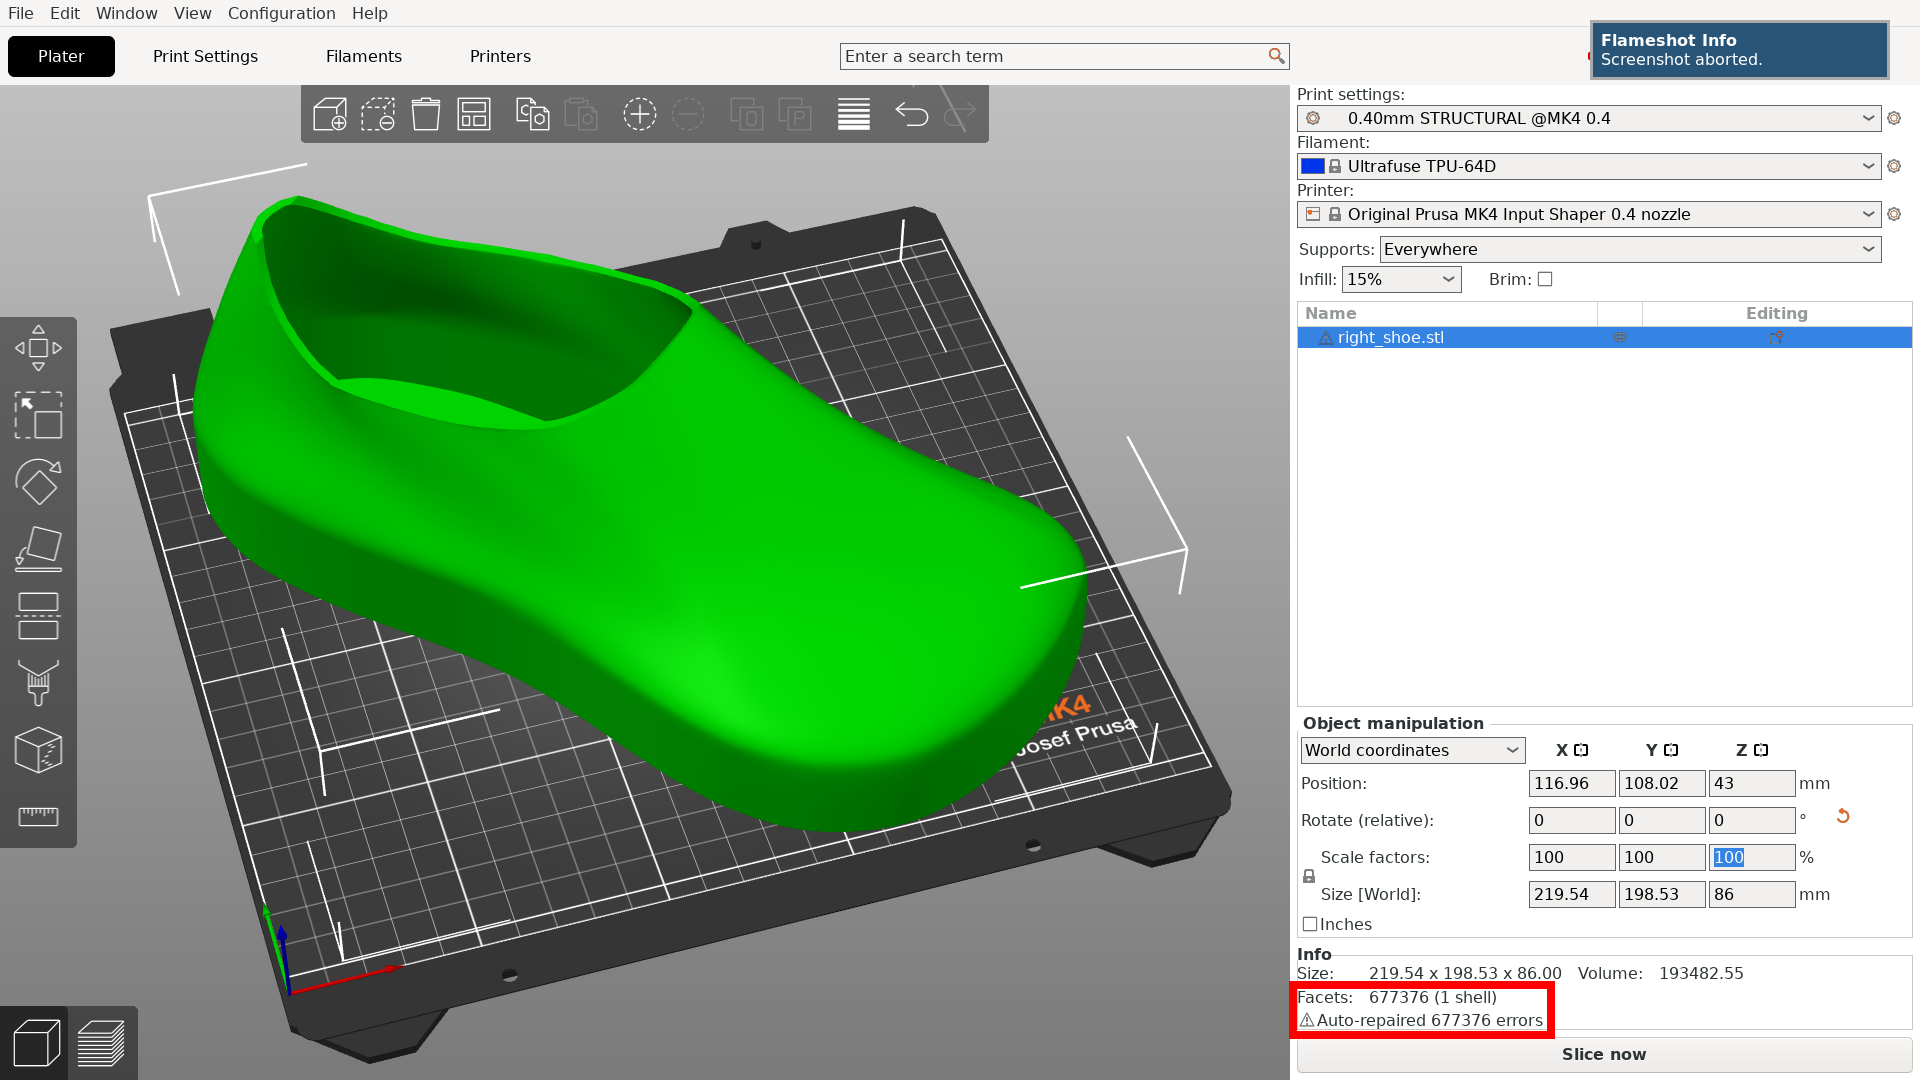
However, when I export it as an .STL file, PrusaSlicer imports it okay, but complains that the file contains 677,376 errors - out of 677,376 facets 🙂.

It seem to slice it without issues though so I assume the facets in the STL file are just missing something unimportant. But just in case: does anybody know what's missing in my Blender model that could cause that error?

If you want to try it for yourself, the STL file is here and the Blender file is here.

(I haven't tried to print that beast yet, mostly because the printer has been busy for work purposes all week last week and I would like to print a few test parts first. But I'm hoping to print some TPU specimens next week.)

13


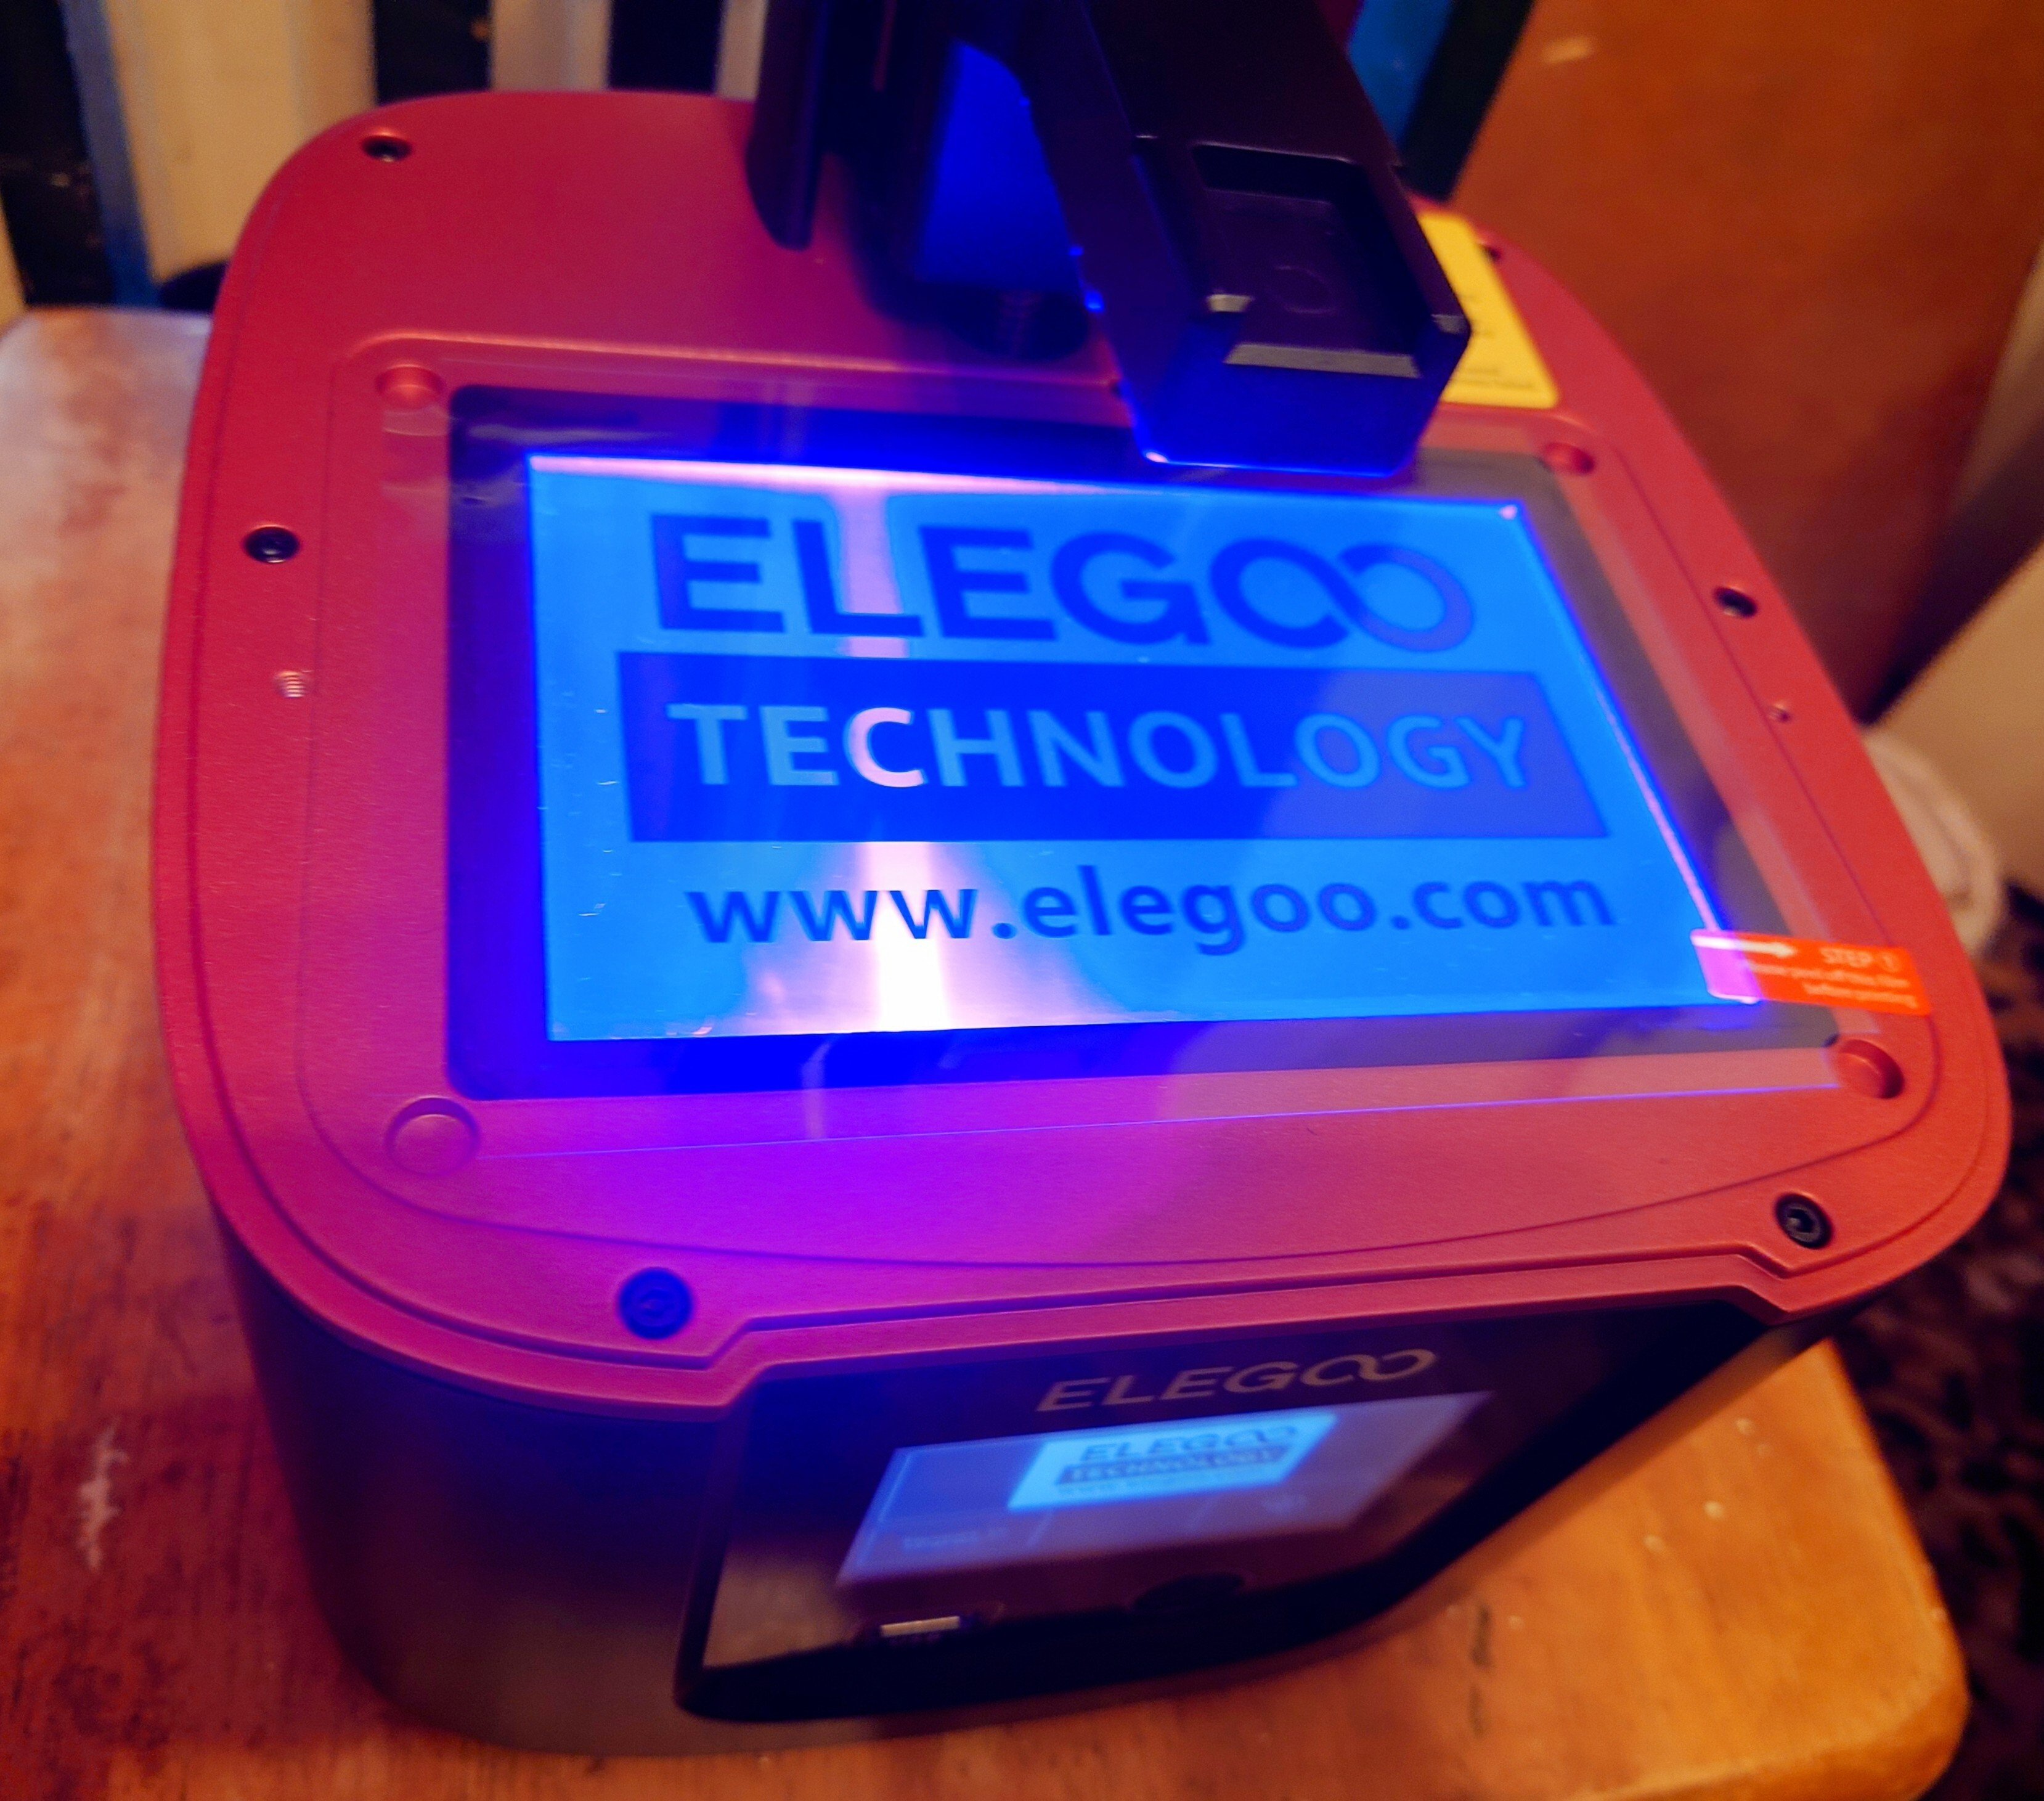
Here is my brand new (second hand) Elegoo Mars 3 printer.

I've had some experience with FDM but this is my first time with resin.

Current progress:

  • Brought a VOC face mask and nitrile gloves. Do I need UV glasses?
  • ordered soy based resin and a wash/cure station
  • installed and found chitubox slicer isn't great
  • don't understand plug drilling and hollowing
  • plan to paint mimi's from it. Advice on painting resin?

I know some of this is basic but I felt it might promt interesting conversation.

14


cross-posted from: https://lemmy.ml/post/23129803

15


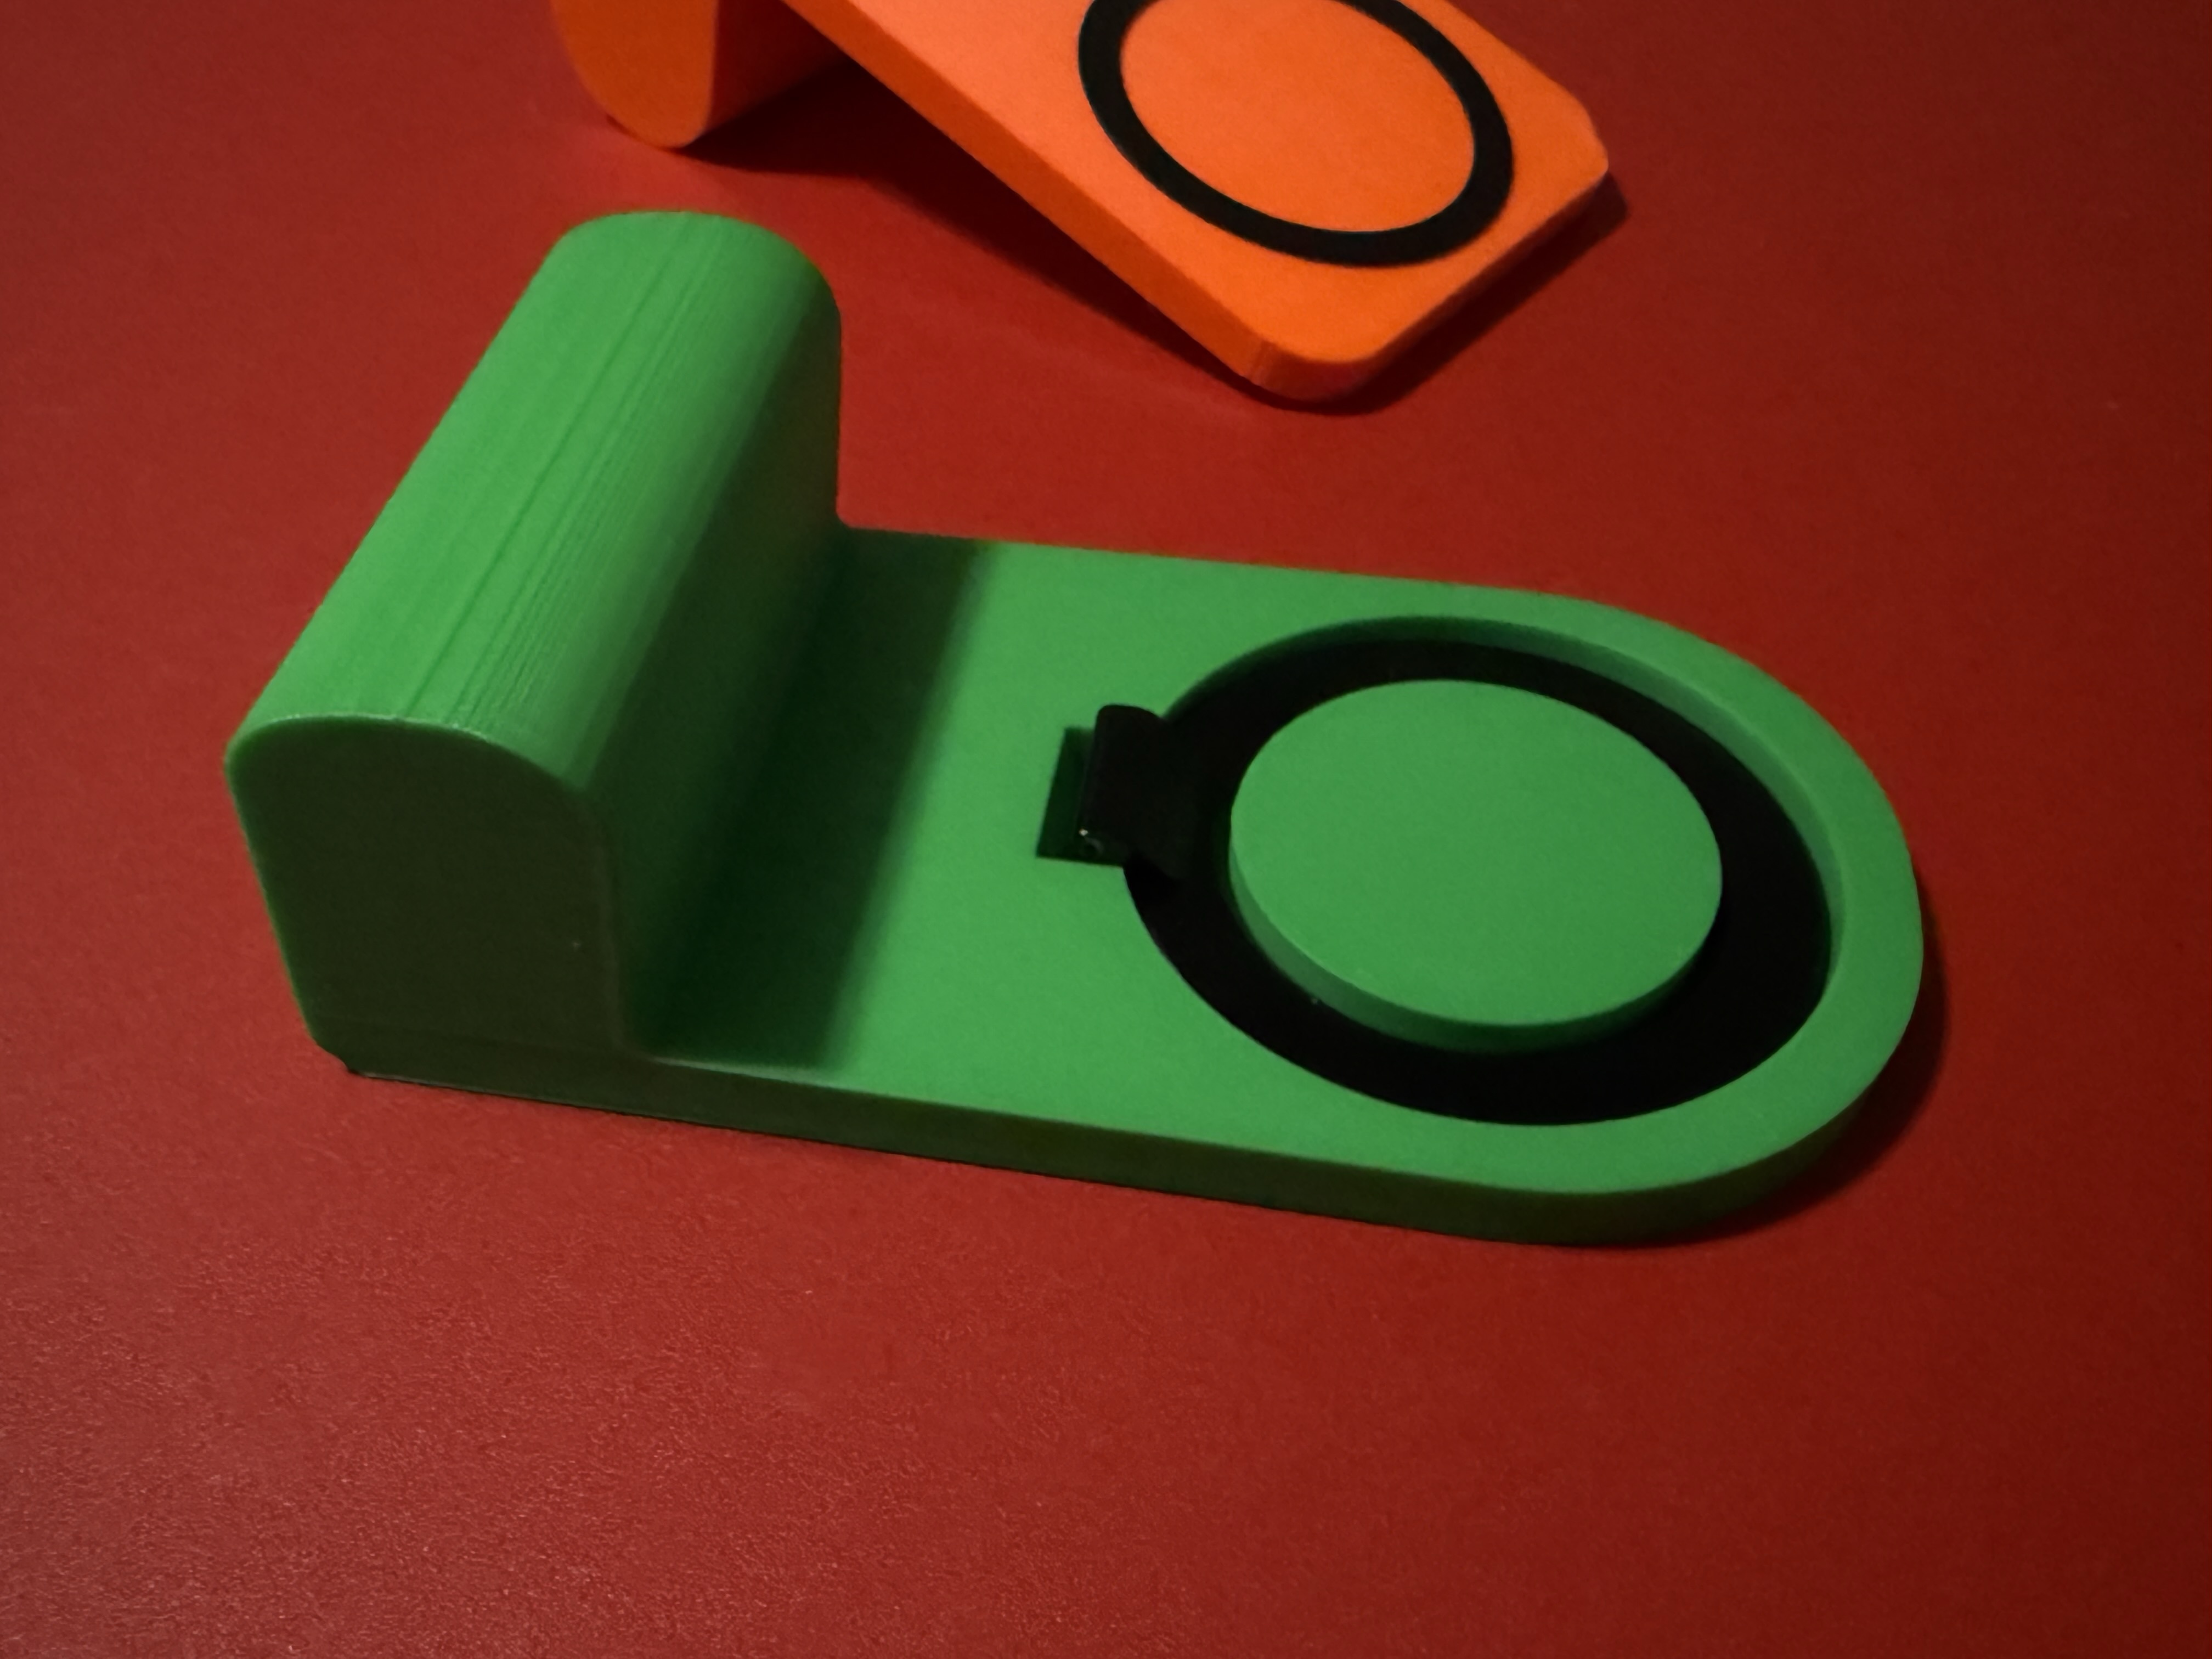
This is the first true prototype of the camera grip. The incorporated magnet holds very well. Next step is figuring out the best way to install the shutter button so that it can be removed for battery replacement.

16


There's uselessly tiny gem fragments in them thar ancient alluvial gravel beds.

Model is bought from: https://cults3d.com/en/3d-model/various/gold-sluice-box-v2-modular-expandible-included-4-mats-classifier although easy enough to design yourself. It works great though and the price is fair if you do want one.

Sluice body is petg, mats are tpu as I thought it would make cleaning easier. TBH petg would probably be a better candidate as long as you did a high contrast material. The flex doesn't add much as it's short sections that fit in a pan anyway.

17
18
19
125
My new specs (lemmy.sdf.org)
submitted 3 months ago by [email protected] to c/[email protected]


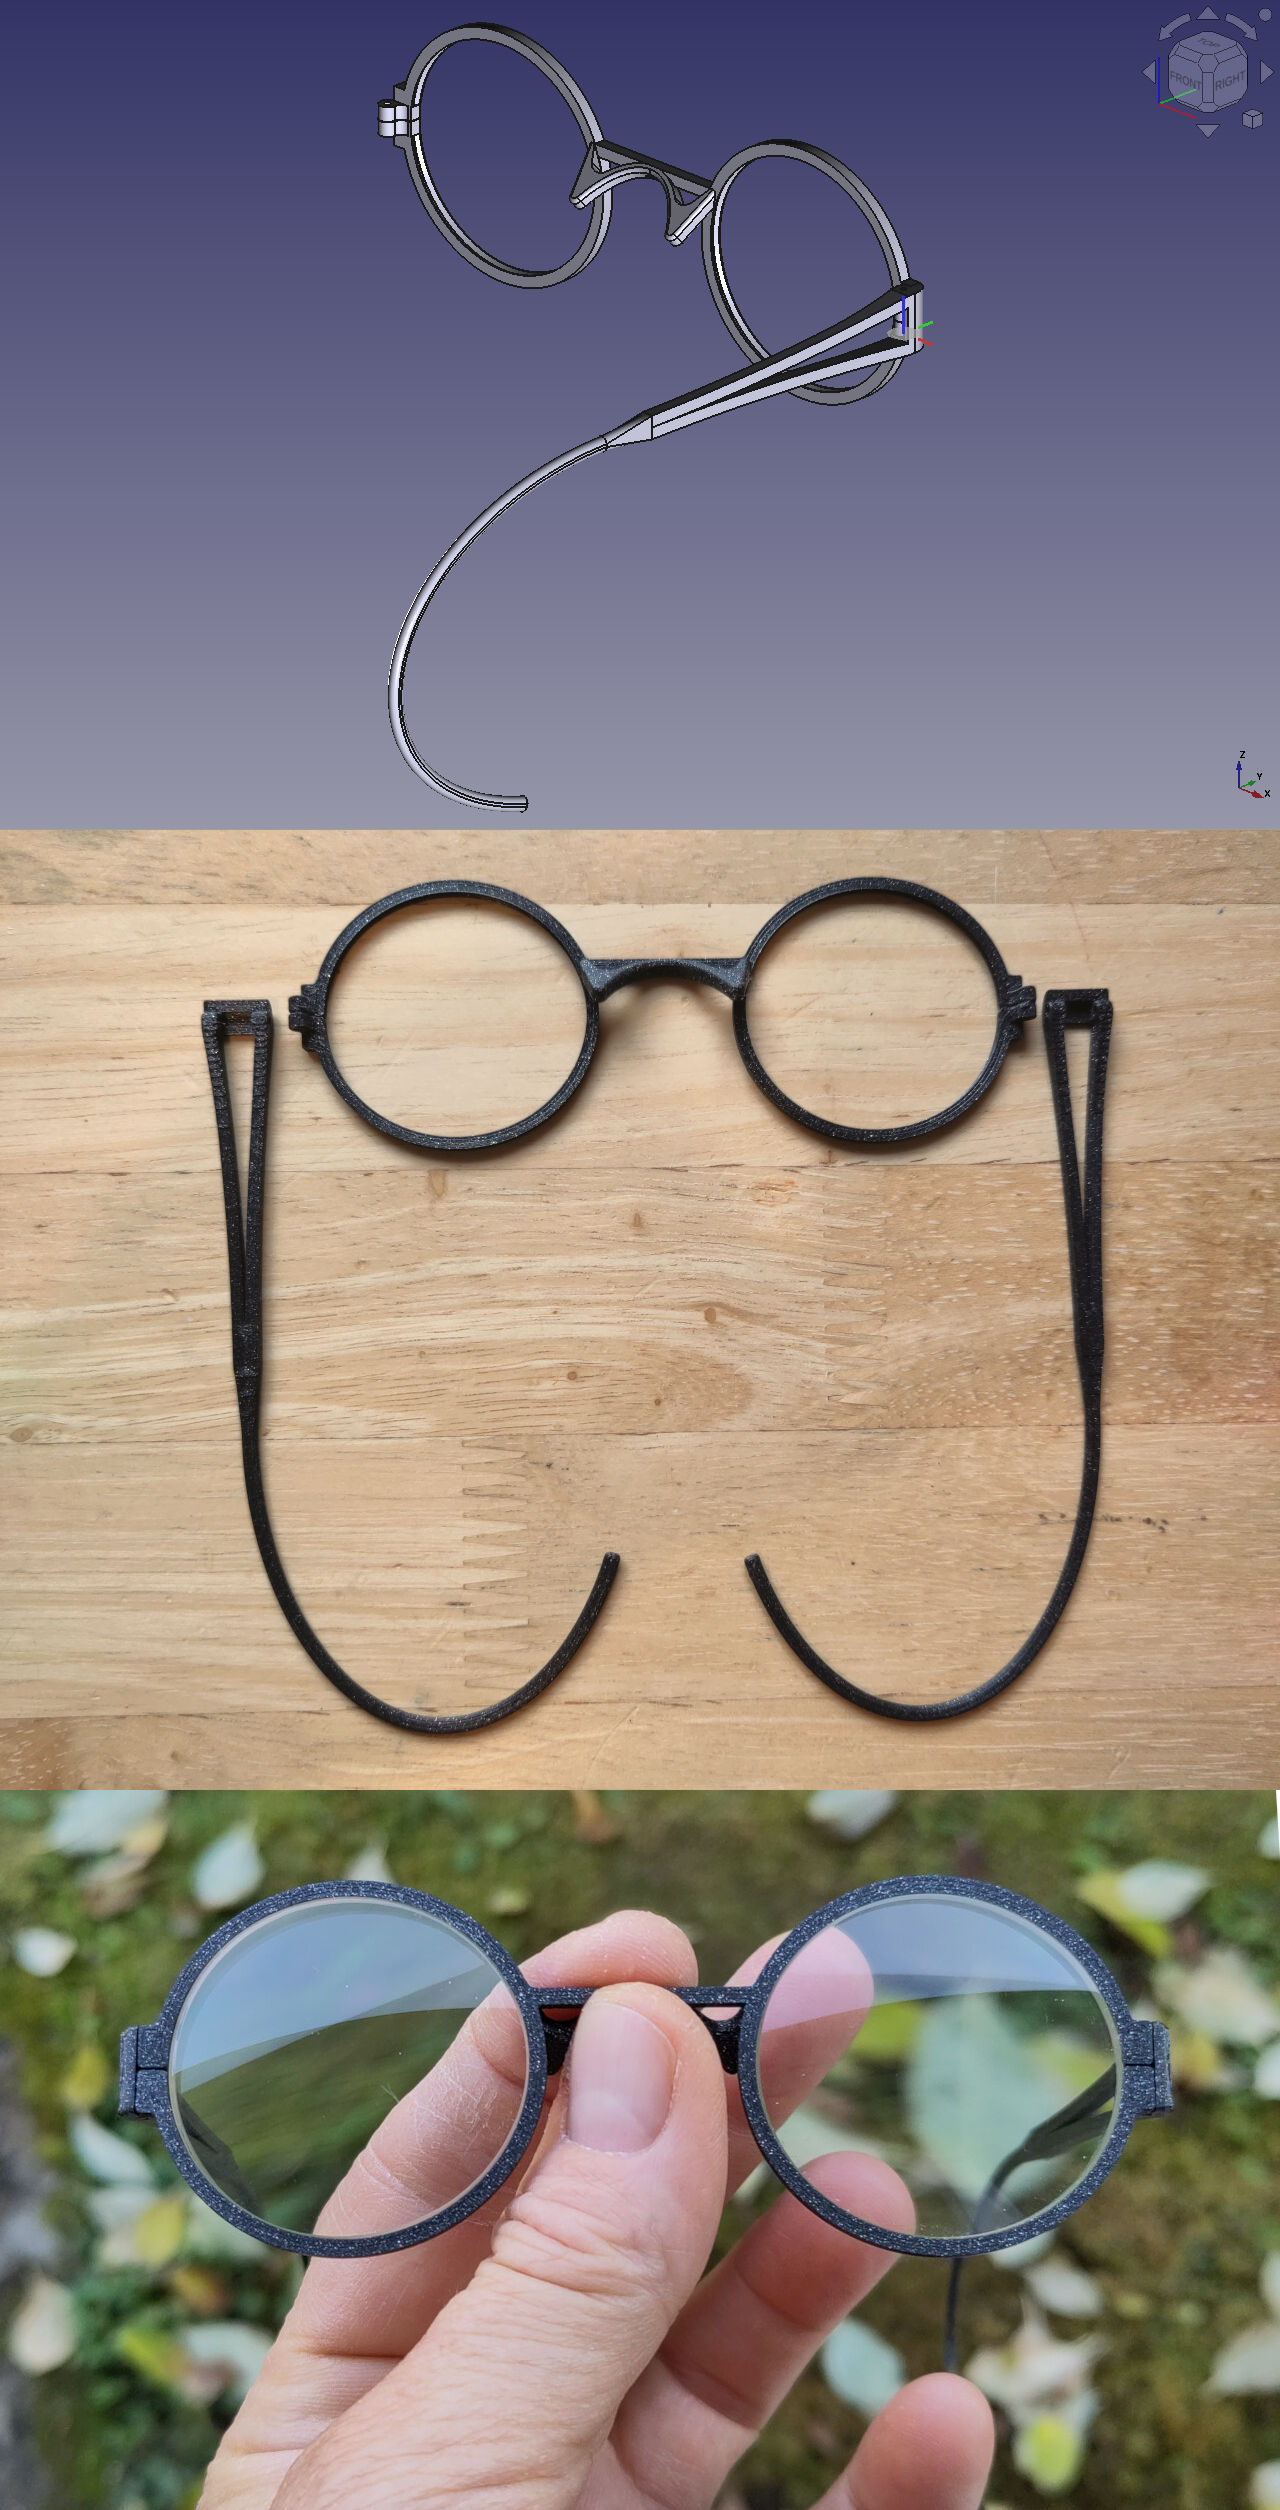
I had new progressive lenses made, but the old ones are still fine and don’t have a scratch. They’re just a bit weak at near distance, but otherwise perfectly serviceable.

So I made new frames for them because I don’t like to throw away things that work.

All assembled, the frames weigh 3.5 grams, and 14 grams with the lenses mounted.

This was printed with a Prusa Mk4 and regular PLA at 0.15 mm layer height. The hinges use simple 10x1 pins - and I worked my magic to print the holes horizontally to the final dimension with interference fit, so no reaming or drilling is necessary. These glasses are straight out of the printer with zero rework.

I think they look pretty good as they are. If anybody notices they’re 3D-printed, I’ll say I’m gunning for that particular style 🙂

The front of the frames prints in 11 minutes and both temples in 12 minutes. I could break and make a new pair every day for the rest of my life and it would still be faster and cheaper than going to Specsavers only once.

20


Hi everyone,

As in the title, I would start to learn how to design models for 3D printing and the basics about 3D printing, but I'm a total noob.

Do you have any suggestions about where to start?

Thanks everybody

21


I am new to 3D printing, but have always wanted to get into it. Unfortunately, I have very limited space and no dedicated area that I could call my workshop. I also travel frequently, and I would like something where I could take it with me for the day.

Therefore, I would like a portable, or at least very small printer. AFAIK, the new Positron V3.2 is purpose-built to solve this kind of problem.

I am asking whether that model is a good idea for a beginner. My main concern is the price, which I am willing to put up with if there really is no other portable printer.

My other concern is just the fact that it is new and I may be too inexperienced with printers to deal with problems that are natural in first-gen products. I have a decent amount of experience soldering and other electronics work, but nothing with small moving parts. Also IDK if sourcing parts would be an issue.

If, in your experiences, these make it not worth it as a first printer, what would you recommend as a portable printer?

22


I've printed similar objects with a different colored PLA, but I ran out of it and switched to this.

Is it possible that this could be influencing the outcome?

I have tried reducing the printing speed by 50%, but this did not seem to have a significant impact.

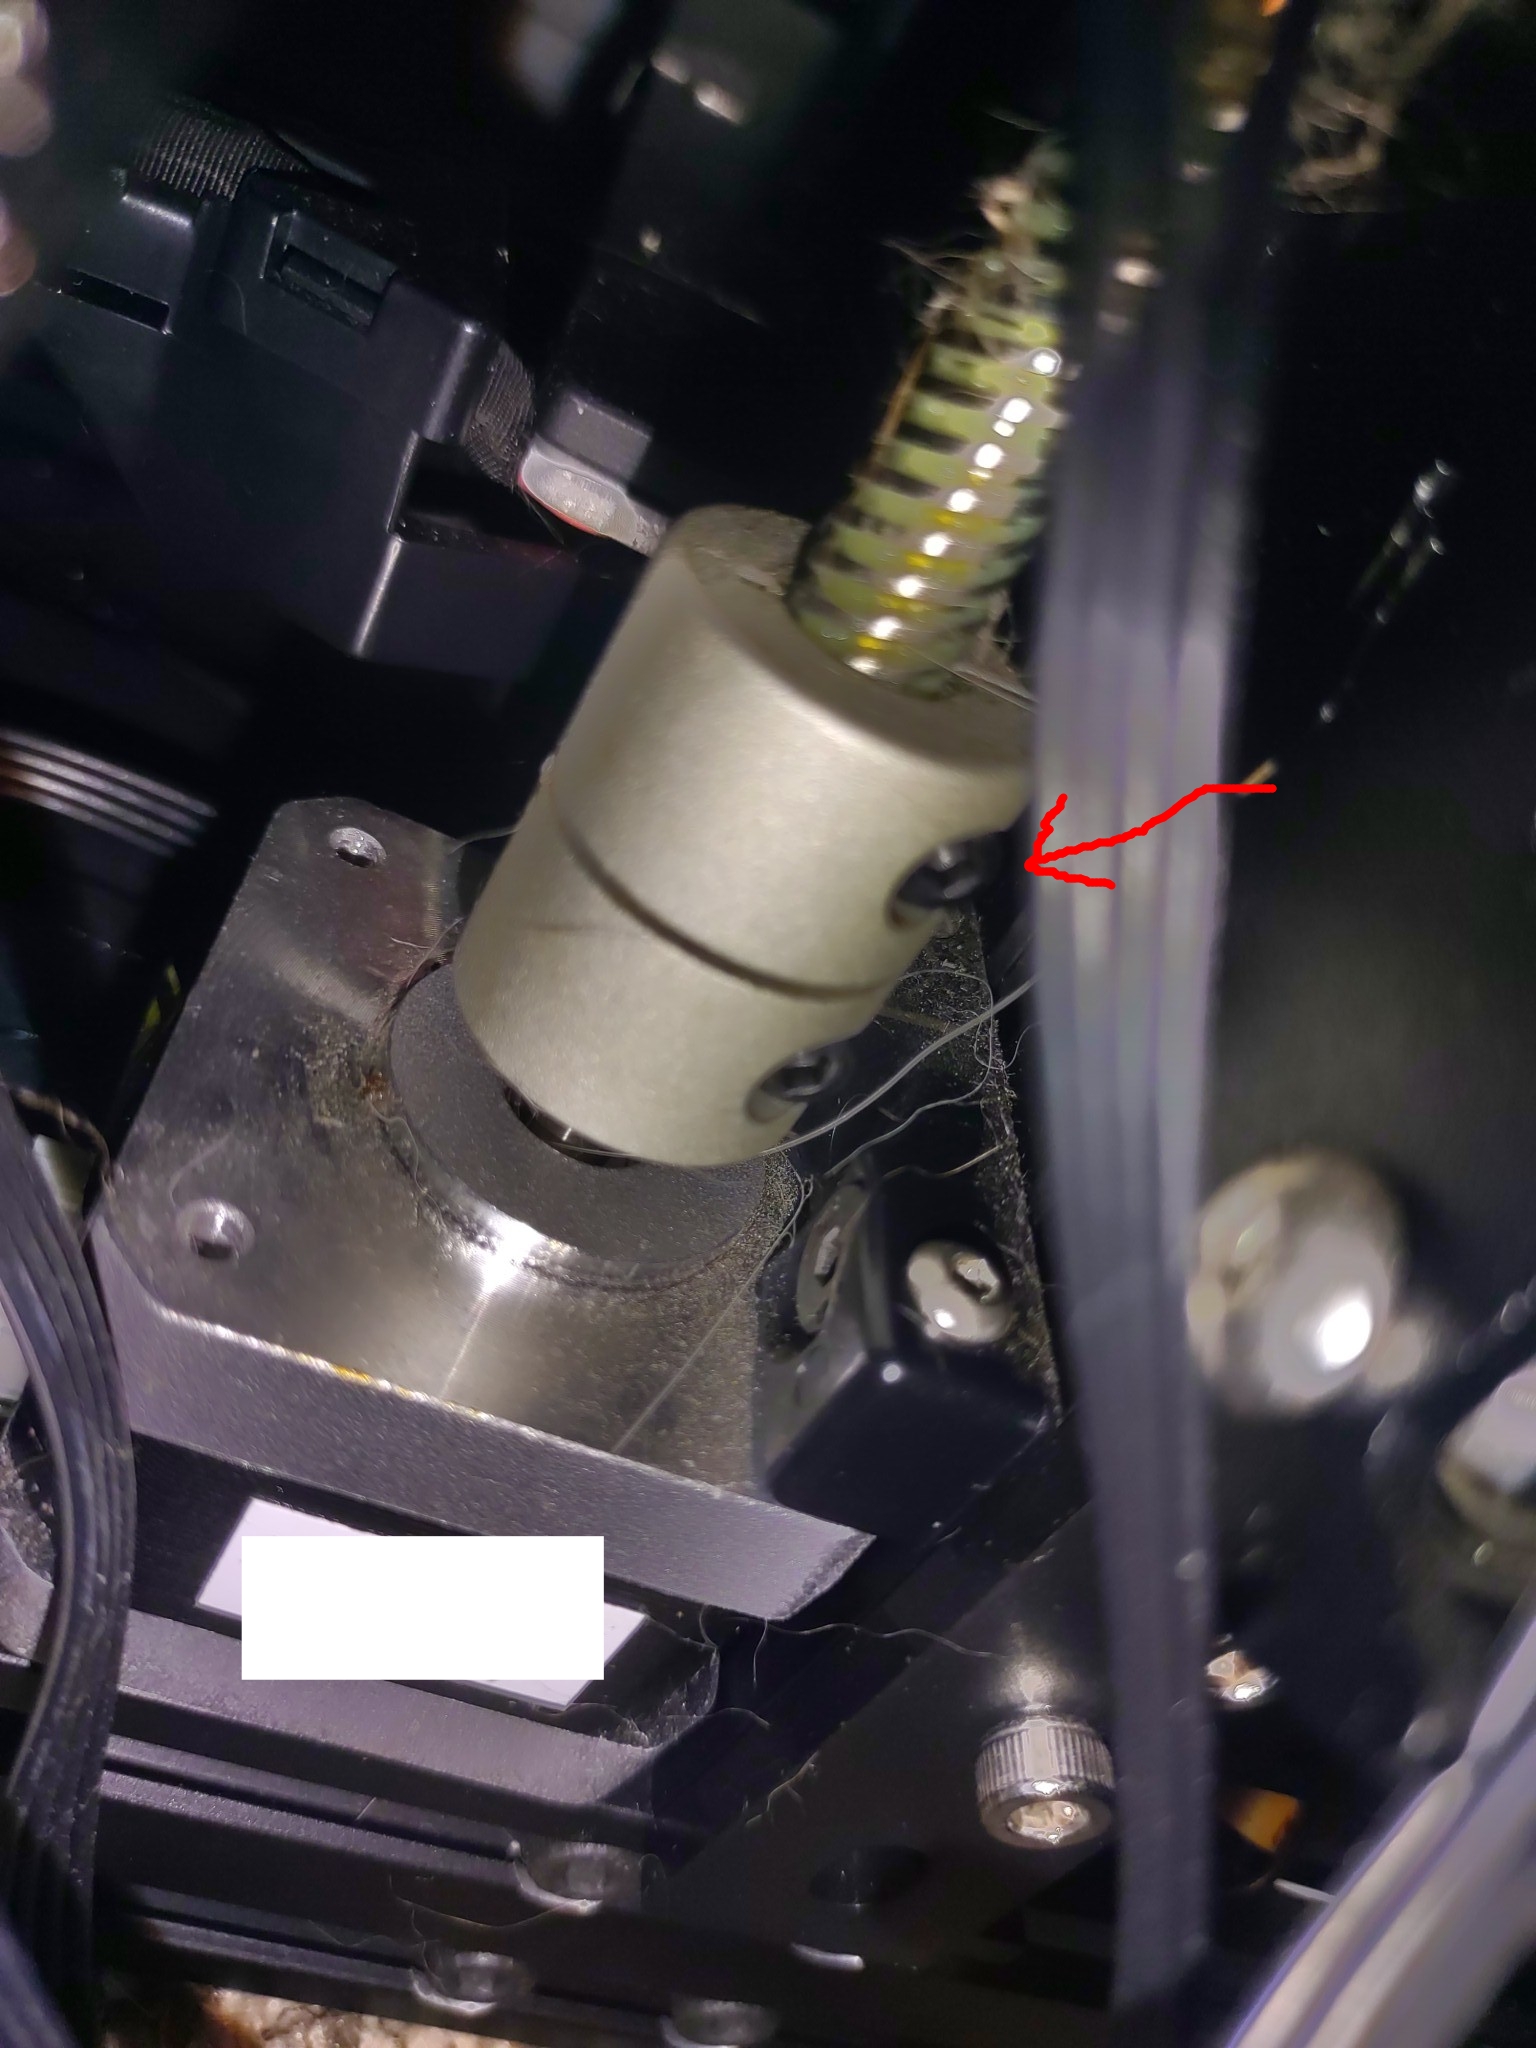
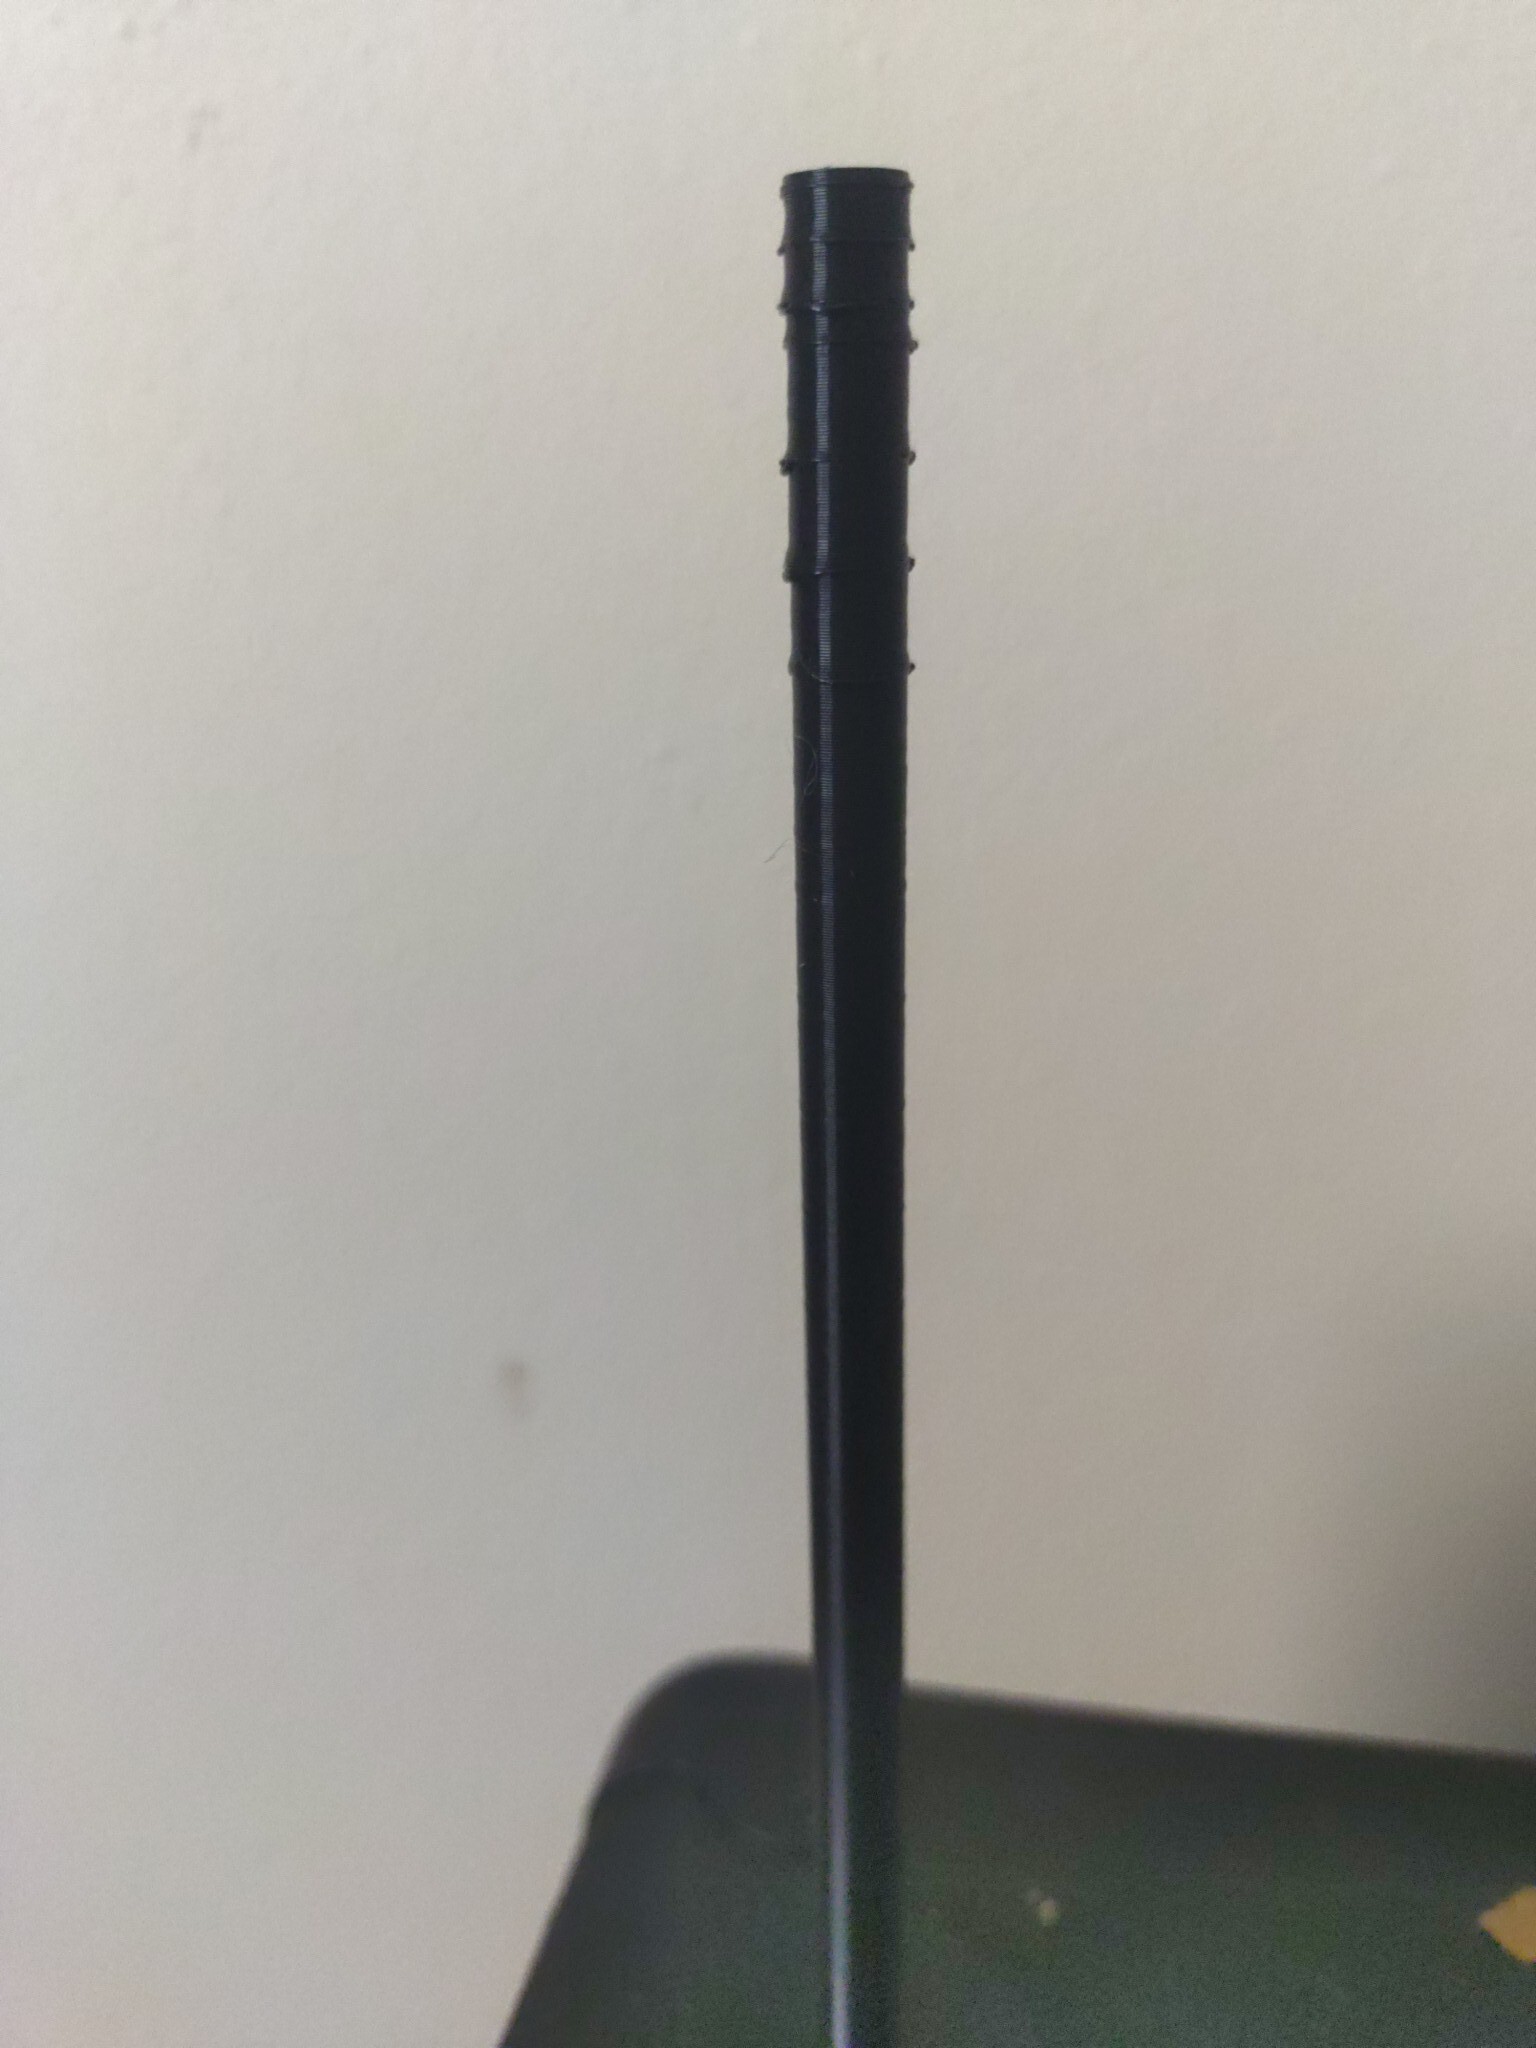
[SOLUTION] The problem was a loose screw. The offending part as well as the new result are pictured below. It's not perfect, which I guess is actually a part of the model this time, but it's good enough for my purposes and way better than what it was before.

I figured this out by twisting the Z-axis thingy manually all the way to the top to see if I could feel any issues. Towards the top, it would start to 'skip', where I would turn and pretty much nothing would happen. I assume this has to do with the lack of lube at the top because my prints rarely go that high. I checked to see if the screws were loose, and sure enough, the top one was. I tightened it up and now my printer is printing like the beast I remember!

23


This started happening after I upgraded my ender 5 to ezBoard V2

24
25


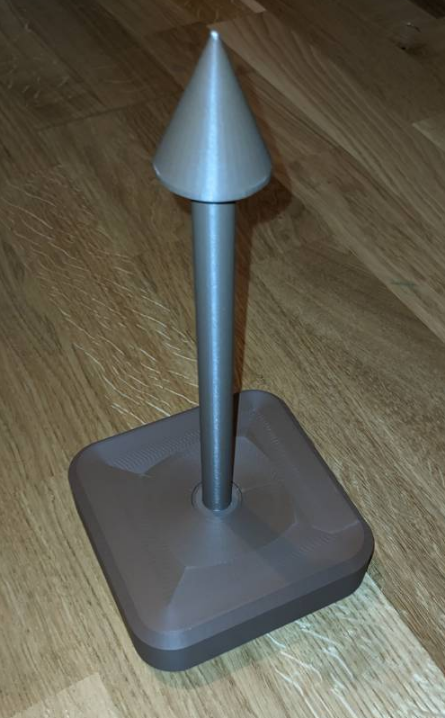
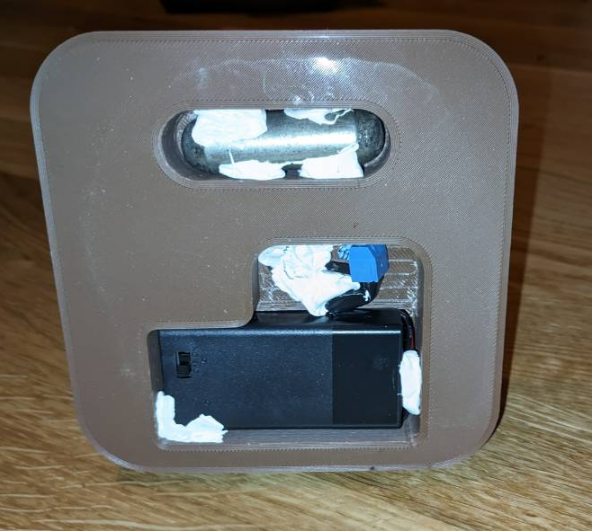
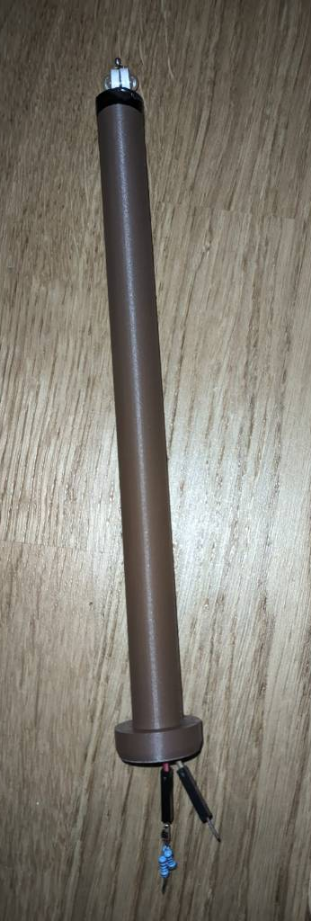
First time I printed something made in FreeCAD. It's a table lamp for our balcony, more like a mood light than a real lamp hehe. Its made from 3 parts (base, tube and a hat). Base and tube are CA glued and I used some insulating tape to fit a hat tightly. The lamp is about 240 mm tall and its powered from 9V battery. Battery case and steel weight are glued with some blue tack (white tack lol) to hold it in the place. There are 2 LEDs and resistor soldered together in series. I might replace the leds with lower powered ones if battery goes out too fast, but time will tell. Im also thinking about different hats, but first iteration was quick and dirty, I love it!

More pics:

view more: next ›