Fermentation of vegetables, grain, and whatever takes your fancy

234 readers
1 users here now

Resources:

Rules:

founded 4 years ago
MODERATORS
1


Hey fermenters. So, I recently started a batch of pickles (the salt water and dill+ kind - lactofermented? Right?), and I transferred them to the fridge too early, before they were pickled enough. Can I just take them out of the fridge (a few days later) and let them get back to room temperature and keep doing their thing? Or is that a recipe for spoilage? Or would it just not keep fermenting?

I guess I have nothing to lose so I might as well try but I was wondering if y’all had thoughts about my chances of success.

Thanks!

2


Hey everyone! I got some chard at the farmers market and wanted to get something out of the stems. The flavorings include garlic, parsley, cilantro, coriander seeds, "pickling spices" from a spice shop I go to, and pepper in a 3% brine. I'm really excited! I'll probably add it to various kinds of rice bowls, and things that need some umami.

3


Bought the wrong type, I only eat the wholegrain version. Could I make a cous cous sake?

4


This is my first attempt at roasting malts.

Buying crushed malts from the homebrew store is too expensive so I bought big ass 25 kg bag of pale malt and a cheap mill (well I say cheap, hopefully I can make this work out in my favor). Which means I have everything I need for a very simple, all grain, pale ale. But one of my favorite beers is a dark ale, which needs more than just pale malt, water, and hops. So working from one of Palmers simple recipes for dark ale I need some pale and roasted malt. Which is where this post comes in.

I have based what I've done after this explanation of roasted malts and a combination of a post by brewcabin and Palmers guide to roasting malts.

I spread pale malt out over a baking tray, just enough so you could not see the tray (~250 g) and placed in a pre-heated oven at ~180 C (350 F) for 40 minutes. I plan to store the malt in a paper bag for two weeks before use. And I'll update on how the beer turned out in a number of months!

5
2
submitted 4 years ago* (last edited 4 years ago) by [email protected] to c/[email protected]


A place where you can ask all your questions.

Please do not post questions as a post, comment here instead!

Cheers, dynamicHatEcosystem

6


Sorry for the break everyone, it's been a hectic couple of months. Here we go, fermenting cider.

This is another easy one, I would be surprised if you don't already have everything you need around the house!

Ingredients / tools:

  1. Preservative free juice
  2. Yeast
  3. A cup

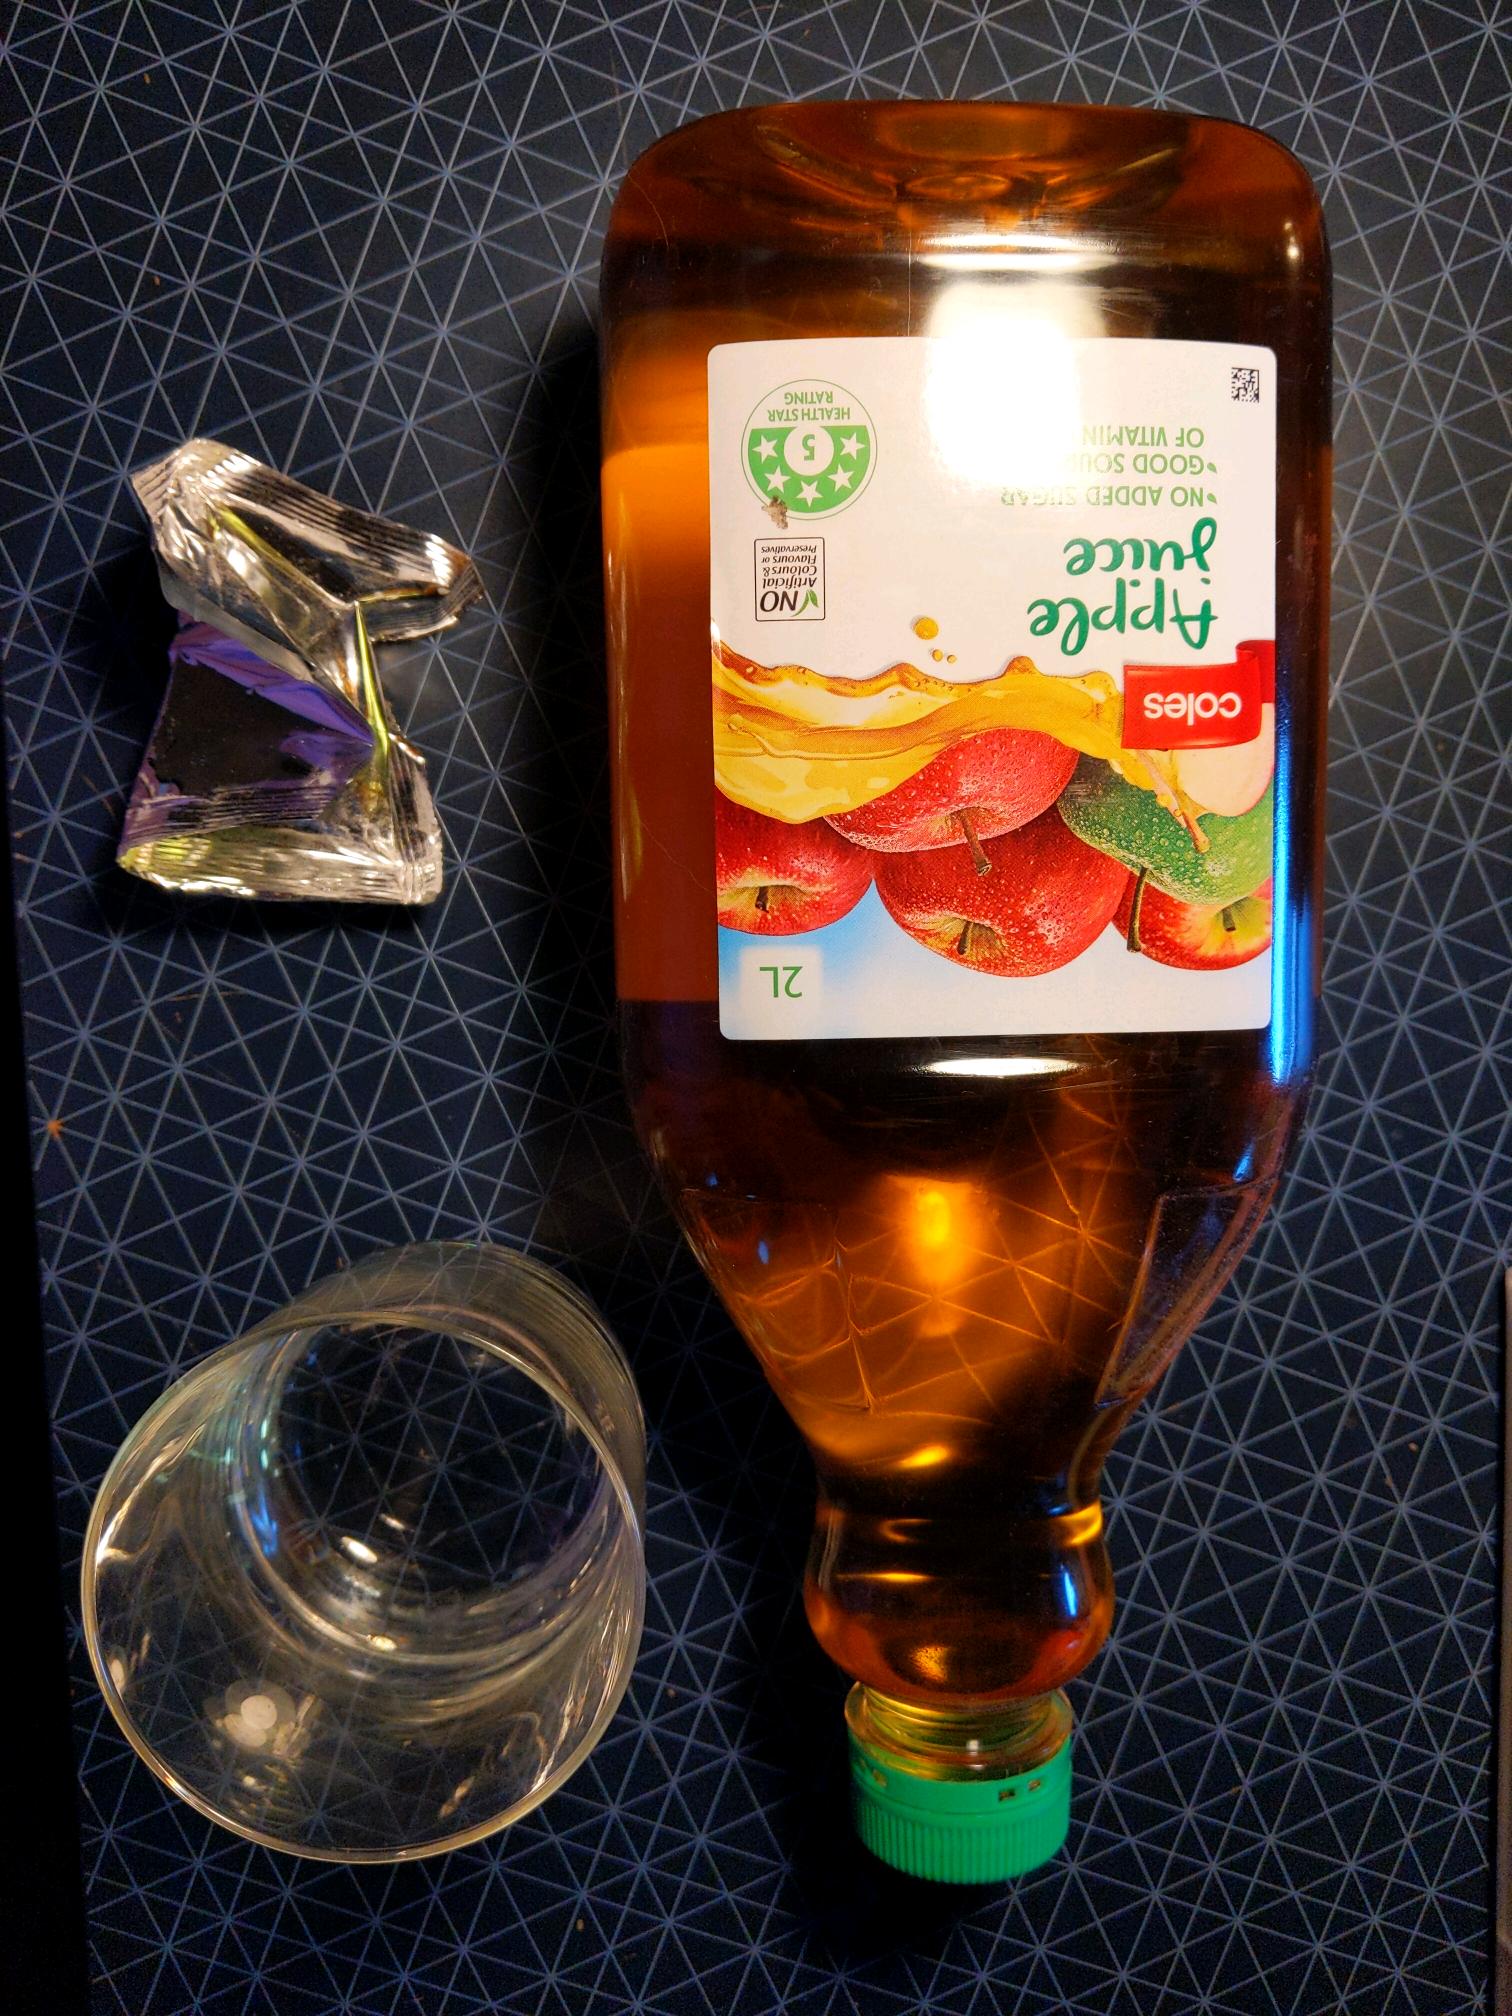
One bottle preservative free apple juice (other juices can be used, like grape, pear, berries &c. but you want to stay away from stone fruit (possible but weird tasting) and anything too acidic like pineapple or orange juice). I'm using UHT which ensures there's no other microbes, fresh is great too, just keep in mind there's living guys in there so you may get some interesting flavors!

Yeast. (Bakers yeast is fine, it just wont flocculate as well. Have a look at Lars' Does bread yeast exist post on the subject. If you have access to a homebrew shop I'd recommend going for some cider / champagne or an ale yeast.

Method:

  1. Open juice and pour yourself a cup. Drink cup of juice.
  2. Shake the juice for about a minute, opening and closing a couple of times.
  3. Add about one teaspoon of yeast.
  4. Then place (DO NOT TIGHTEN) the cap on the bottle and leave for one week in an area that maintains a temp of around 18 C that you wont mind smelling like yeast and cider.

We're getting rid of some of the juice because the fermentation is going to get rowdy and we don't want it overflowing, and we also want to get some air in there.

The shaking is so there's some oxygen in the liquid, the yeast are going to want some oxygen so they can get settled and maybe have a family. Once the oxygen runs out they'll start producing alcohol, so after pitching we don't want any more oxygen coming in and muddling it up.

And finally, we're not tightening the cap because there's going to be a lot of carbon dioxide produced and it's going to want to go somewhere. Using an airlock is overrated, there's going to be positive pressure for the majority of the week; open brewing is very common among homebrewers.

Thoughts:

There we go, after a week you should have a drinkable cider. If you want some bubbles play around with tightening the cap after 5/6 days. Keep in mind, if it over carbonates you could end up with a mess, but it's plastic so you shouldn't get hurt.

Assuming your juice is about 100 g/L sugar you should end up with a mid strength cider (~3.3% AVB)

Make sure to refrigerate for at least three days before drinking, it will taste better.

Have fun and let me know how you did!

edit: 100 g/L, not 10 lol. Also note, we are over pitching the yeast to ensure an active fermentation.
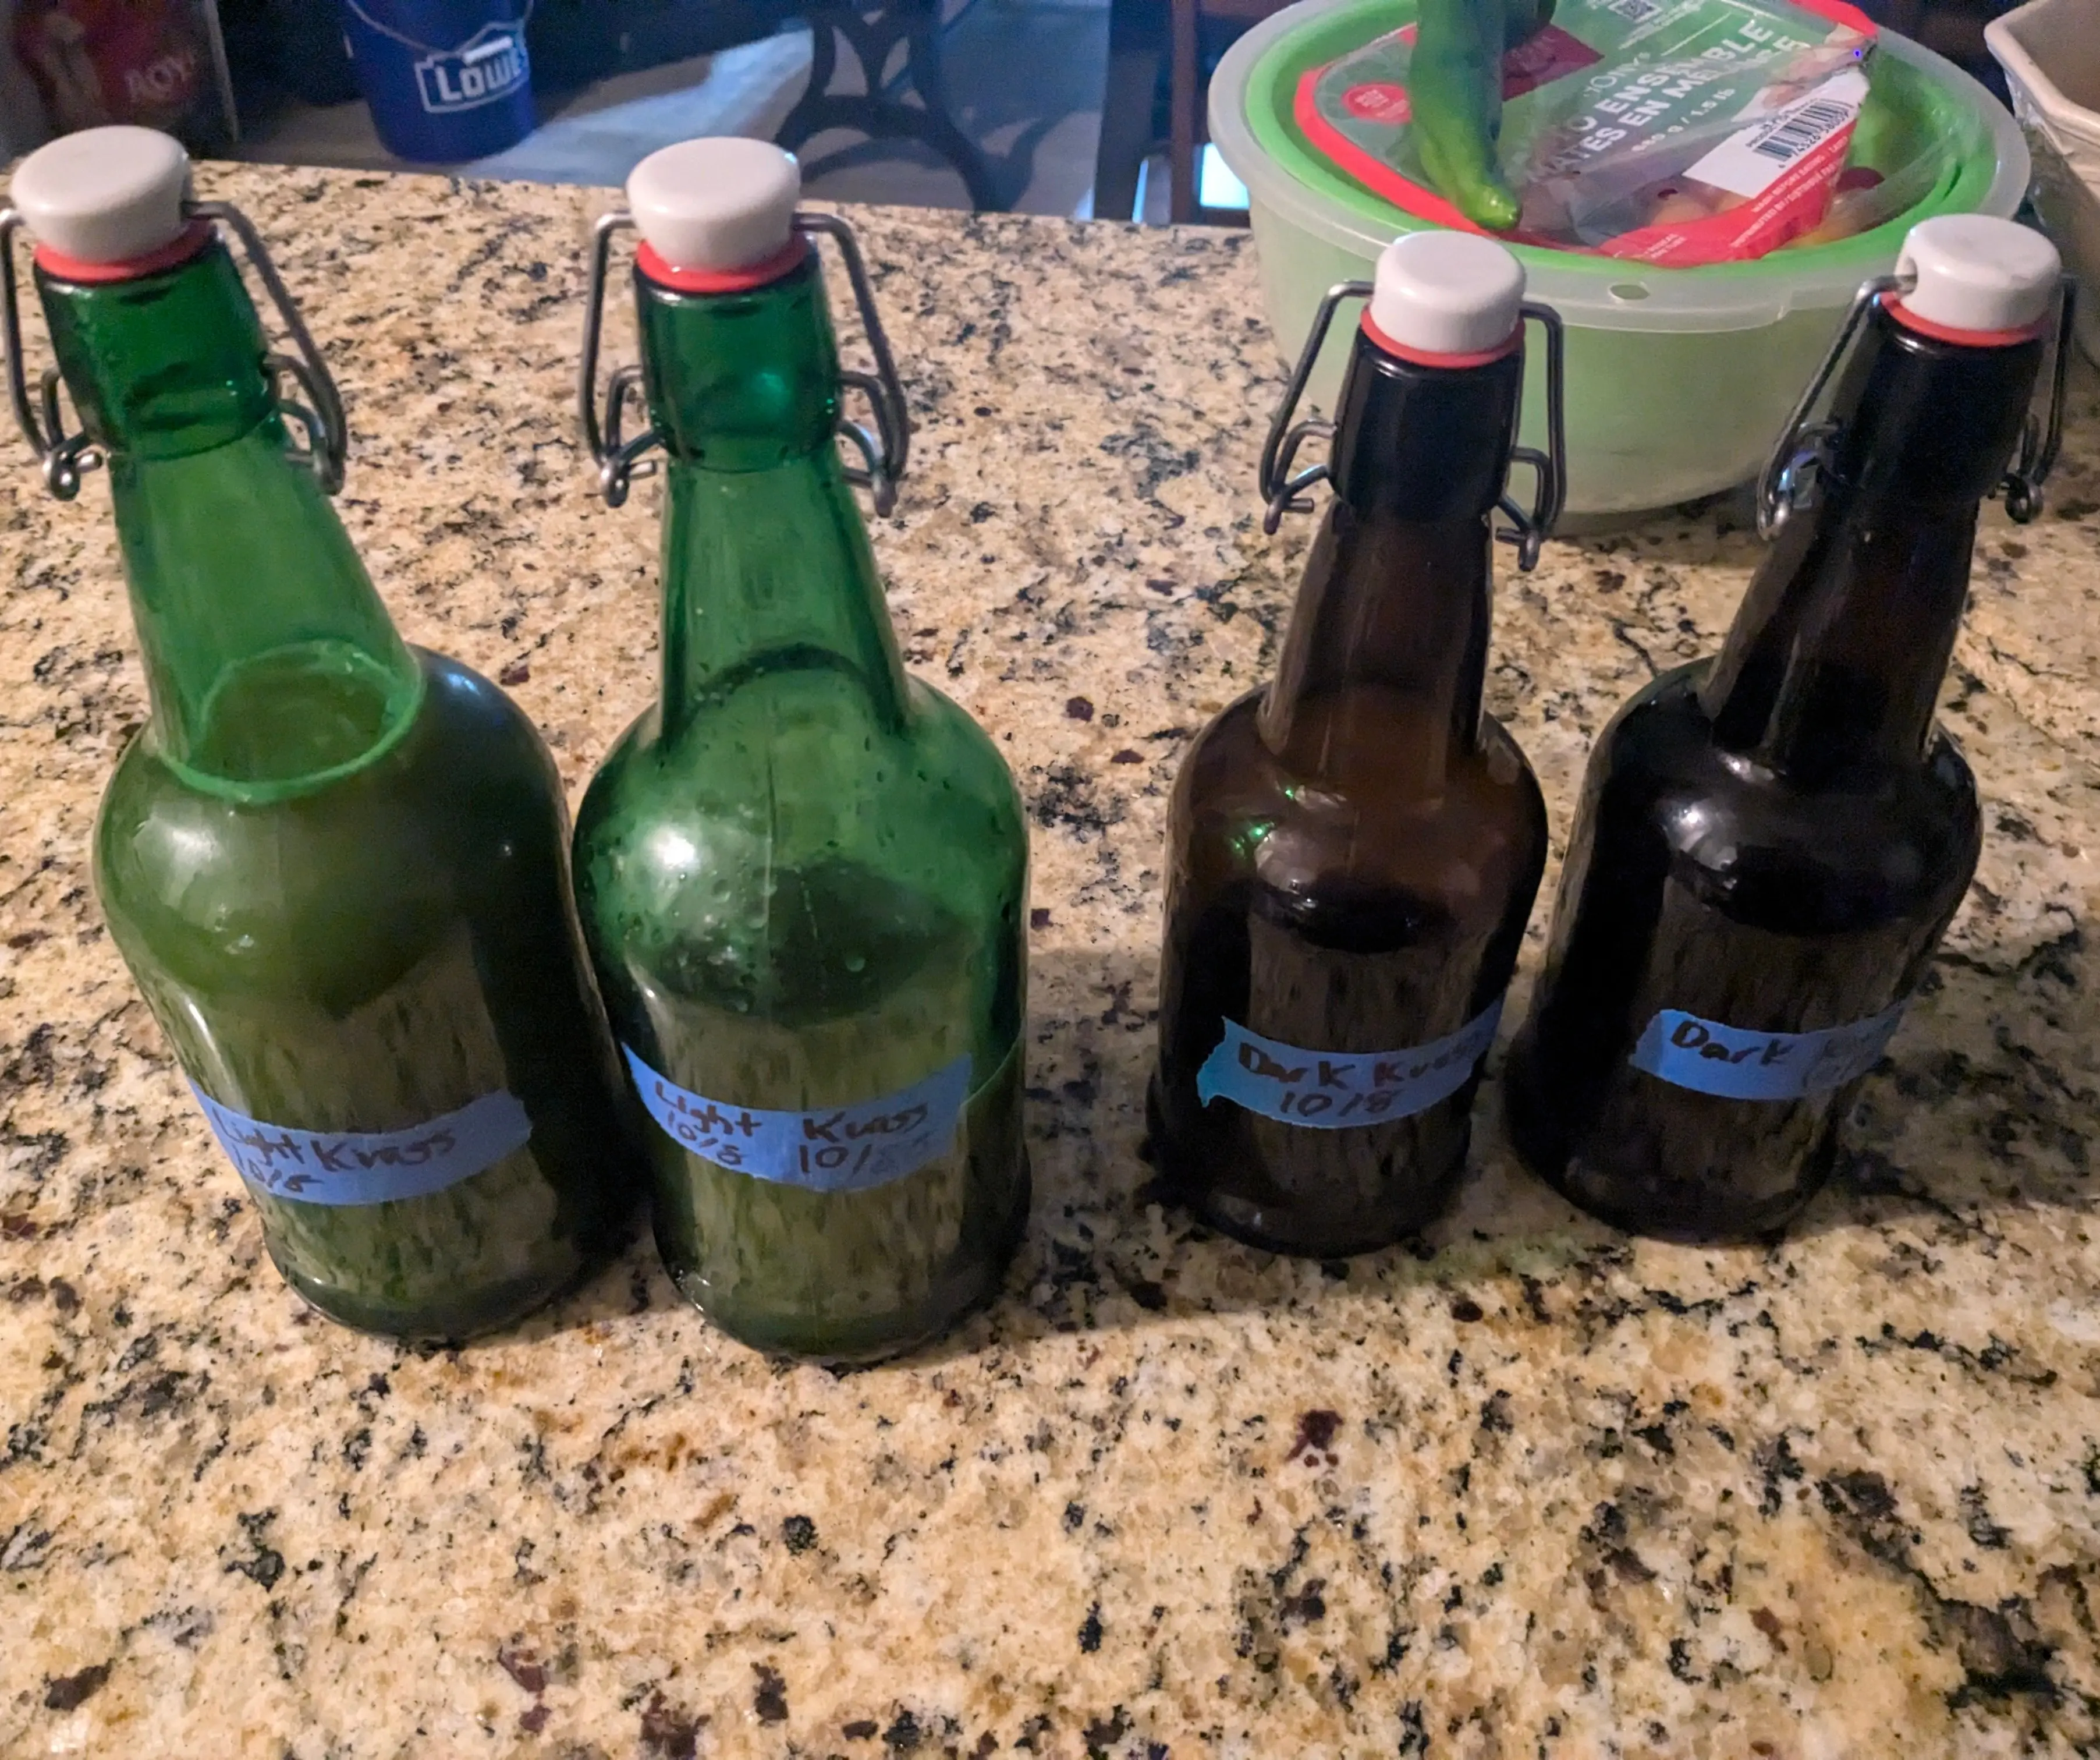
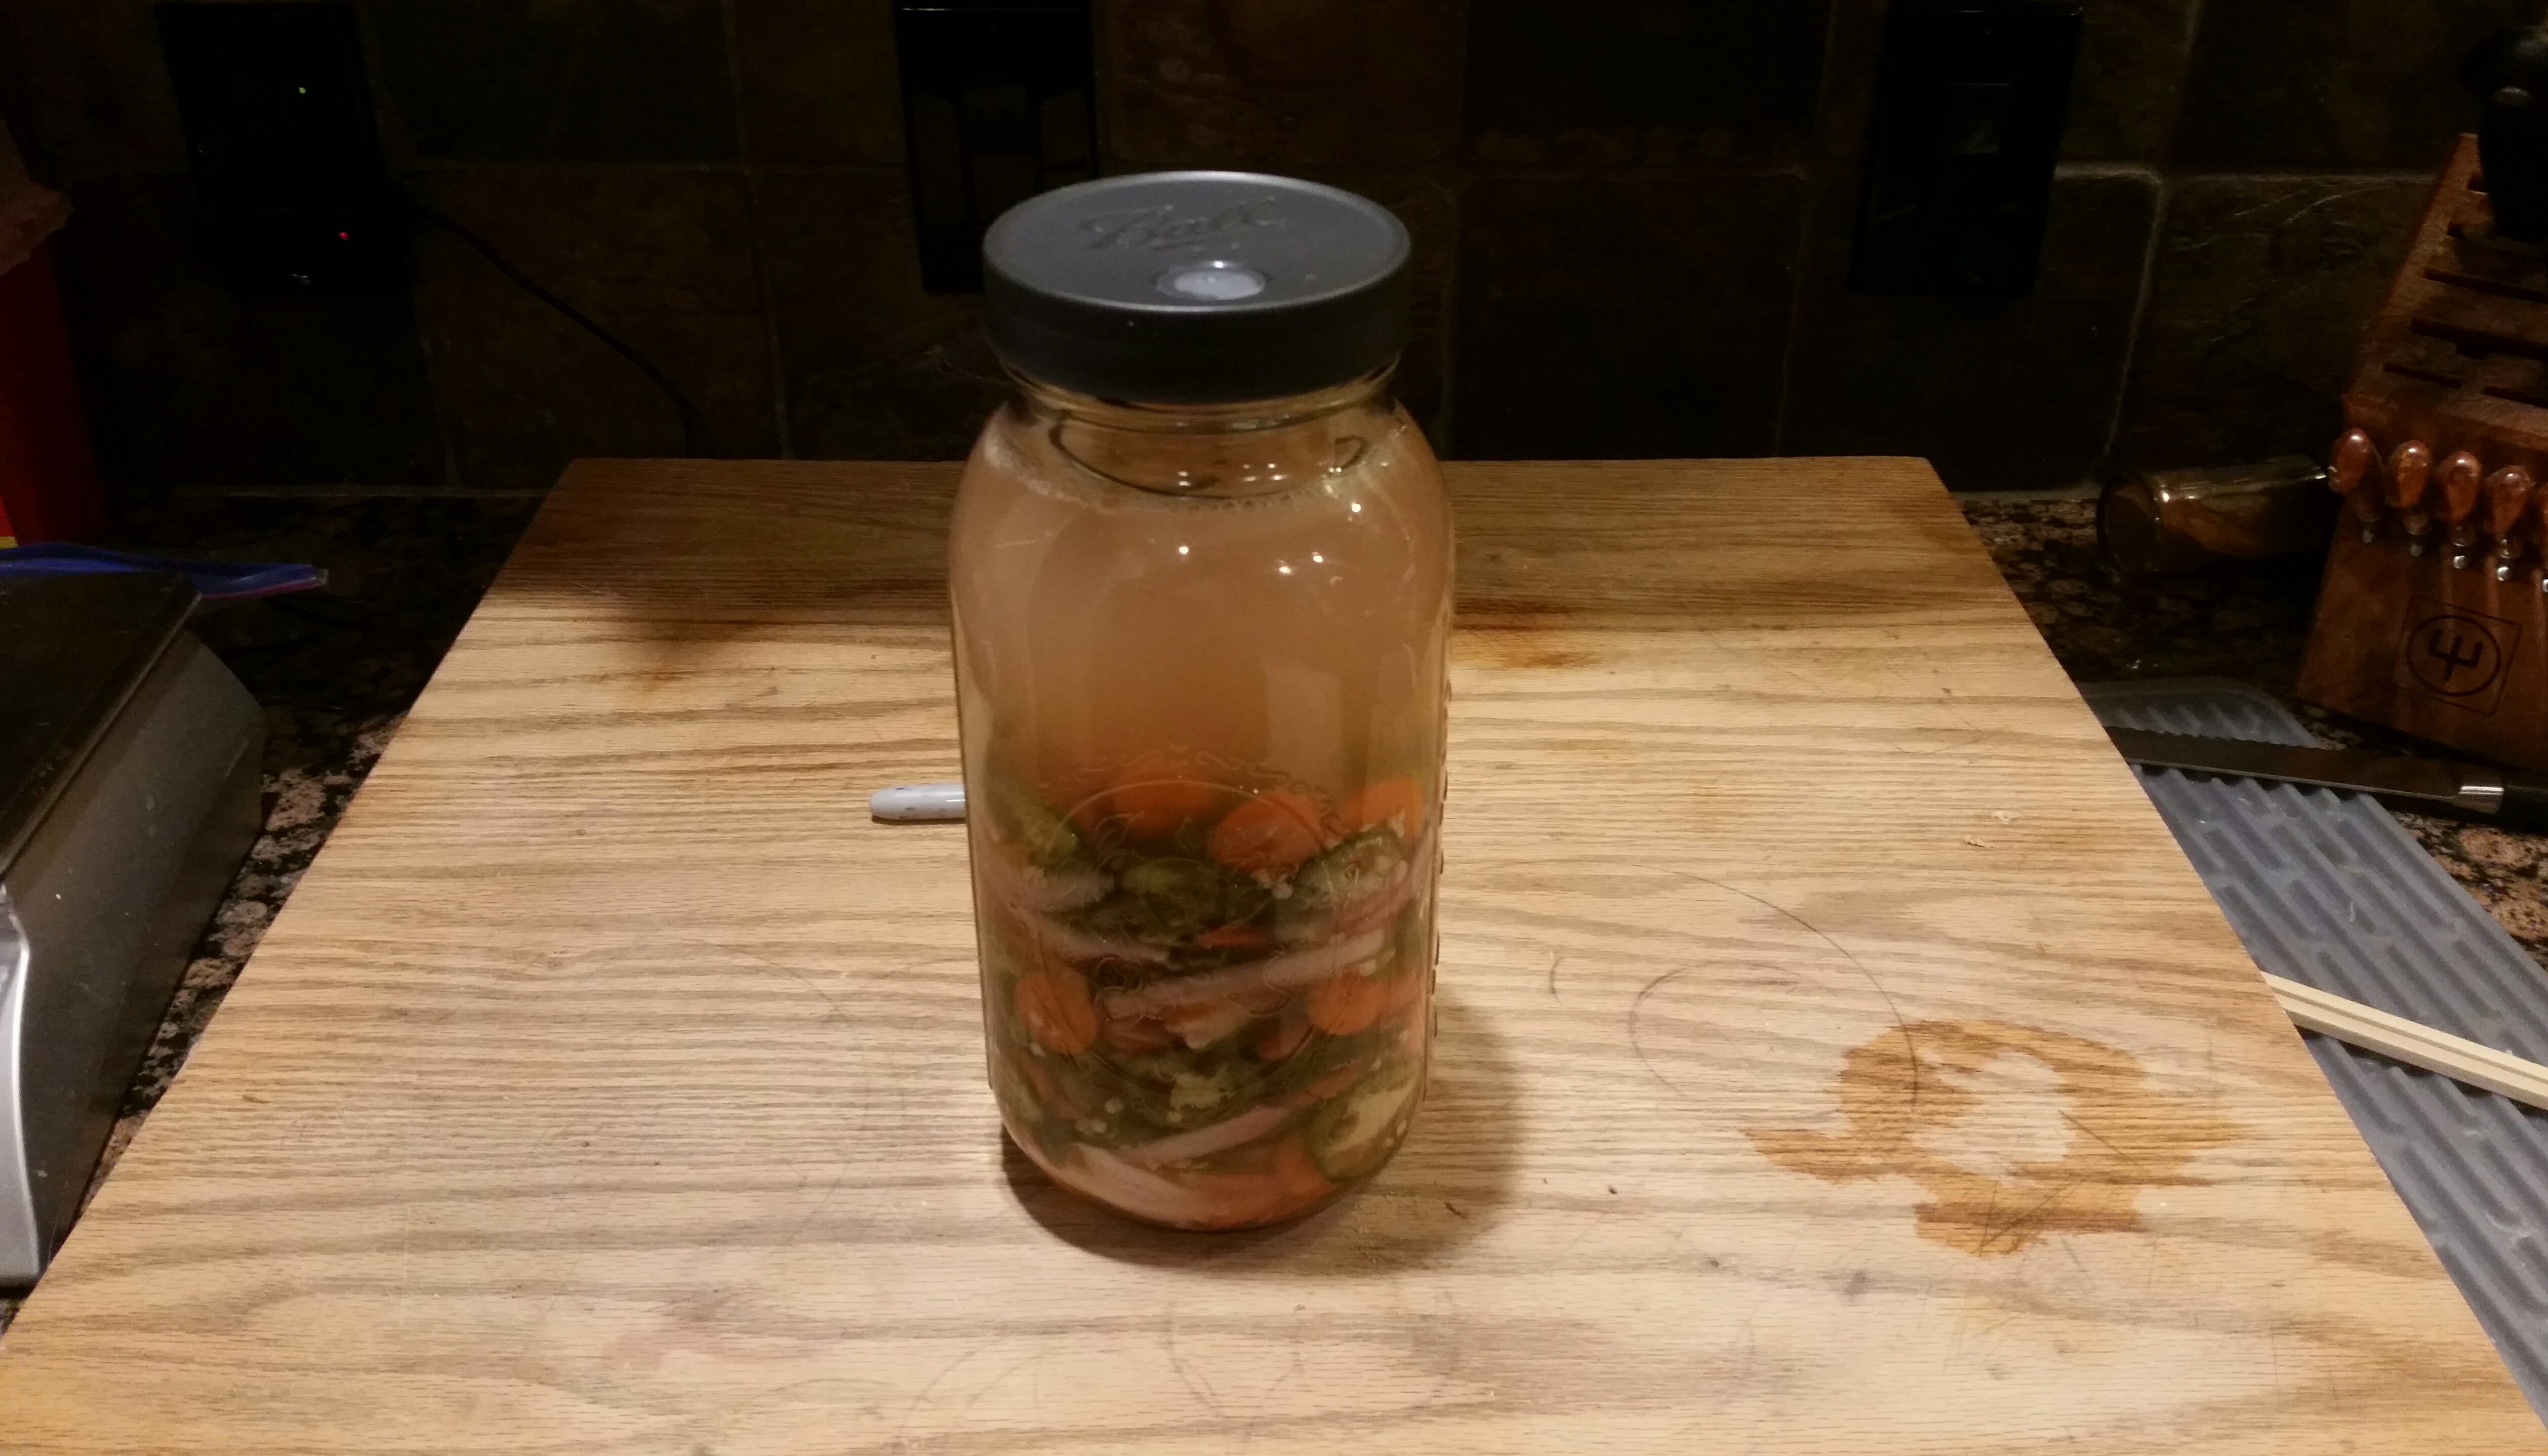
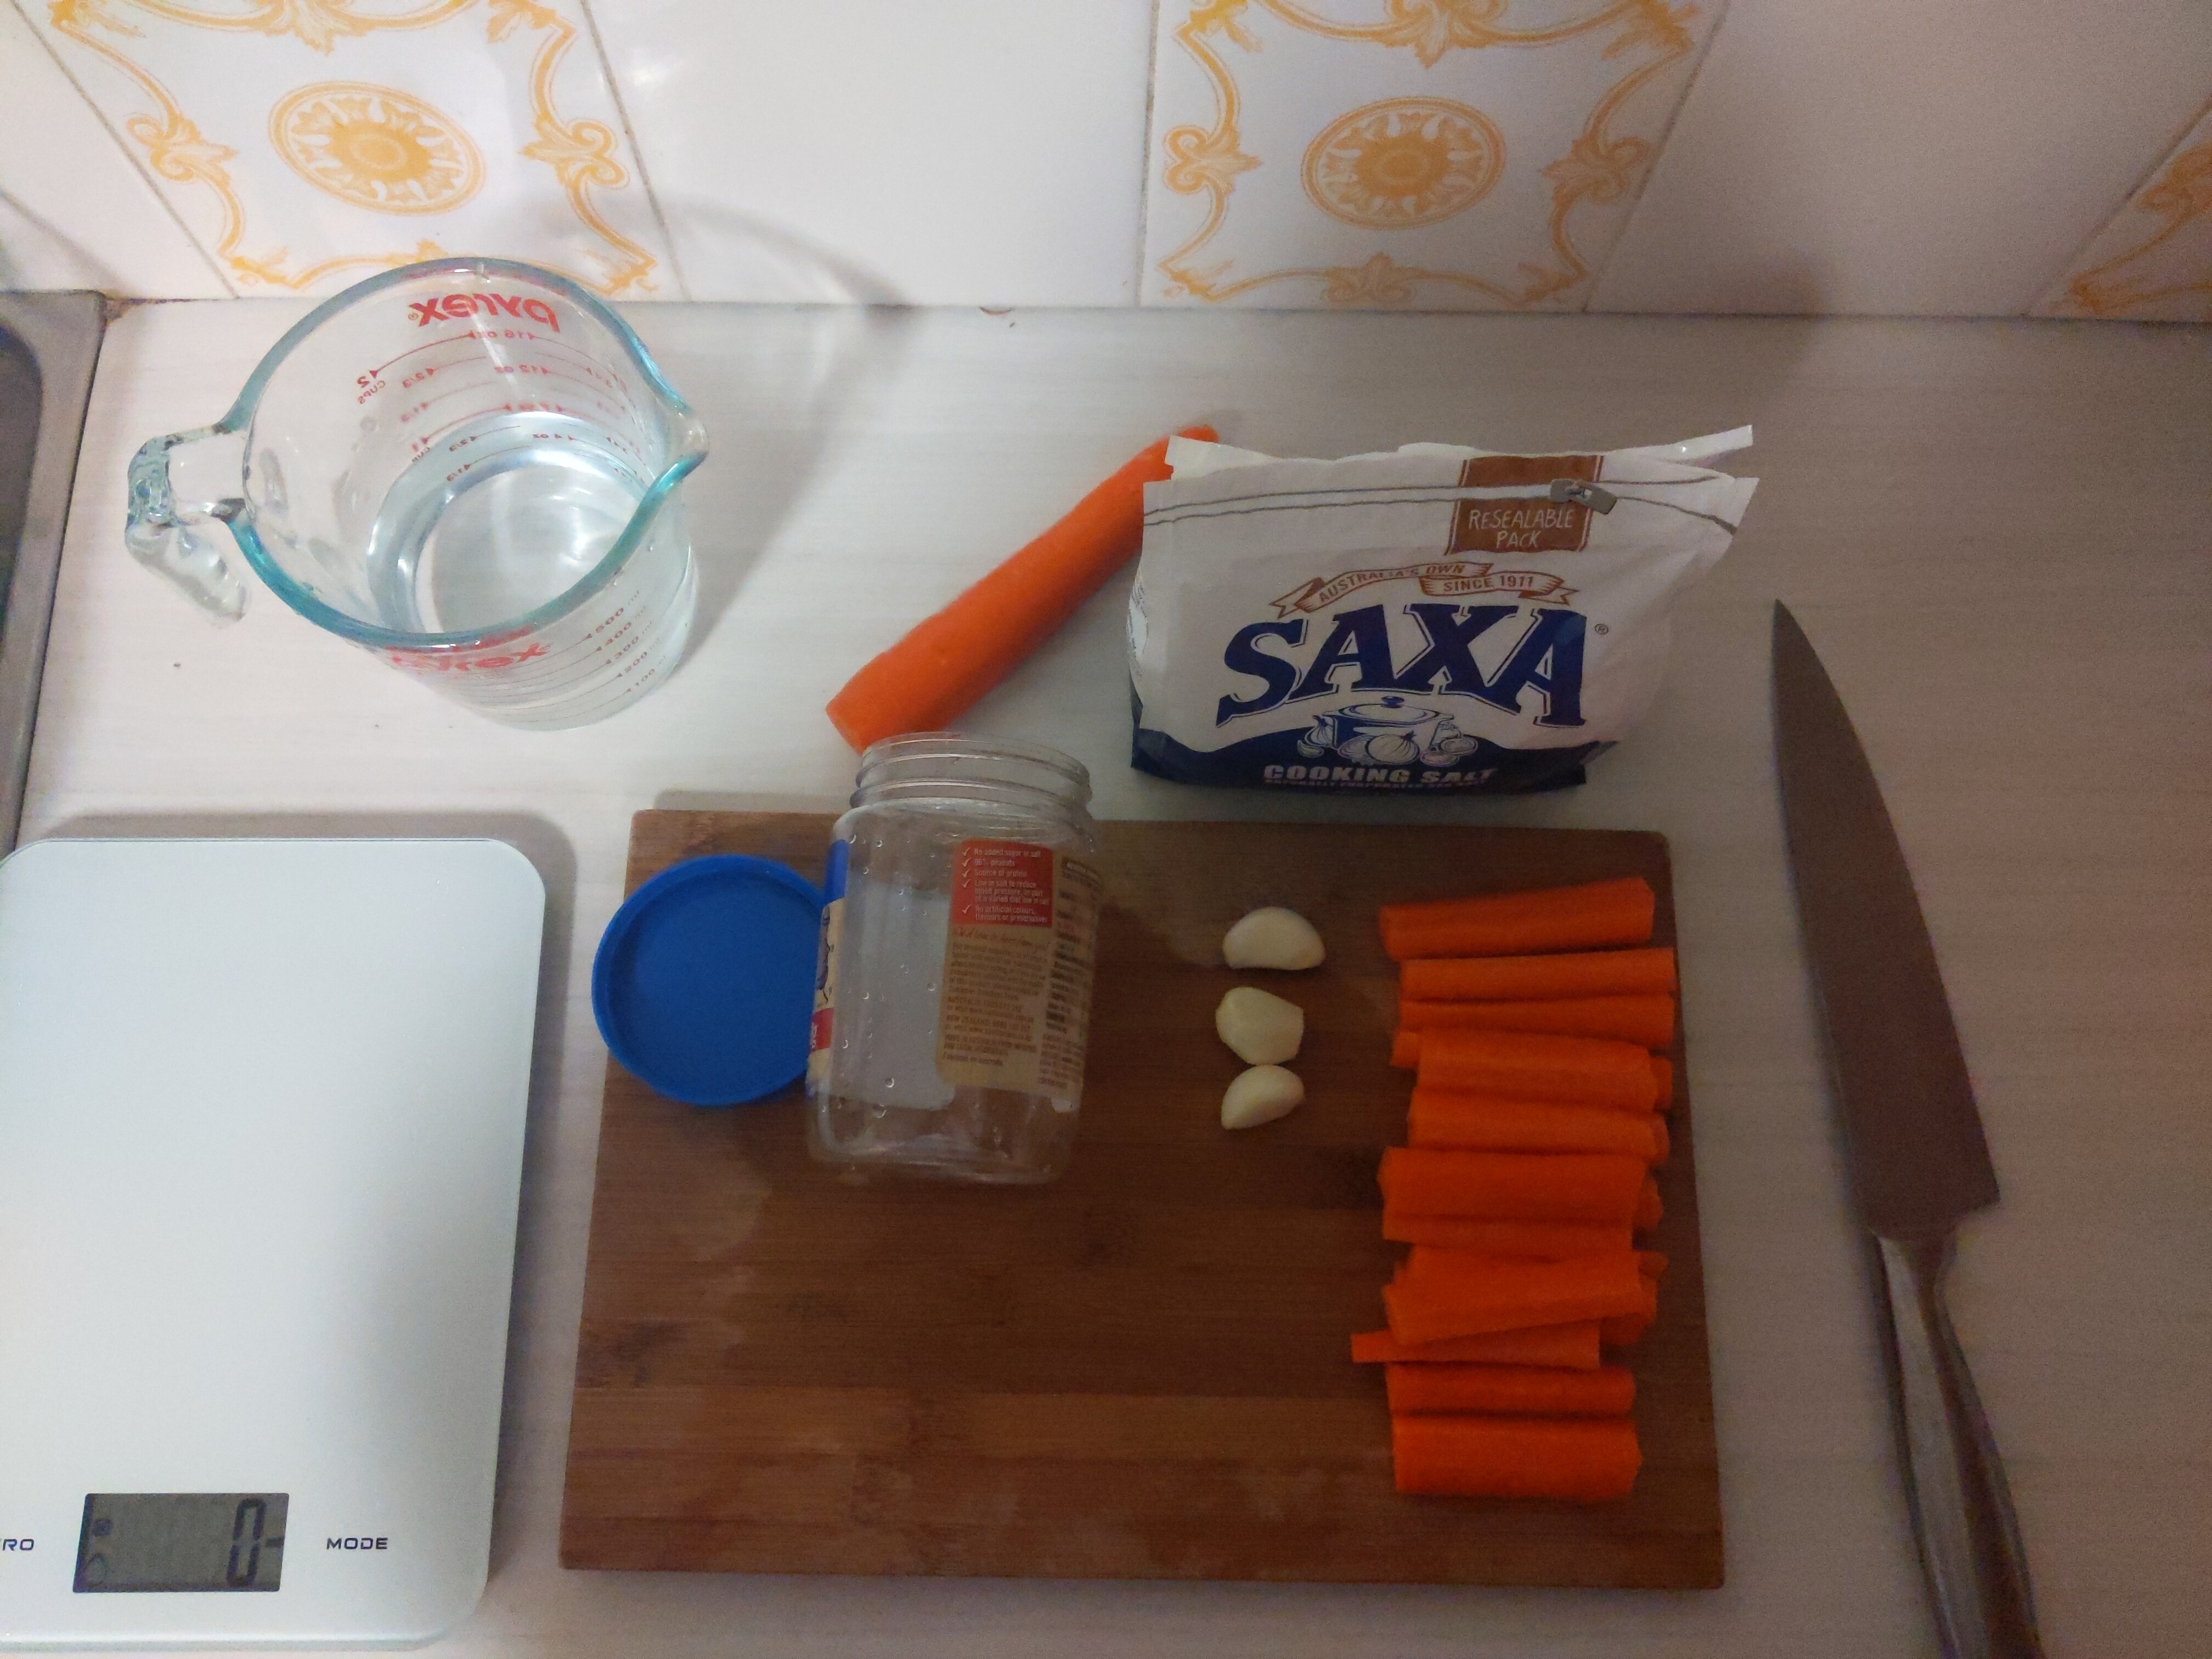
7


Intro:

Not sure if anyone is interested, but I brewed a raw ale based on Terje's process (larsblog)

Well, I tried to. The main issues were that I don't have access to Terje's Hornindal kveik, so I used WL Opshaug kviek. I also don't have access to juniper branches (and I didn't add bitterness because I didn't want to boil a hop tea inside around my cats; one of whom is 21).

Method:

Pilsner (4 kg) was mashed BIAB at ~75 C for two hours with about 10 L strike and half a lemon for acidity ( I figure the juniper infusion decreases the pH a bit, not having a pH metre, the half lemon was a guess). 24 g of Cascade was added at the end of the mash, 60 C, as a microbe inhibitor (some flavor remained).

The wort was made up to 15 L and OG was approximately 1.058 (1.045 at 50 C). The kveik was pitched at ~30 C and unfortunately (as it's winter here) made it down to 20 C over the next day. It was left to ferment for 3 days (20 C, FG 1.035) and was top harvested at 48 hours. Bottles were left for a day to carbonate and then refrigerated.

Thoughts:

As you can imagine this beer is pretty yeast forward, being 100% base malt and dry hopped. The texture is good, fair bit of diacetyl, and it's quite sweet. You know there is hops in the beer, but it's definitely not one of the major flavors. All in all, not exactly what I was expecting (more of a clean, dry beer). But I'm interested in trying again at the appropriate temperature.

Has anyone else tried to follow Terje's process? I imagine having Hornindal and juniper branches would be a game changer.

UPDATE 0:

I did a little experimenting, I bottled half of the batch 3 / 4 days after pitching and the other half 6 / 7 days after pitching. Lars and other raw ale brewers recommend bottling after 3 days and refrigerating. After my little experiment I can definitely agree, the batch that fermented out was thin, had no diacetyl, and tasted of alcohol. Altogether not great.

Next batch I'm going to try to use potassium metabisulfate to prevent further fermentation as I do not have enough fridge space for a 14 L batch and it's too much effort to do a smaller batch. I will update with that info

8
 
 
9
10


Hi all,

If this post accumulates interest I was thinking of making a post once a week with instructions on a ferment that we can all do together.

Starting out week one, a nice and simple ferment with ingredients you most likely have in the fridge; Fermented carrots. It sounds bland, but fermented foods have a taste that can not be replicated by mass production.

Materials

  1. Knife
  2. Scales
  3. Jar

Ingredients

  1. Carrots
  2. Water (either filtered or boiled and allowed to cool. This is done to remove the chlorine in the water that would otherwise inhibit the microbes on the carrots from thriving)
  3. Salt (preferably pure rock / sea salt, without iodine or anticaking agent)
  4. Garlic (or peppercorns, juniper berries, mustard seeds, anything you like the look of. If cautious, submerge spice in boiling water for 1 minute to kill any microbes on the spice)

Method

  1. Wash your hands, knife, cutting surface, and jar.
  2. Rinse your carrots.
  3. Slice the carrots length ways, and peel your garlic.
  4. Add carrot, garlic, and spices to your jar.
  5. Make a 2.5% brine (2.5g salt for every 100 ml water) and pour over your carrots, ensuring all vegetables and spices are below the water line.
  6. Lightly drop the lid on the jar; do not twist or create a seal, fermentation will create CO2 and if it is sealed you have just created a nice smelling frag grenade.
  7. Place in cool, dark location, free of insects or molds. (I would recommend keeping it between 18 and 24C (comfortable room temperature) for predictable fermentation; too cold it might not ferment at all or could take months, or too hot and it will ferment quickly causing off flavors. If it is way too hot (>35C) the microbes might die and new, possibly unfriendly, microbes can take over.)

Now we wait for a week, checking that the carrots are still under the water line and pushing them under with a clean spoon if they've popped up. You may also want to think about using a weight too keep them submerged. Give your ferment a sniff, it should smell funky but not bad. You might see some bubbling, this is a good sign, but don't be concerned if you cant see any either.

Thanks to anyone who's still reading, I hope you join me this week in making some fermented carrots! Feel free to comment with questions. Good luck and happy fermenting

11
2
Sidebar discussion (larsga.webfactional.com)
submitted 4 years ago* (last edited 4 years ago) by [email protected] to c/[email protected]


Resources for brewing beer

howtobrew.com is my favorite instructional and what I used to start brewing. Can't recommend it enough. On the privacy side; no trackers, also no https.