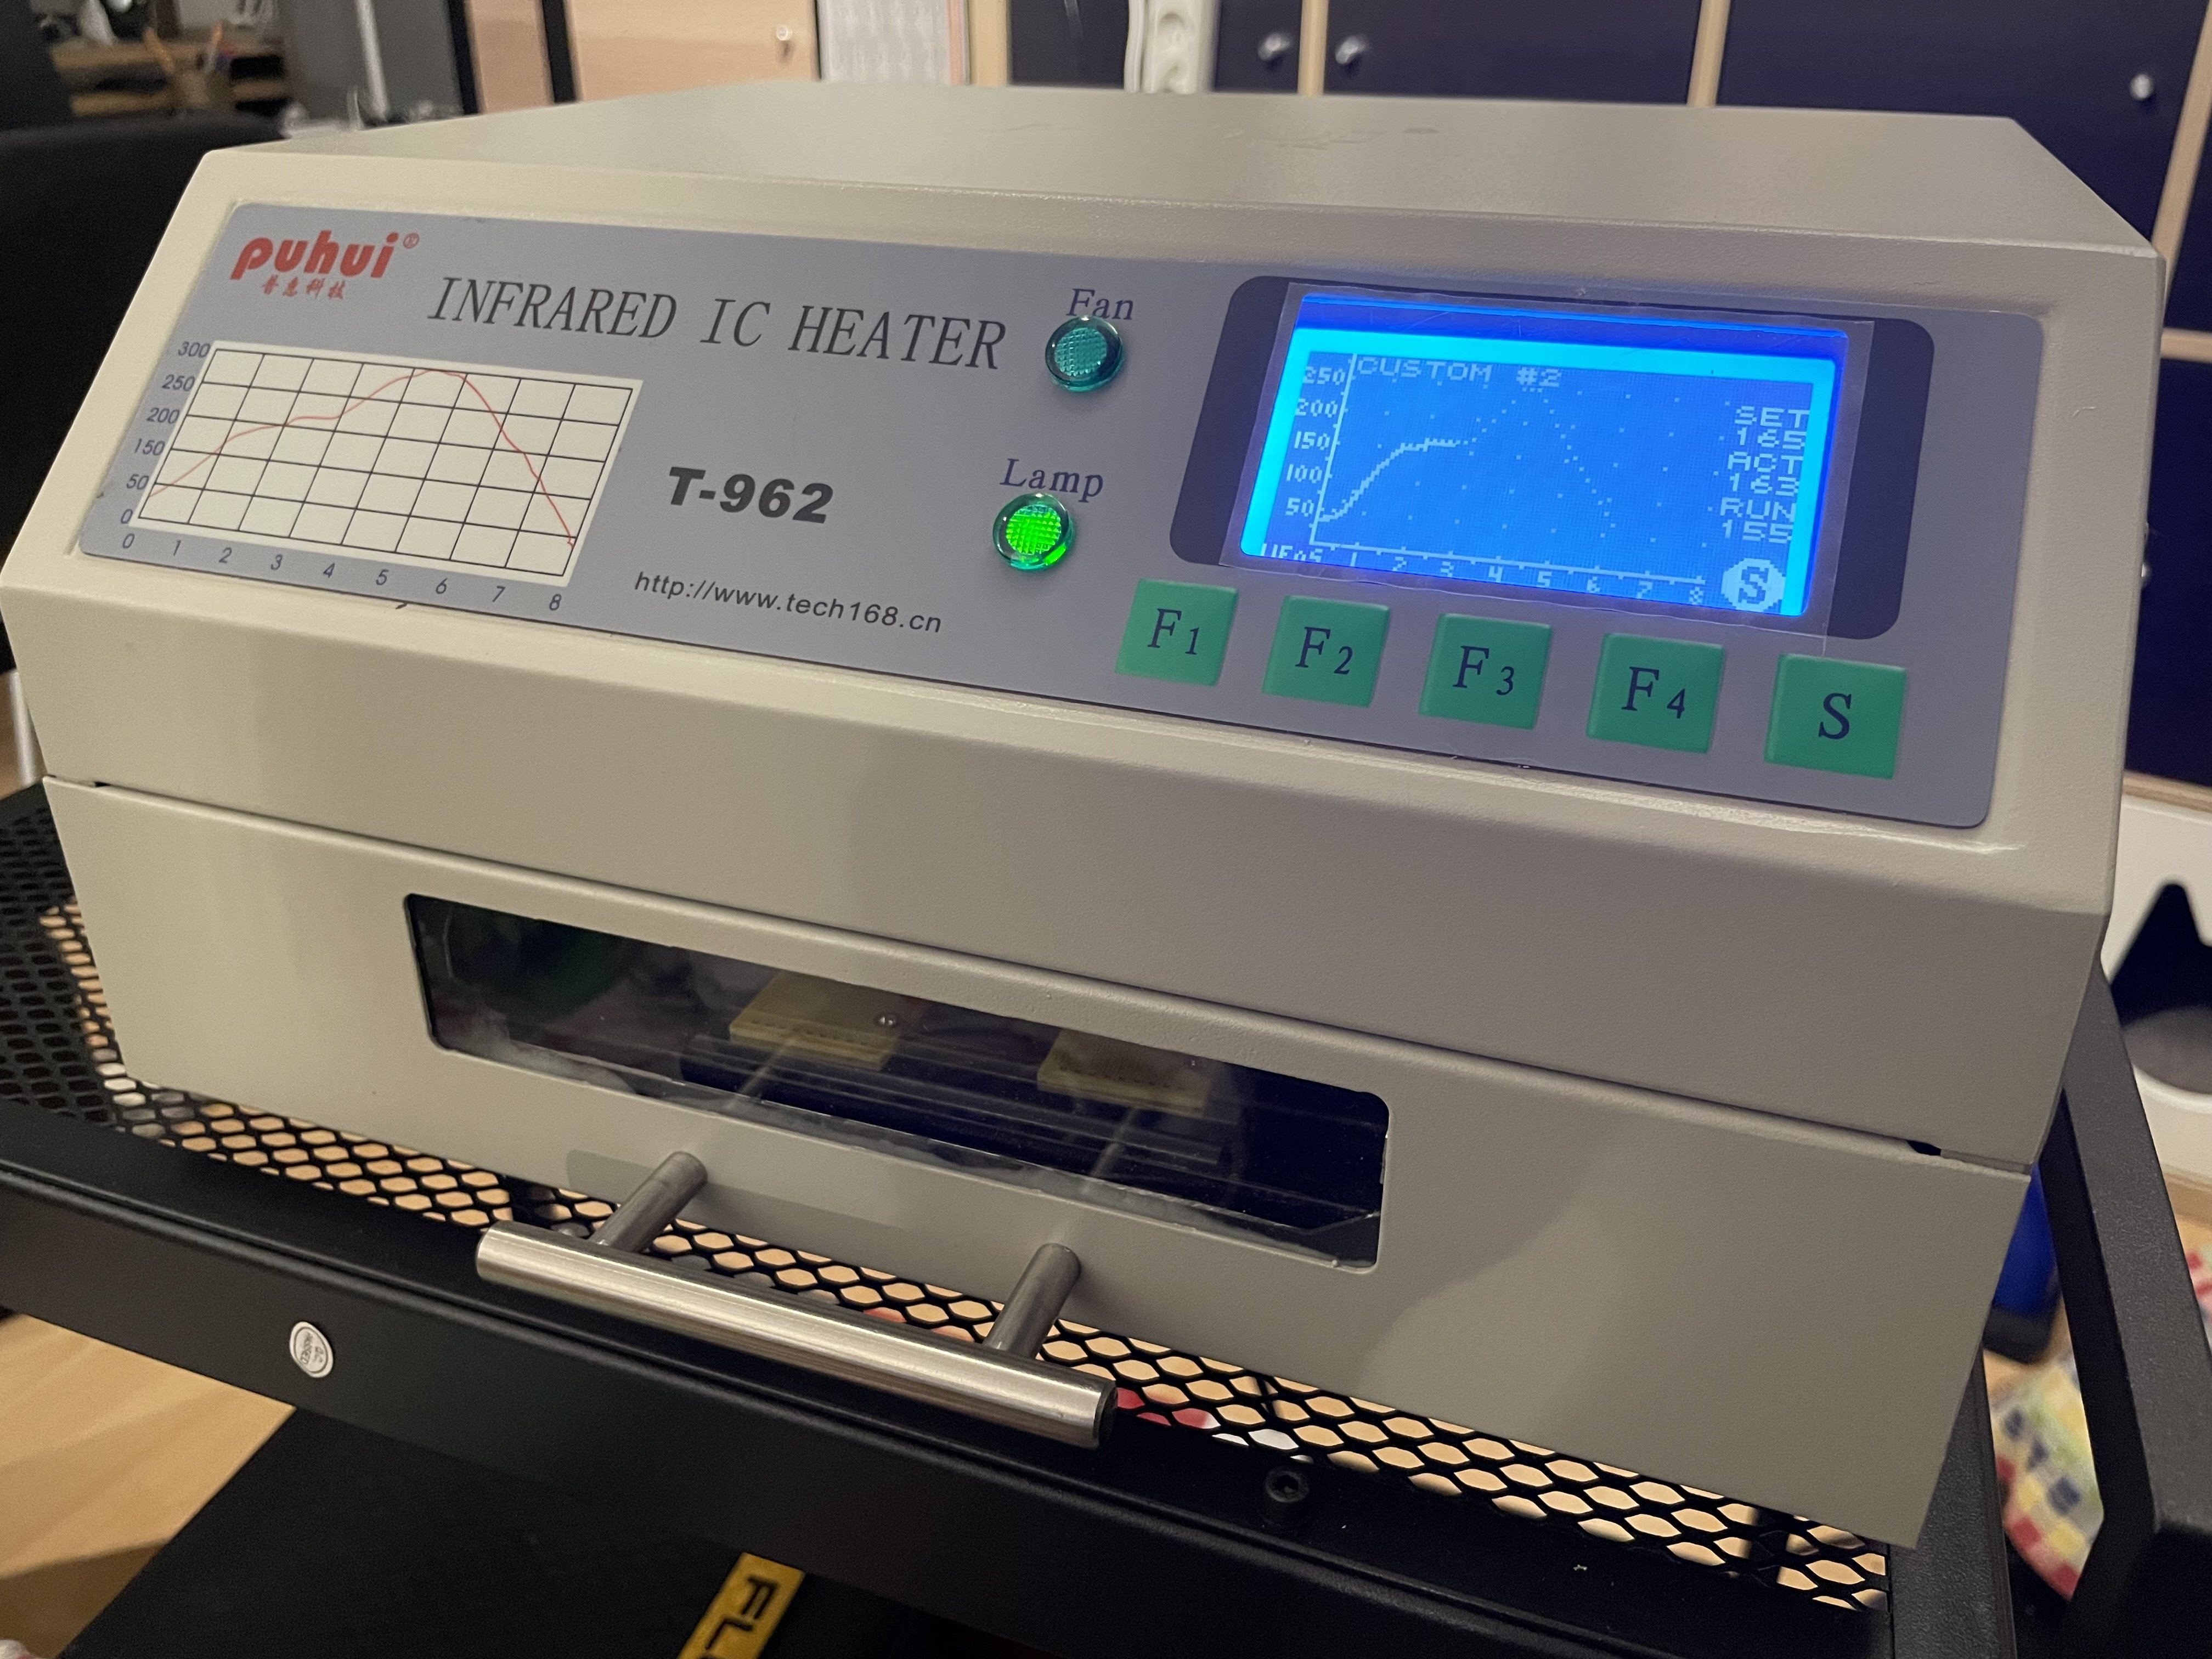
Do you have a reflow oven? Or simply with a hot air gun? How do you do it?
Electronics
Projects, pictures, industry discussions and news about electronic engineering & component-level electronic circuits.
Rules
1: Be nice.
2: Be on-topic (eg: Electronic, not electrical).
3: No commercial stuff, buying, selling or valuations.
4: No circuit design or repair, tools or component questions.
5: No excessively promoting your own sites, social media, videos etc.
Ask questions in https://discuss.tchncs.de/c/askelectronics
Yeah I have such a small, cheap Chinese one (T962) that I modified and flashed a nicer firmware on.
I basically populated the bottom side (with more components) first after applying solder past with a stencil, then reflowed the board. After cooling down I applied the solder paste to the upper side (with the LED) by using a small needle on a syringe (because using a stencil was too weird since the board wasn’t laying flat) but since the pads are relatively large and not that many that worked fine. Then I placed the components on that side and simply run the reflow cycle again.
I started with the bottom side because there are no heavy components. I expected heavy parts to just fall off on the second reflow cycle so I tried to avoid that.
At the end I manually assembled the USB connector using a regular soldering iron and tons of flux gel.
Nice! Thanks for explanation! I don't have much experience with soldering larger circuits. Usually I'm stuck with a soldering iron and tweezers. Just recently got a used stereo microscope. That already helps a lot. But certain packages like BGA are out of reach this way.
I was kind of afraid of SMD things in general a long time but I discovered they are (up to a certain size, 0603 is still okay for hand assembly if you’re patient) comfortable to work with. Even QFN packages are okay if you have access to a hot-air station. I did actually order an BGA sensor out of curiosity along with other things, looked at it and was like “hahaha, thanks, I probably better don’t design that thing into my circuit” (I think it’s a 5-WLCSP package).
I used a Chinese oven that looked just like that, maybe the same model. I found it uneven in its heating, so much so that paste near the door sometimes didn't flow. It was possibly a step up from my Black and Decker toaster oven.
Mine is the smallest one of a series of these, it has two heating elements inside.

I don’t have it for that long but I didn’t have problems so far, I’m usually only making rather small PCBs tho. I did make some recommended modifications like replacing the paper insulation tape with a kapton tape, proper grounding and flashed another firmware.
I did only use a small hotplate and/or a hotair station, so it seems to be definitely a stepup here 😌.
oh wow
Love the idea of using a USB C connector on a double sided board so you can use it with either side up.
