This is the first post in a series that will try and go into detail around how I cut stones.
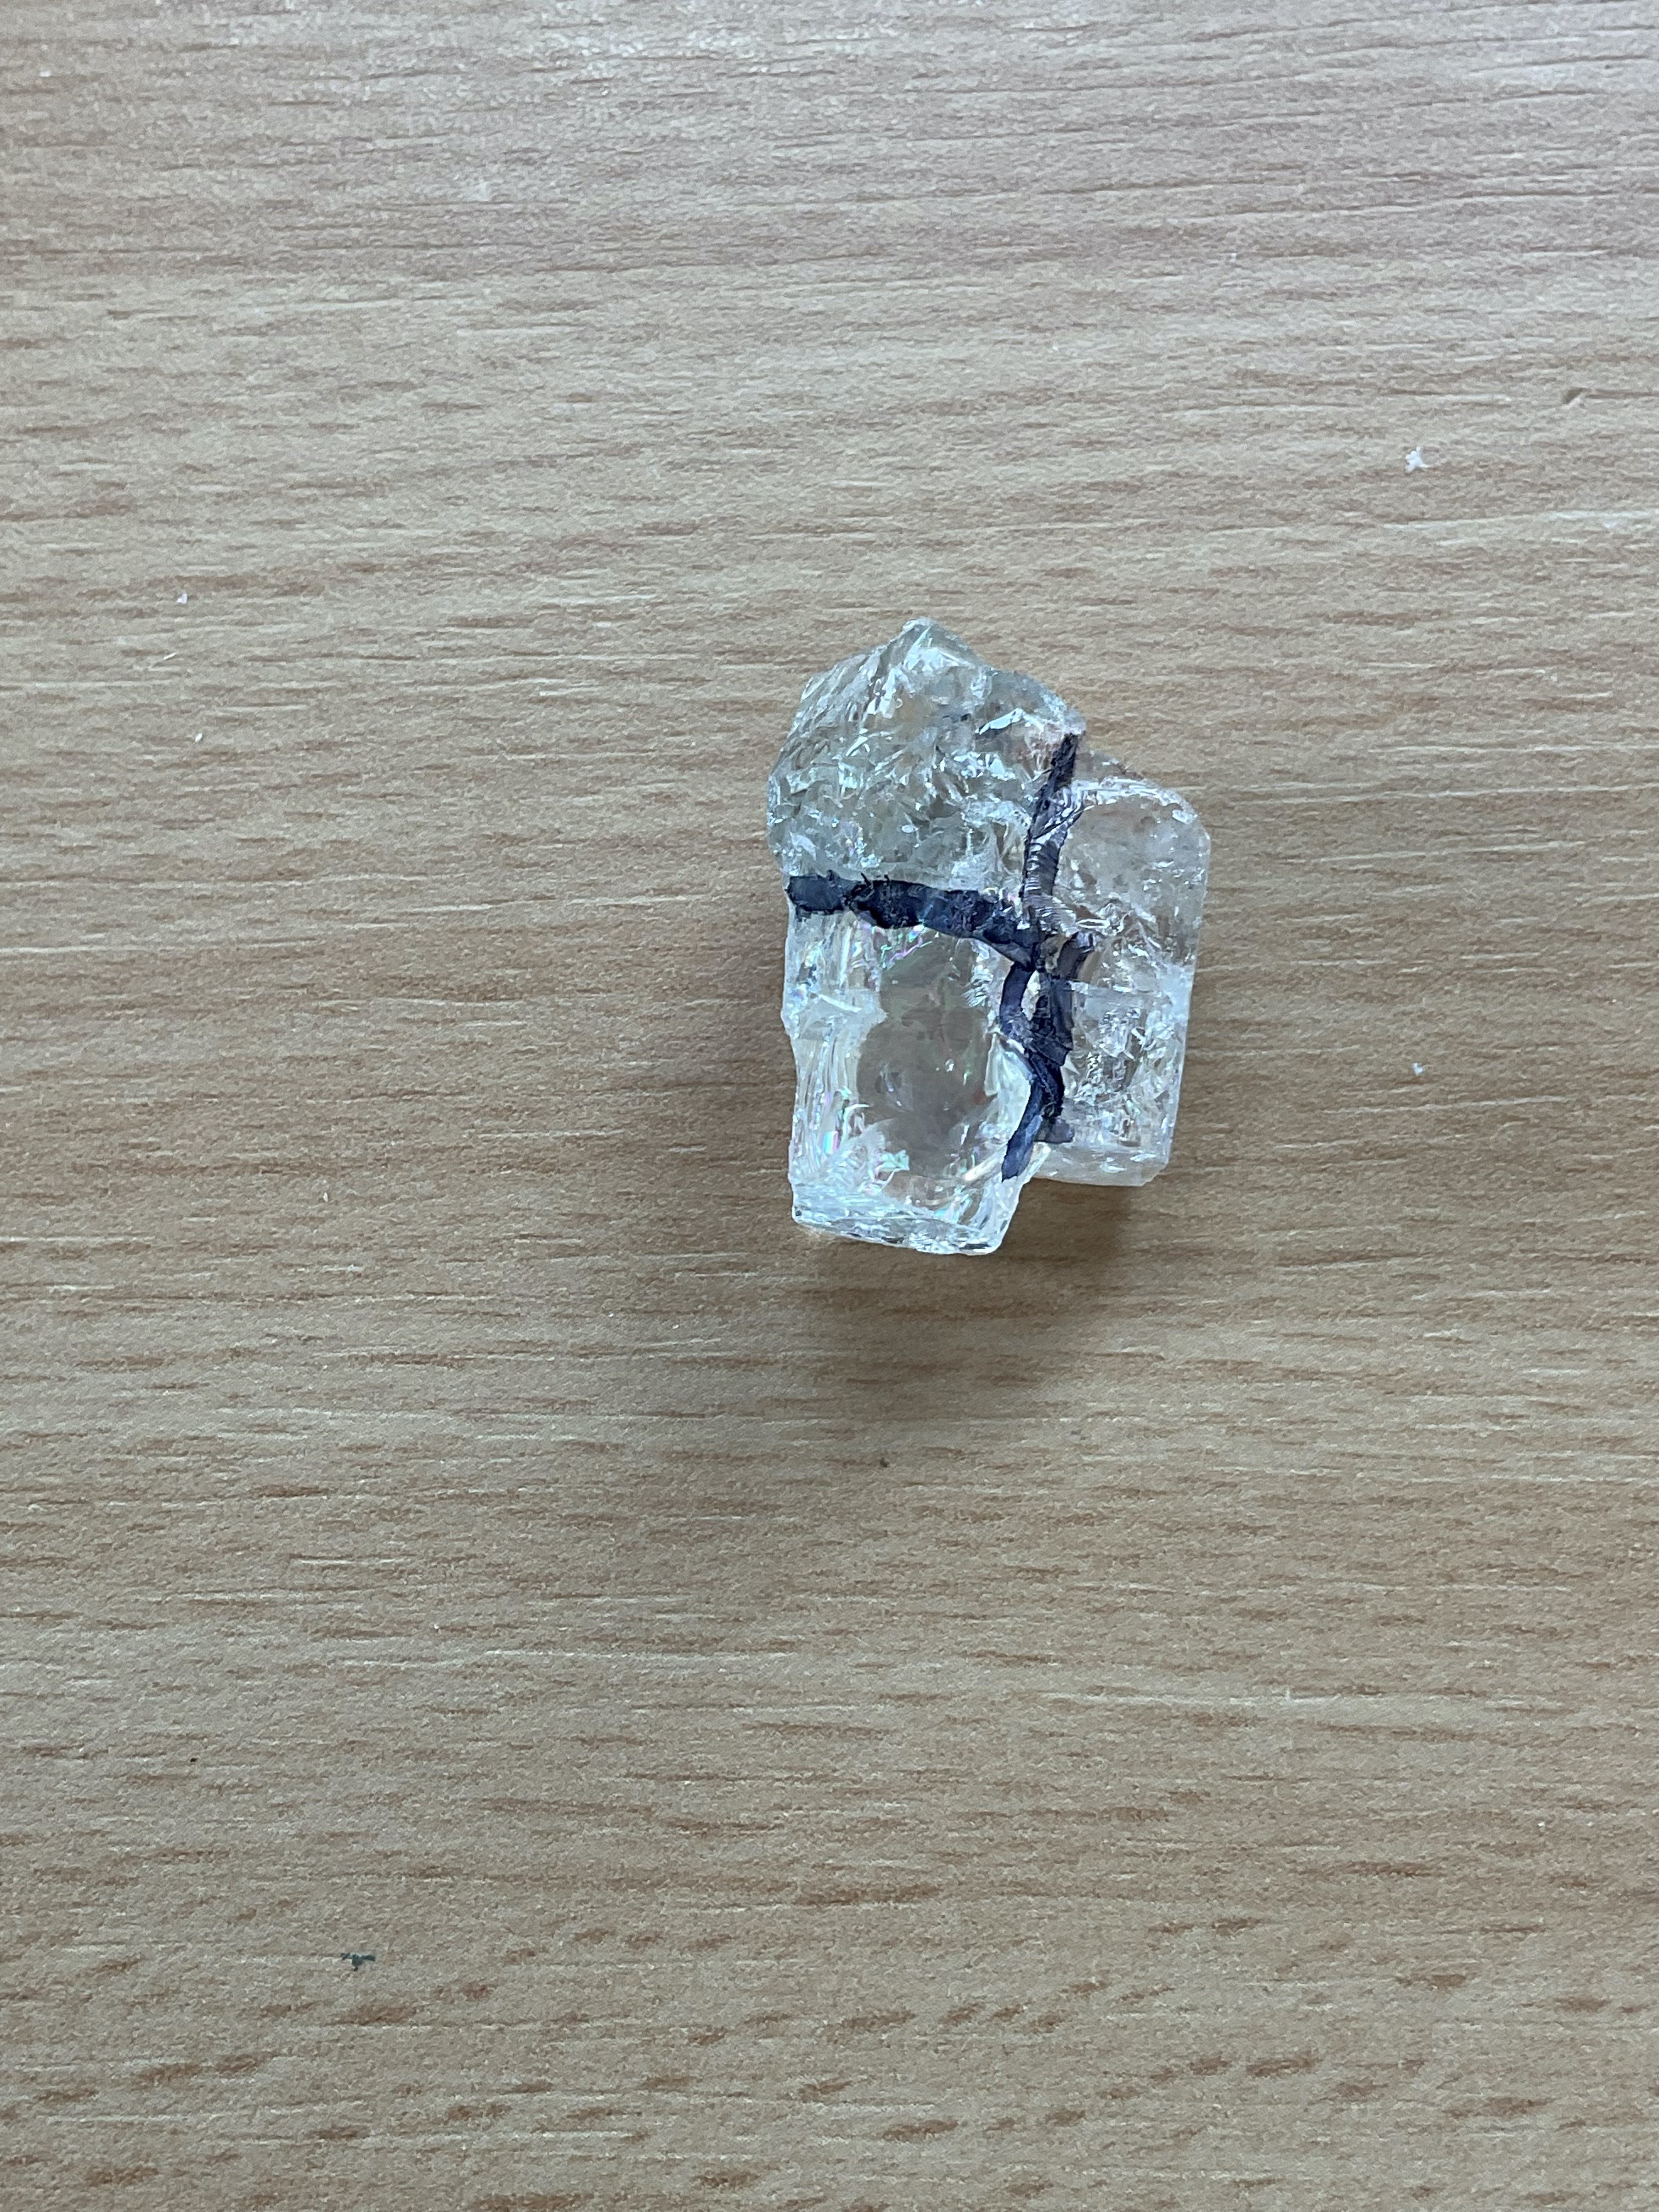
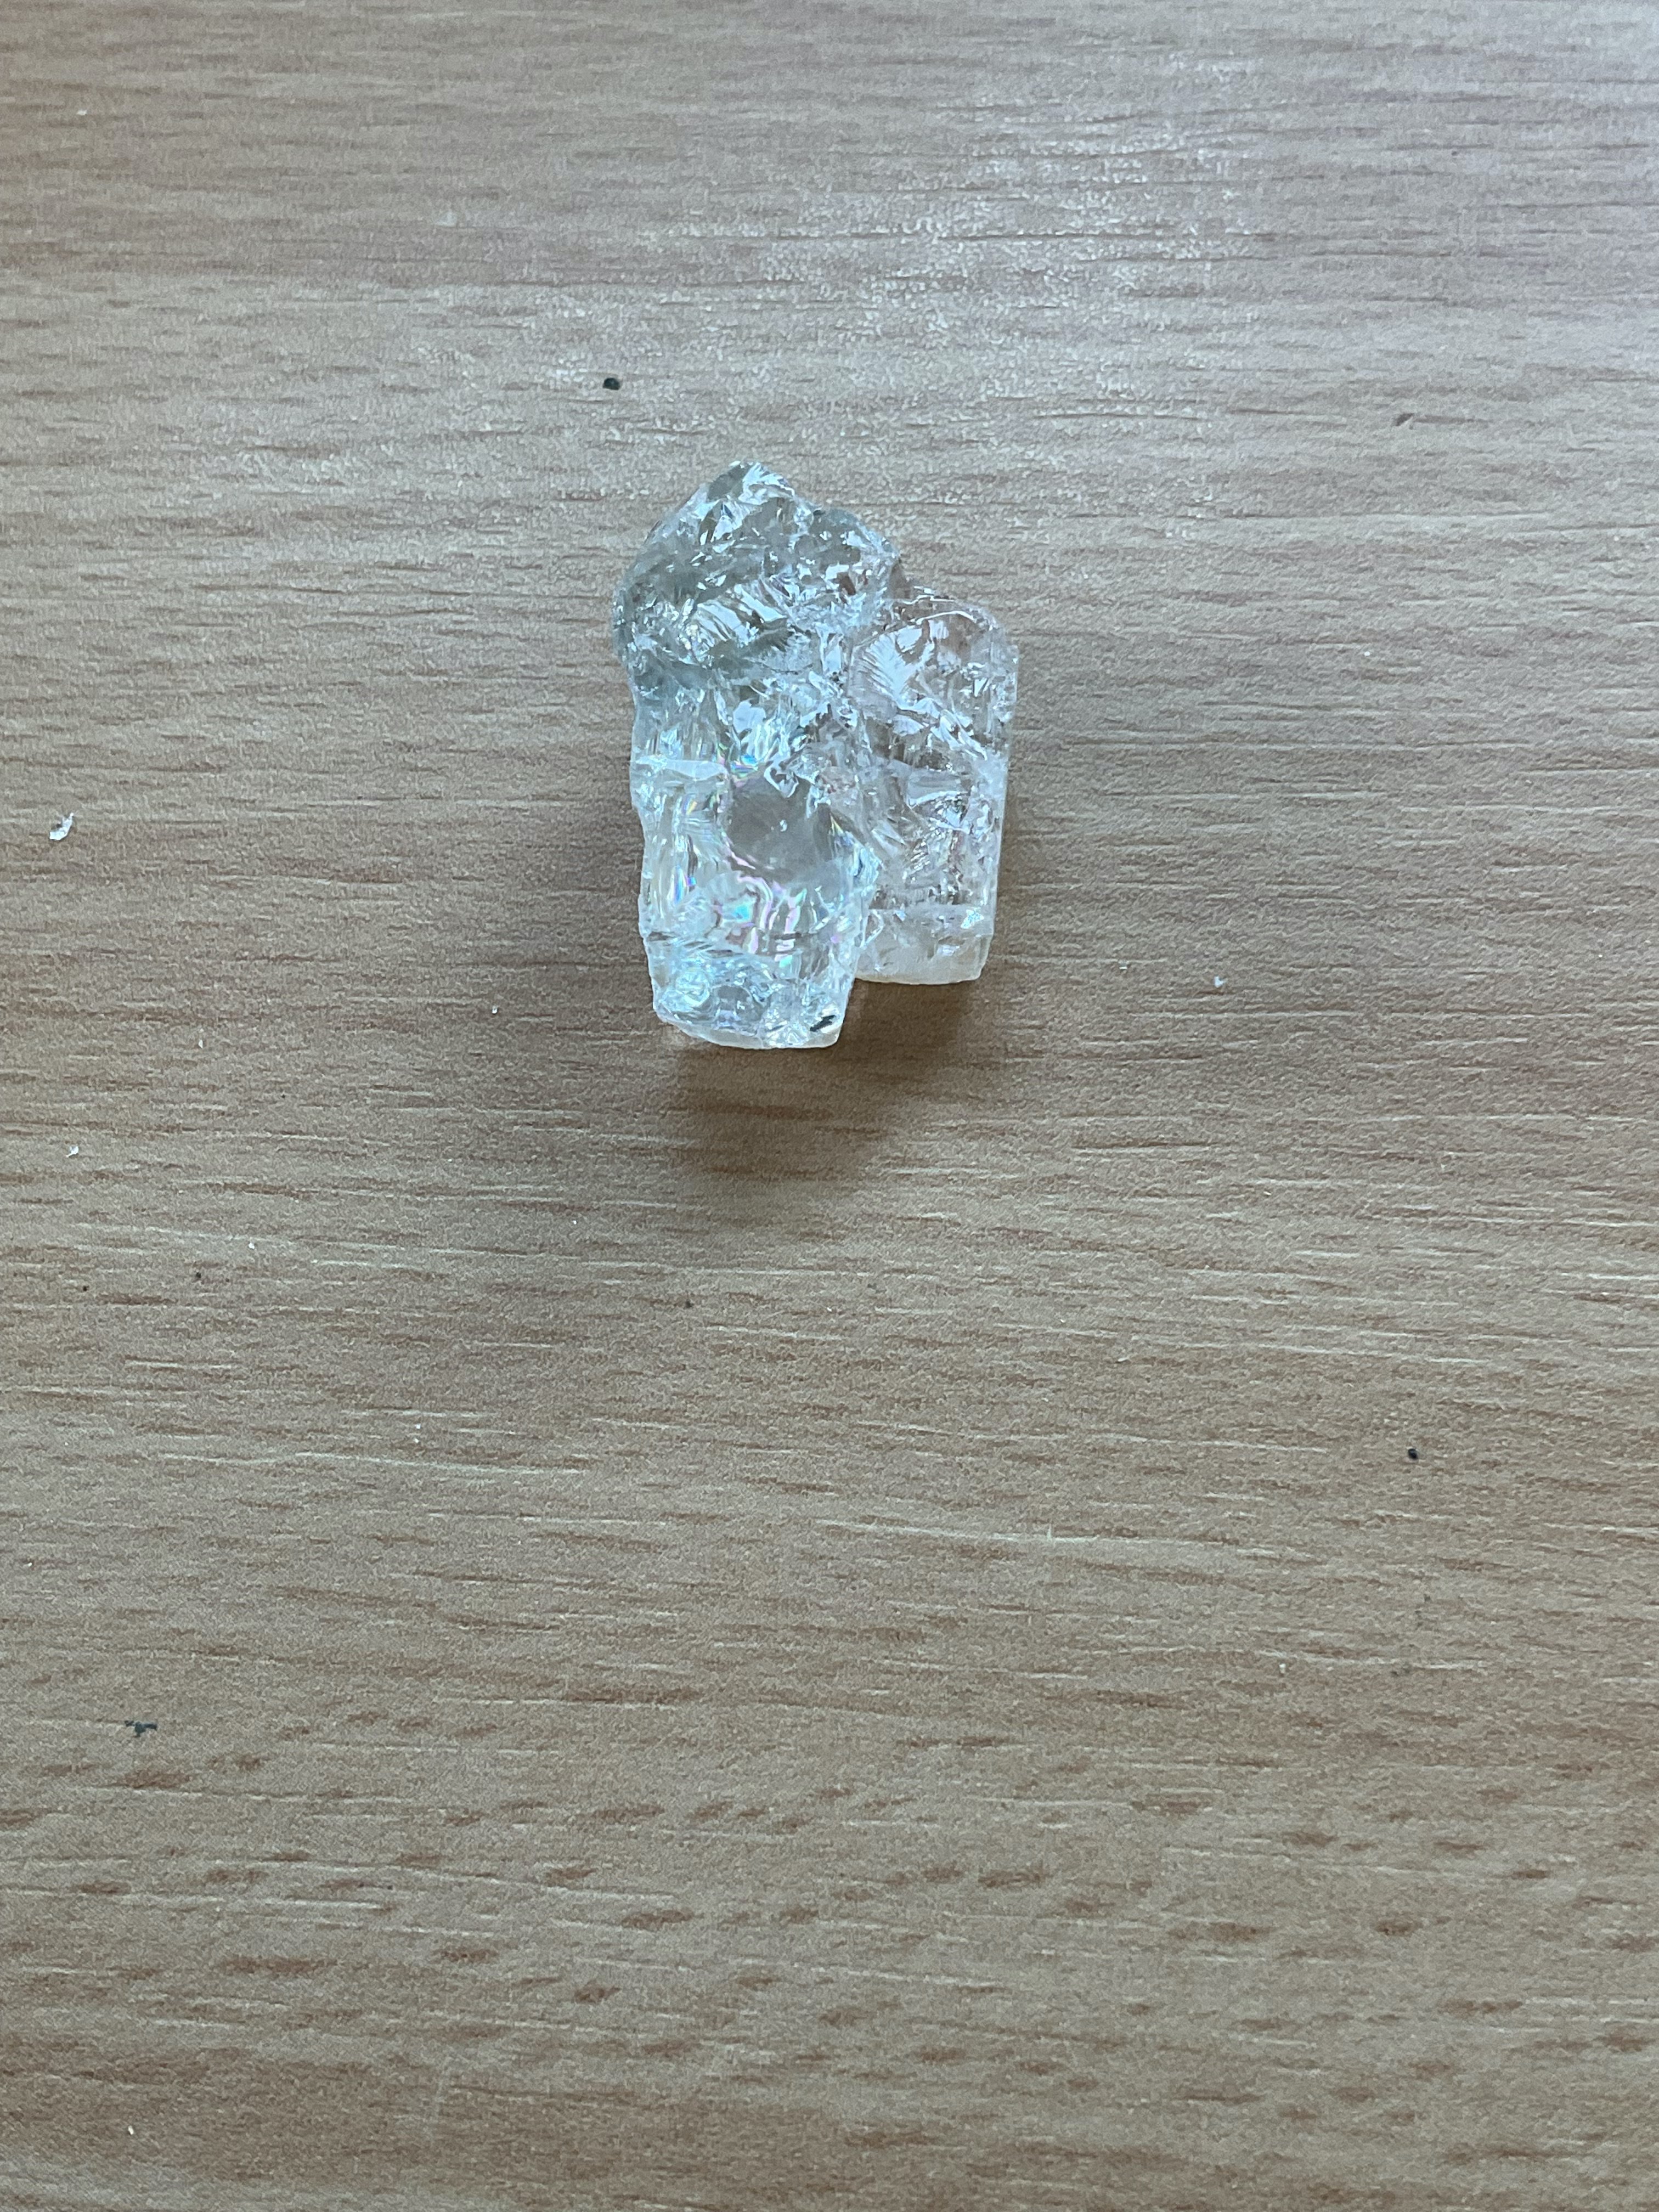
In general you don't start with a design you start with the stone. I chose a stone that was large enough that it would be easy to take pictures of the details as I cut. For this I chose this piece of clear Topaz. Many people know Topaz in a variety of blue hues, but in reality most of those blues are not natural. To make a stone blue, the stone is irradiated which turns it brown. Then the stone is heated to 500 degrees or higher for a period of time which then turns the stone blue. The actual hue of blue depends on the amount of time the stone was irradiated and/or heated.
This particular stone has a piece off to the side that is full of internal cracks and inclusions. Ignoring that portion, there are additional issues with the stone on two corners. In looking at the stone as a whole, it looks like I can get two rounds out of the stone by making the following cuts.
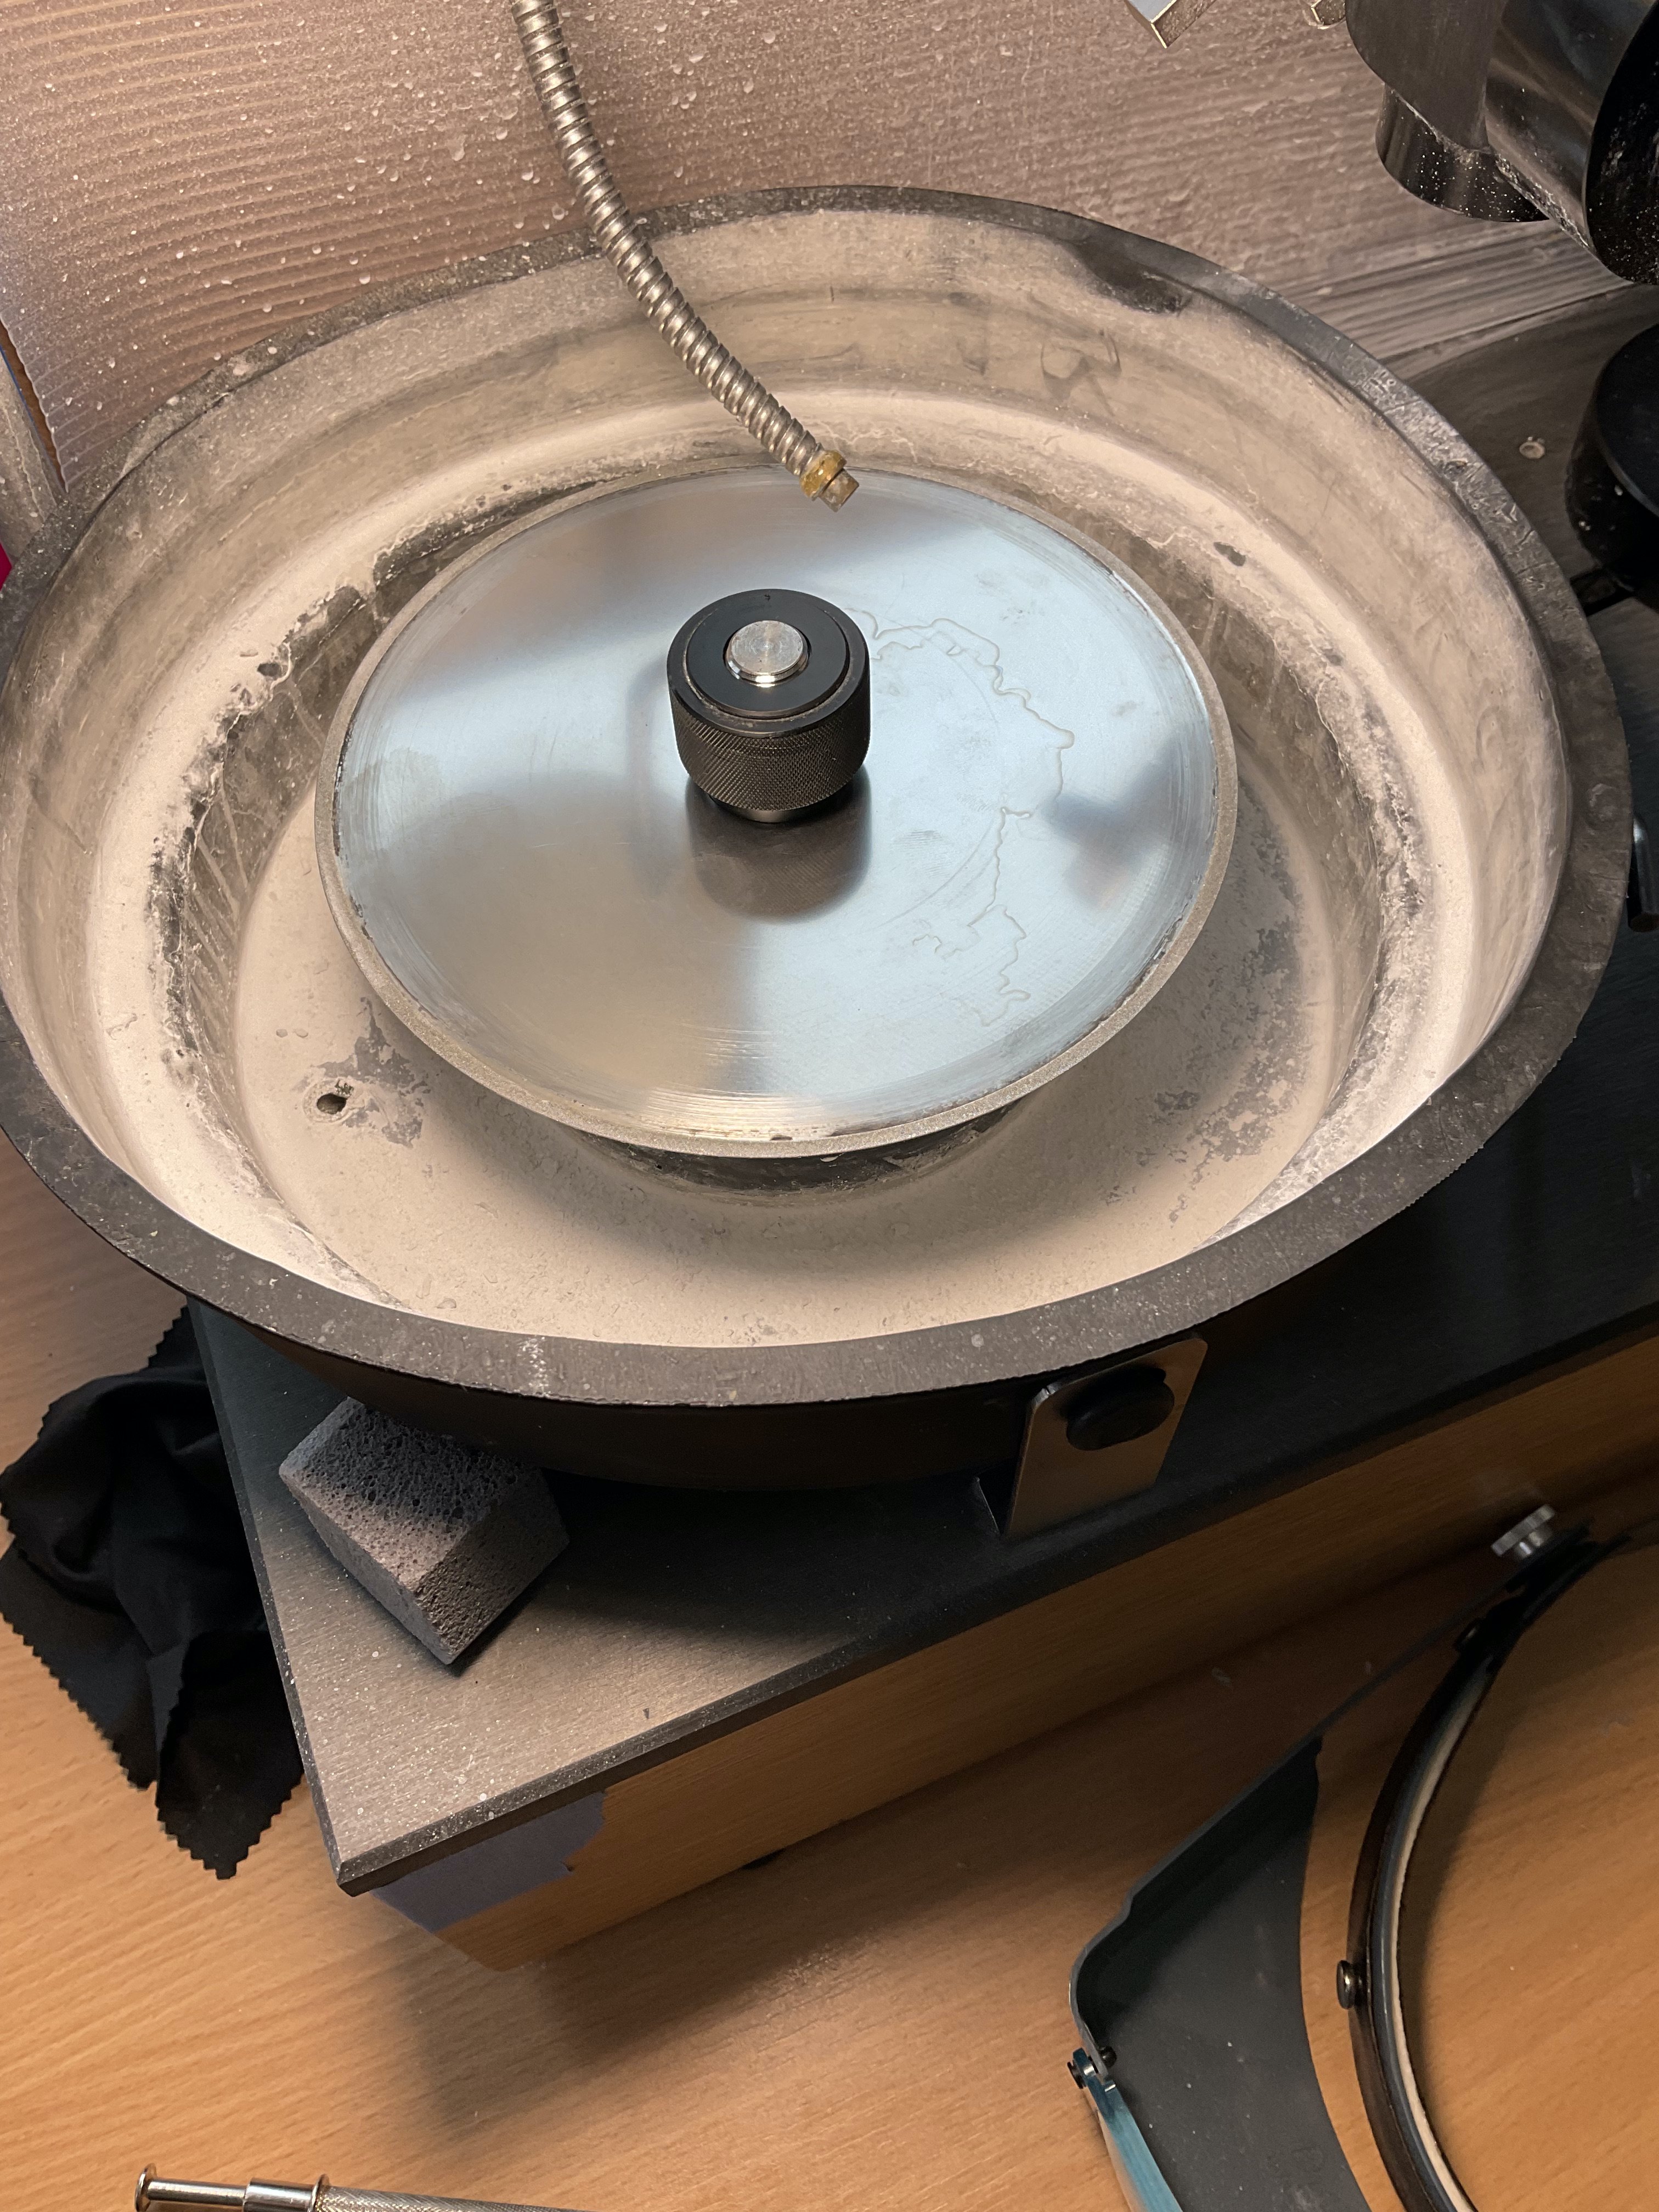
To make these cuts I'll use a saw blade attachment on my machine:
First cut off the side piece:
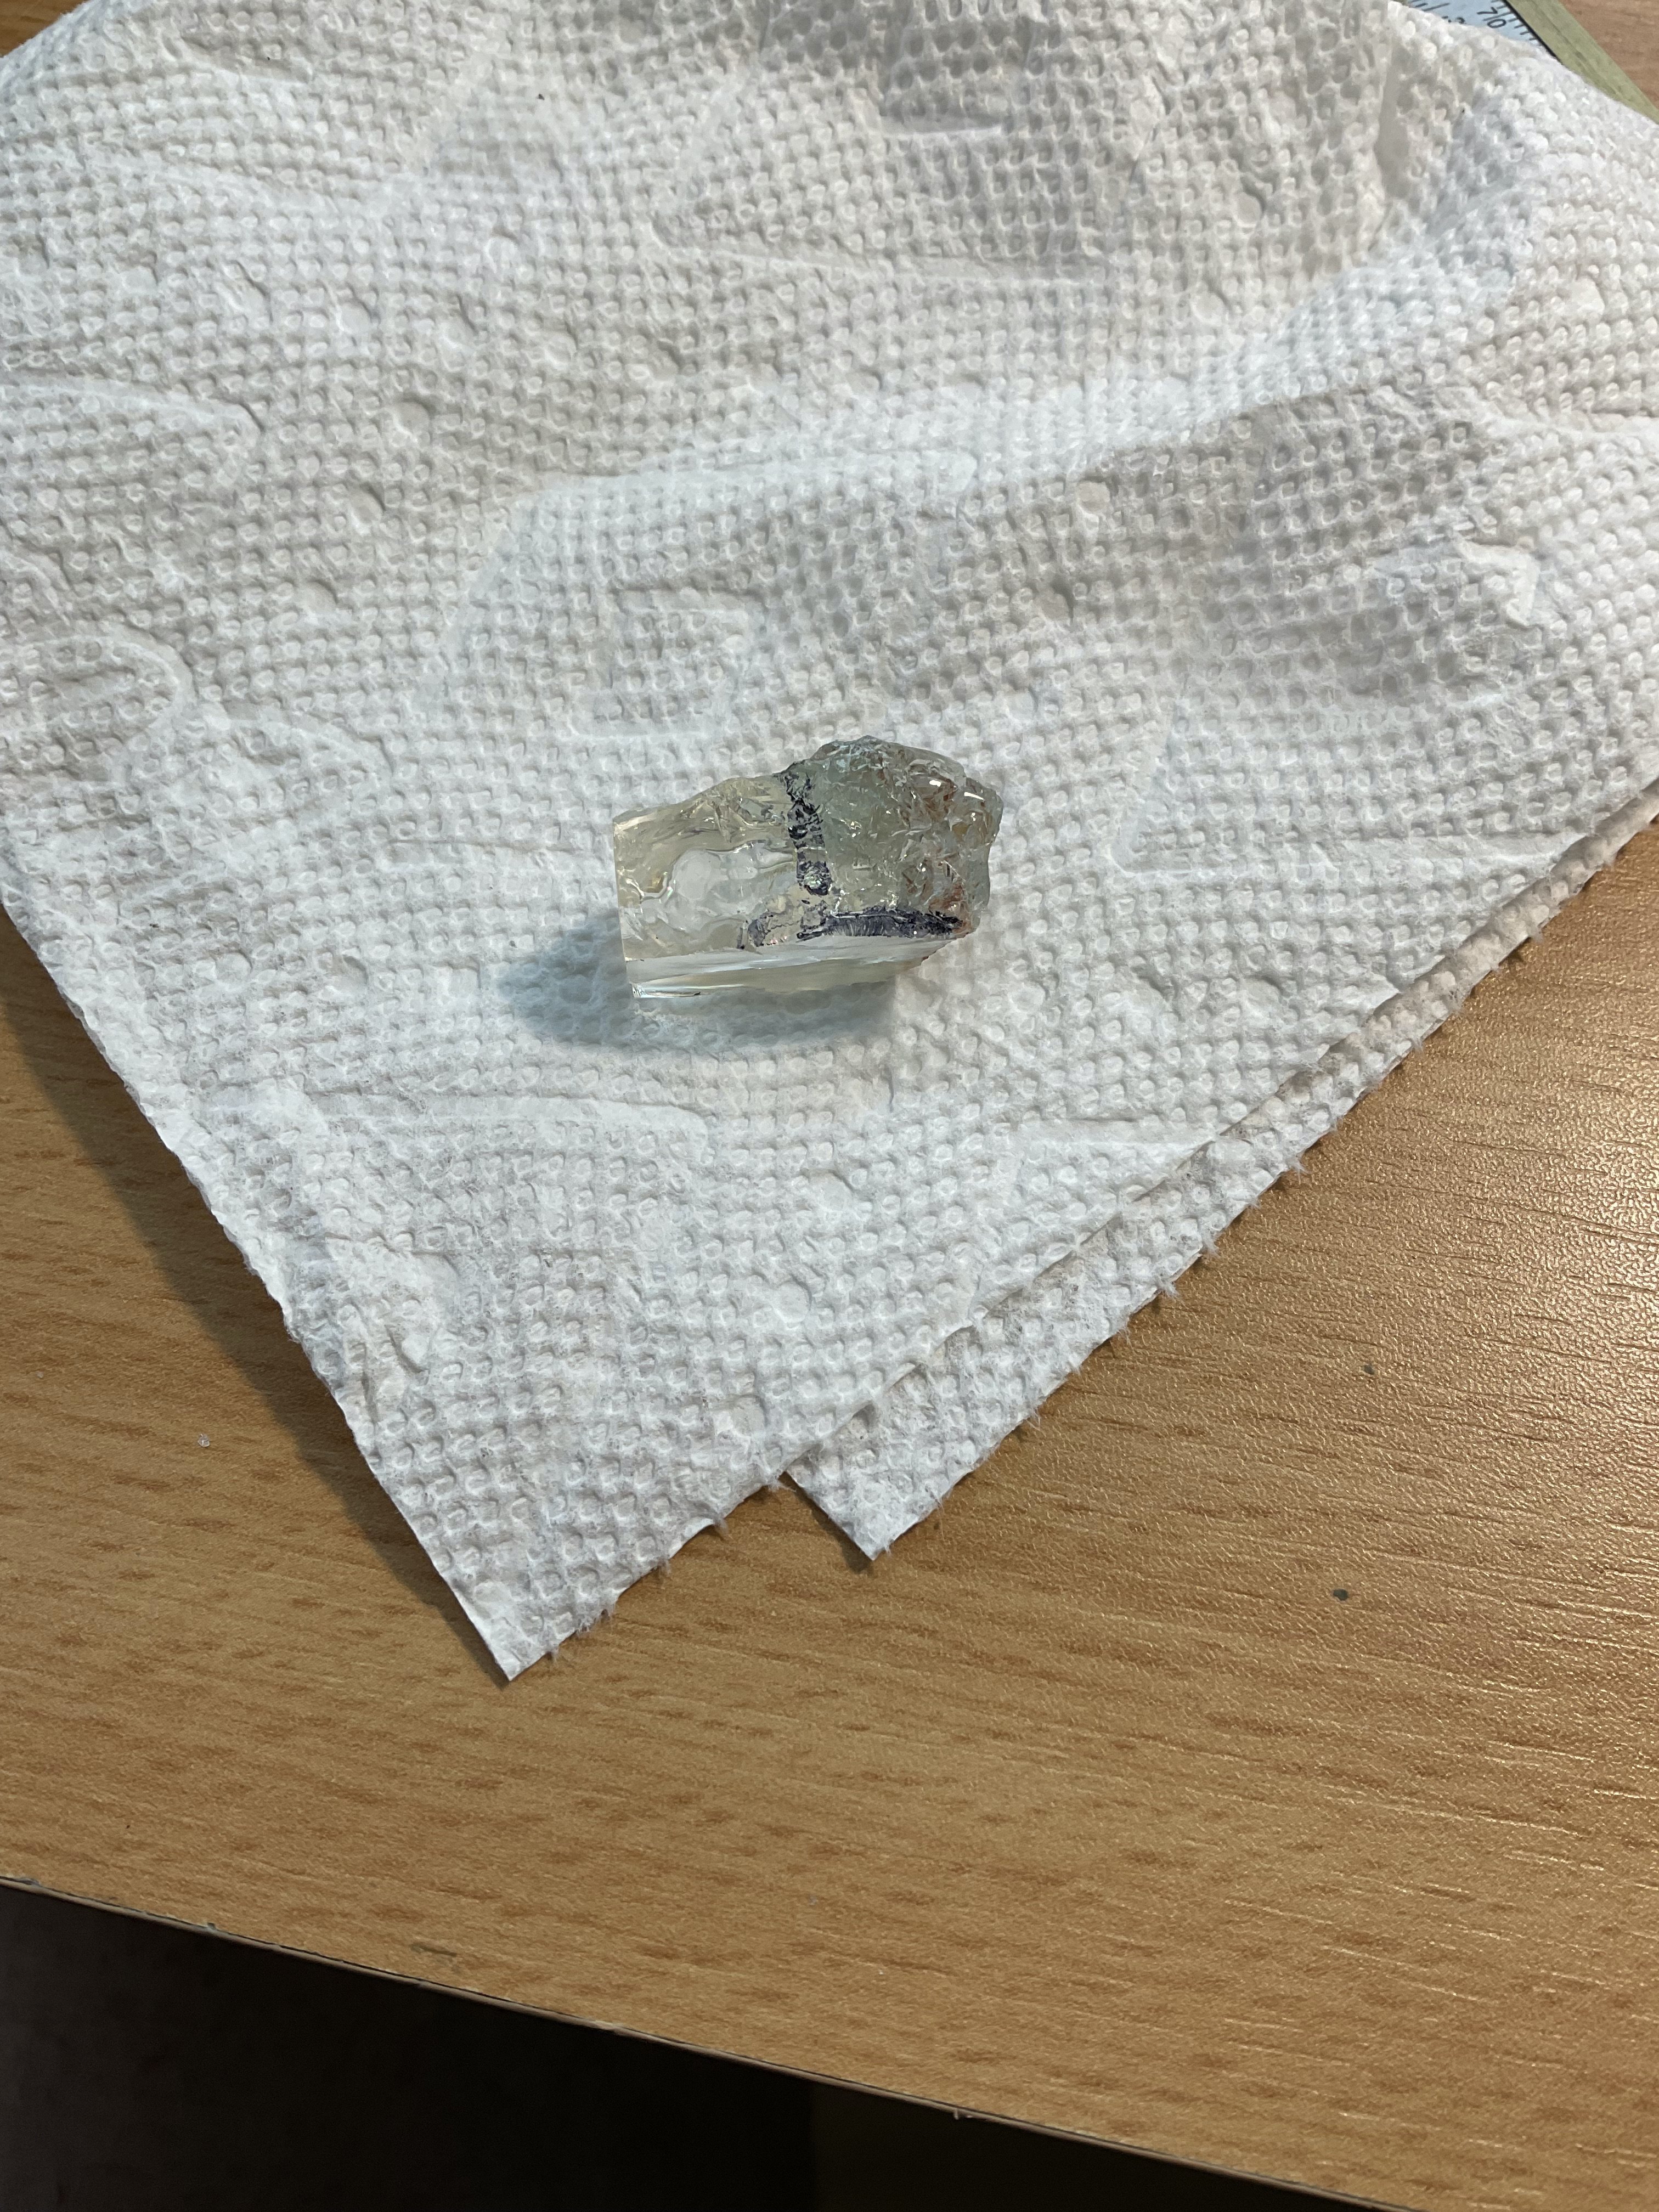
Next cut it in sort of half, and you end up with these pieces:

The upper right and bottom are the two pieces that can be cut. The upper left is unusable due to the internal issues it has.
The next step is to hand rough in one of the two stones into a cylinder.
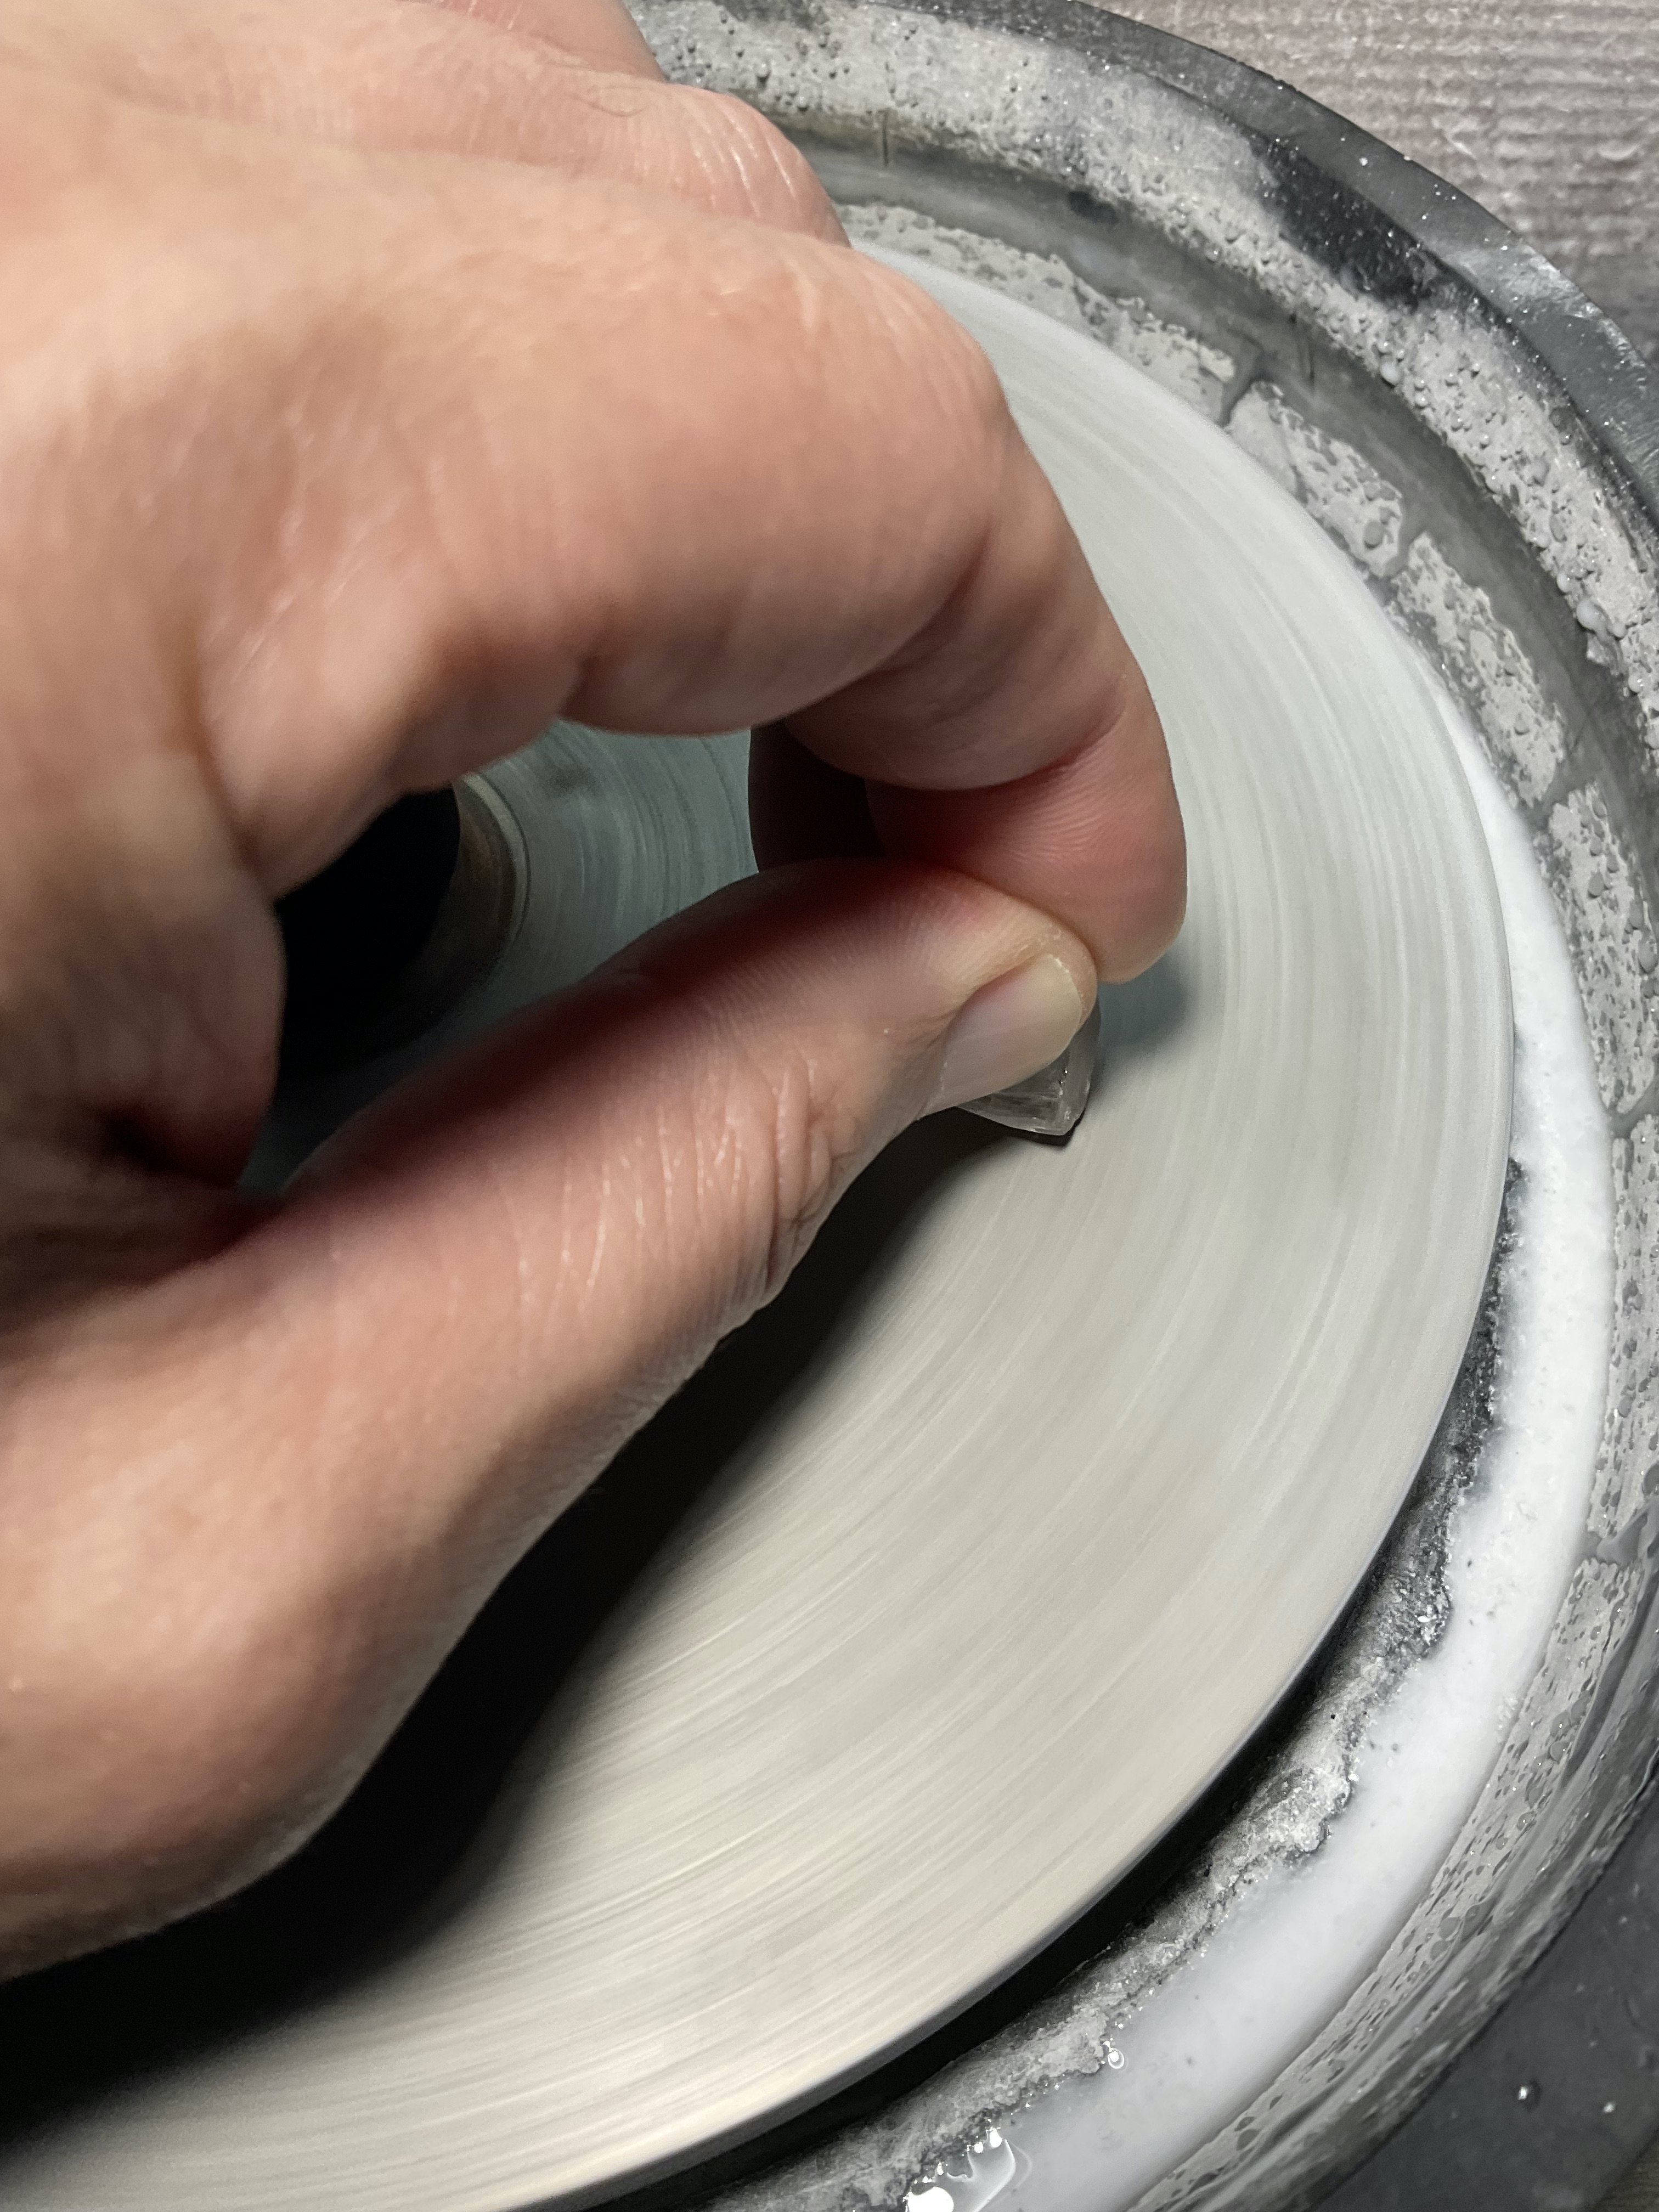
Which now looks like this:
Finally, I glue the stone to a dop, and it's ready to be put in the cutting head.
Now that I have the stone roughed in, and on a dop, what kind of design am I going to cut? I chose the following design I made a while back but never cut which I call 'spinning top'.
It's render from the cad software I use looks like this if you are looking straight down into the stone.
Well, we shall see what it really looks like when we are done!
I'll continue the process in the next post.
Thank you so much for making these posts - without you I wouldn't have realized there was a saw attachment I could get for my machine, and would've instead wasted my time saving up for a trim saw and trying to pick rough that didn't need cutting. You posted just in time!!
Glad to have helped! Would love to see some of your work, and have more posters than just me in this community. 😉😁
I'm still waiting on the ETA for my Ultra Tec, so it'll be anywhere between a few weeks and a few months before I can join you - but I promise as soon as I have a shiny I'm proud of, I will post it!
In the meantime I shall continue to live vicariously through your work 😂
Nice! Looking forward to see what you cut. My posts will likely slow down a bit, but I'll still try and post one weekly at a minimum.
I'm currently working a re-cut of a stone I started and got pissed off at over a year ago that was just sitting on a dop that I now need. So I'll post that when it's done.
After that I'll post about a pair of 4mm calibrated pyrope garnets that, my daughter would like as earrings that I'll cut next.