3DPrinting
3DPrinting is a place where makers of all skill levels and walks of life can learn about and discuss 3D printing and development of 3D printed parts and devices.
The r/functionalprint community is now located at: [email protected] or [email protected]
There are CAD communities available at: [email protected] or [email protected]
Rules
-
No bigotry - including racism, sexism, ableism, homophobia, transphobia, or xenophobia. Code of Conduct.
-
Be respectful, especially when disagreeing. Everyone should feel welcome here.
-
No porn (NSFW prints are acceptable but must be marked NSFW)
-
No Ads / Spamming / Guerrilla Marketing
-
Do not create links to reddit
-
If you see an issue please flag it
-
No guns
-
No injury gore posts
If you need an easy way to host pictures, https://catbox.moe may be an option. Be ethical about what you post and donate if you are able or use this a lot. It is just an individual hosting content, not a company. The image embedding syntax for Lemmy is 
Moderation policy: Light, mostly invisible
view the rest of the comments

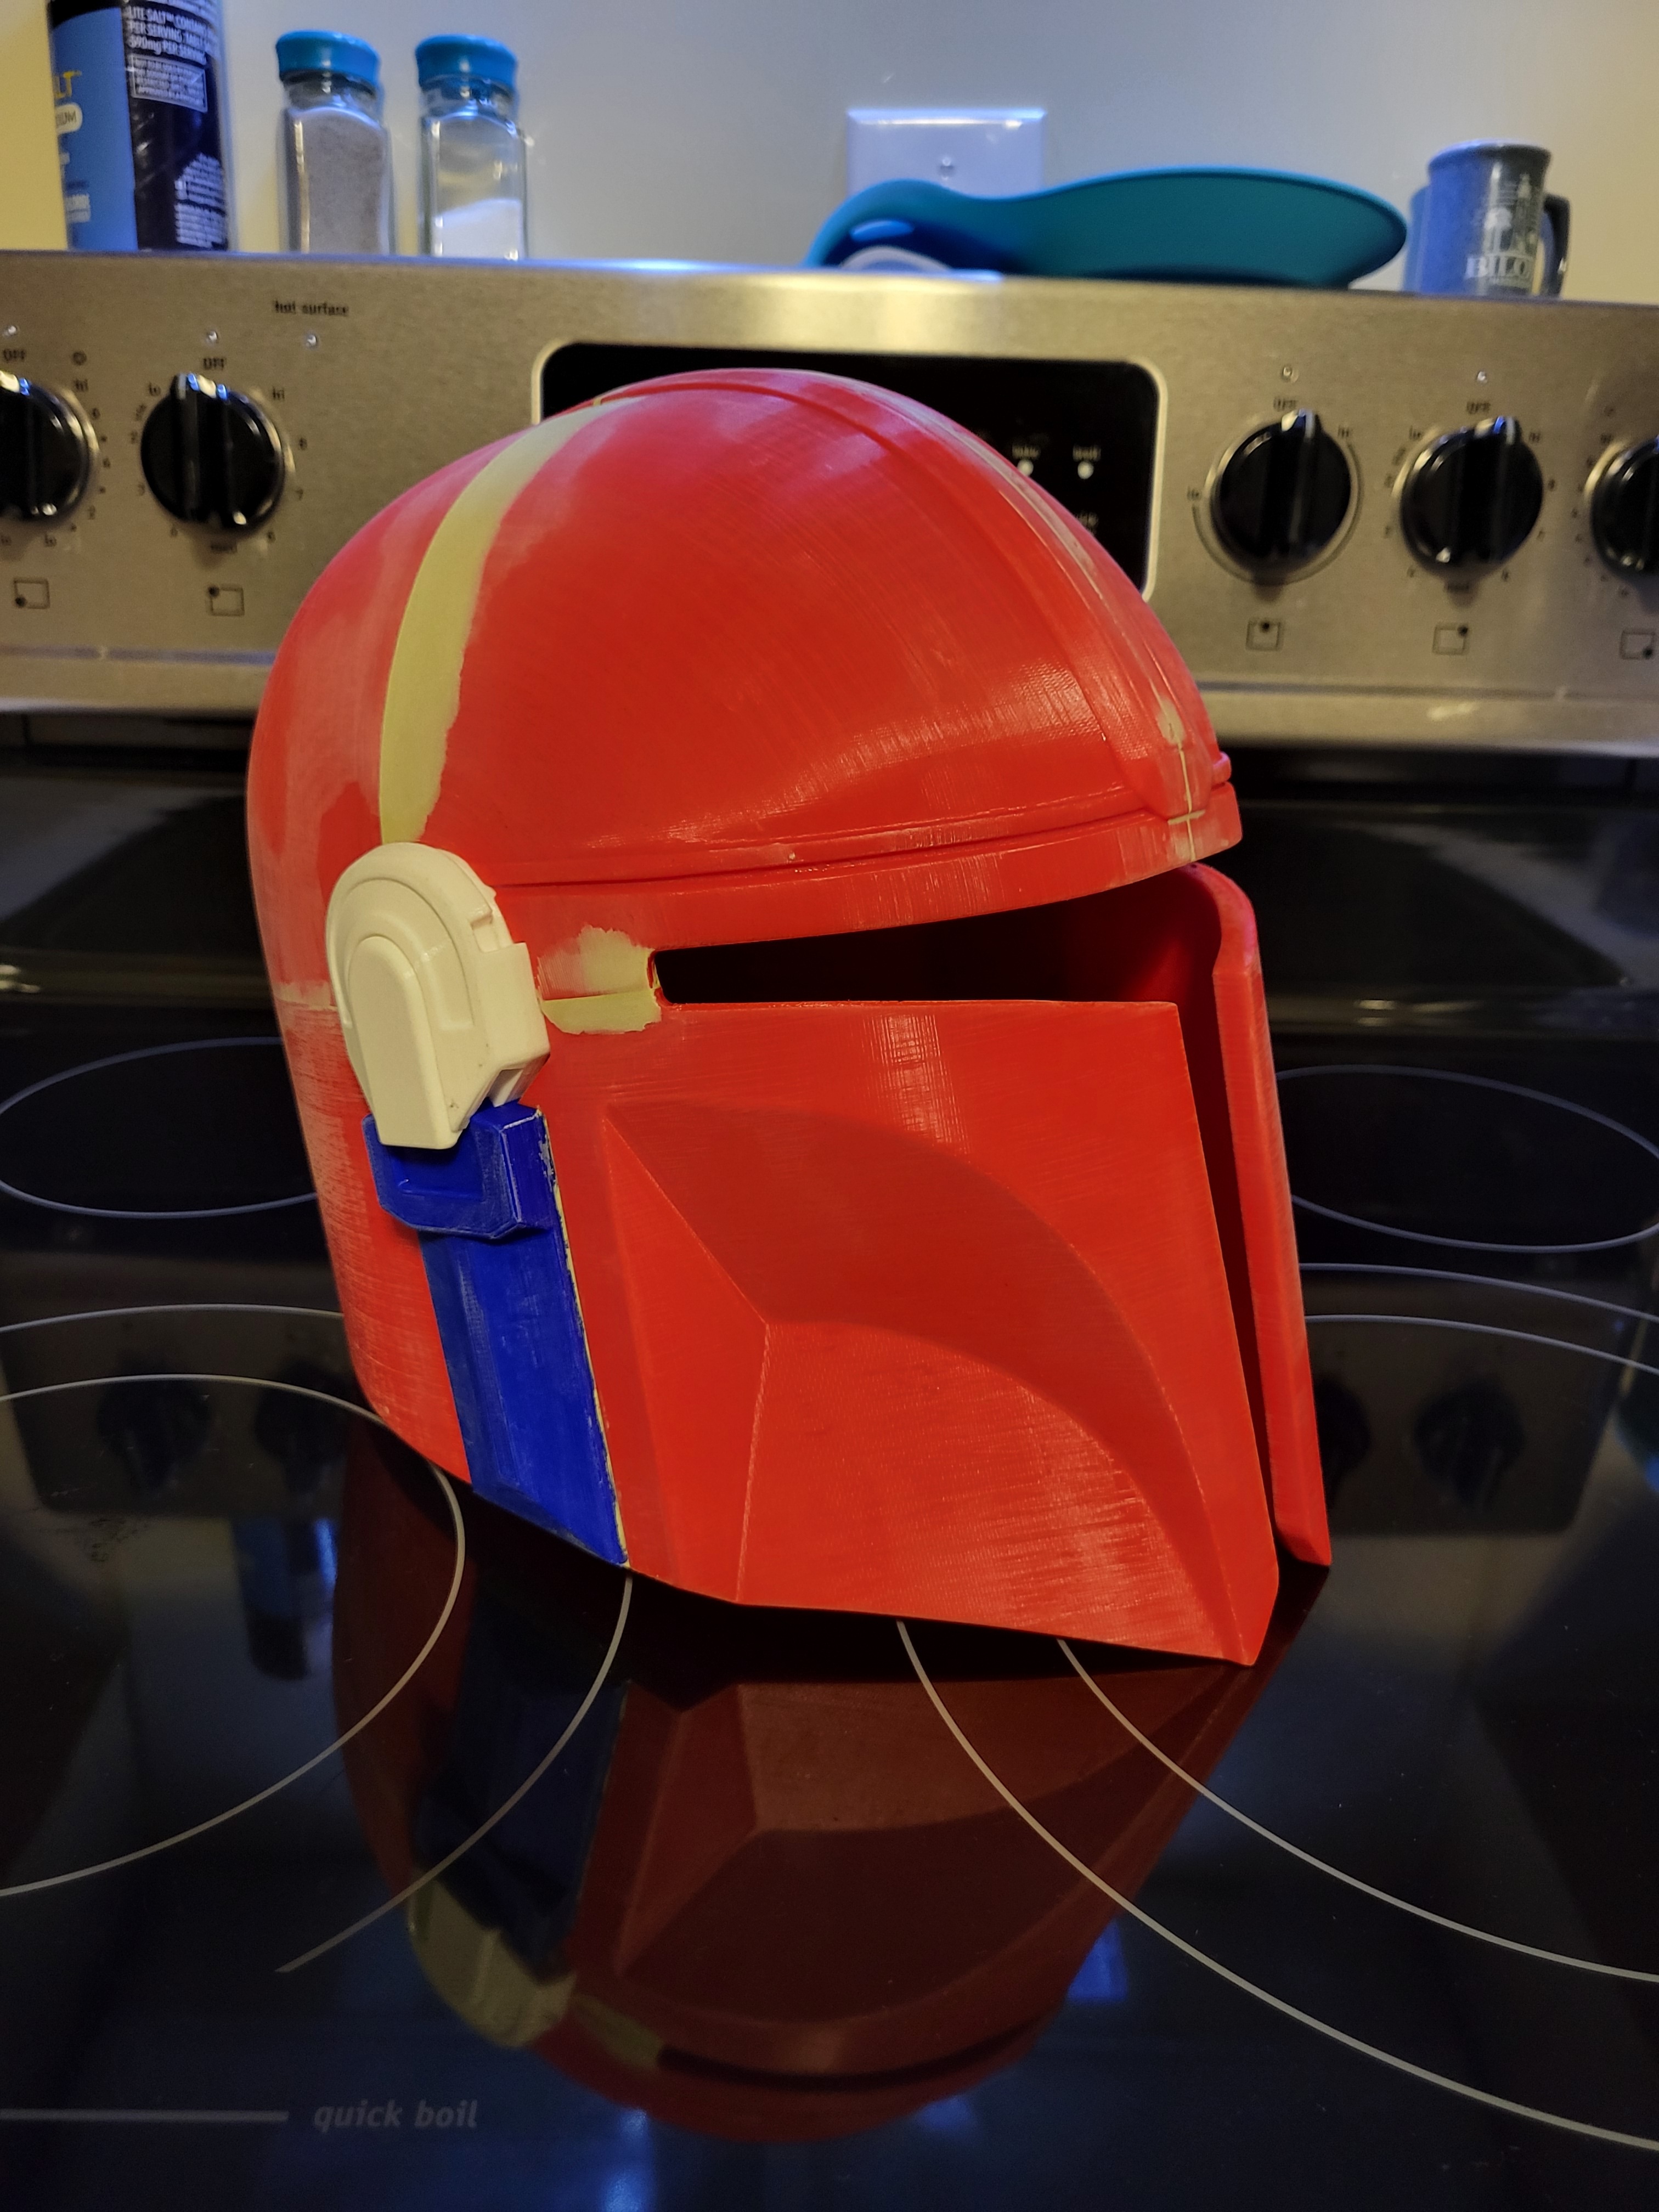
Yea I've spent the last week to week and a half getting it epoxied together, using modeling putty to fill gaps and divots, and sanding.
So if you have time, just a little tip here, once you paint it, take some rub n buff and hit some high points- places you think the armor might wear.
It doesn’t take a lot, but it takes the shiny edge off it. Gives the armor some life. (id suggest either pewter or silver. Maybe hit some low spots with black?)
The only problem is it would then need a final clear coat to seal it.
On the helmet, I’d hit the hard corner under the chin- maybe a little harder on one side, and maybe some spots around the ear pieces. Some black inside the cheek crease? (Unless your going for a thoroughly professional look rather than boba fet gangster look.)
If you wanted to go nuts, take a razor and cut in some claw marks, and hit those, too.
That said it’s looking like it’s going well and I’m excited to see the final set!
I was debating on giving it a worn/rough look. I still haven't really decided. I think I'm going to shoot for a red/black theme with red being primary. Probably a darker red and I was thinking of using a matte black. I just am not sure about how I'm going to utilize the black.
Definitely going to be priming it tomorrow though. Then I need to run somewhere and pick out my colors.
Sand before priming. And make sure you use filler primer! Will help a LOT. You will probably go through 3-4 cycles of sanding, filler, sanding, bondo, sanding then paint lol.
I didn't even know that was a thing, looks like I'm returning the primer I got. Thanks.
You bet! My crown here, is 3d printed. I did about 3 cycles of filler and sanding because I got impatient and rushed and you can still see the print lines. Still looks good overall tho.